The Art of Creating a Beautiful Dessert Table for Any Occasion
My step-by-step process after creating dessert tables for nearly 20 years
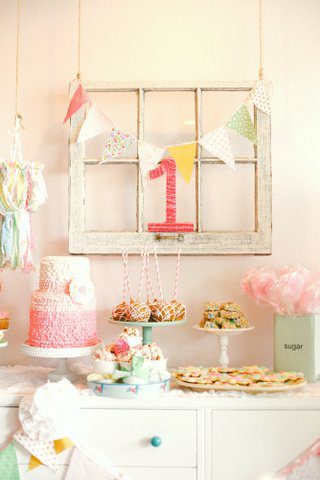
Almost 20 years ago, when Ally turned one, I created what people now call a dessert table before it even had a name.
At the time, I had just started making sugar cookies, so I made tiny number one cookies, cupcakes, Rice Krispie treats, a cake, and candy bars wrapped to match the party theme. Before I knew it, the entire kitchen table was covered in dessert.
And tbh people at the party rolled their eyes and said “Who is going to eat all this dessert?”
But I loved every part of putting it together. I loved pulling together colors, textures, desserts, trays, and little details that all felt cohesive and celebratory. It never really felt like “just dessert” to me. It felt like part of the experience of the party itself.
Fast forward almost twenty years and I’ve now created dessert tables for birthdays, holidays, weddings, baby showers, celebrities, major brands, graduations, my own kids, friends, and more events than I can count.
Over the years, I’ve realized that creating a beautiful dessert table isn’t really about making more desserts. It’s about creating balance, layering details, adding dimension, and making people feel excited the second they walk into the room. I believe the dessert table is the centerpiece of any party.
The good news is that once you understand the formula behind it, dessert tables become so much easier to create. So I’m sharing exactly how I approach dessert tables, the things I think make the biggest difference, and the serving pieces and entertaining staples I use over and over again.
1. Start With a Theme
Every dessert table starts with some kind of overall direction or inspiration.
Your theme can be:
here are some themes I’ve done over the years
I have a dessert table for just about every theme you can think of! Check out more of my past parties here.
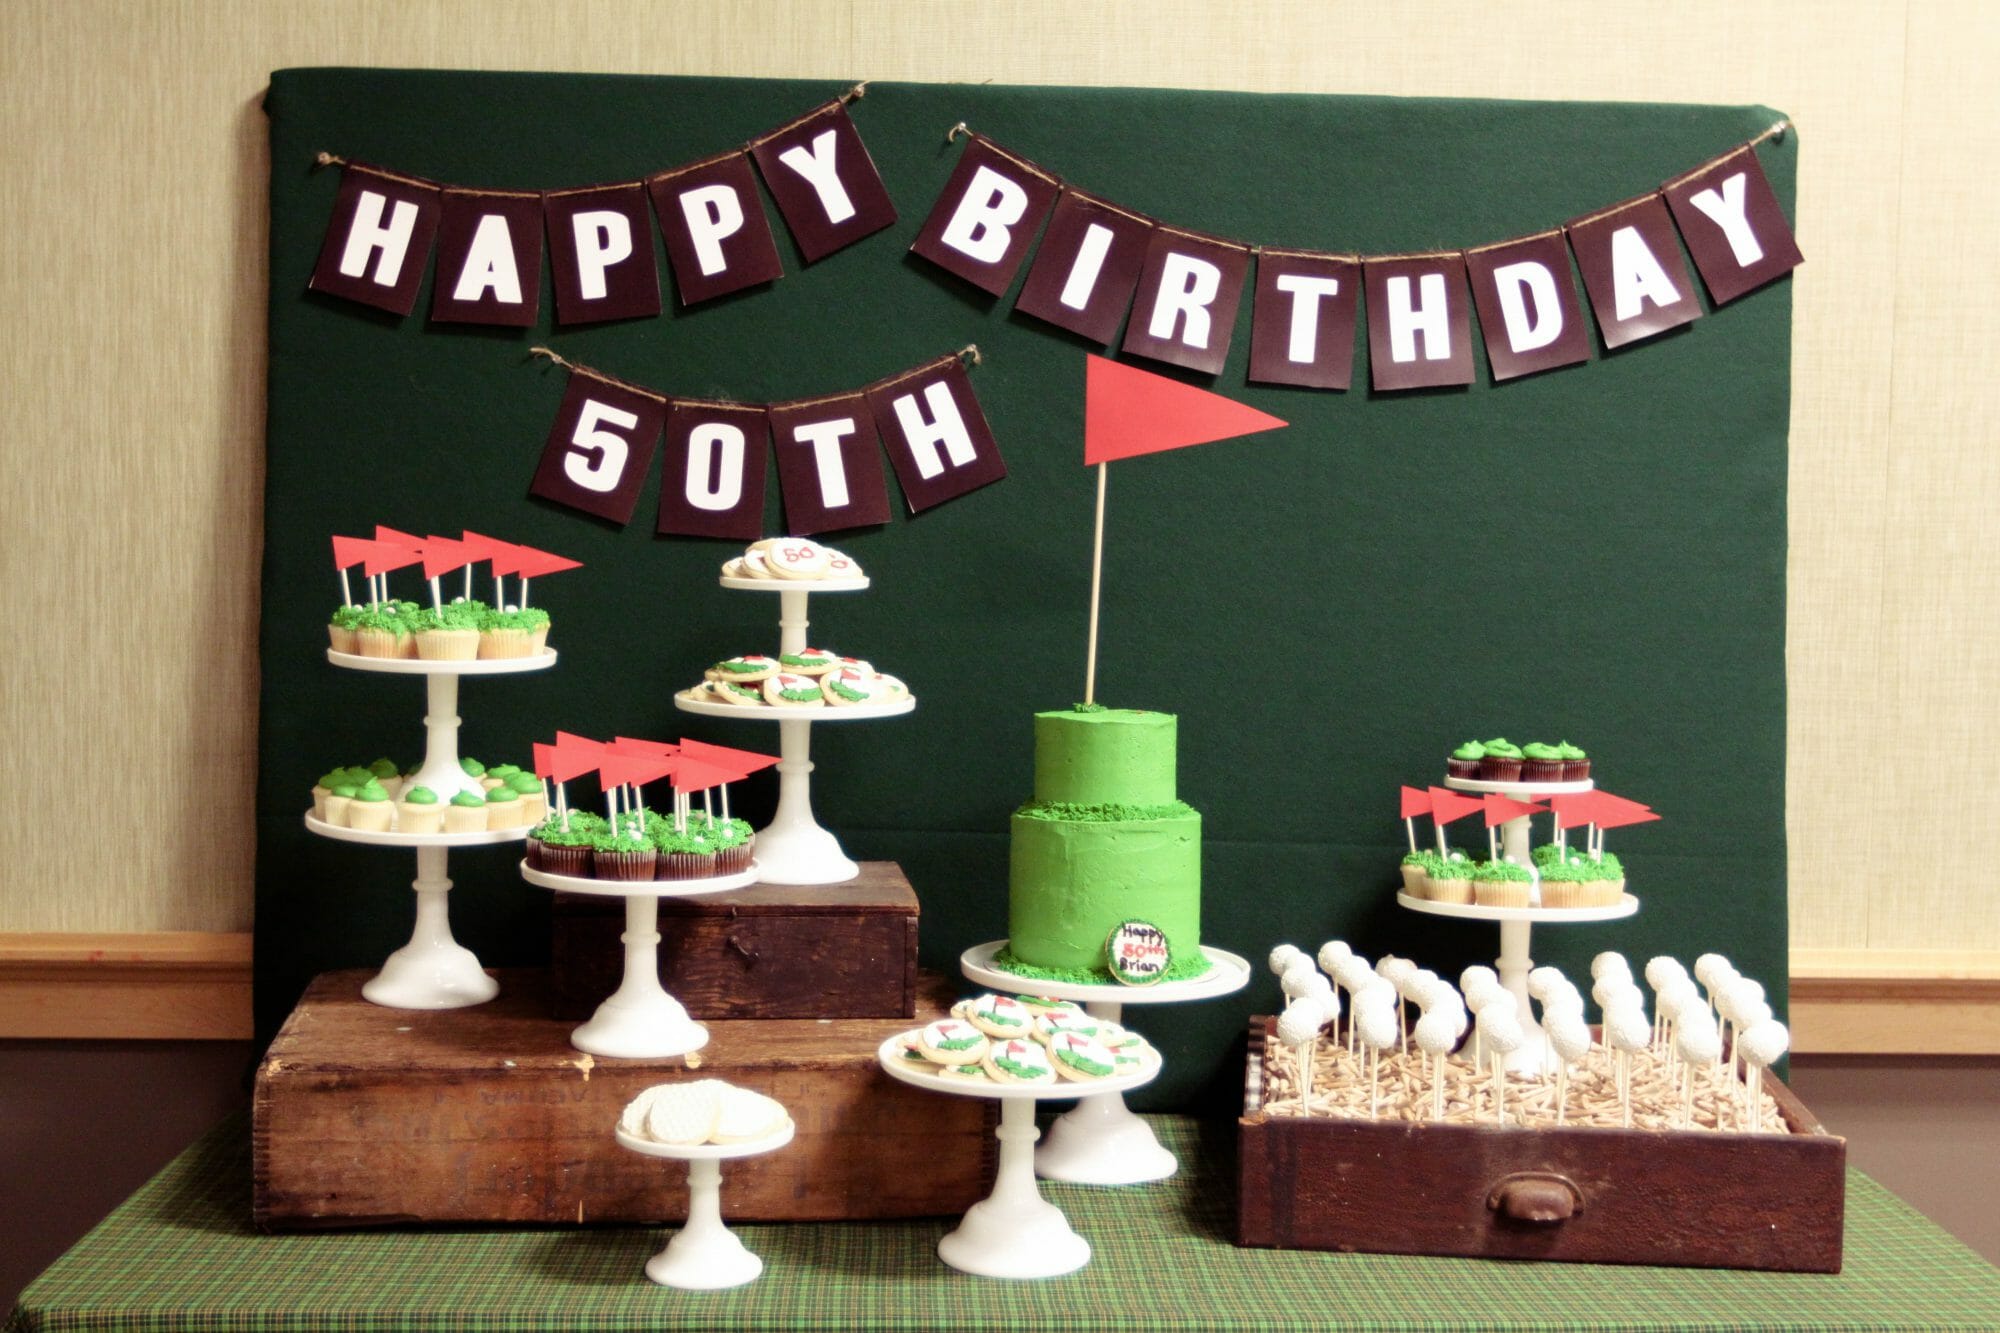

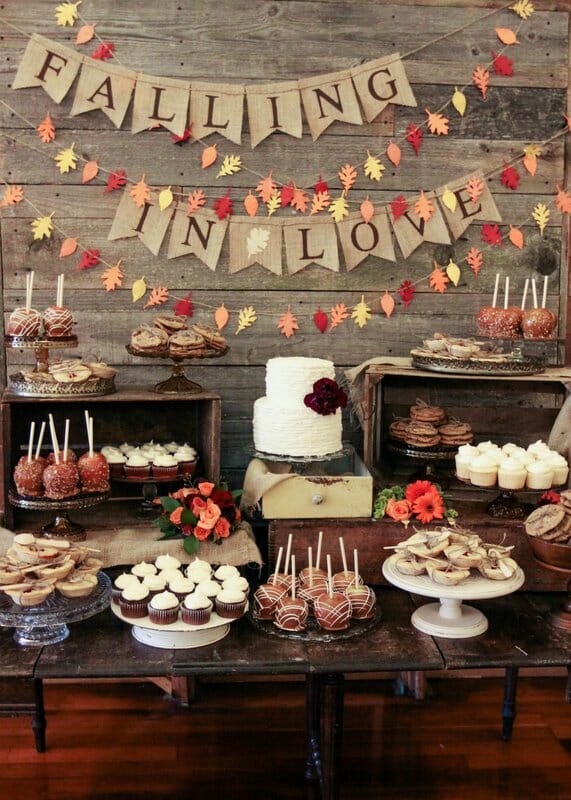
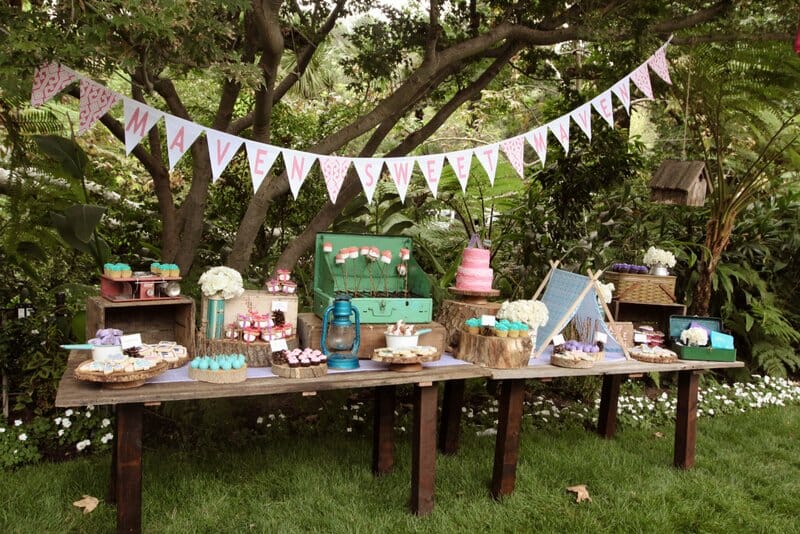
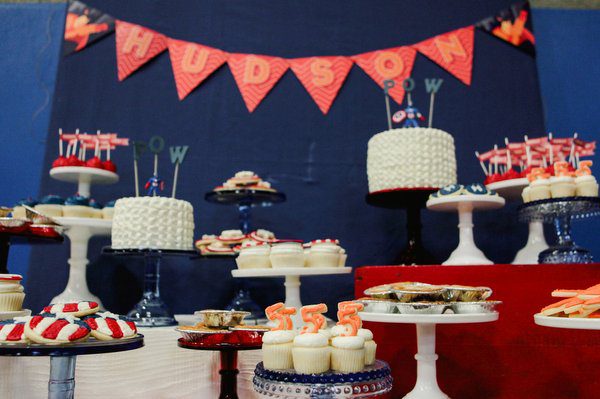

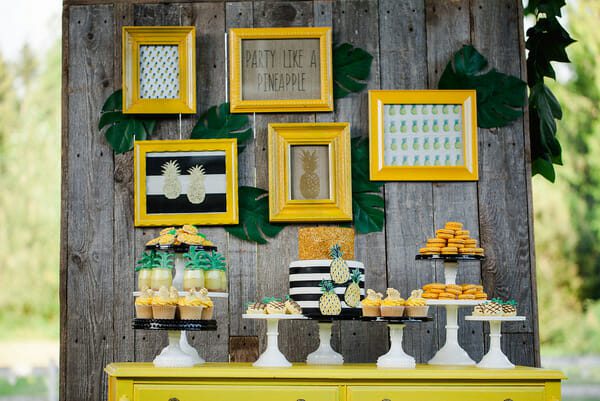
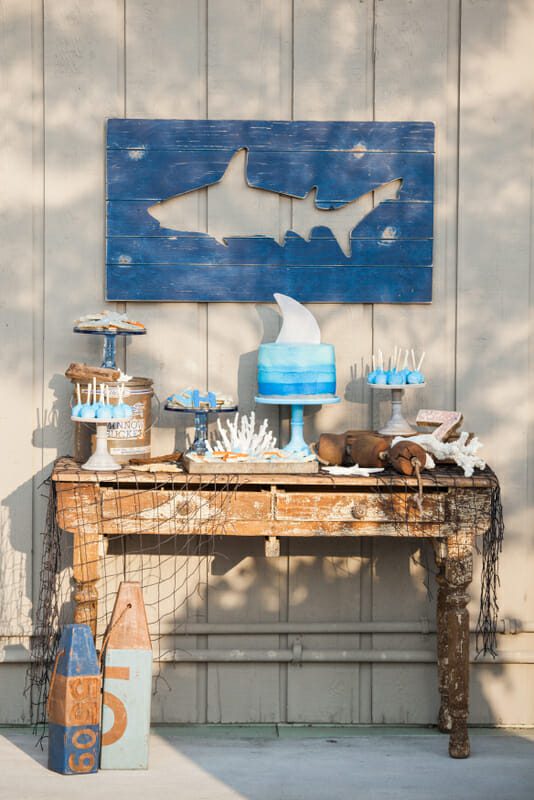
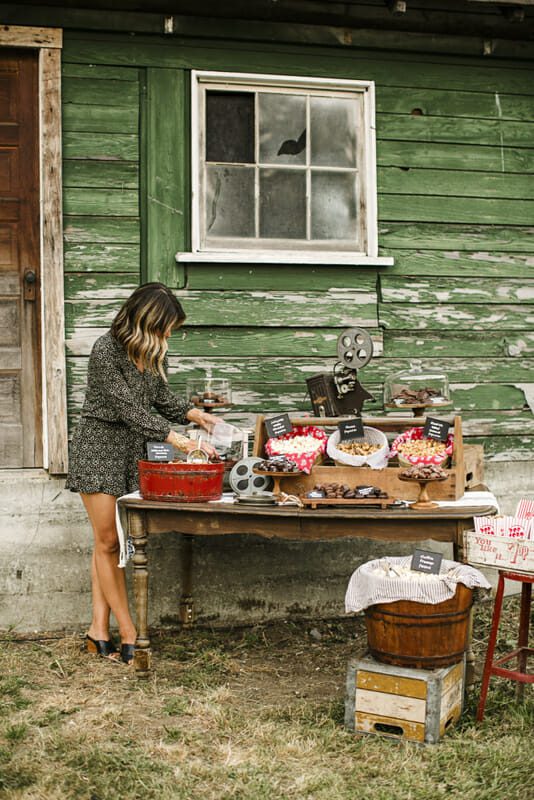
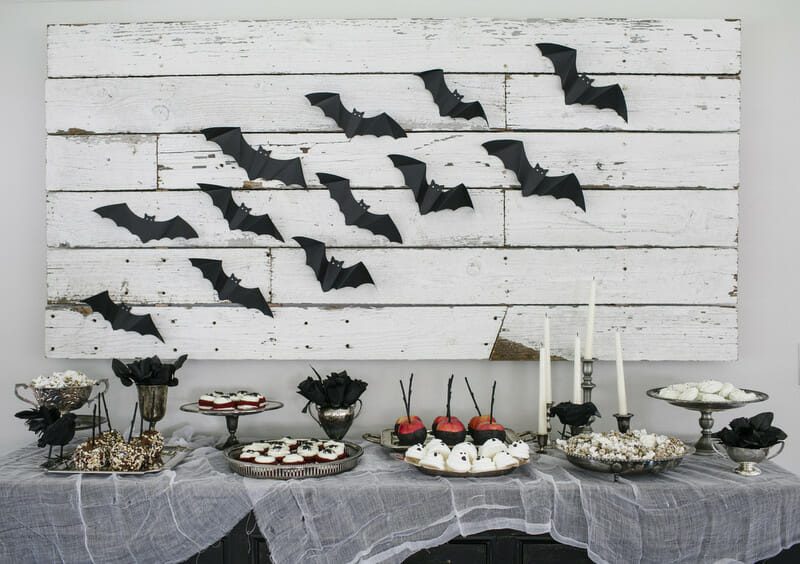
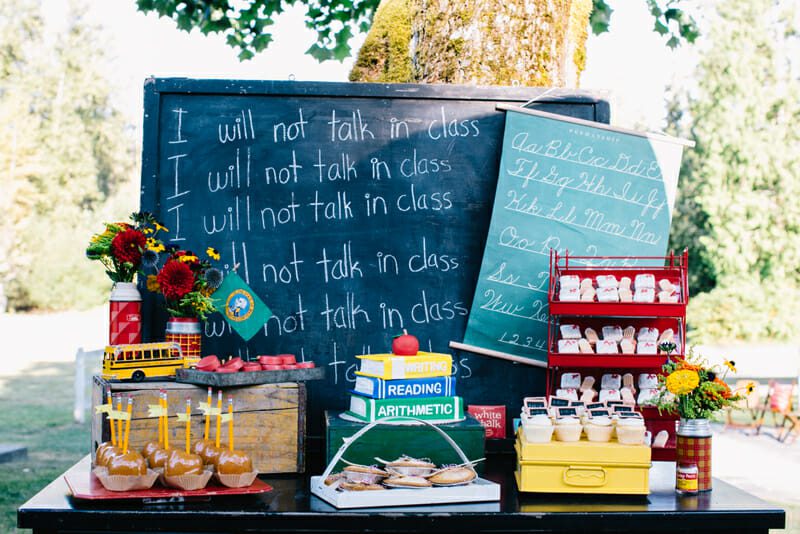

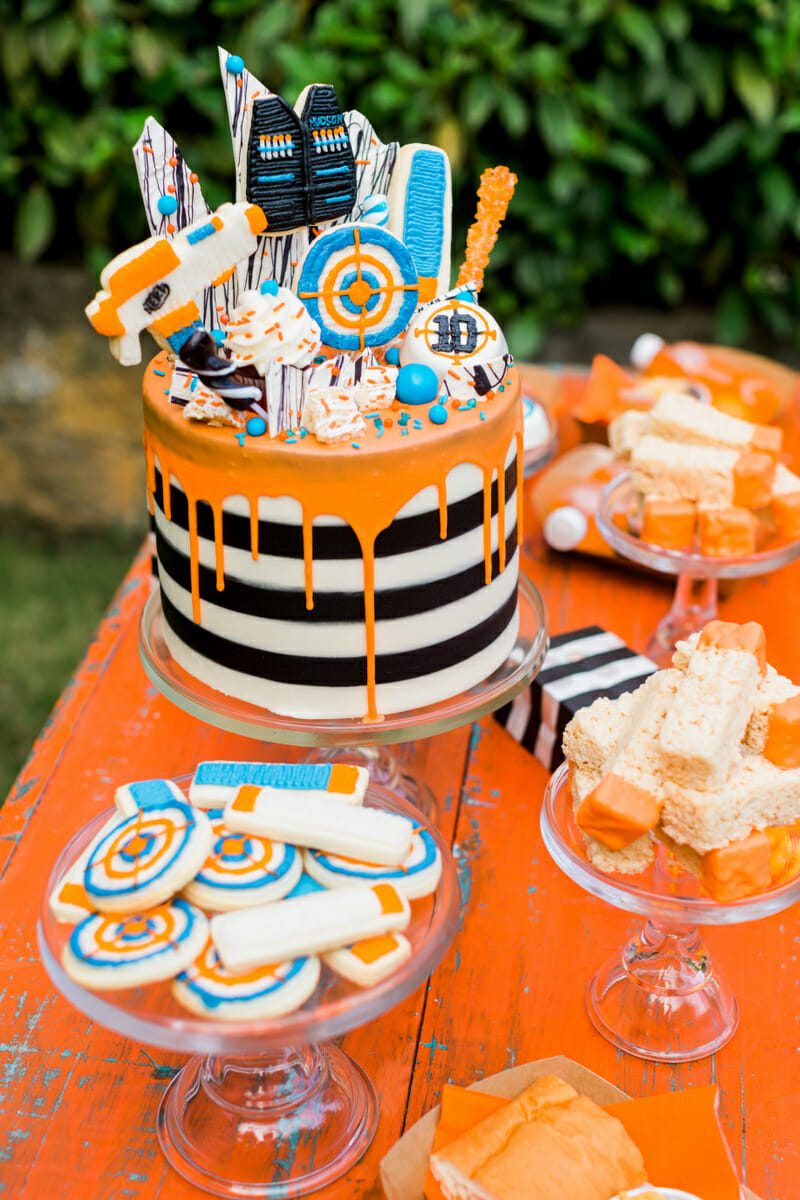
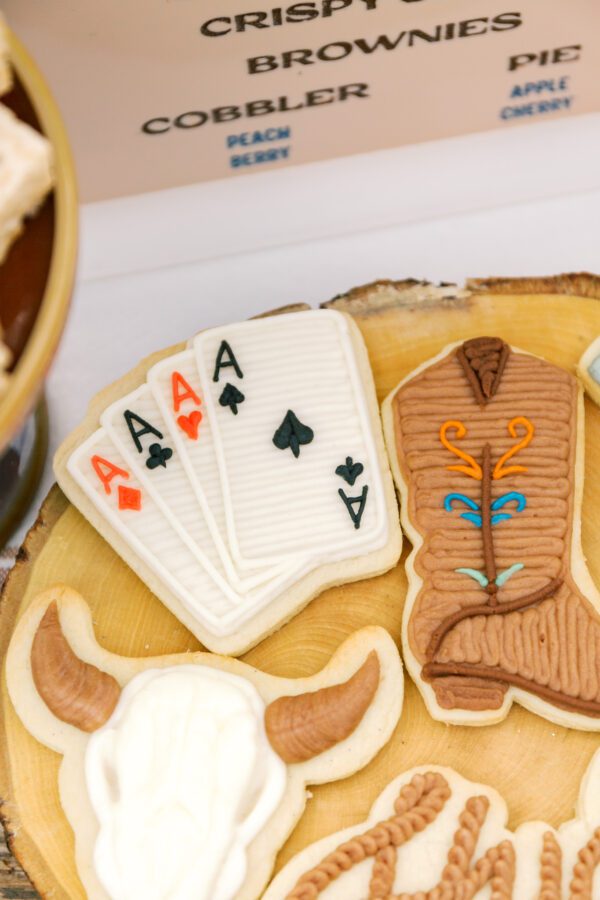
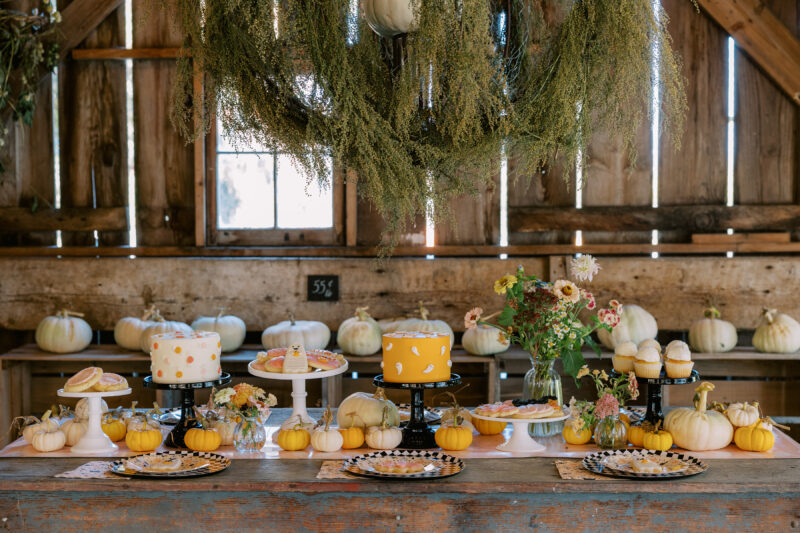
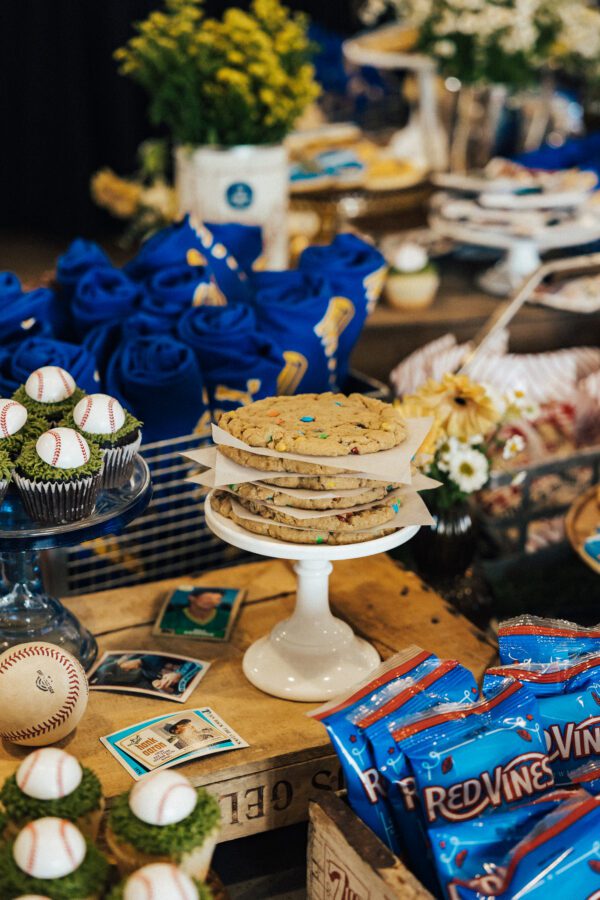
One of my favorite examples was Hudson’s western themed birthday party. Once we decided on the western direction, everything else became easier:
Having a clear overall theme helps every detail feel intentional instead of random.

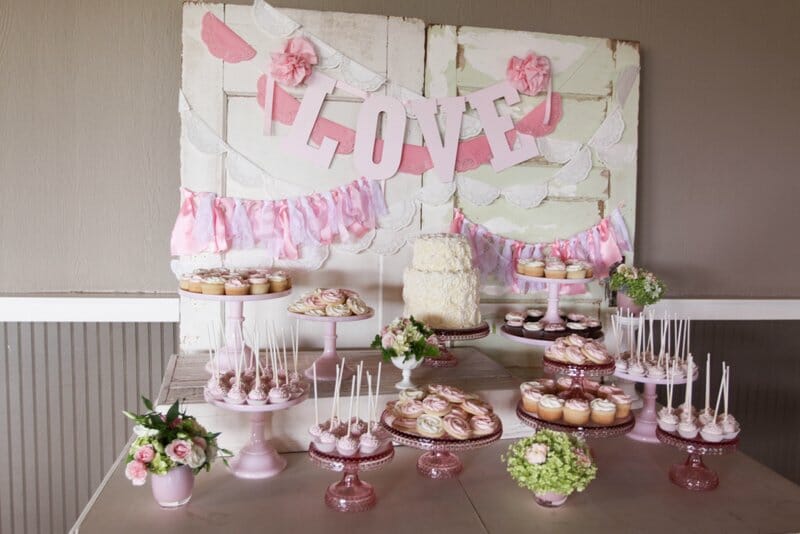
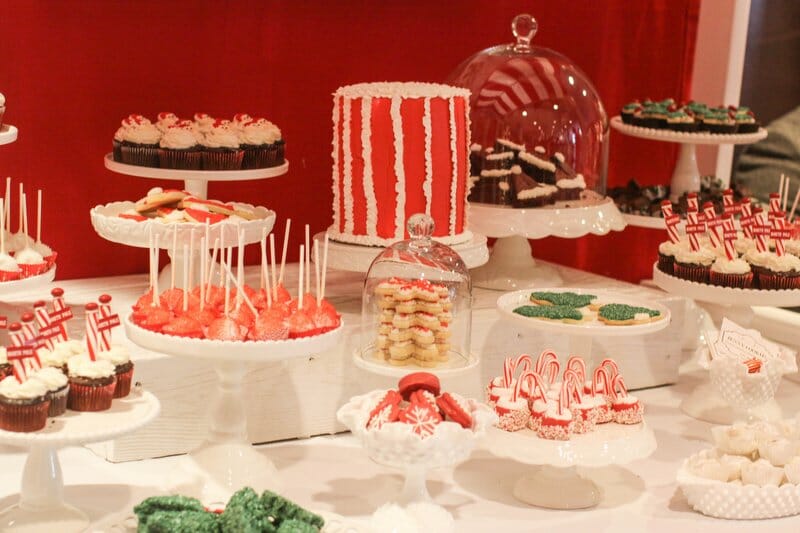
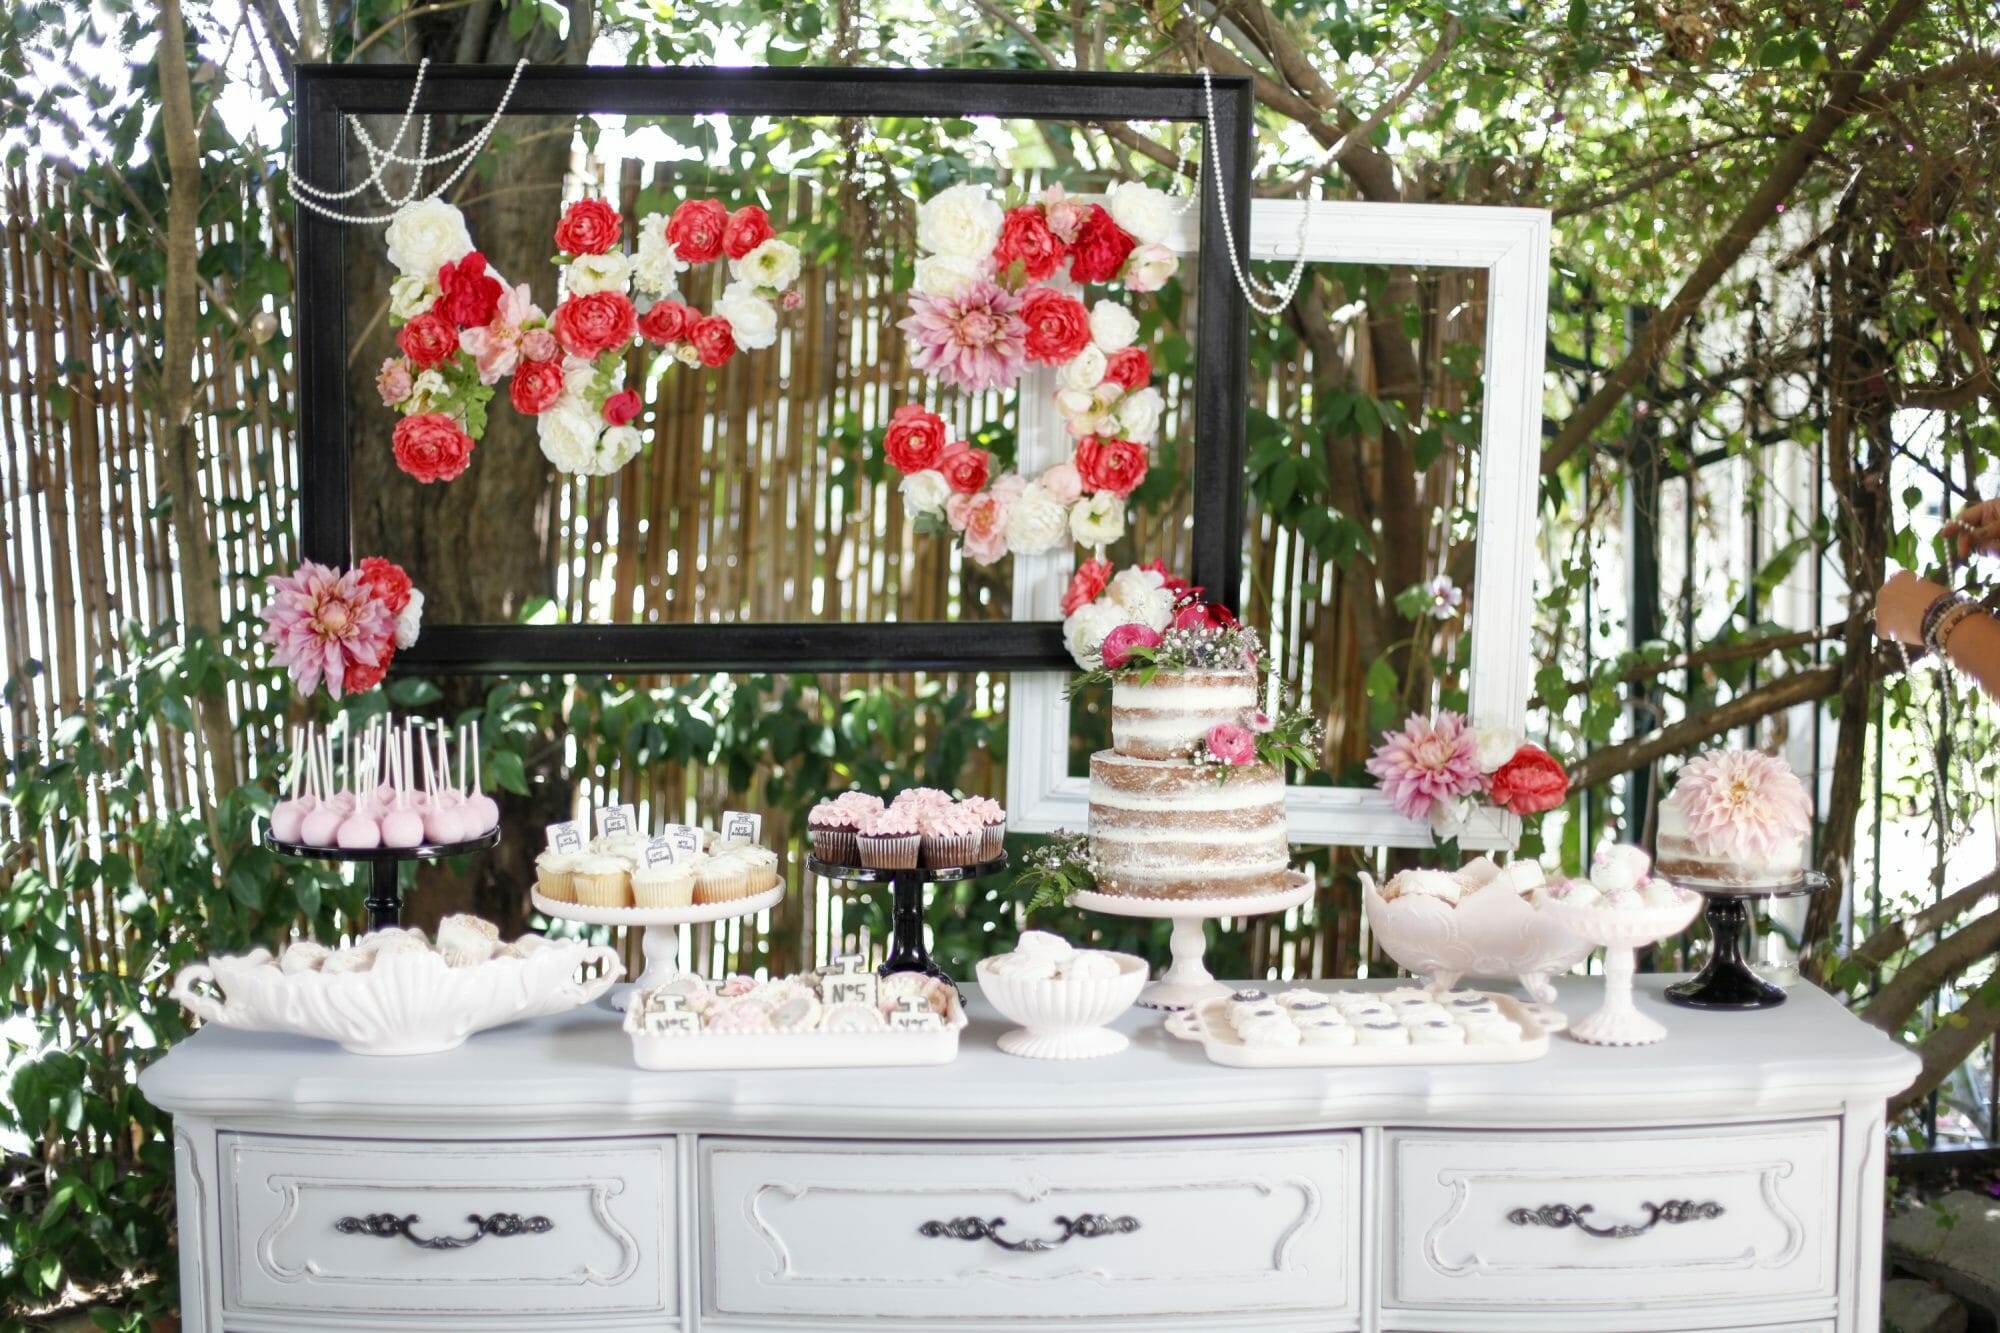
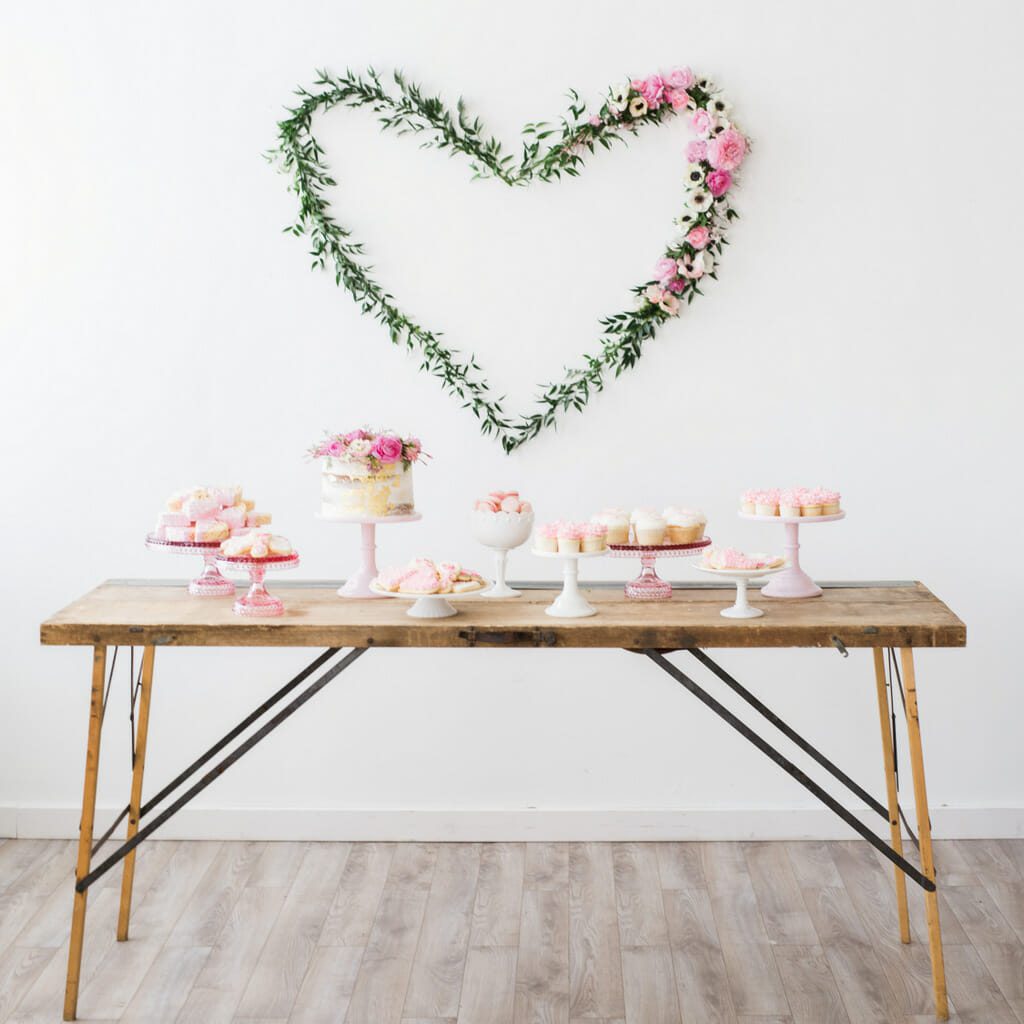
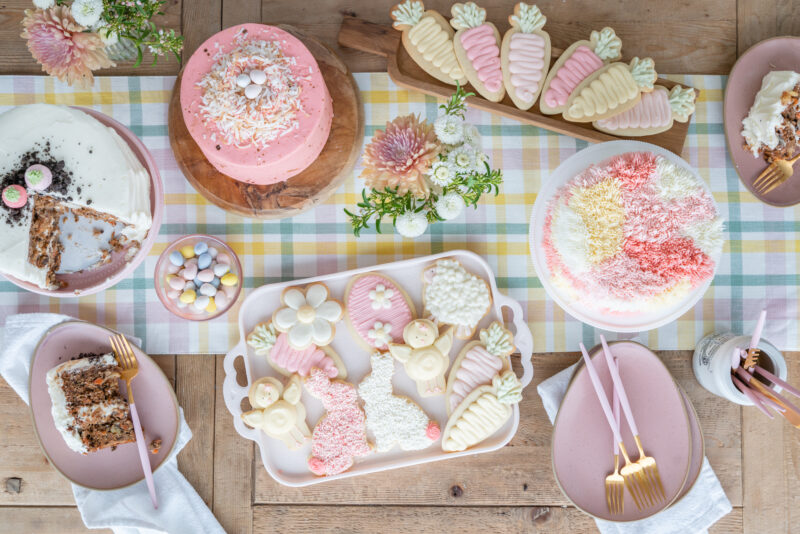
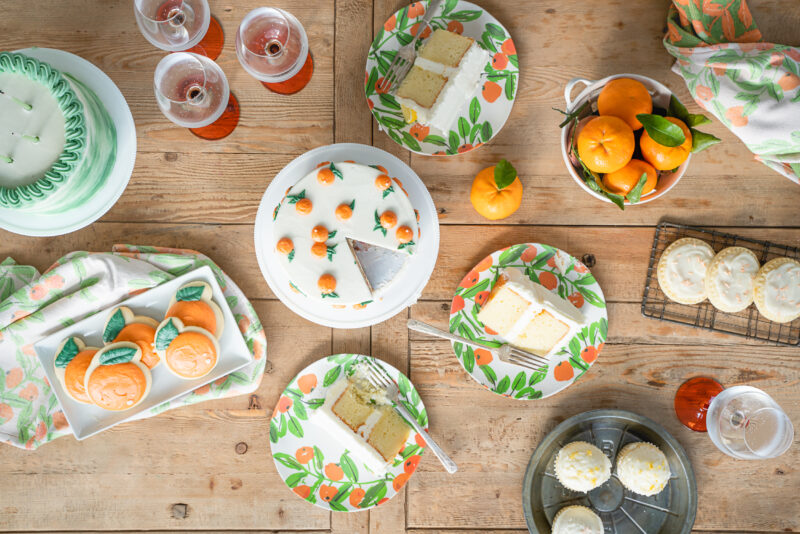
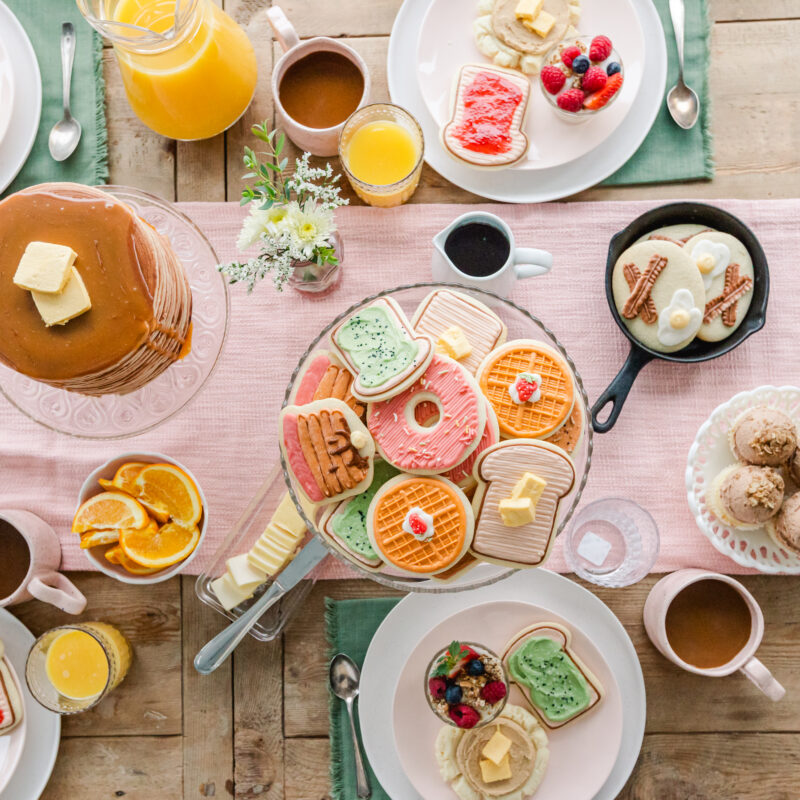
2. Create a Color Palette
Once I decide on the theme, I immediately build a color palette.
This is one of the most important parts of making a dessert table feel cohesive.
My biggest tip:
Don’t make the palette too specific.
If you try to match one exact shade perfectly, it becomes much harder to source desserts, candy, linens, flowers, and serving pieces.
Instead, stay within a family of colors and tones so everything coordinates naturally.
A few combinations I always love:
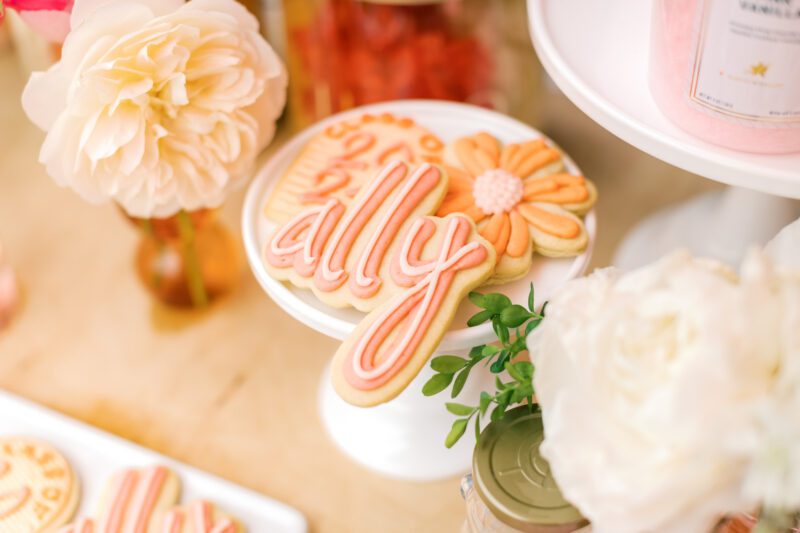
Your color palette becomes the thread that ties the entire table together. One of my favorite examples of this is Ally’s ‘FinALLY graduated’ party. Read more about her graduation party here!
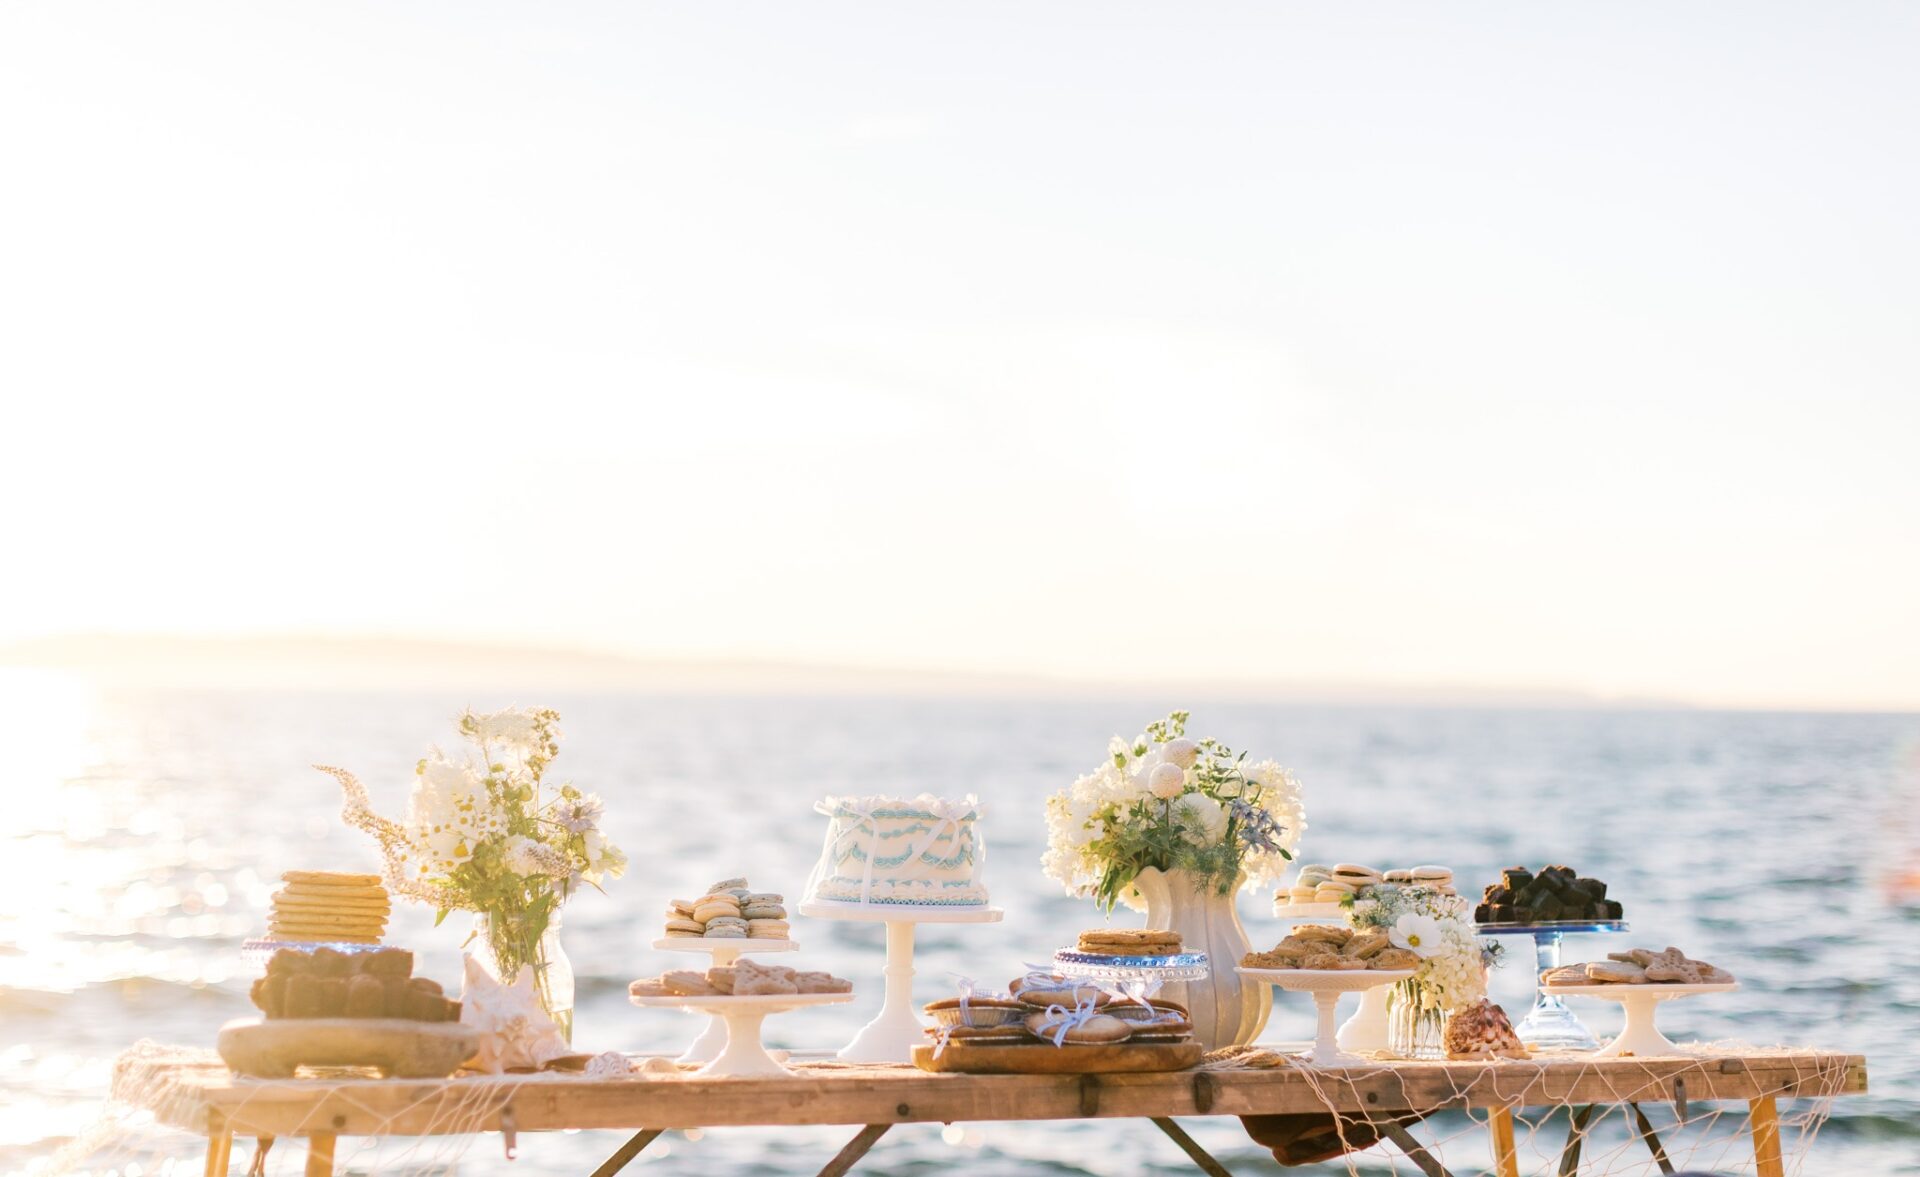
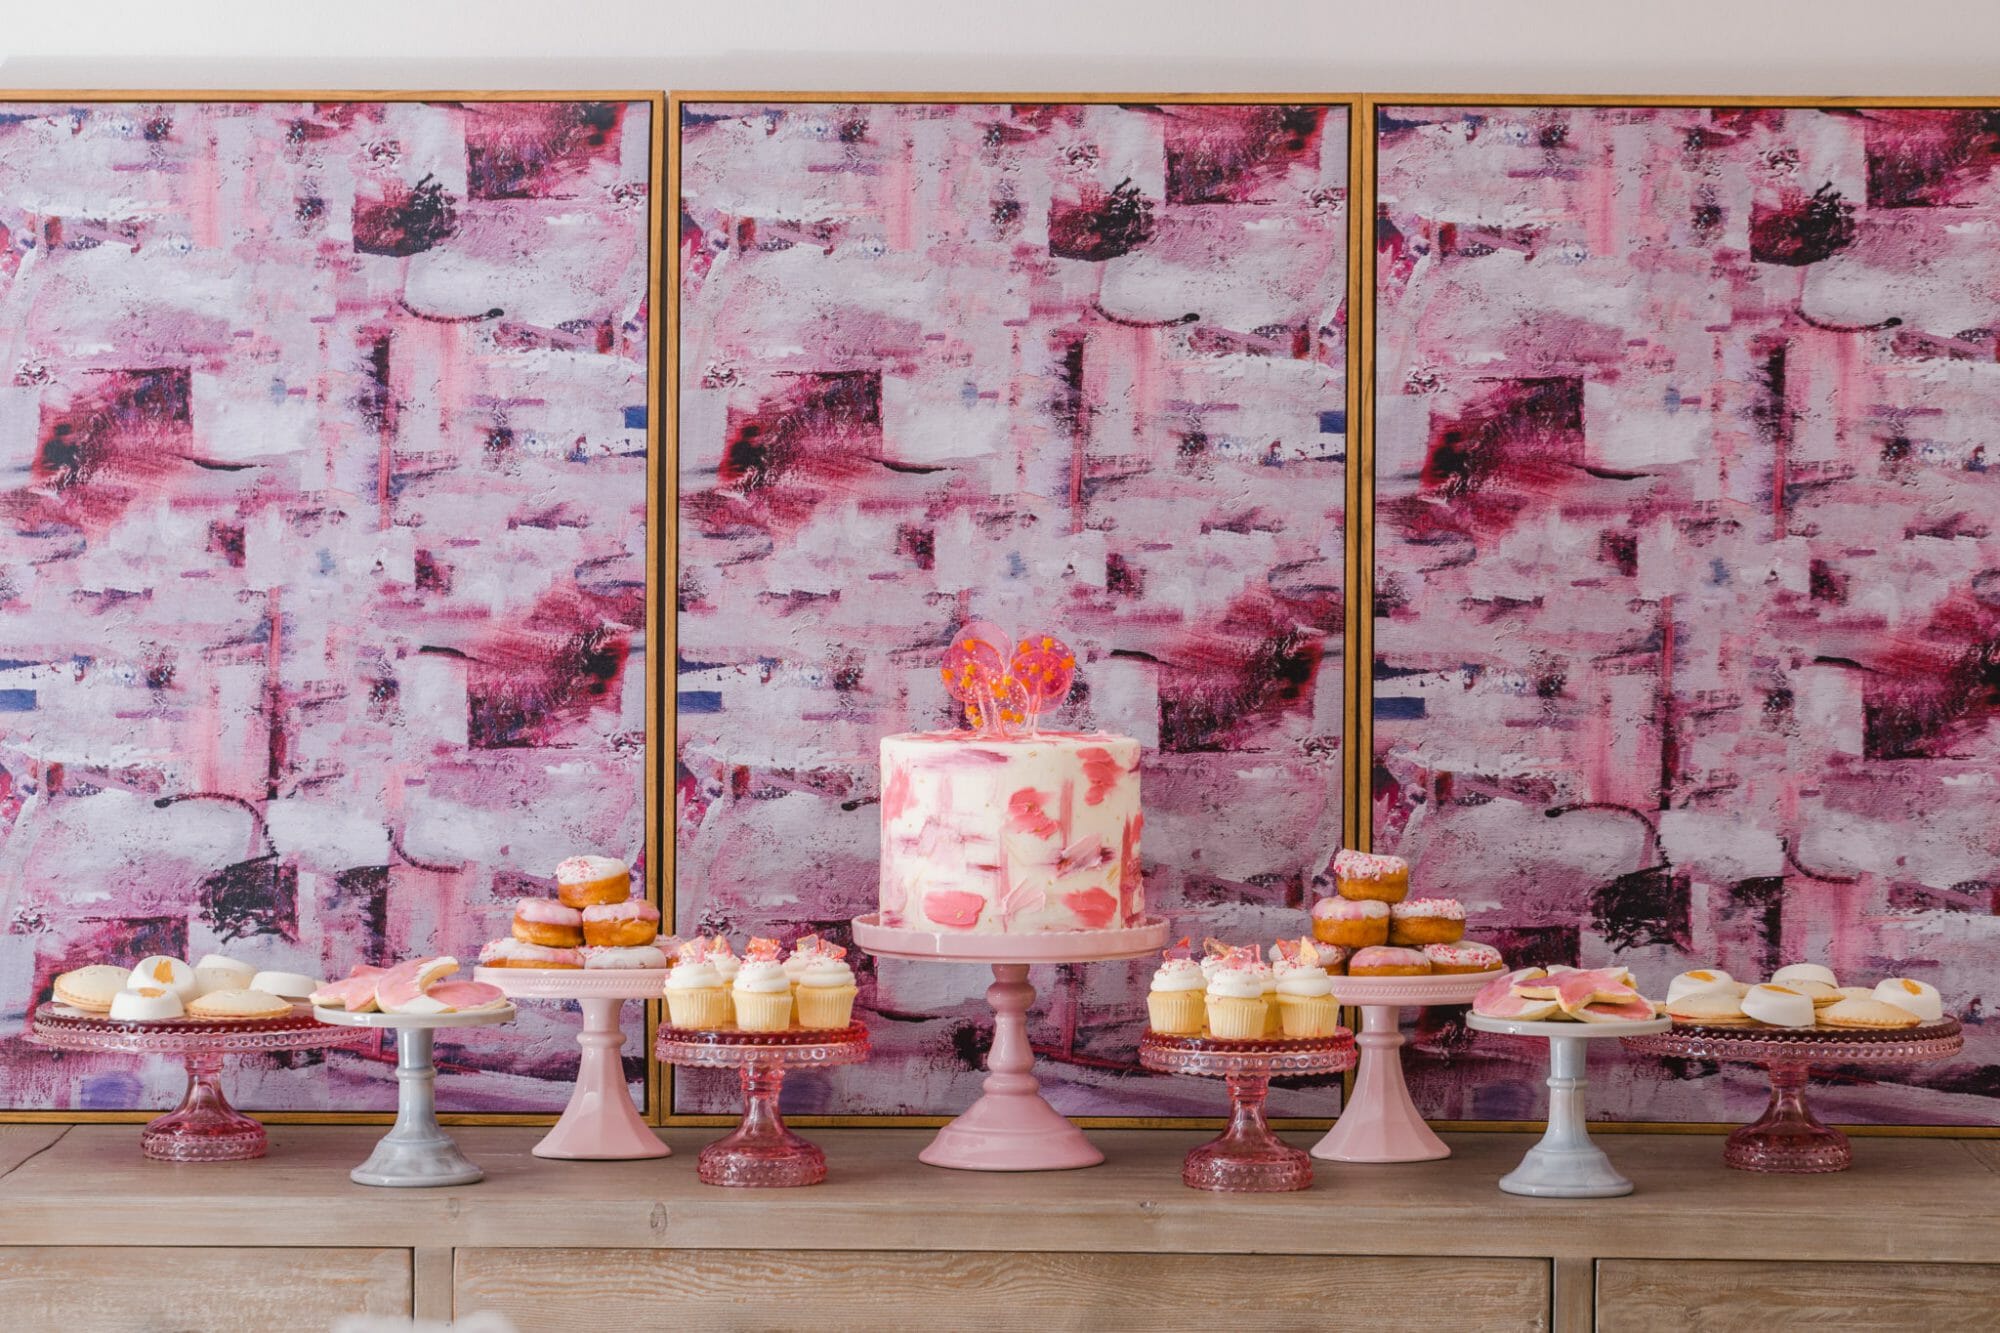
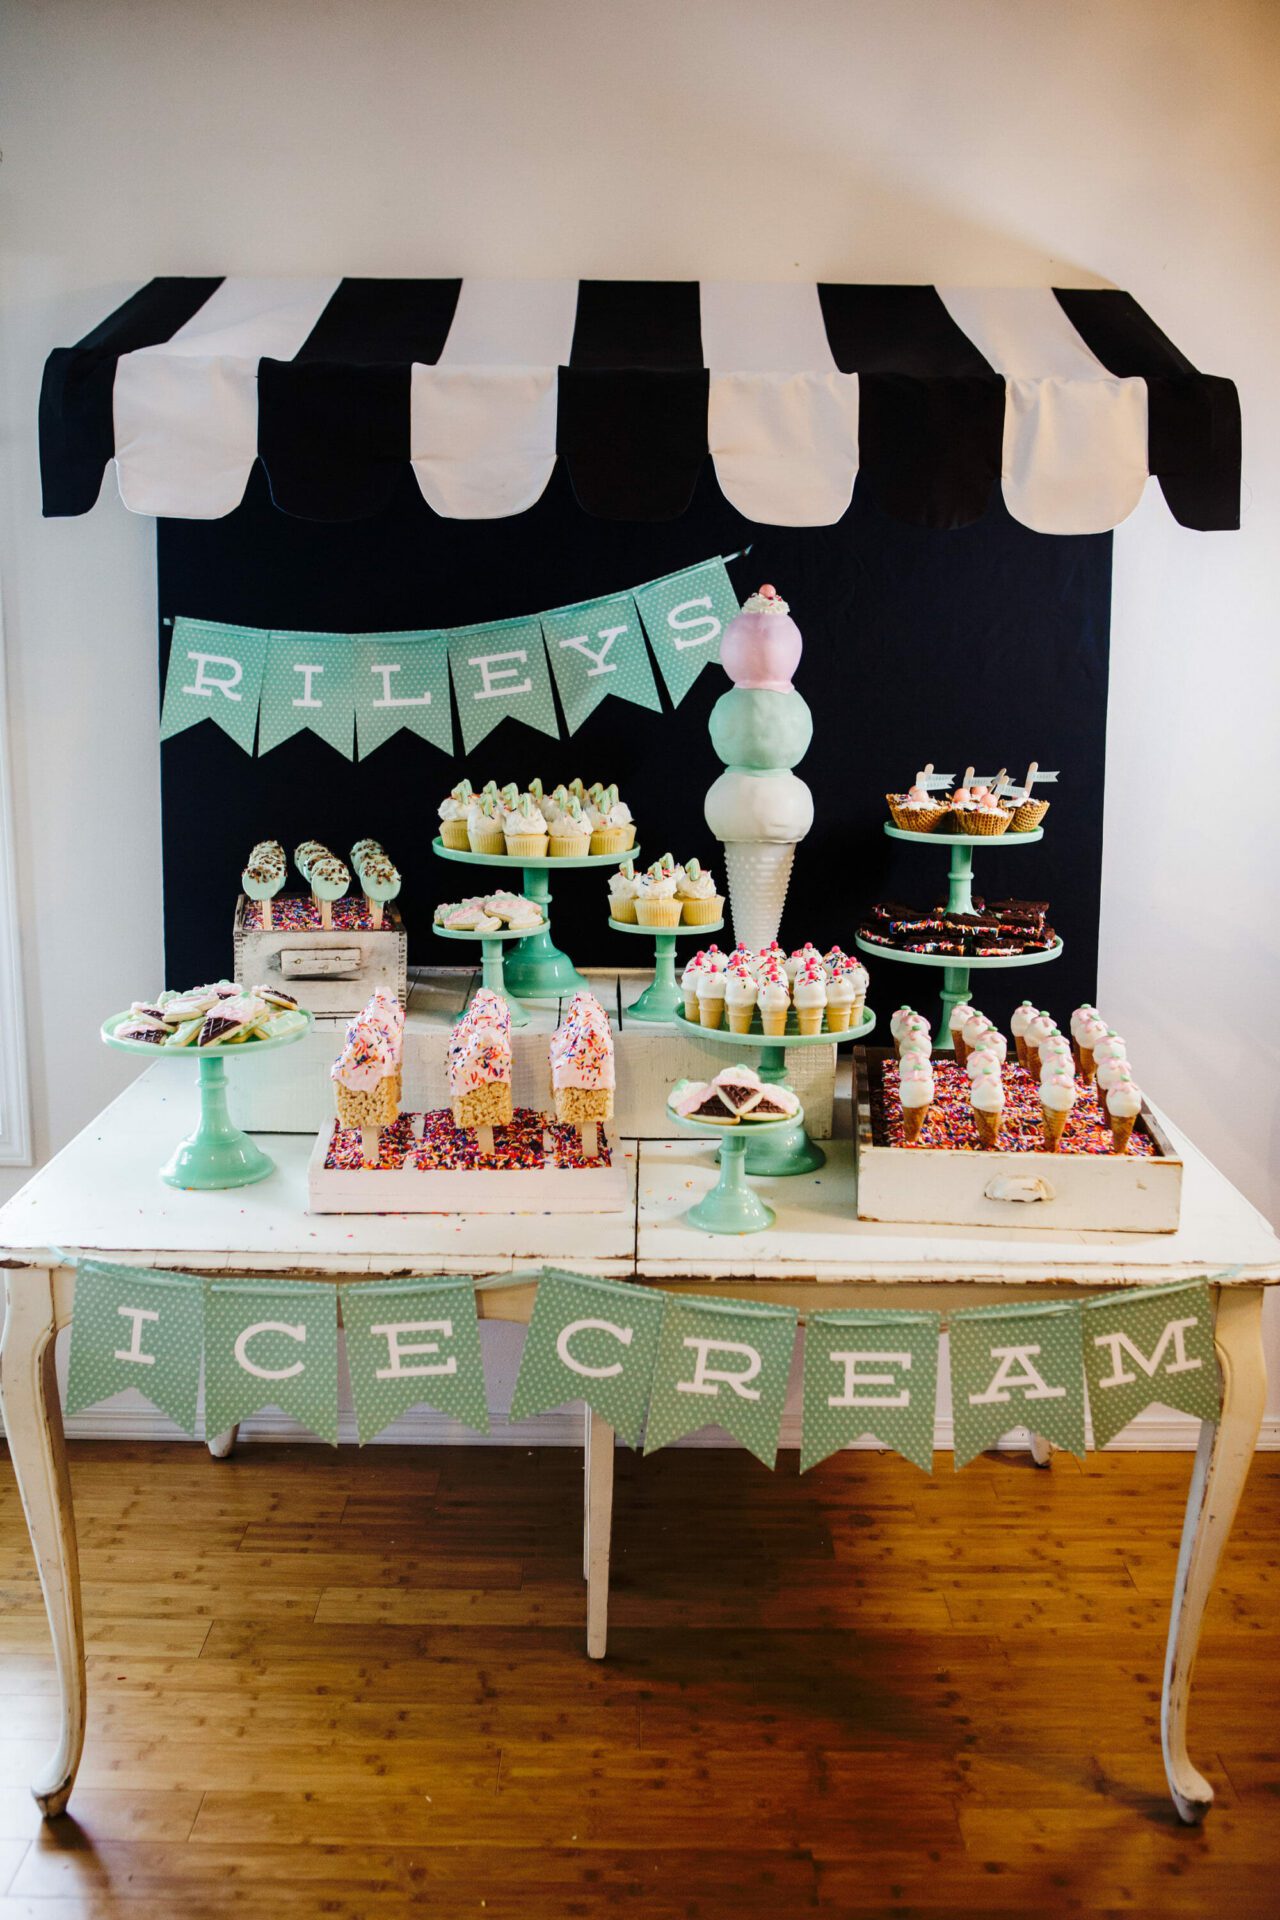
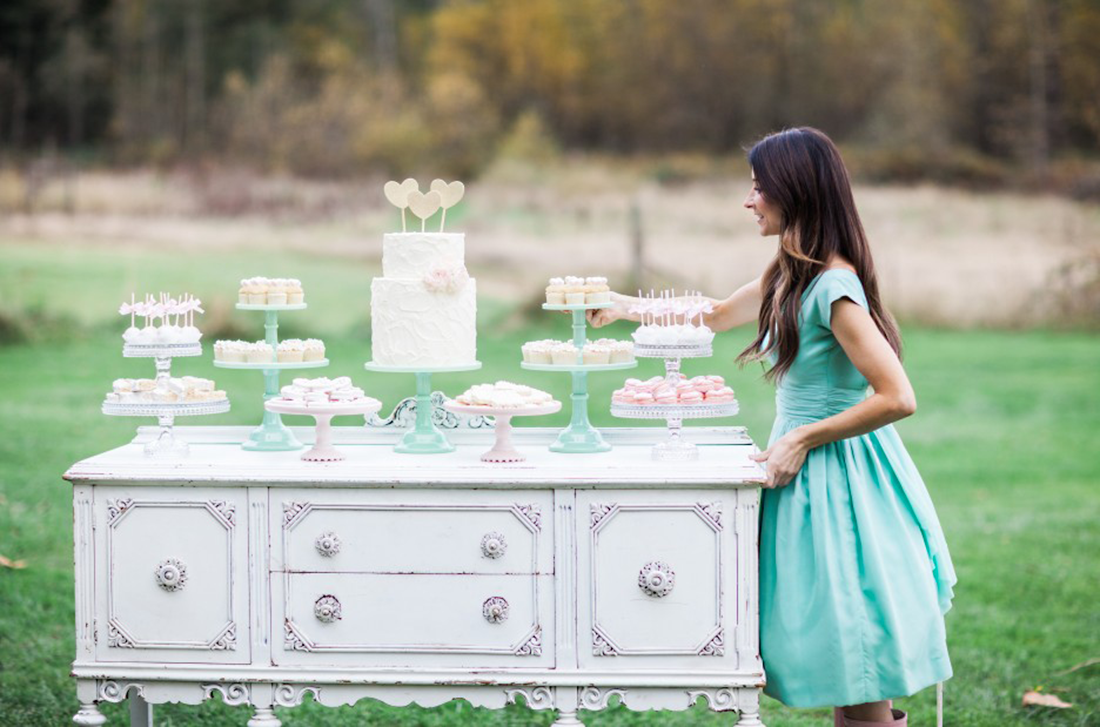
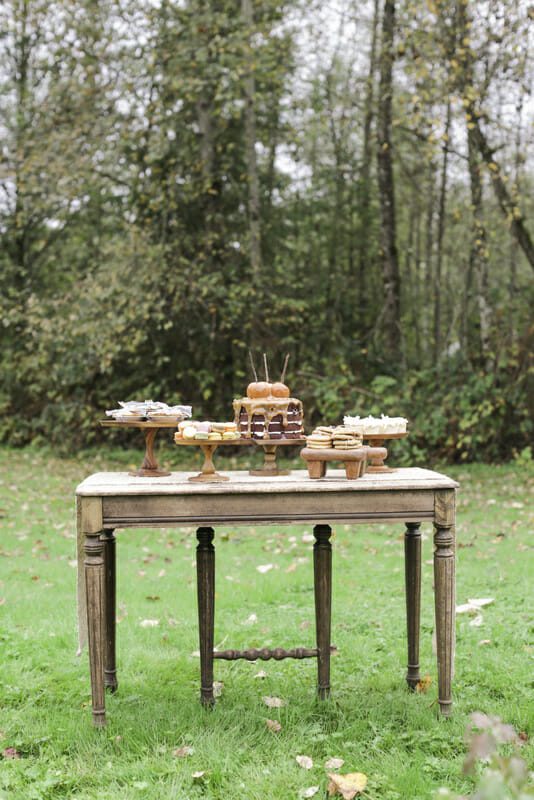
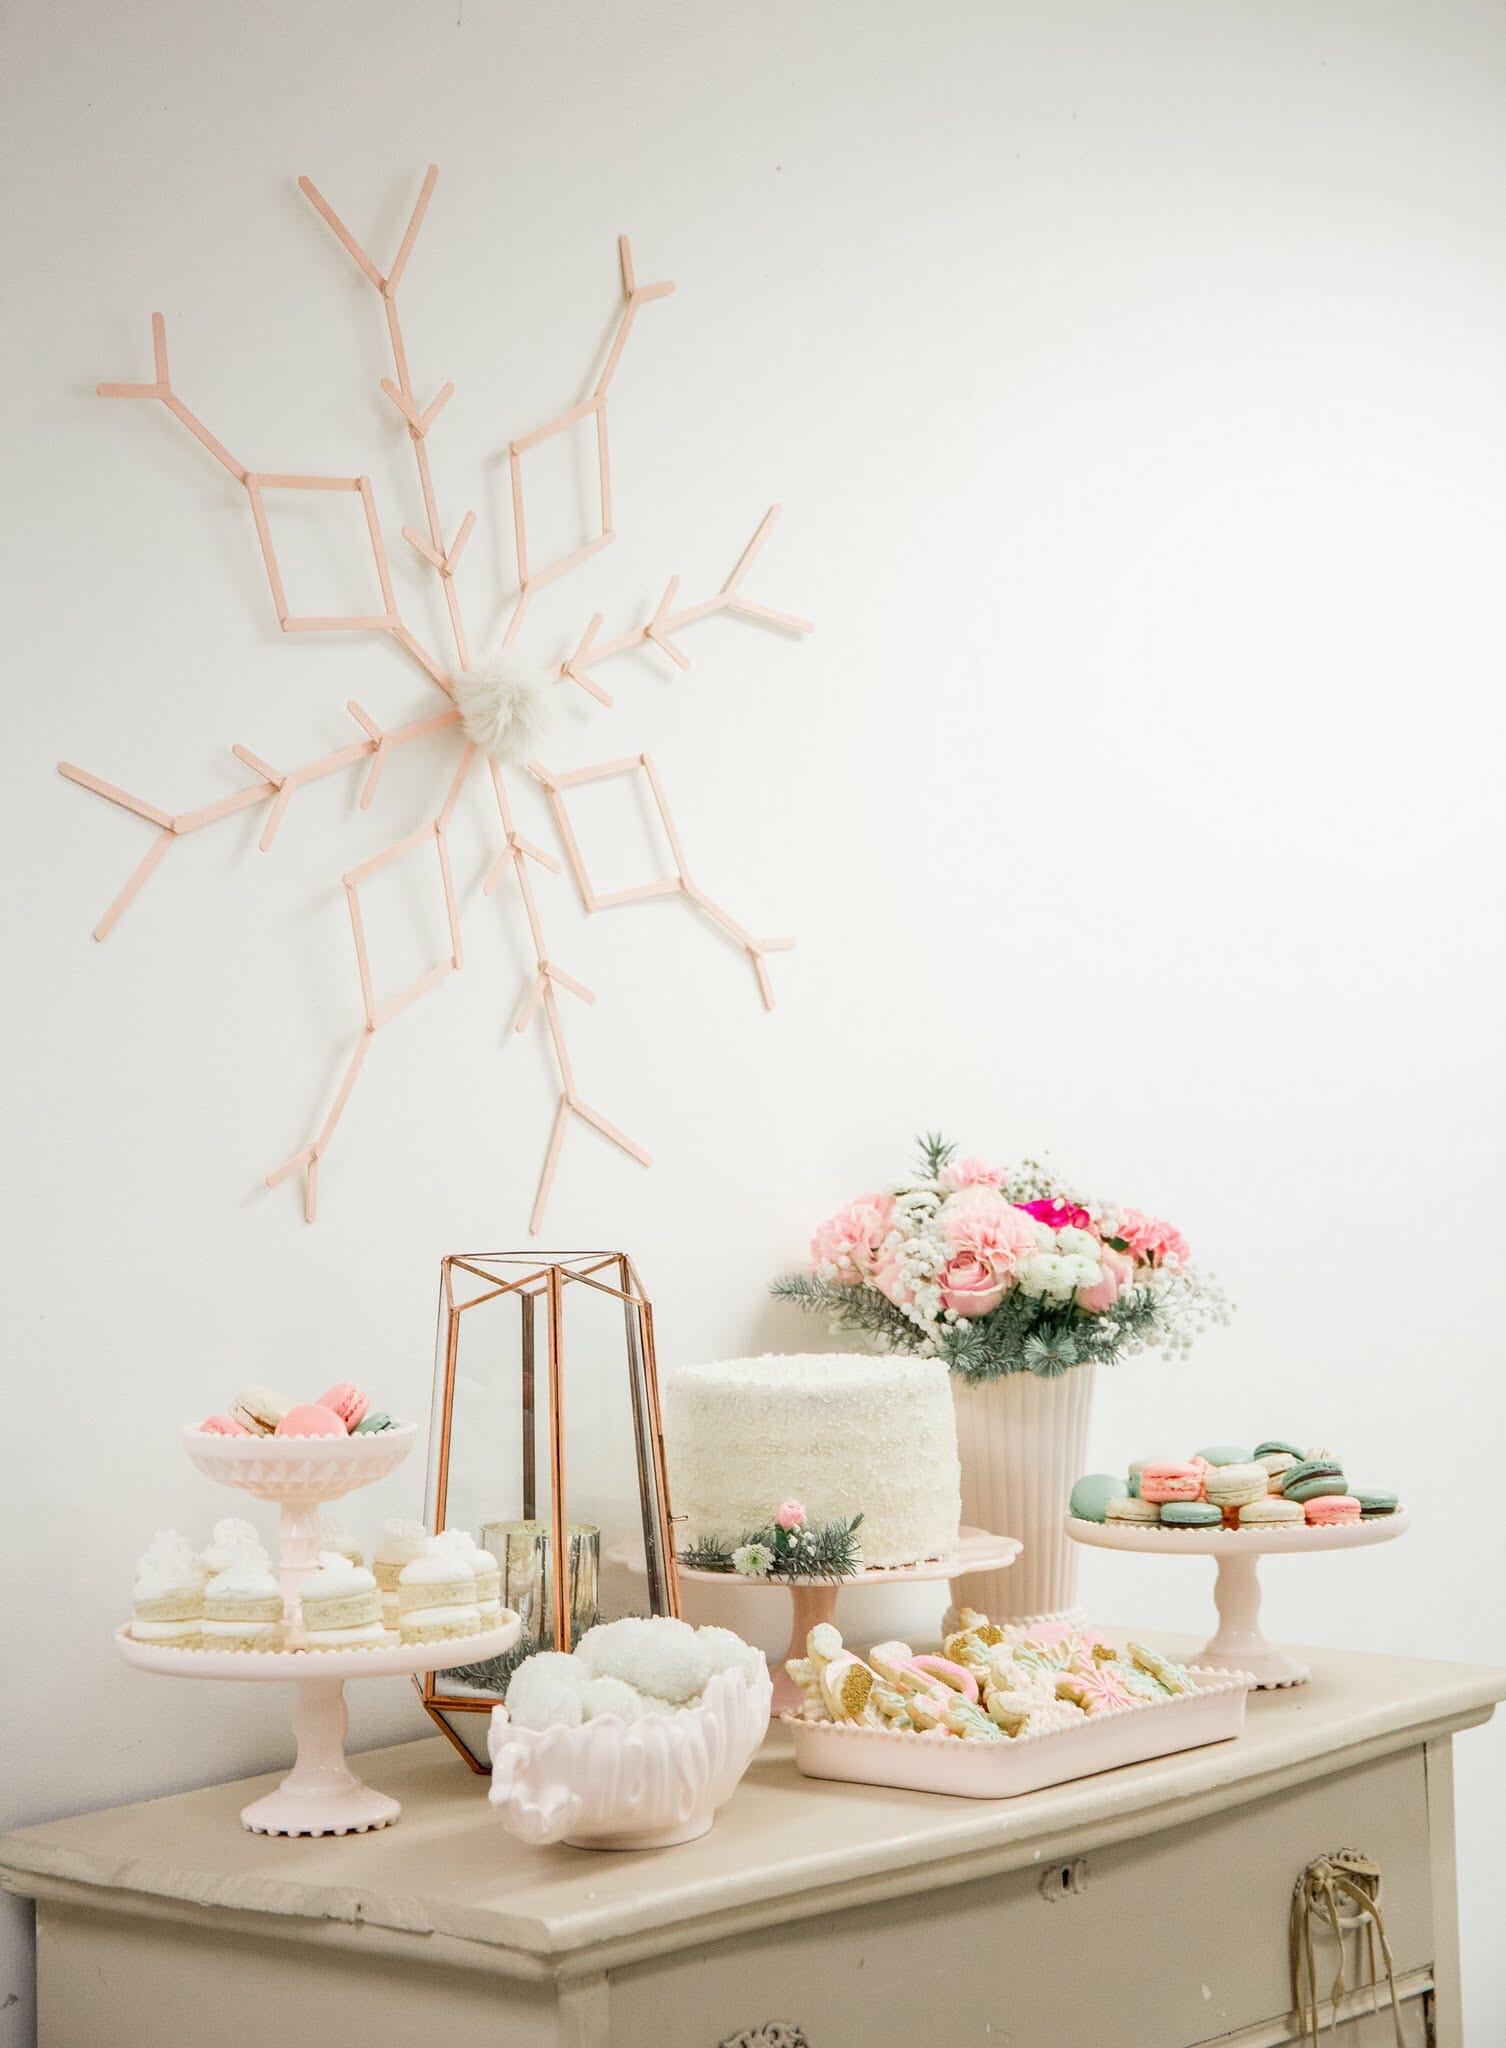
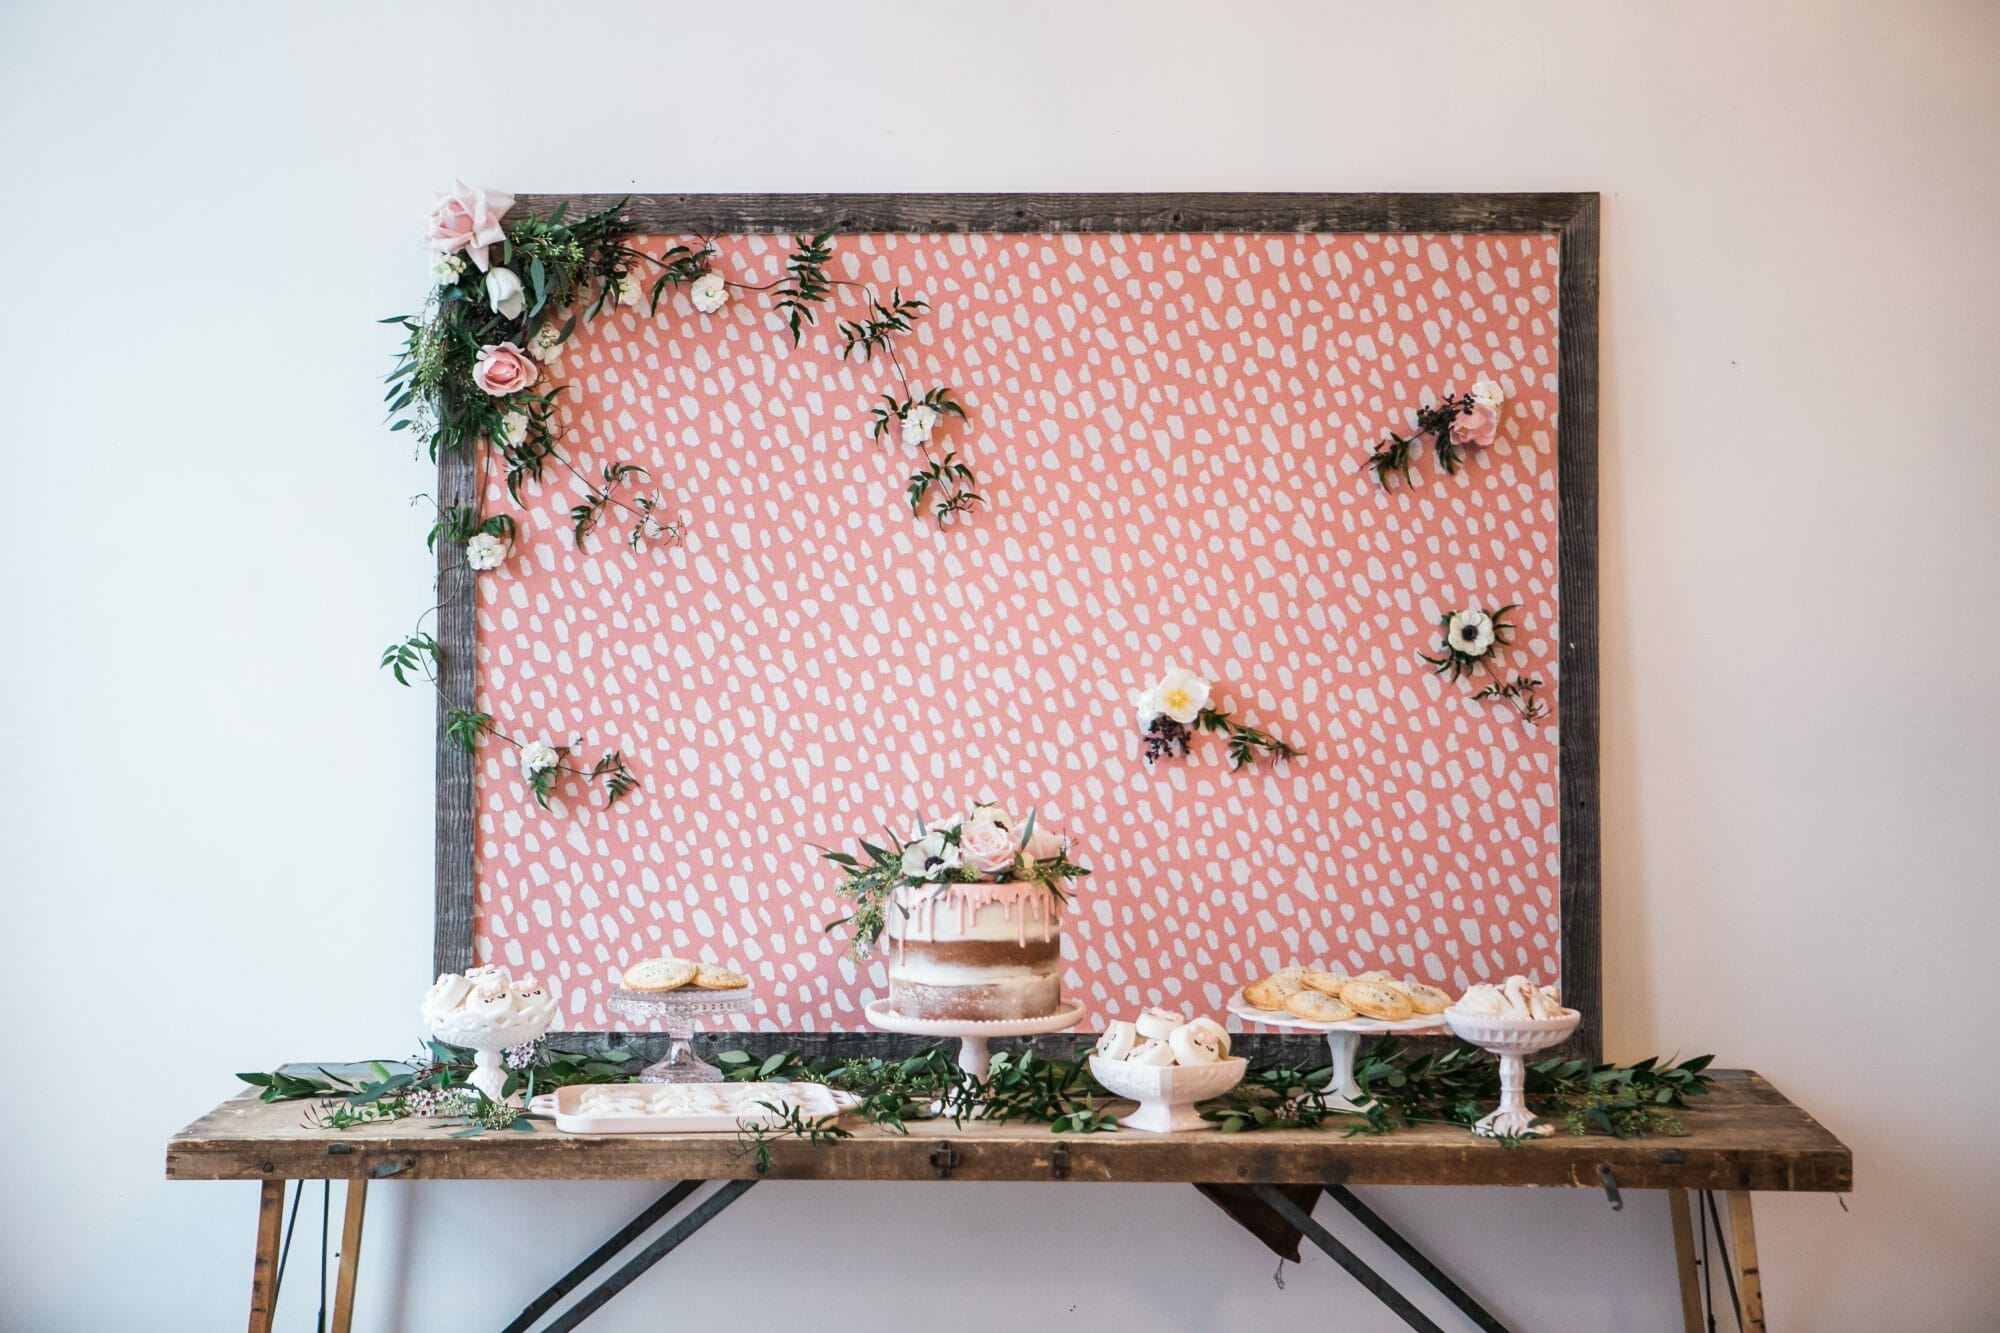
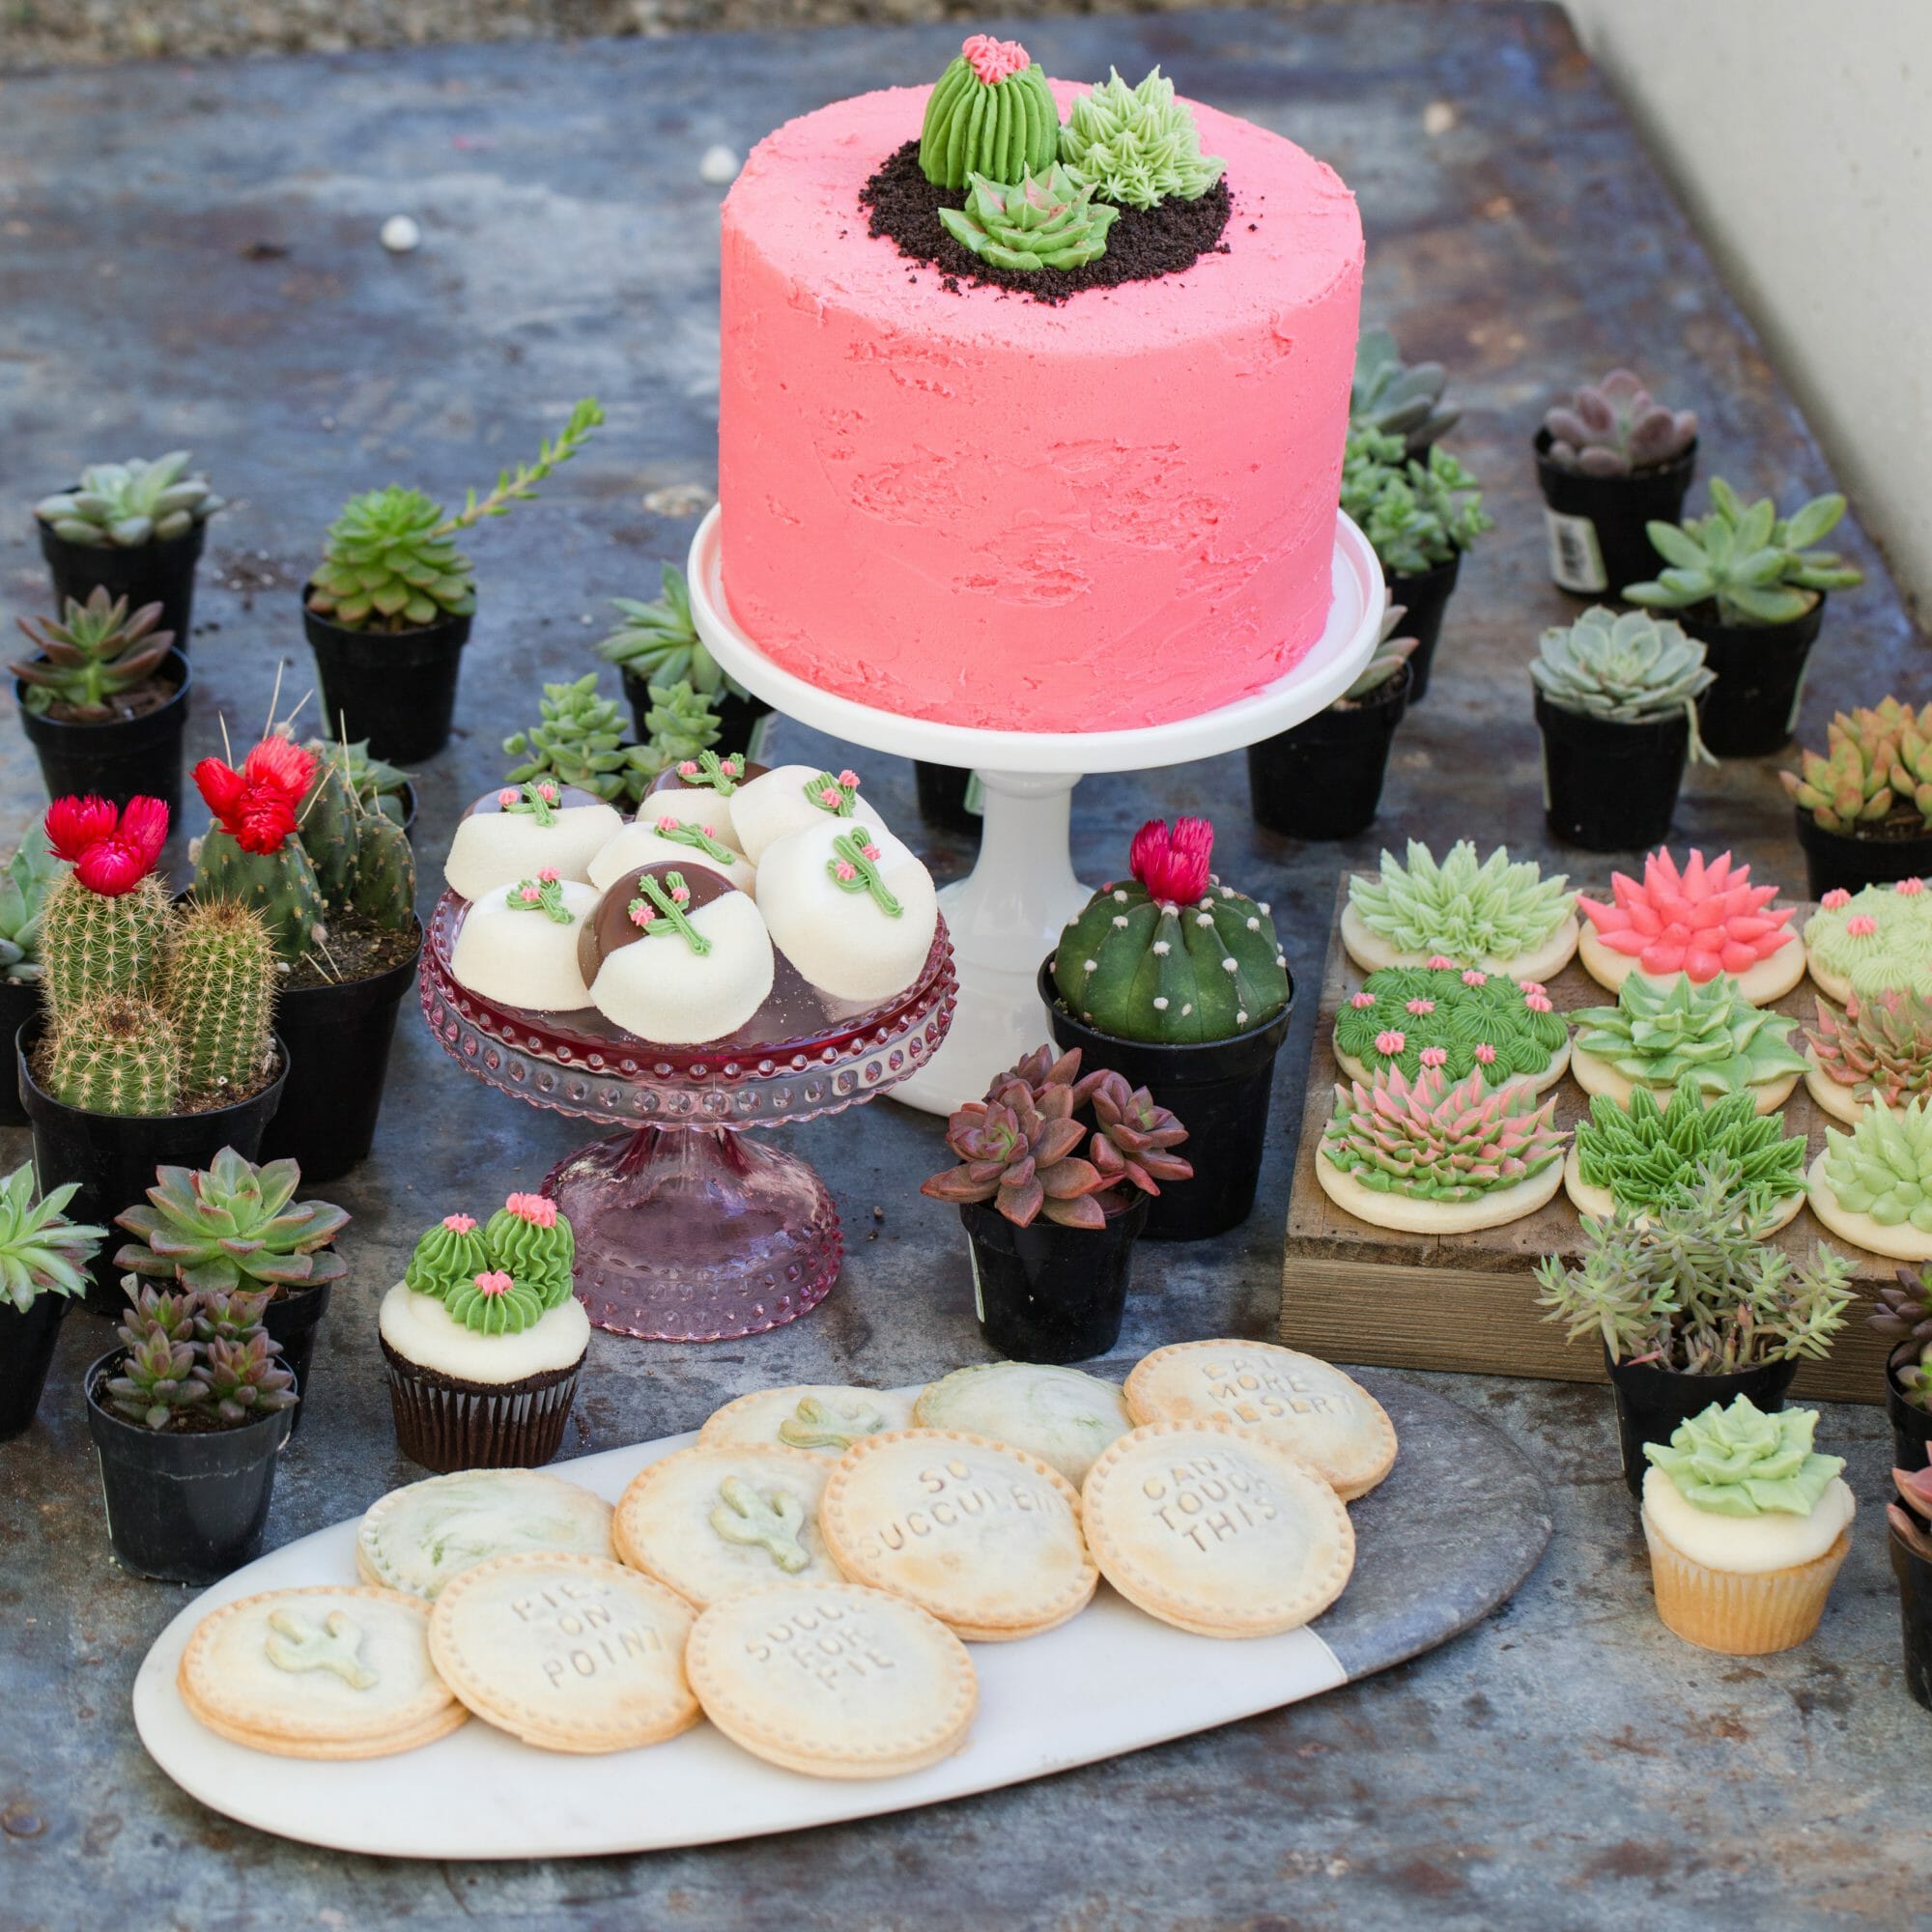
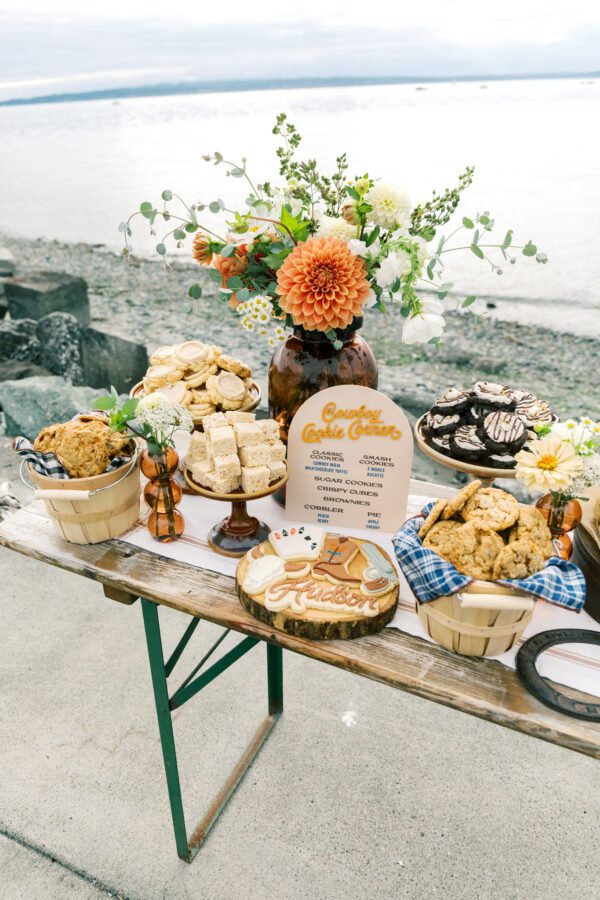
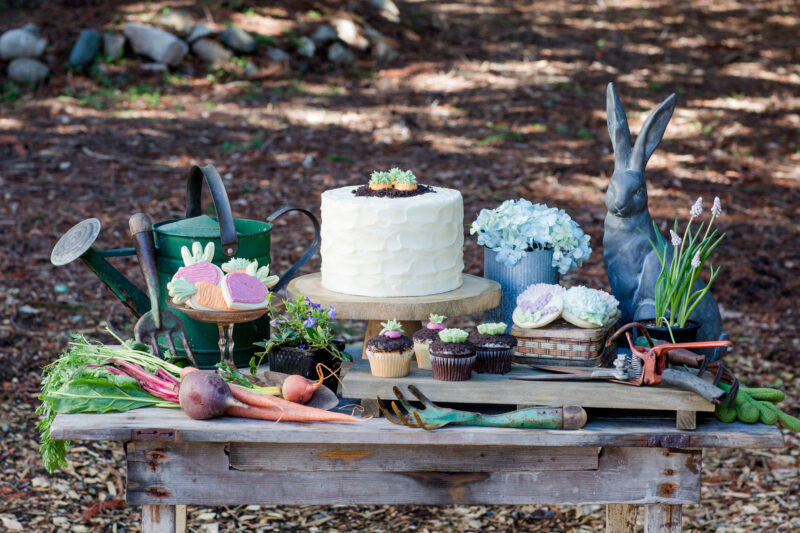
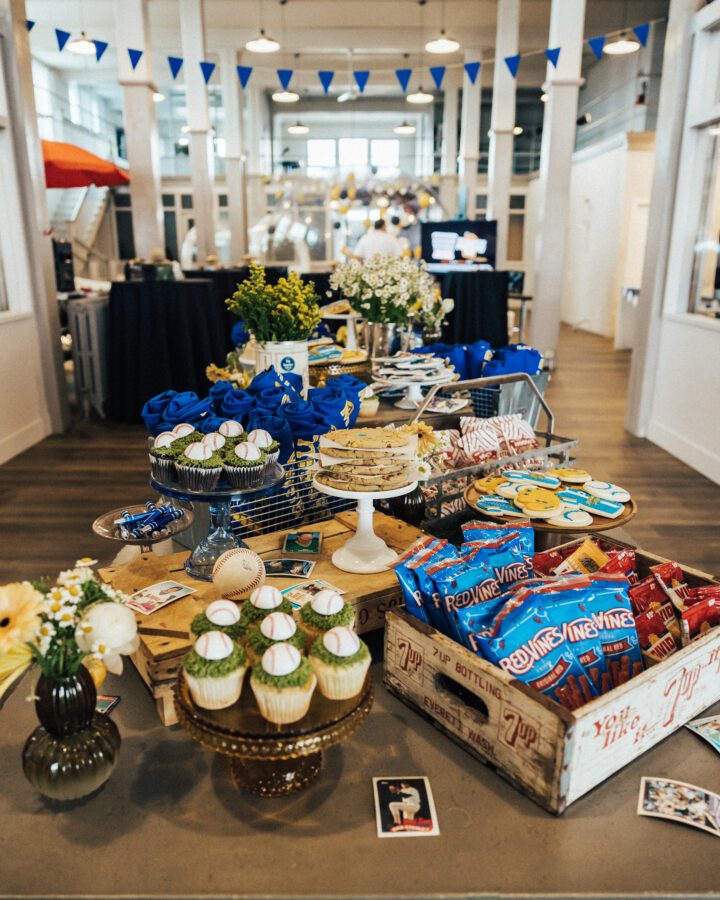
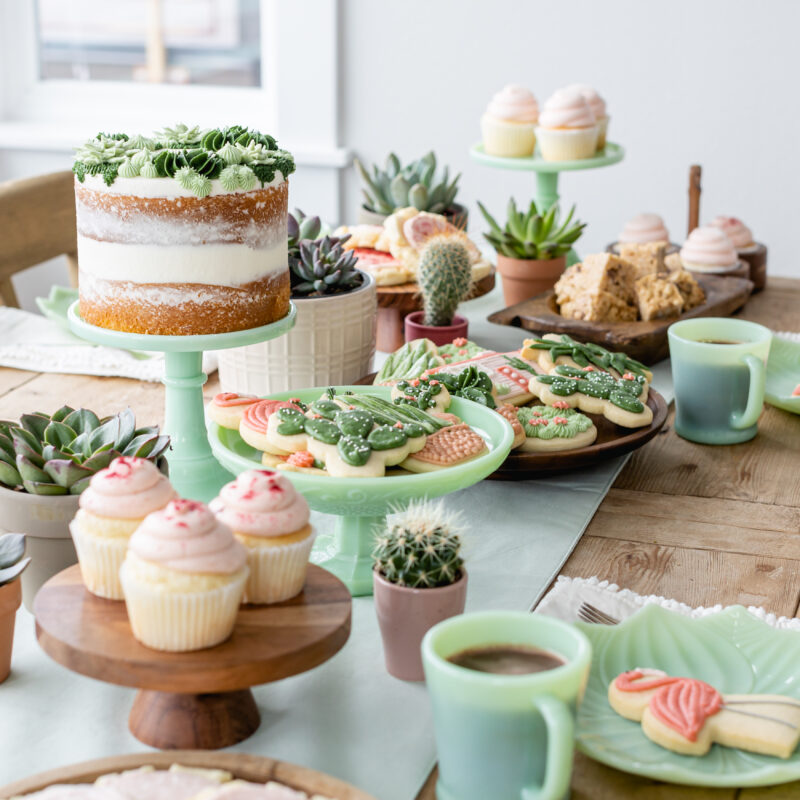
3. Start With a Focal Point
Every great dessert table needs something that visually anchors the table.
Usually this is:
The focal point is where the eye lands first and helps guide the rest of the table design.
From there, I build outward using smaller desserts and layered serving pieces.

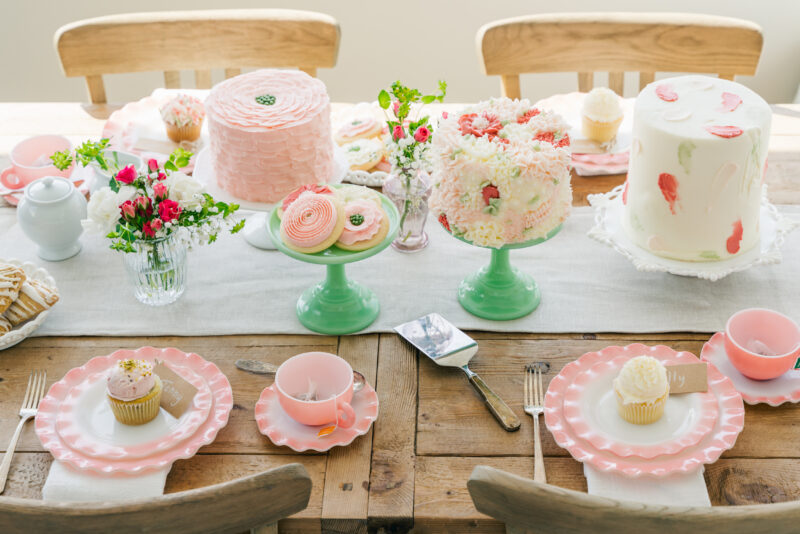
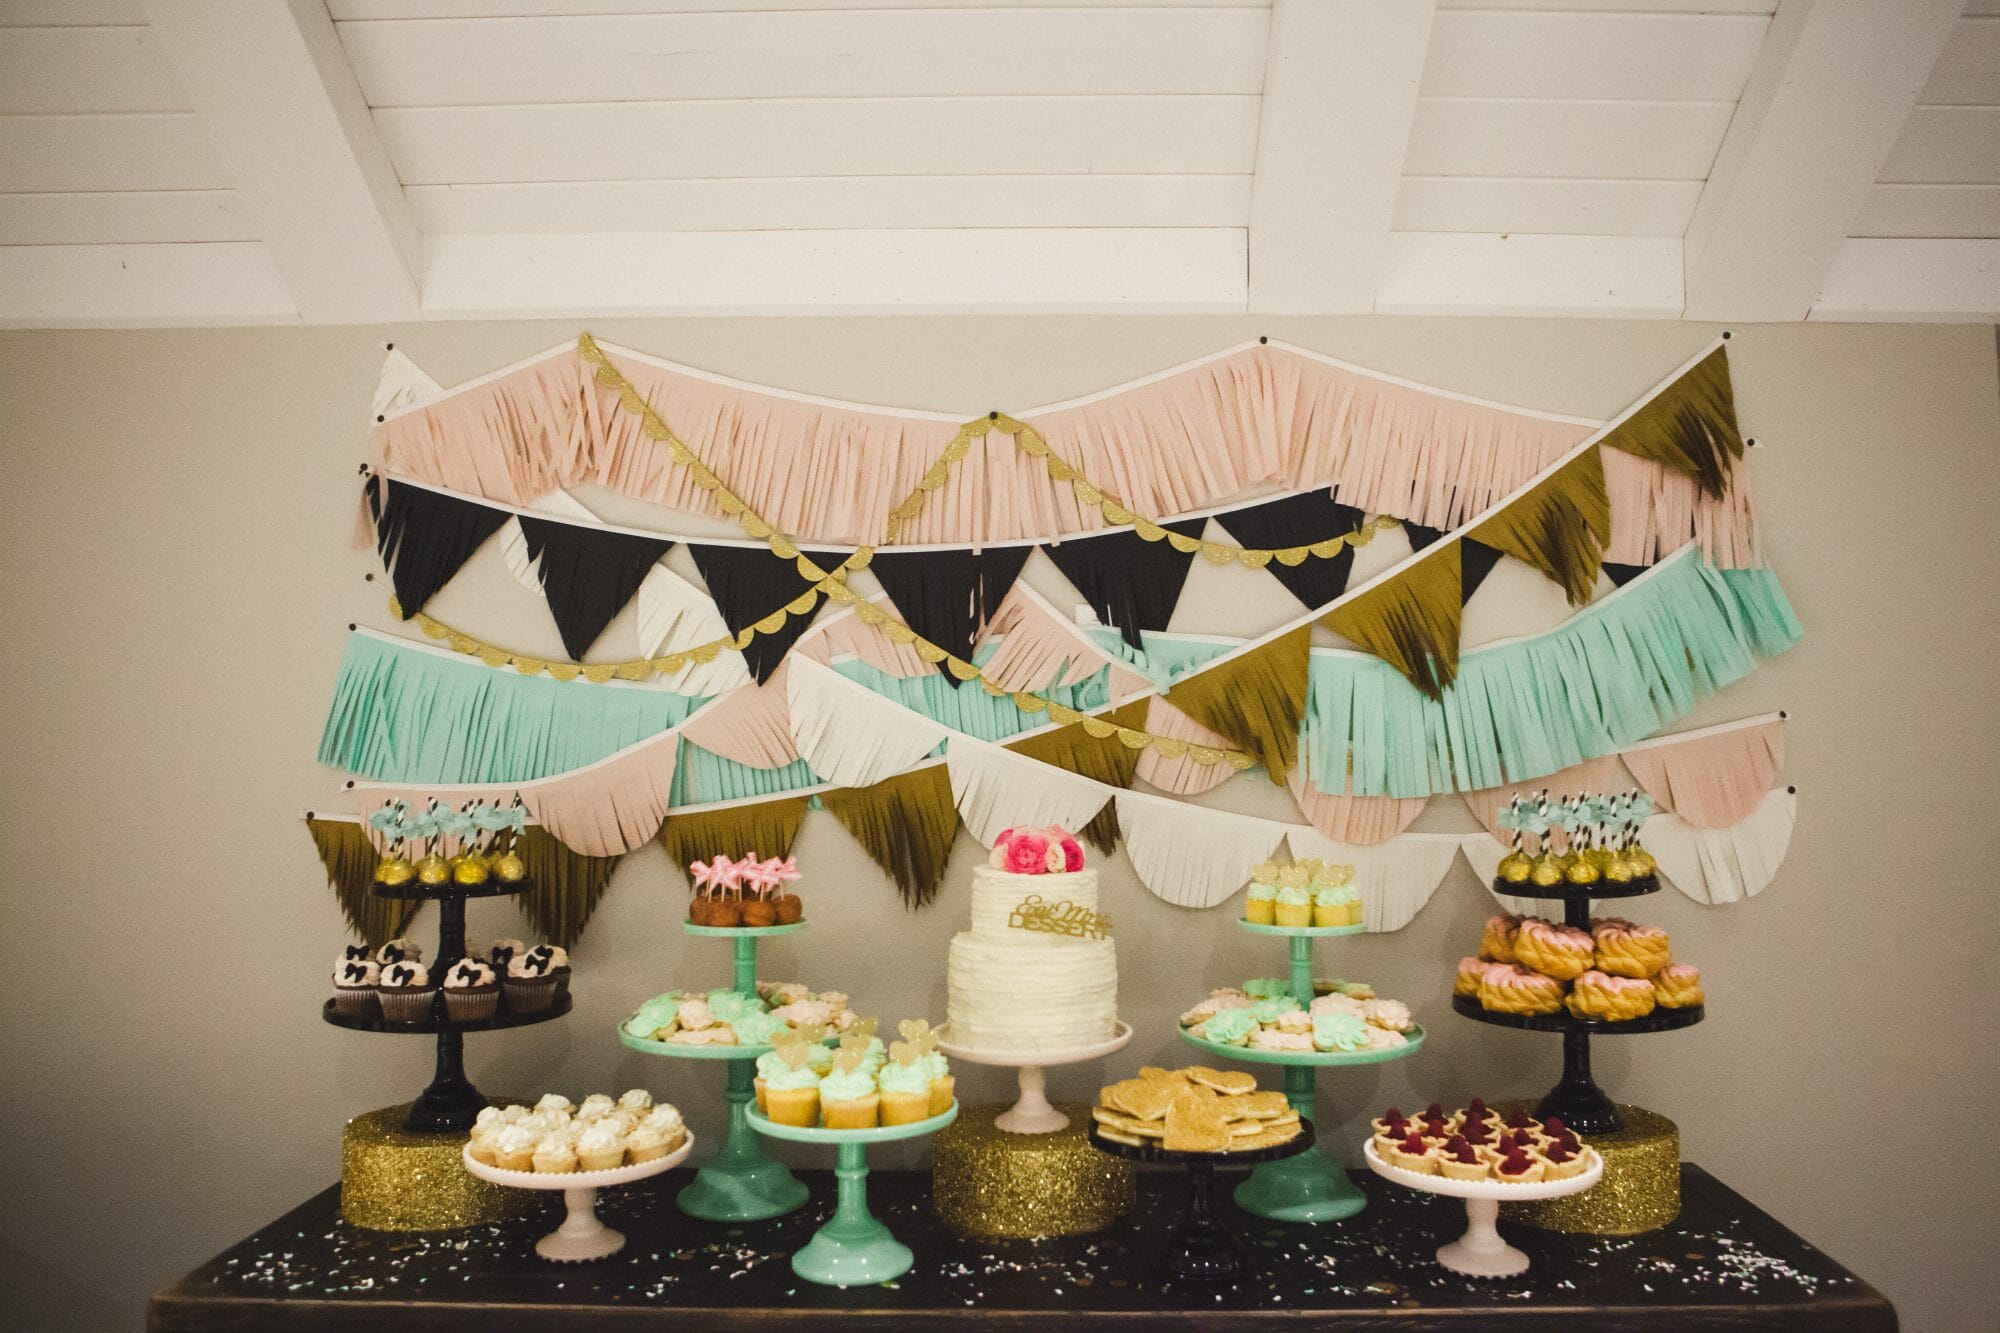
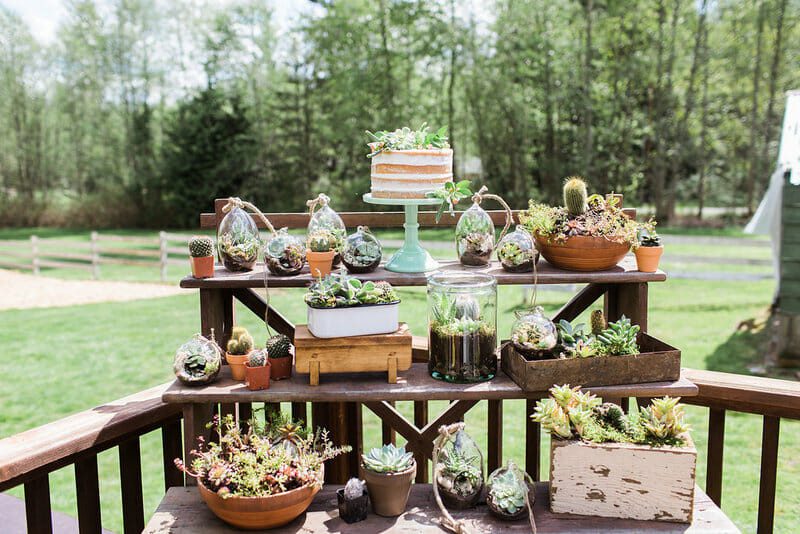
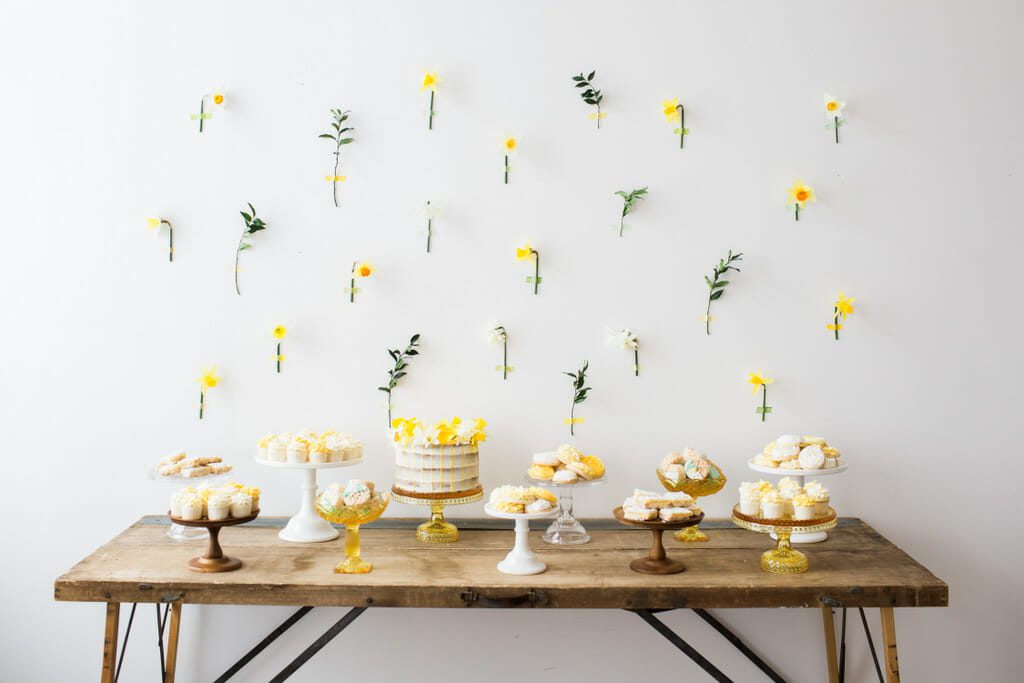
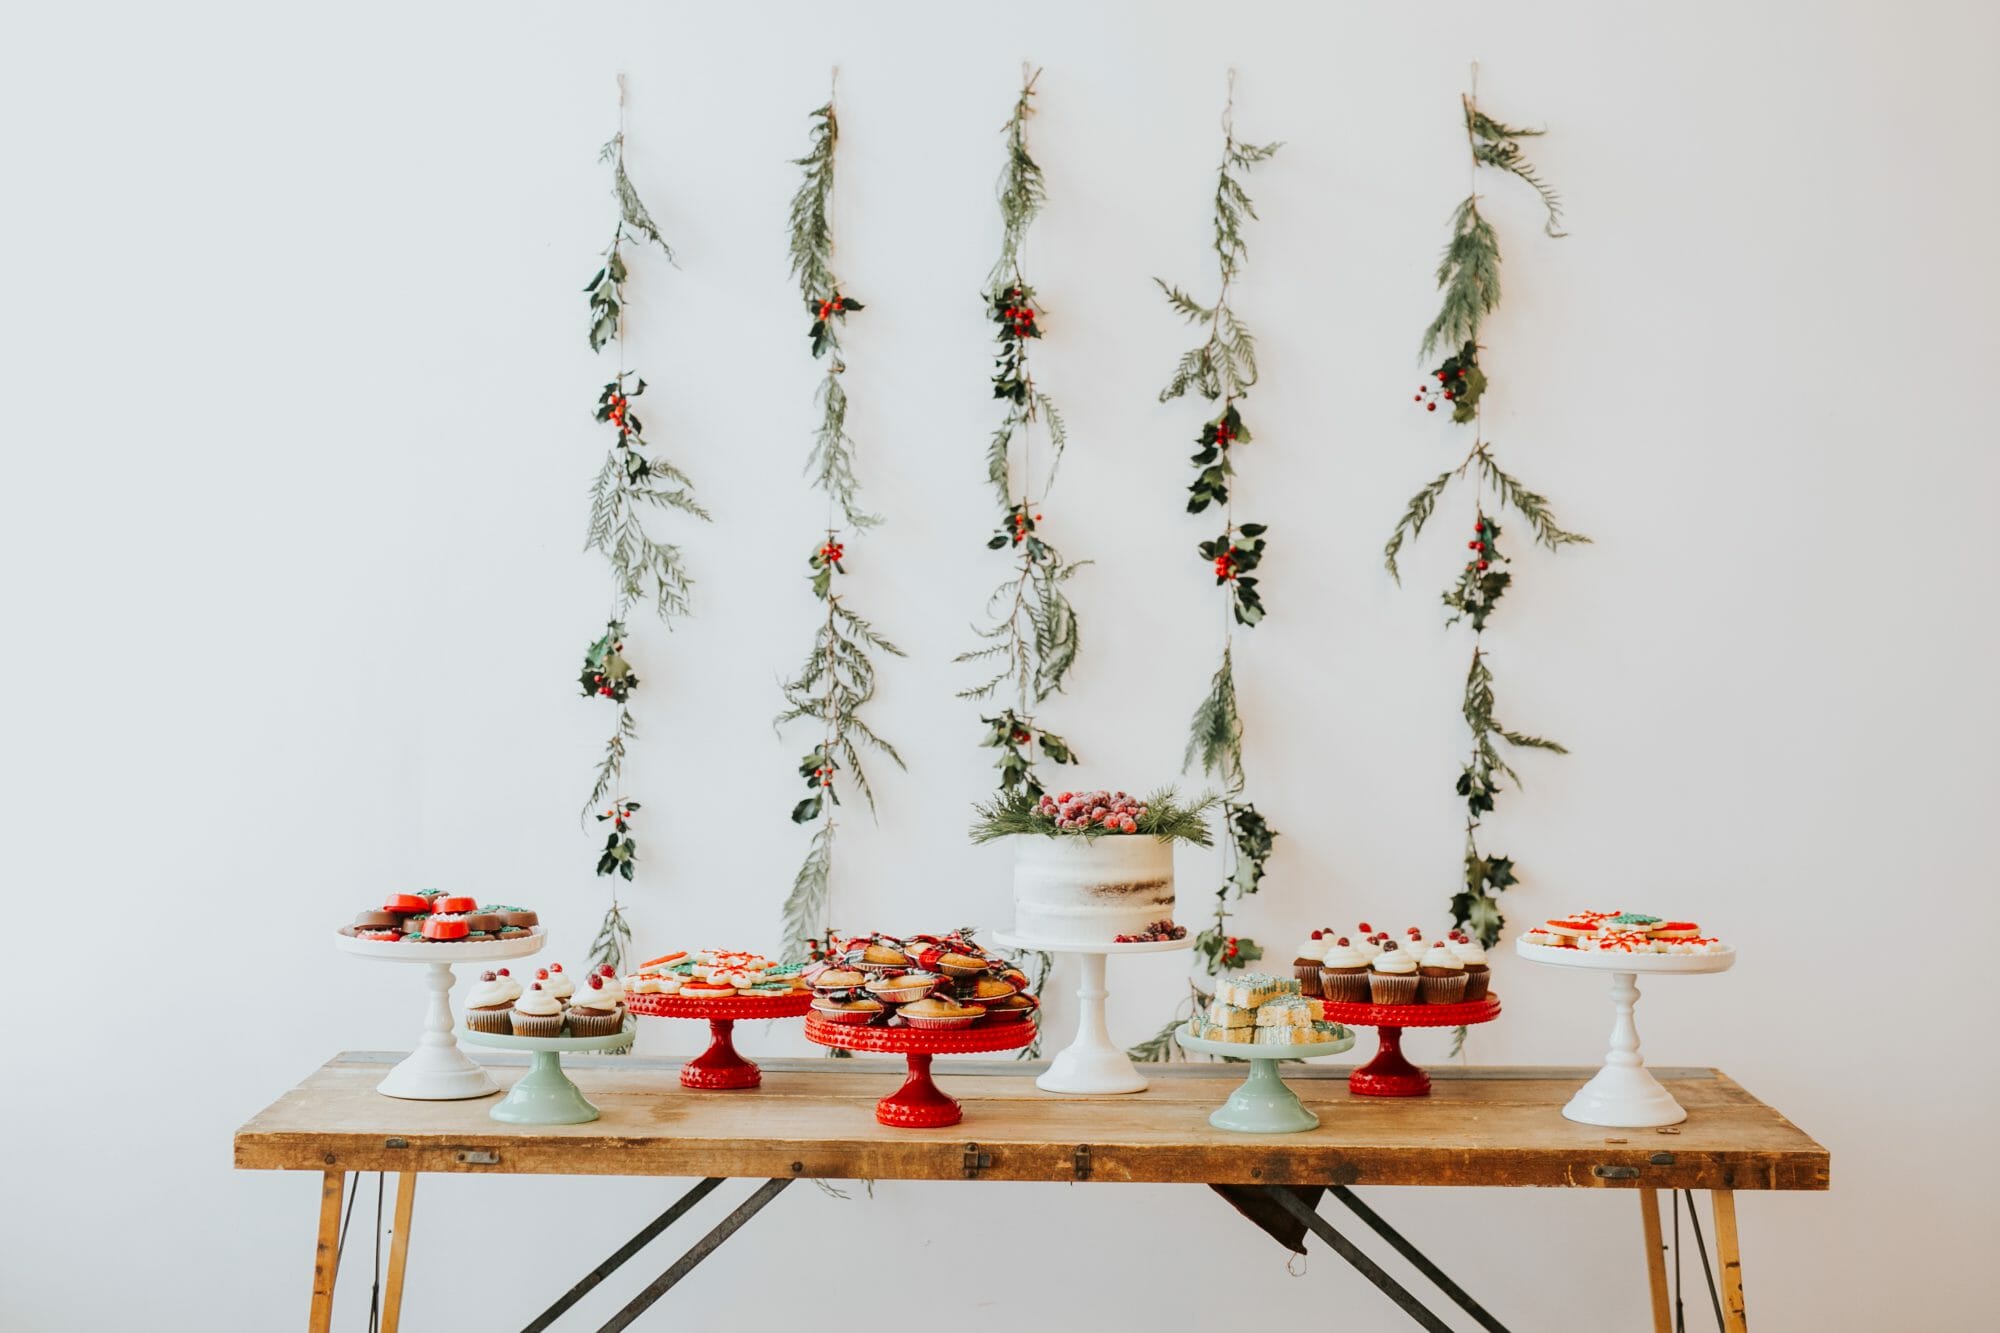
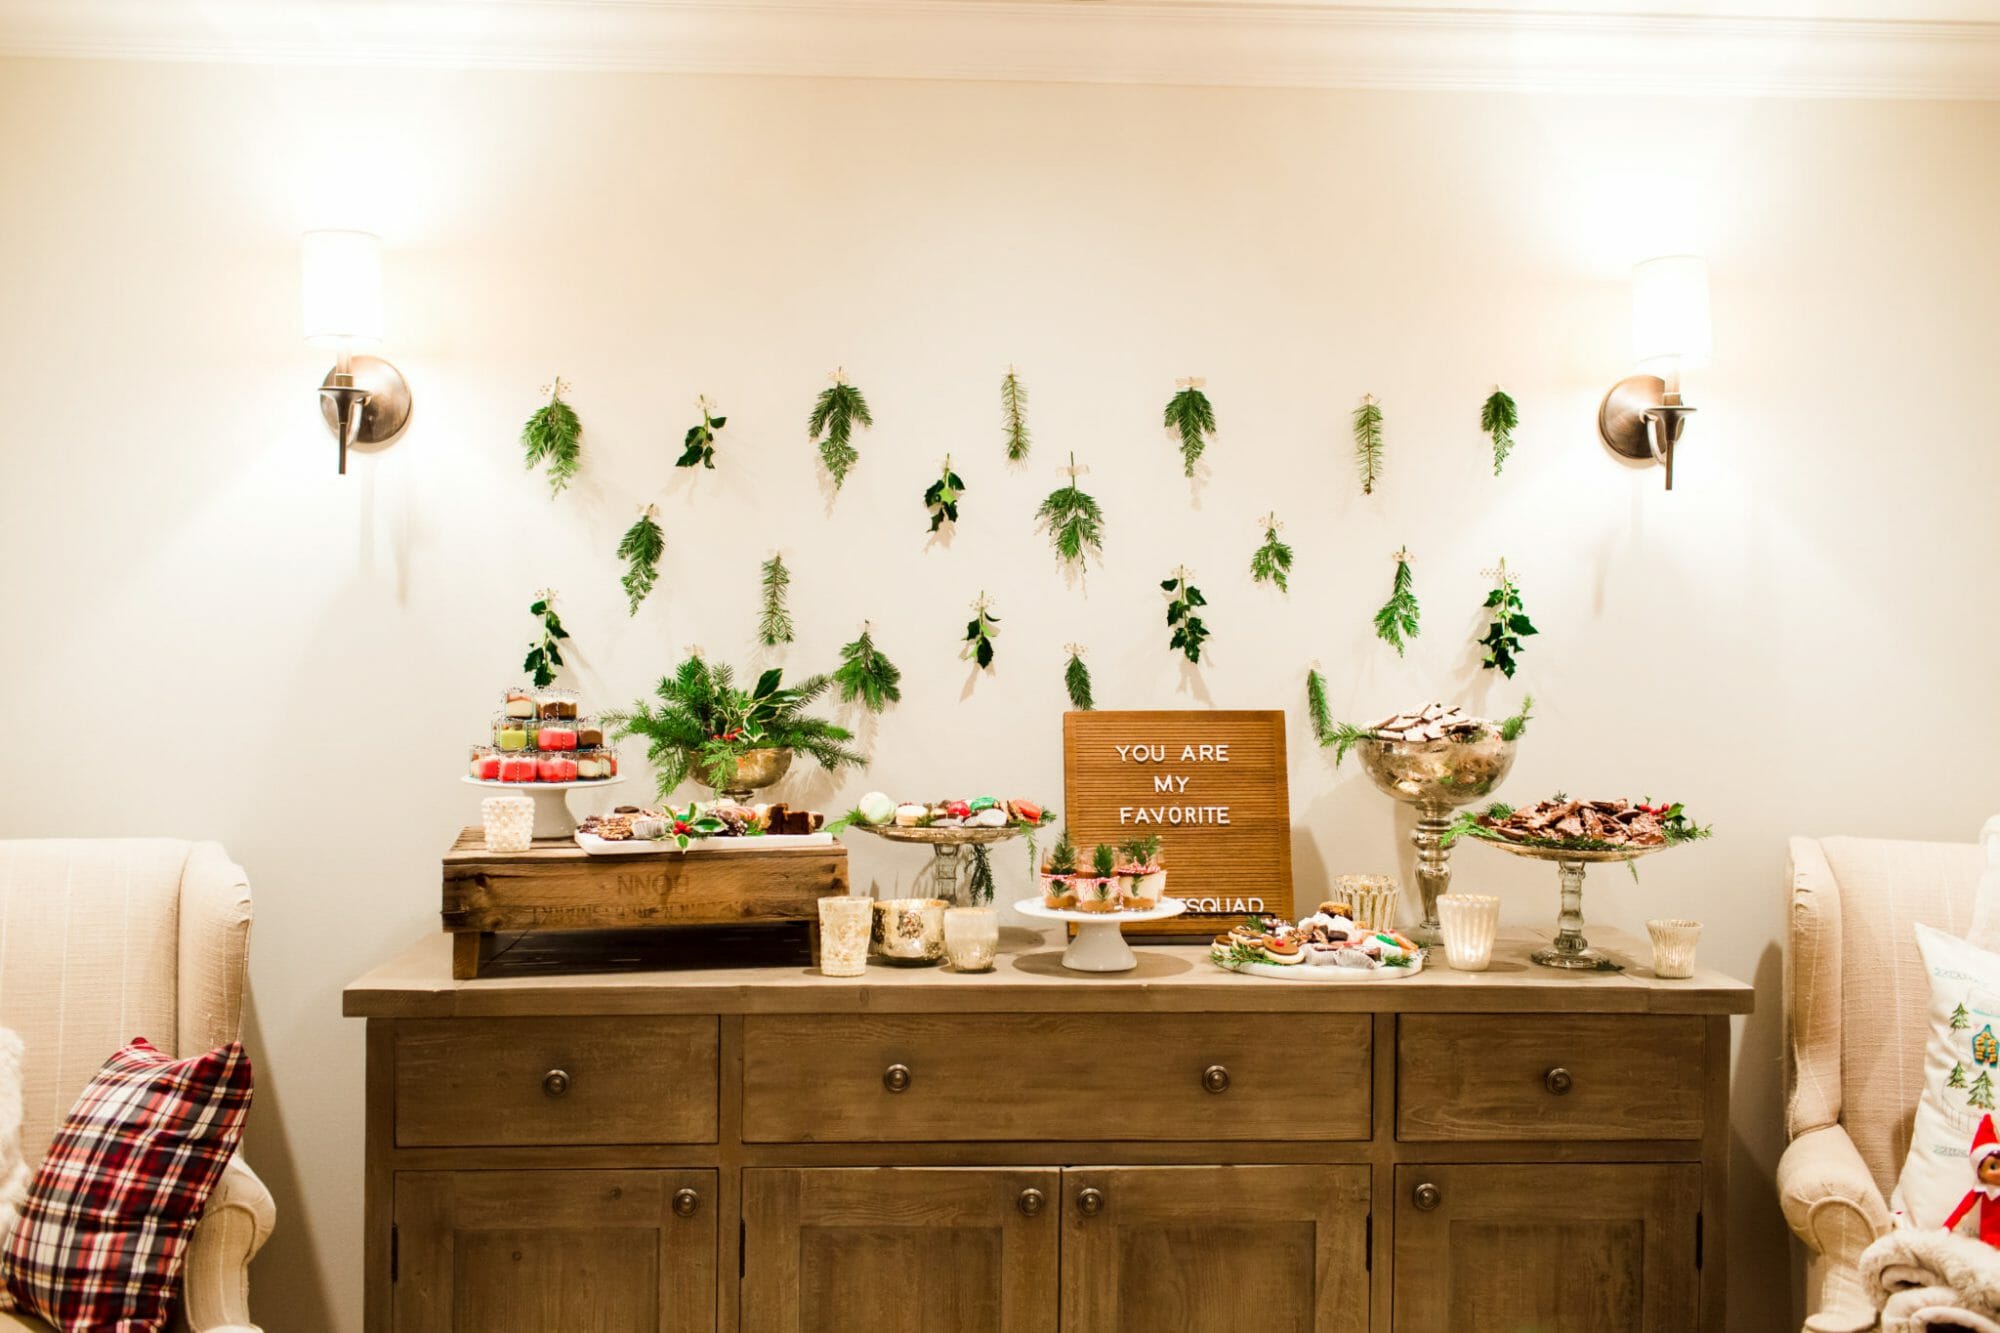
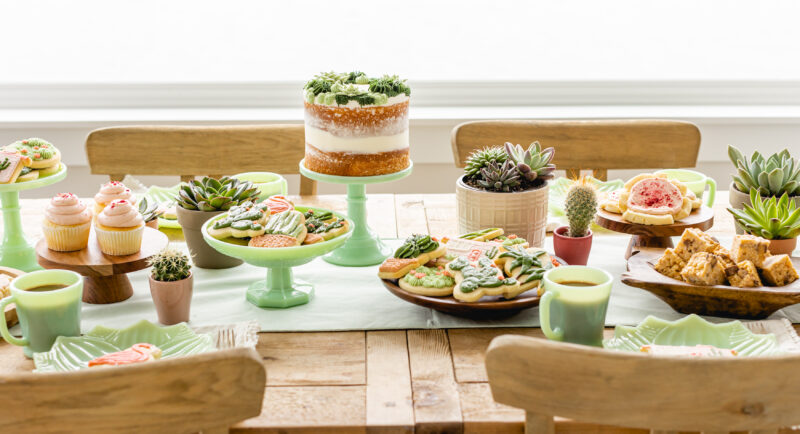
4. Use Different Heights
This is probably one of the biggest differences between a flat dessert table and one that feels elevated and visually interesting. You want your eye to move naturally around the table.
I always use a mix of:
And sometimes I’ll even use things from around my house to create height underneath linens or trays:
The goal is to create dimension so everything isn’t sitting at the exact same level.
here are all of my favorite dessert table must-haves
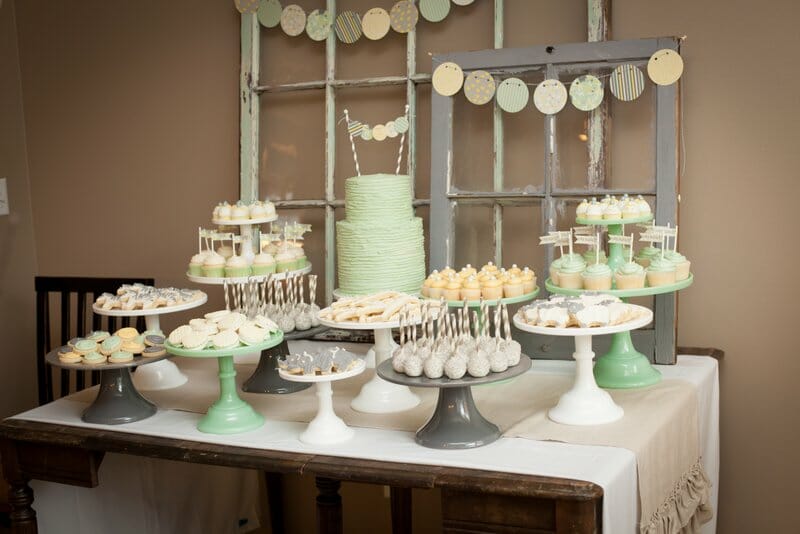
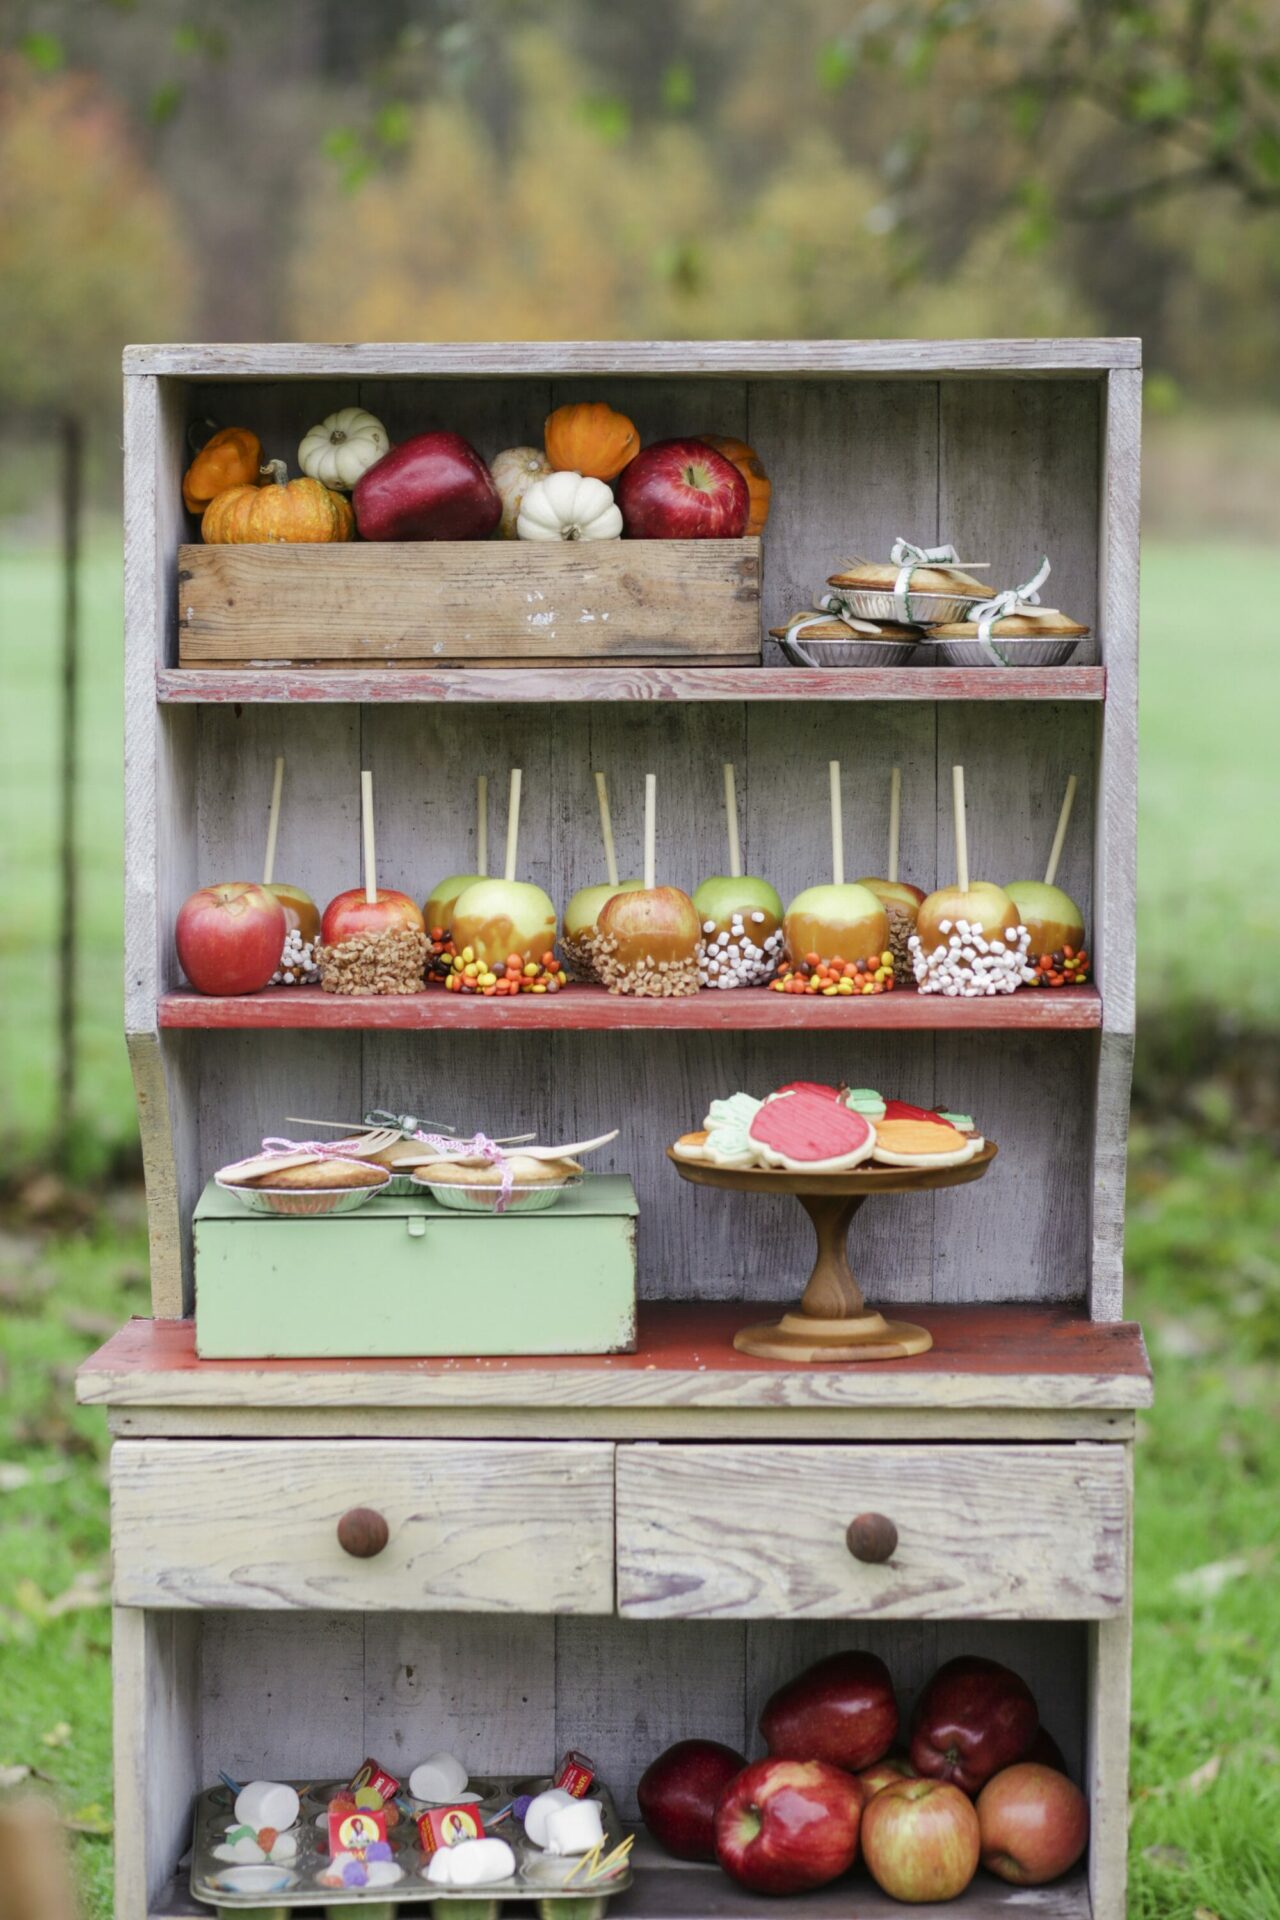
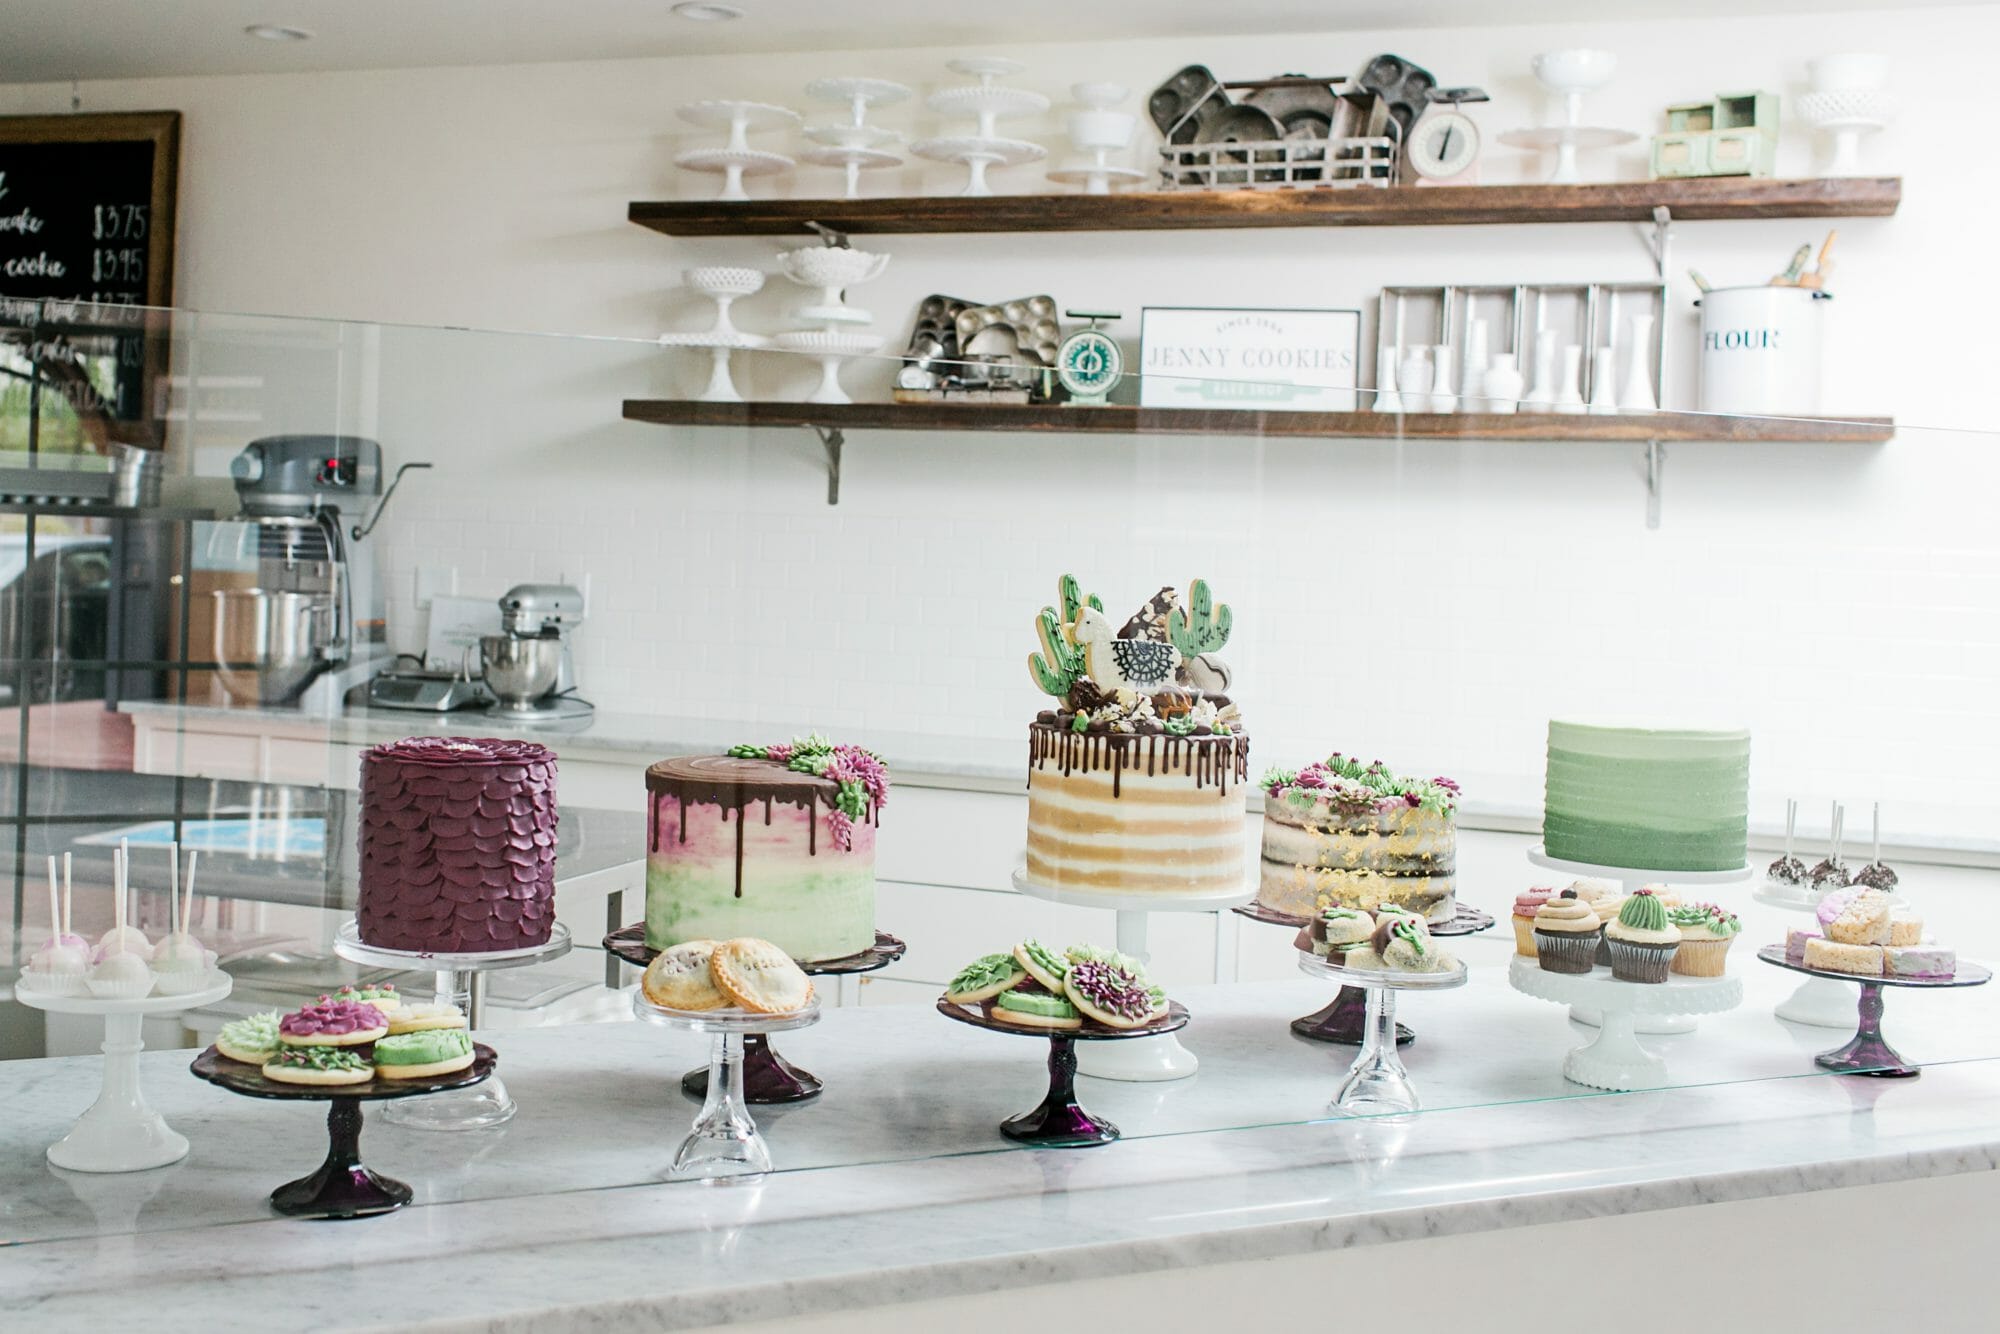
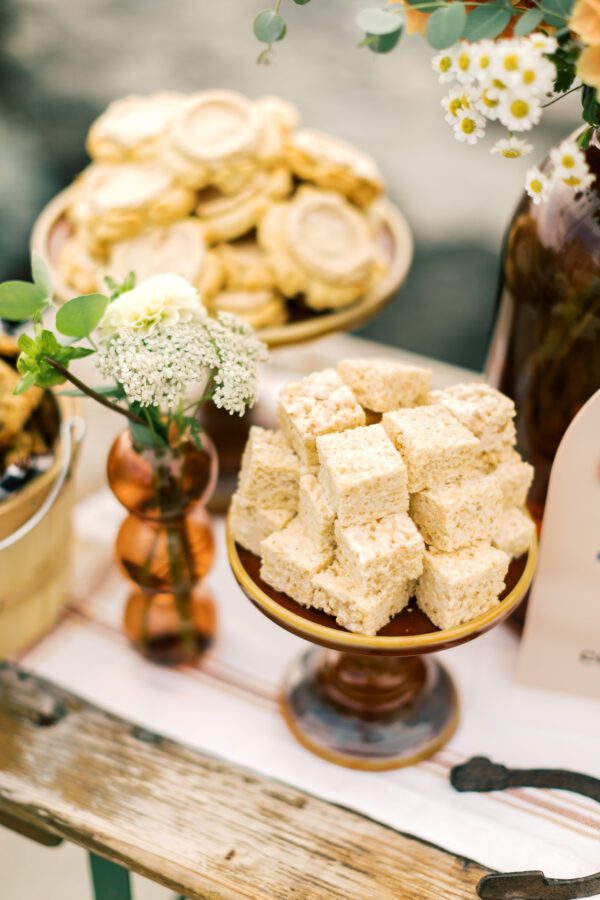
5. Invest in Neutral Serving Pieces You Can Reuse
One of the best things I ever did was invest in a collection of neutral entertaining pieces that work for almost every event.
I use my white serving platters, wood boards, cake stands, and glass jars over and over again.
Then I bring in personality through:
This makes dessert tables much more affordable and practical long term because you aren’t starting from scratch every single time.
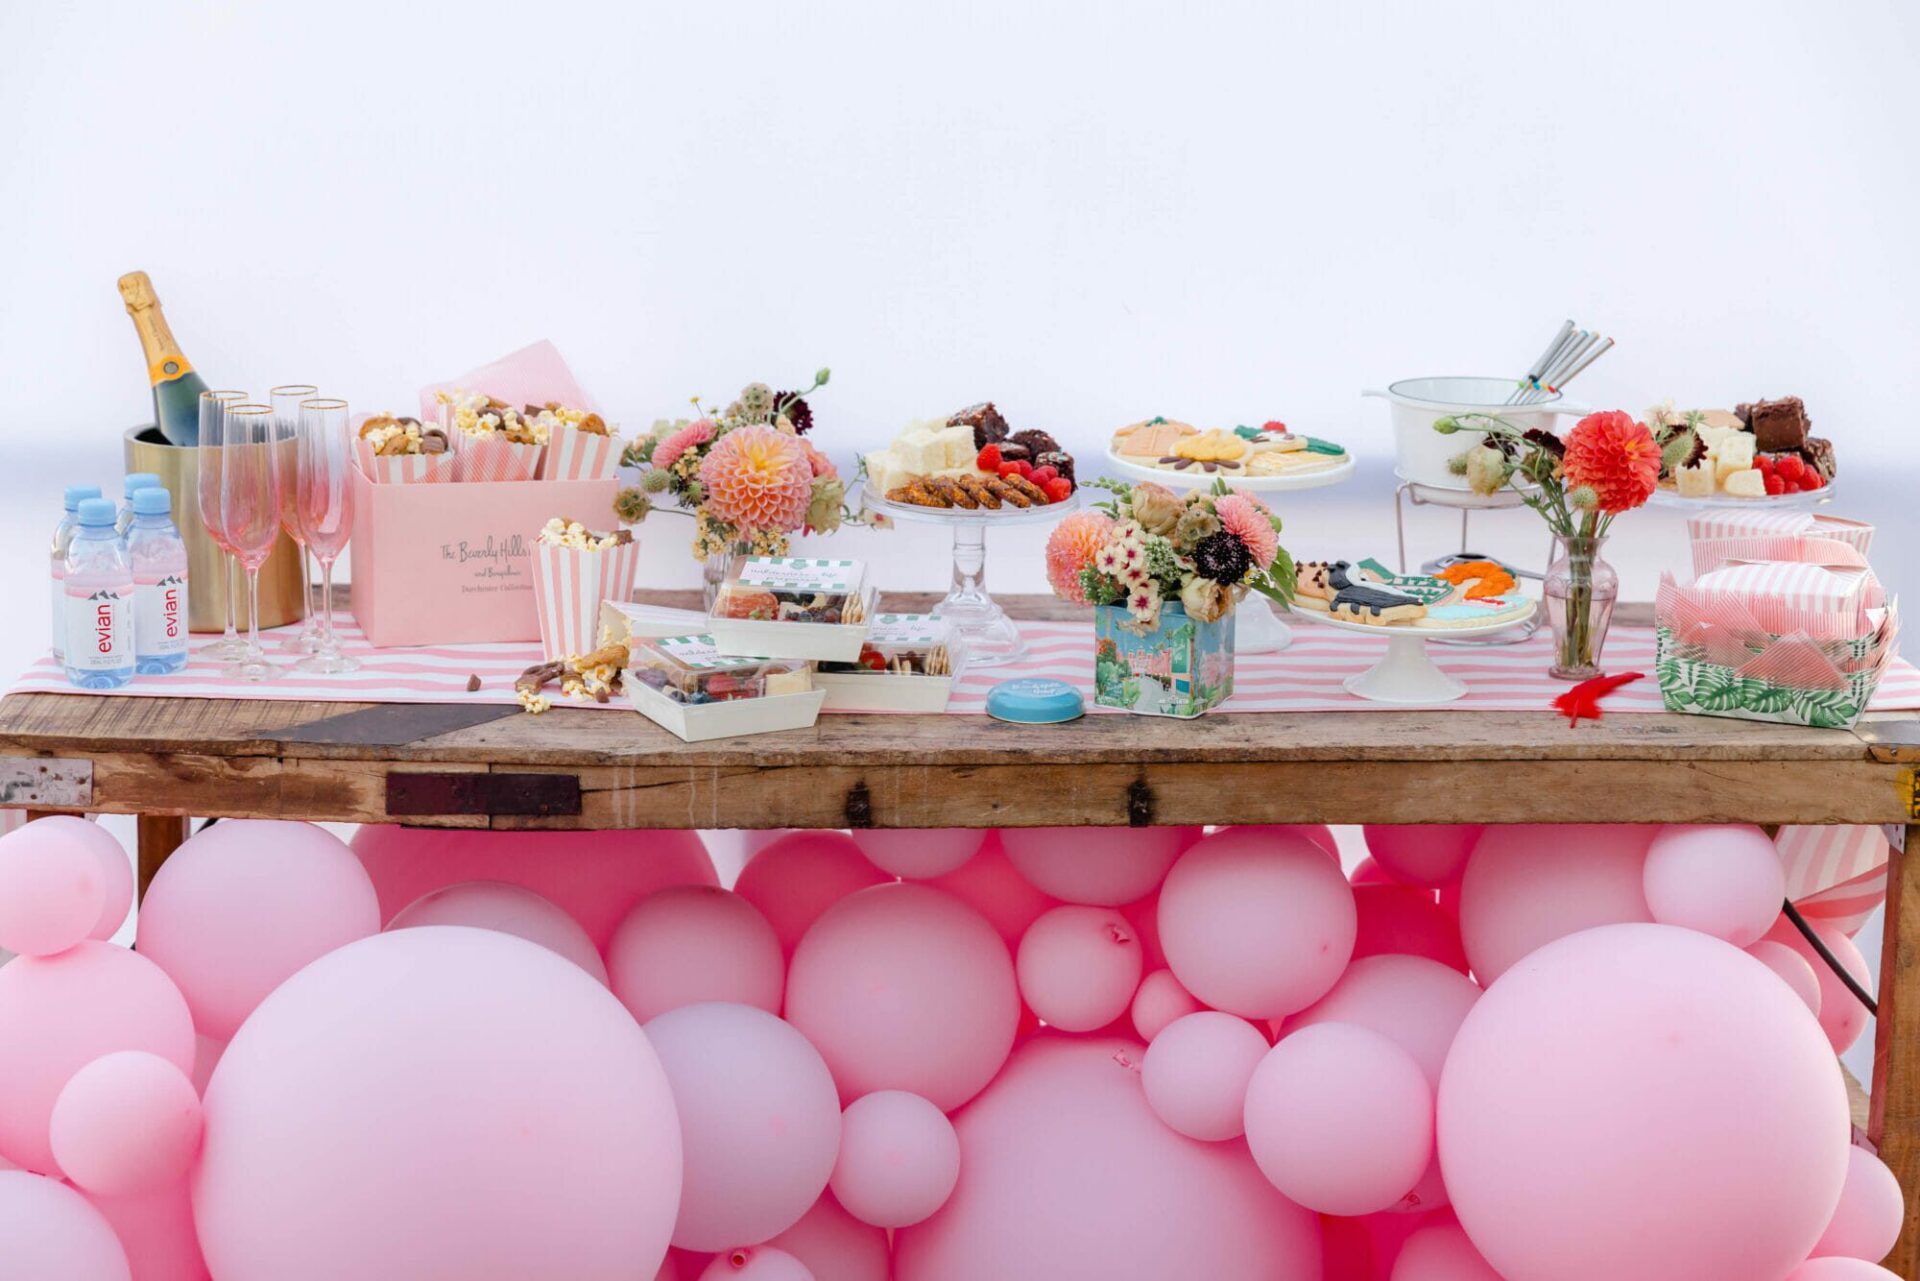
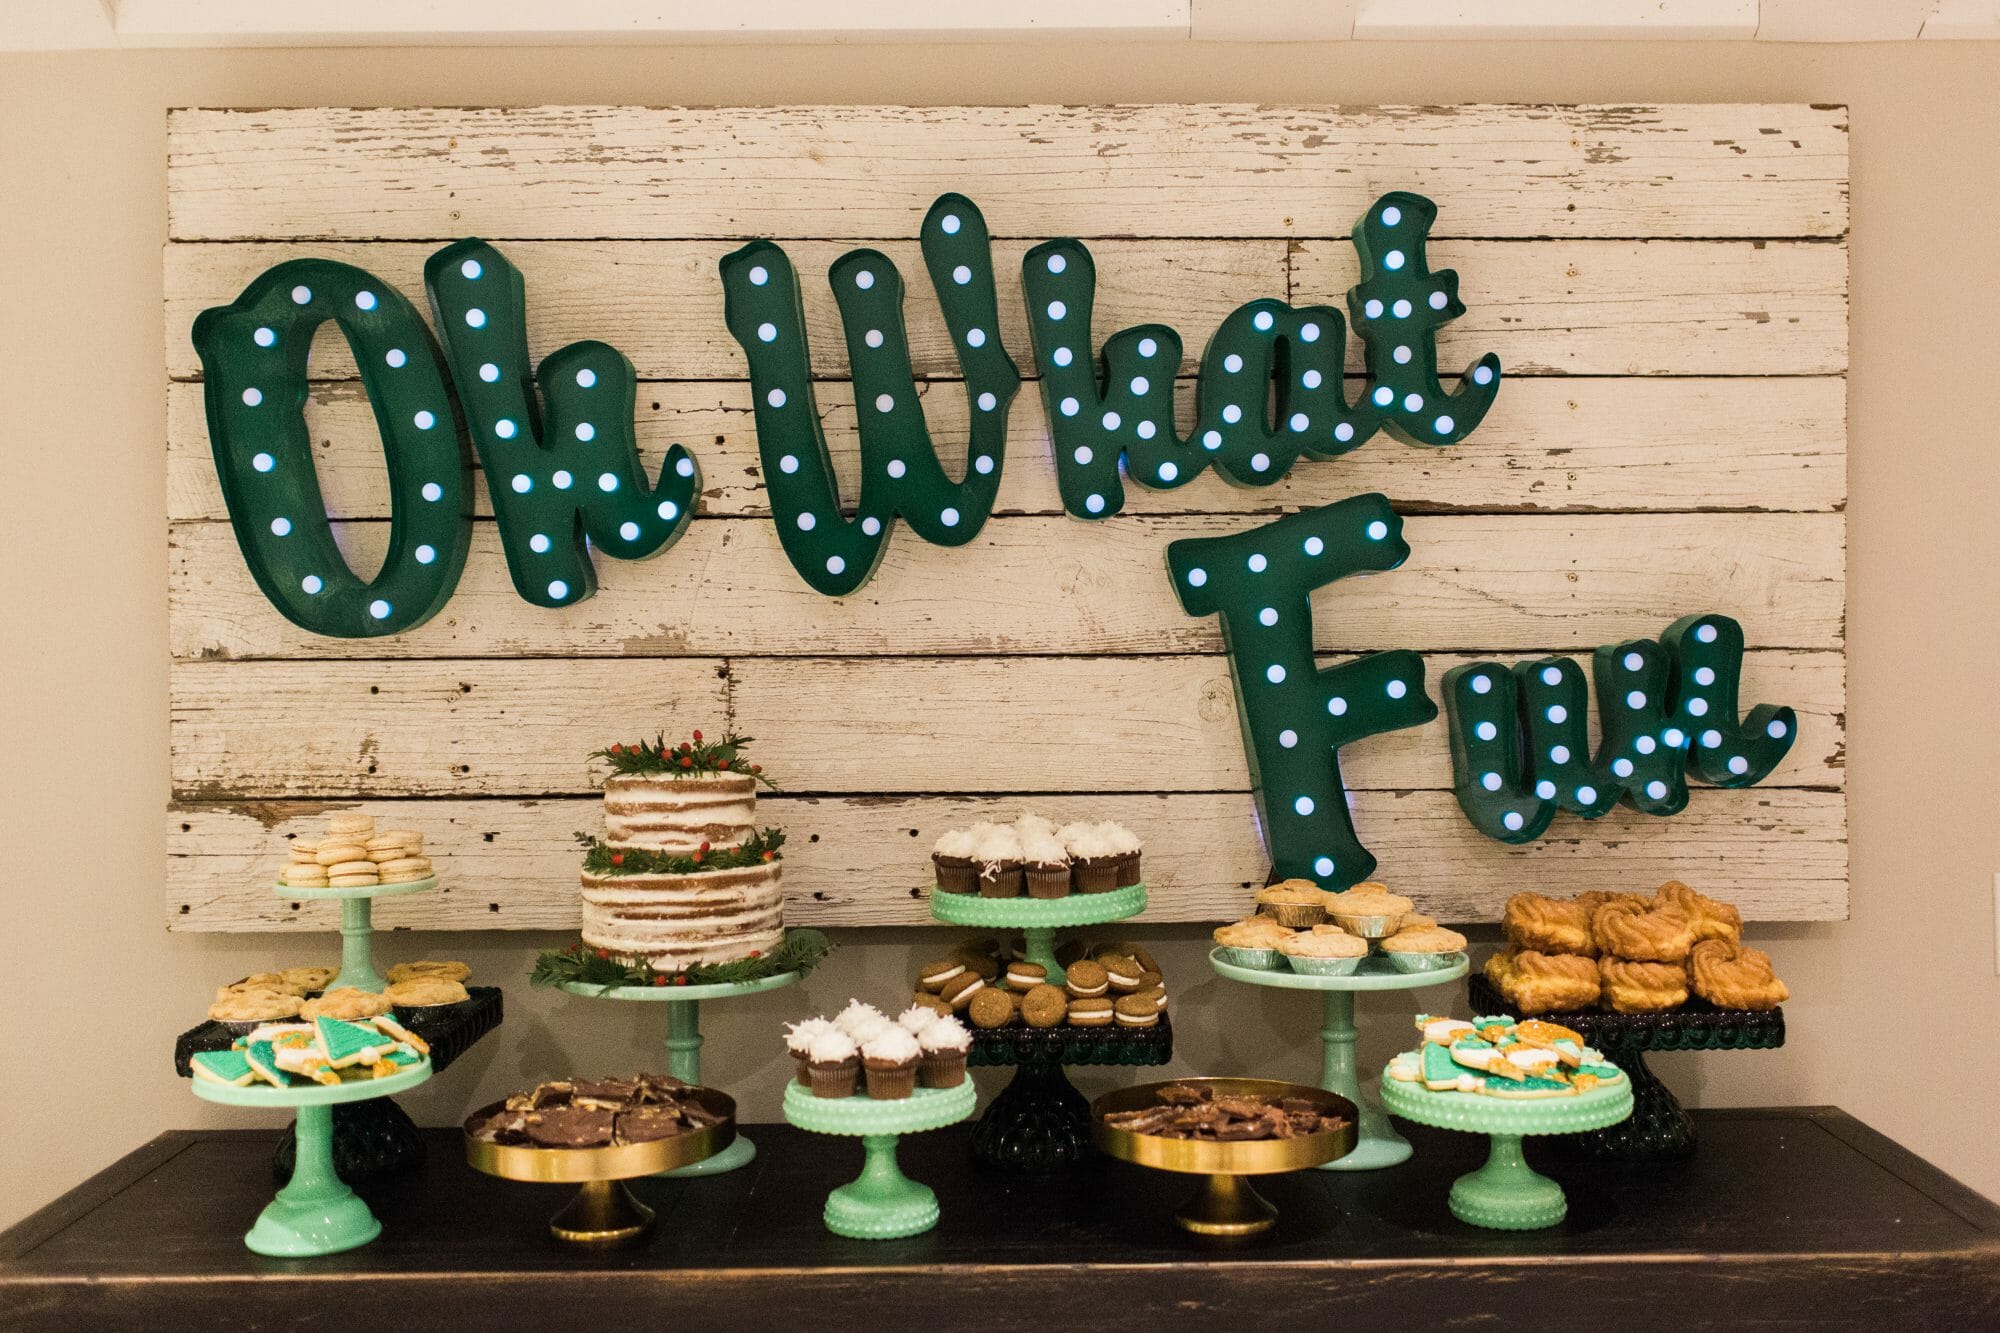
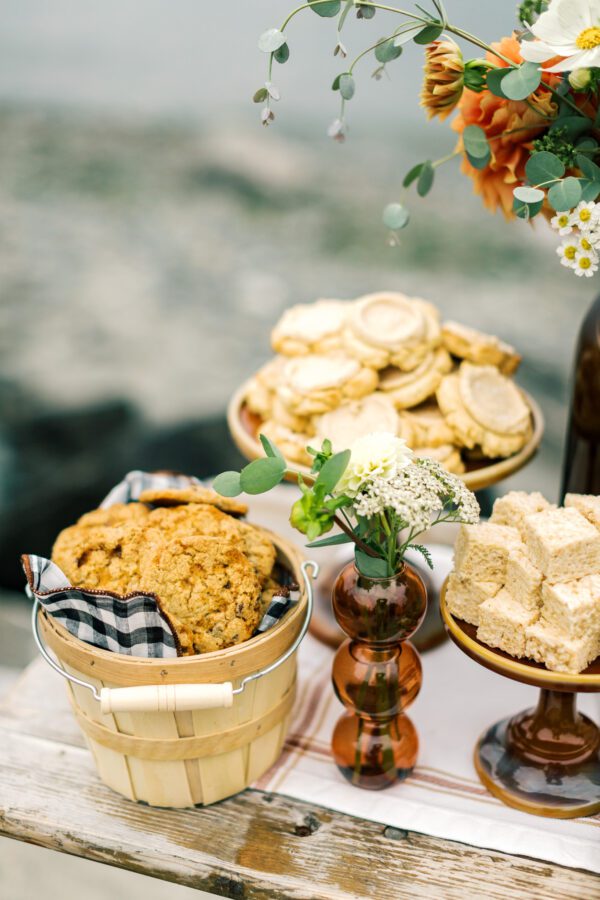
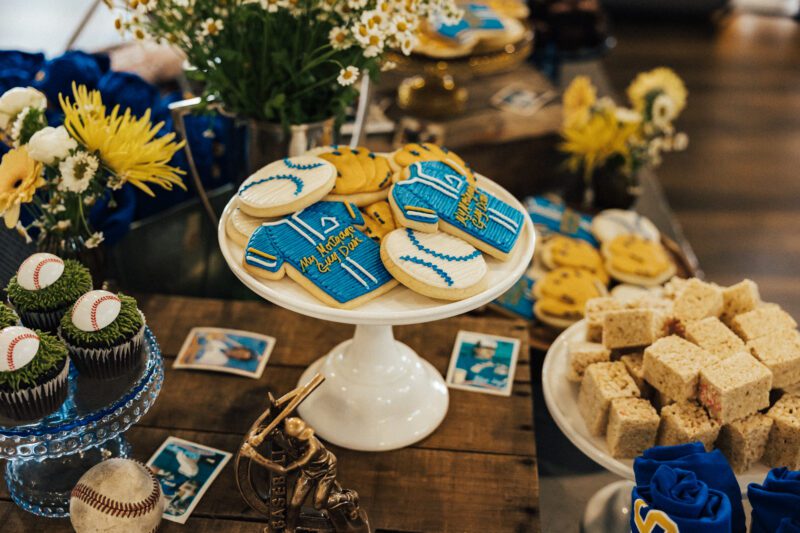
6. Add Texture & Layering
The dessert tables that feel the most beautiful usually include a mix of materials and textures.
I love combining:
Texture helps the table feel collected and layered instead of overly matched.
I also almost always place some kind of runner, linen, or fabric underneath the serving pieces to soften the table and create more visual depth.
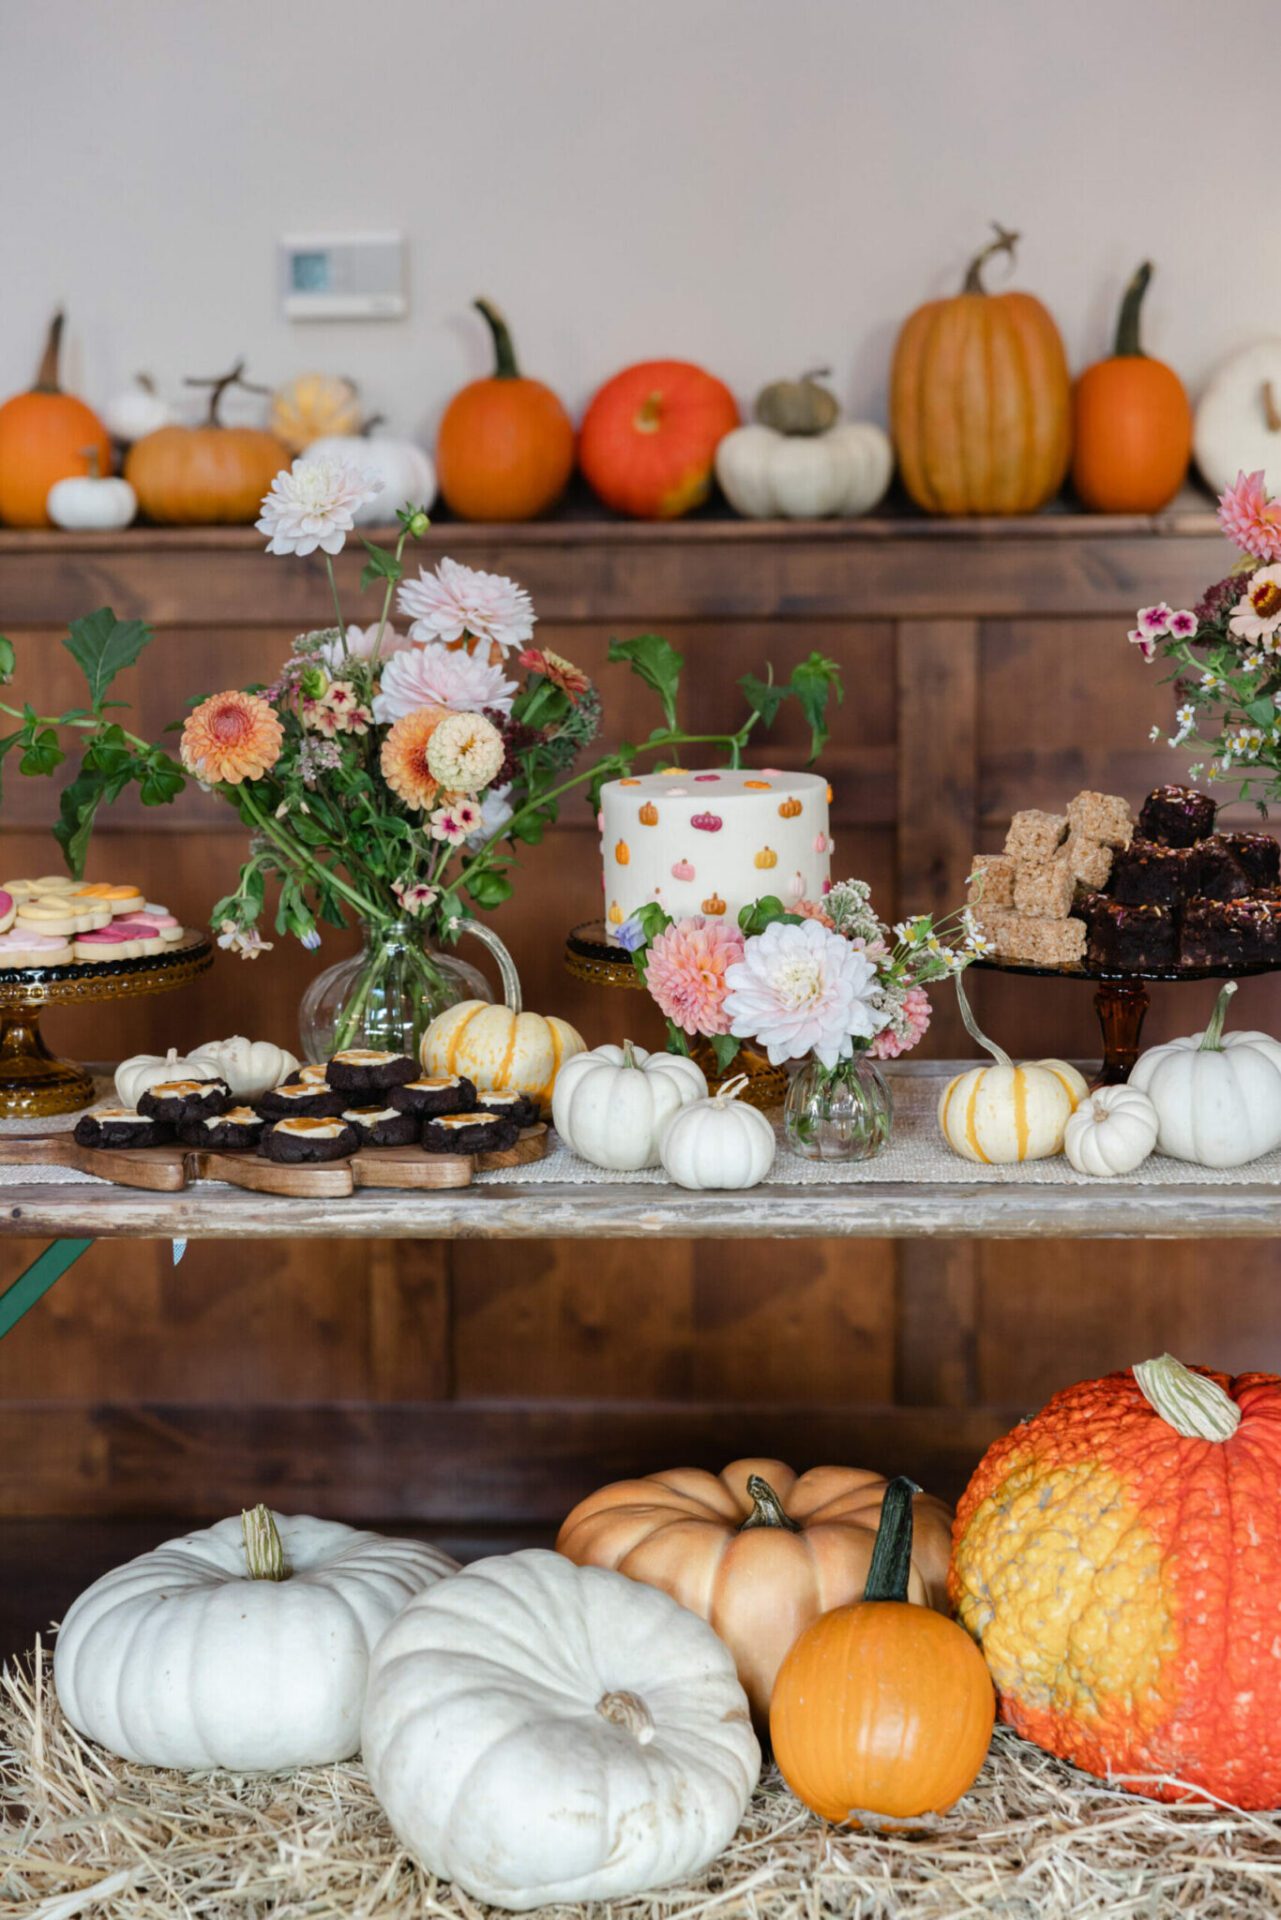
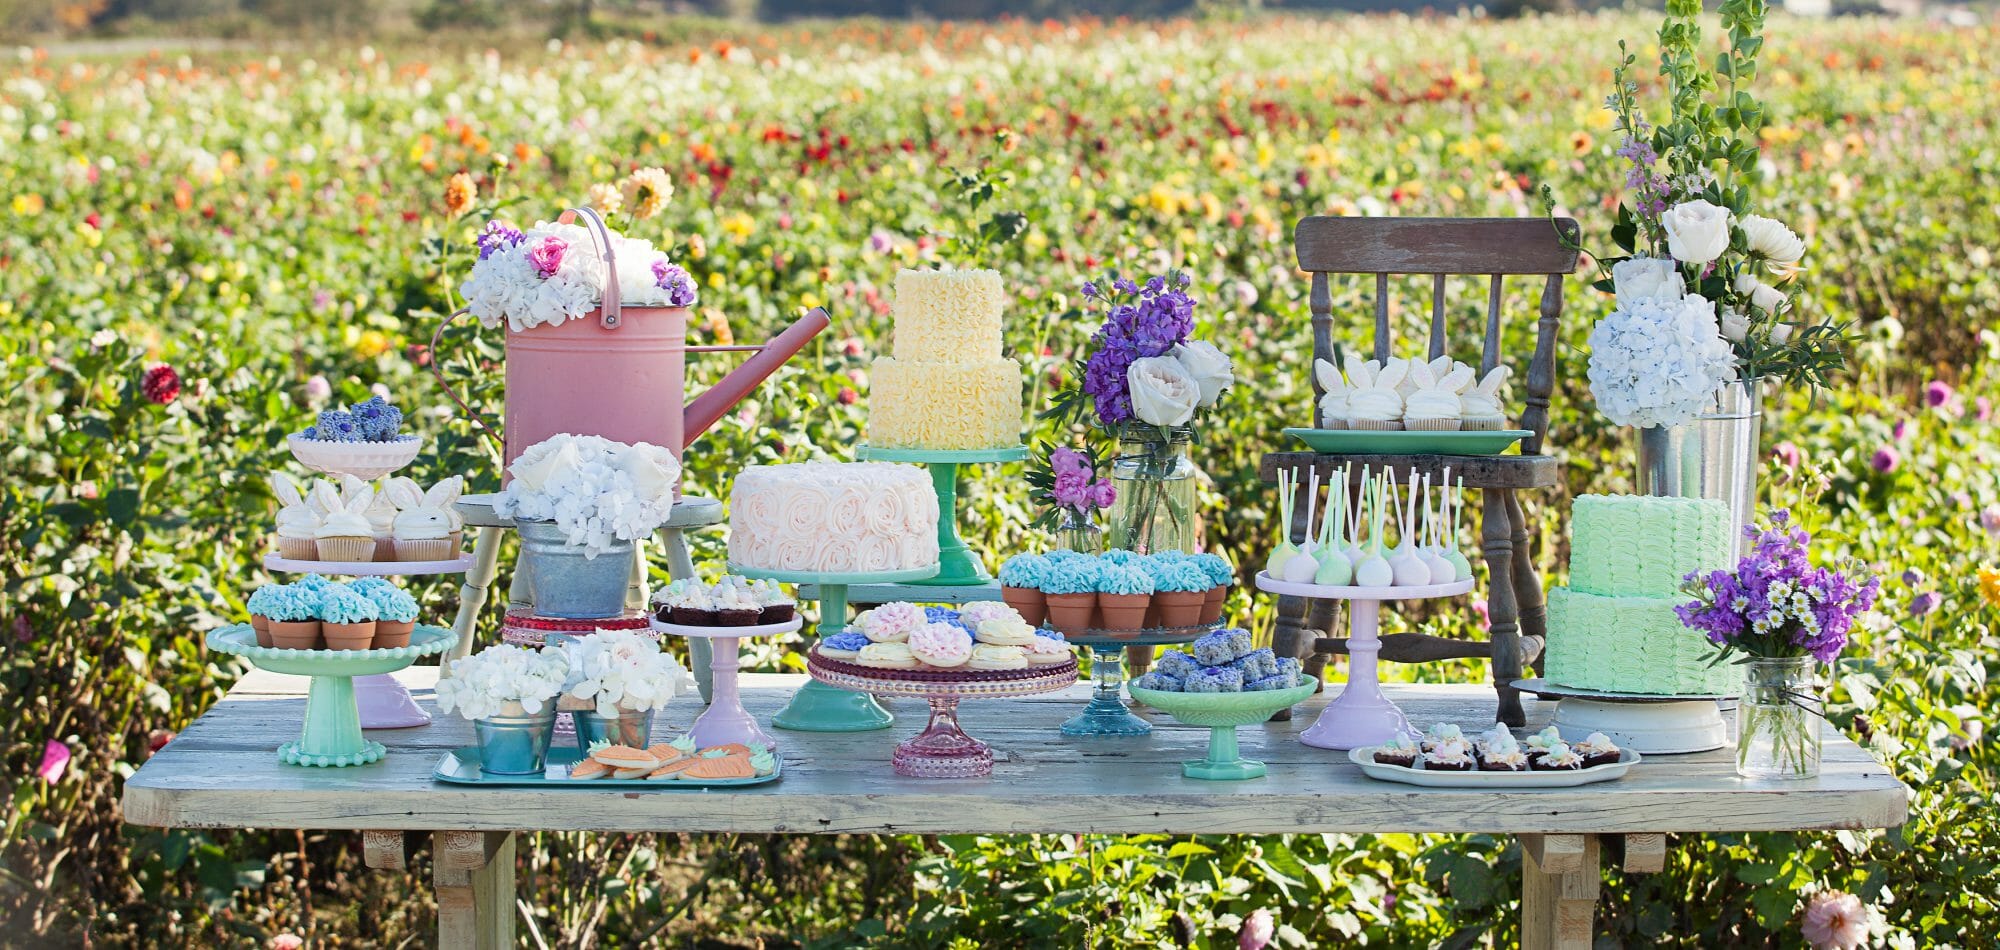
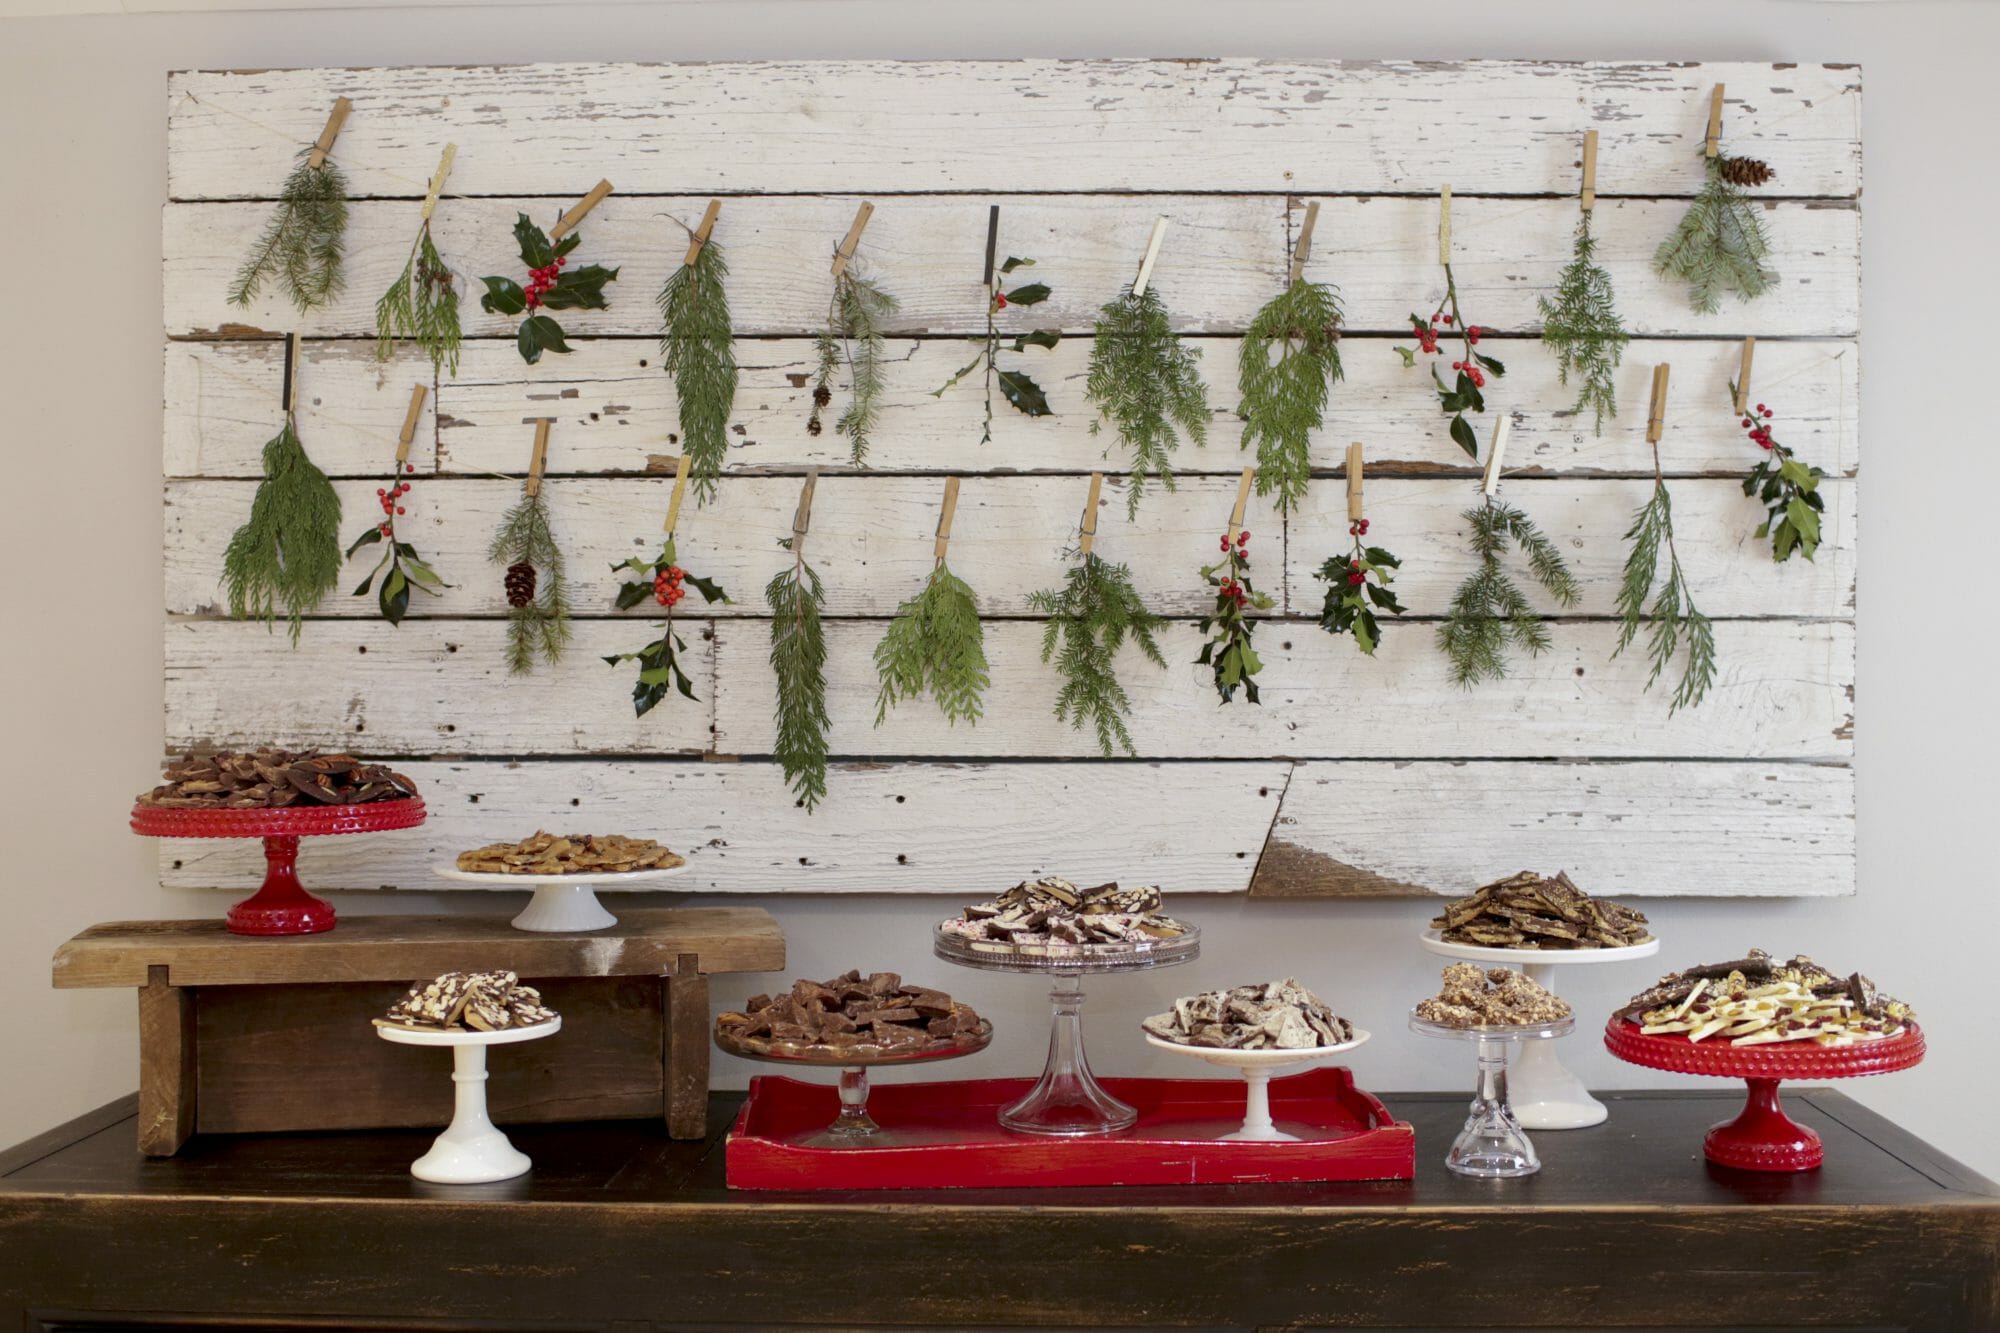
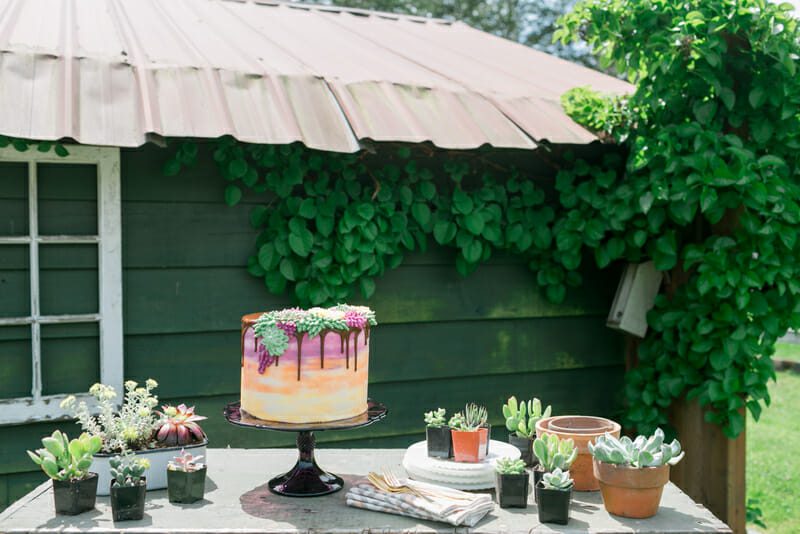
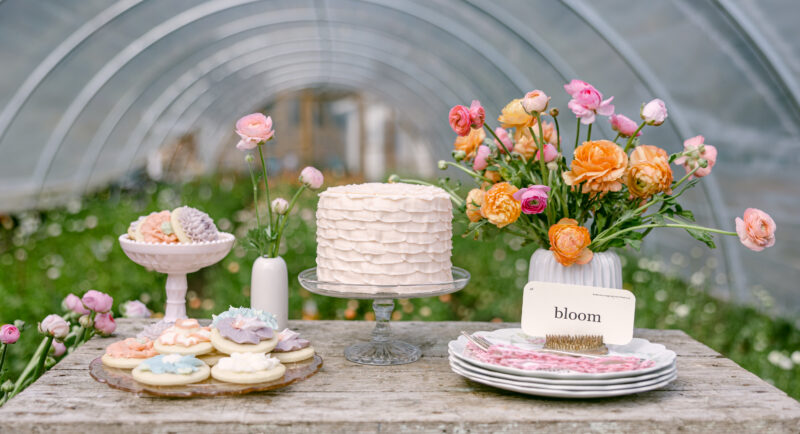
7. Add Some Life
One of my favorite tricks for making dessert tables feel more elevated is adding something fresh or organic.
That might be:
Fresh elements make the table feel more alive and help soften all of the serving pieces and desserts.
During the holidays, even simple cedar or pine clippings can make a table feel incredibly festive.
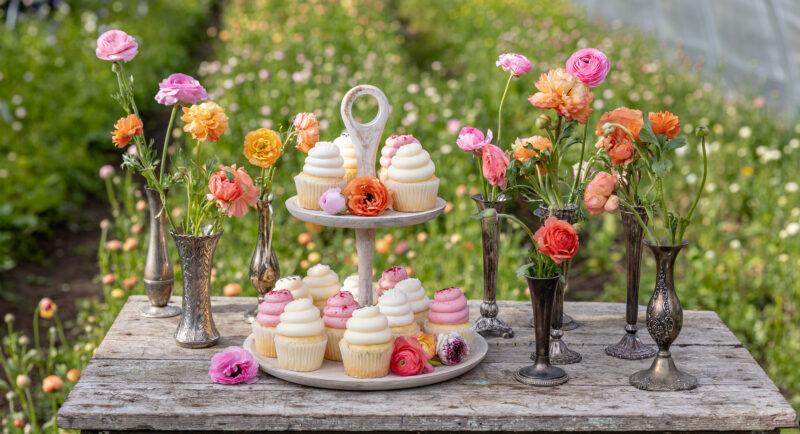
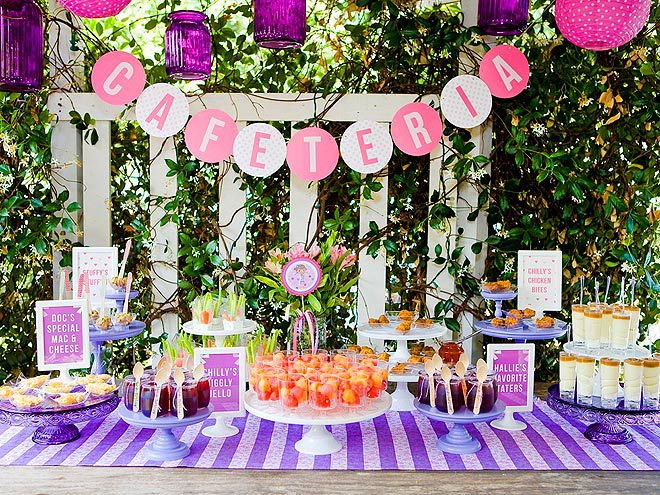
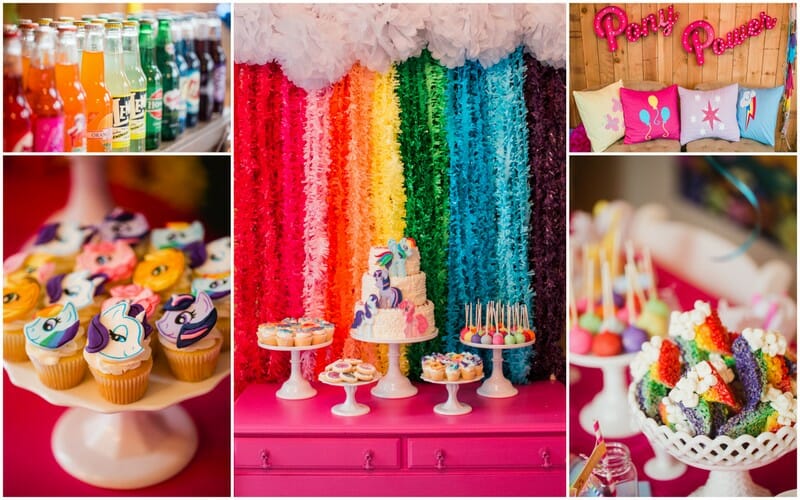
8. Repeat Details Throughout the Table
One of the easiest ways to make a dessert table feel cohesive is repeating details throughout the setup.
That could be:
Repeating small details creates rhythm and makes the overall table feel intentional and polished.
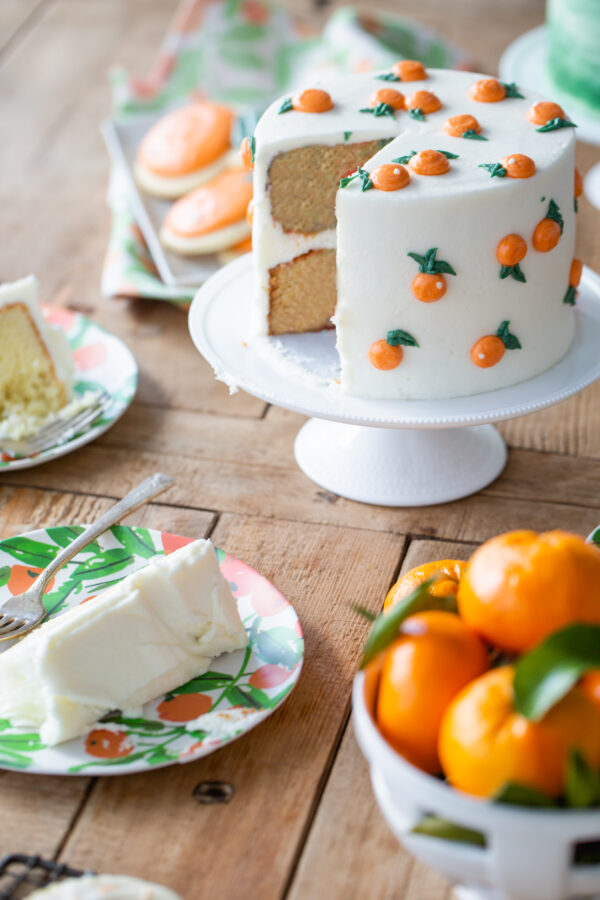
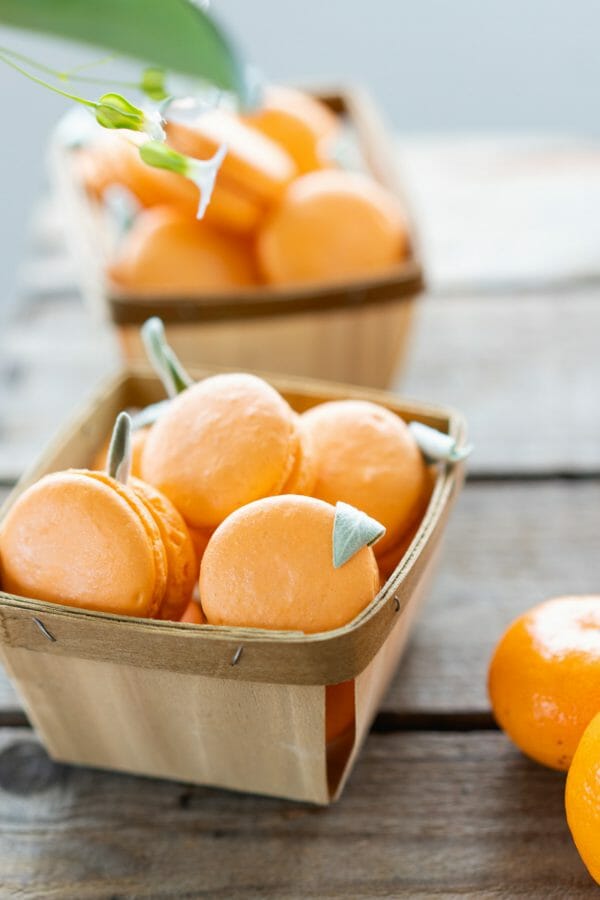
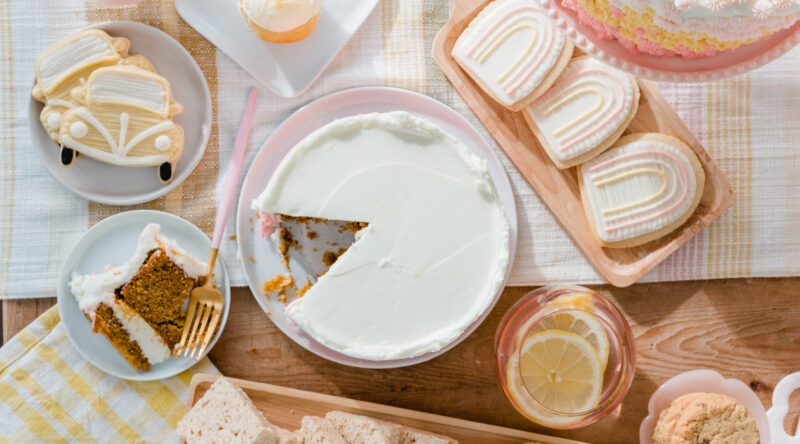
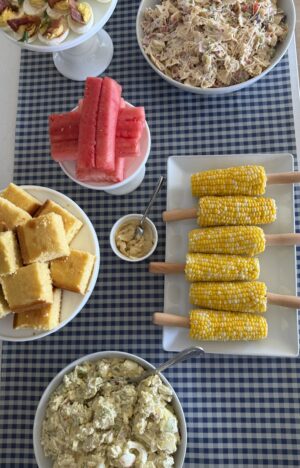
9. Don’t Let Every Dessert Compete
This is something I think people often overlook.
Not every dessert needs to be the star.
I usually create one or two “hero” desserts:
Then I balance those with simpler supporting desserts like:
The balance between detailed desserts and simpler filler desserts helps the table feel beautiful without becoming visually overwhelming.

10. How Much Dessert Should You Have?
One question I get all the time is:
“How much dessert do you actually need?”
My general rule is about:
2–3 small desserts per person
Especially if you’re serving:
Remember that dessert tables are often as much about presentation and variety as they are about guests eating every single item.
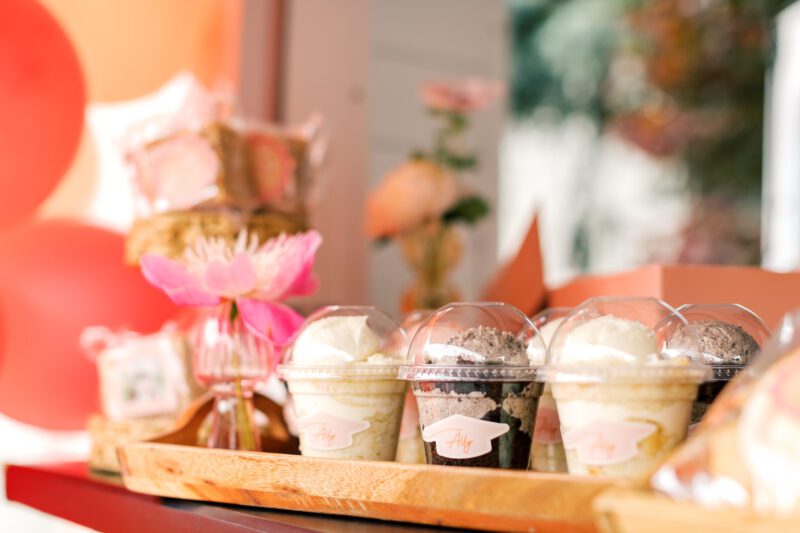
11. Don’t Forget Take-Home Boxes
One thing I almost always include at parties now is some kind of take-home dessert box or container for guests.
Over the years I’ve realized that while dessert tables are a huge part of the experience visually, most guests usually aren’t standing there eating three cupcakes while mingling. People tend to snack a little, socialize, and then genuinely enjoy bringing treats home afterward.
I actually think sending guests home with a few desserts makes the entire table feel even more thoughtful and memorable.
Depending on the event, I’ll use:
I also love adding:
It’s such an easy way to extend the experience of the party a little longer and make guests feel taken care of.
I linked my favorite take-home packaging and dessert boxes in my ShopMy collection as well.
My Favorite Dessert Table take-home packaging:
Over the years I’ve collected entertaining pieces that I reach for constantly when building dessert tables.
My Most-Used Pieces
These pieces work for birthdays, baby showers, holidays, graduation parties, weddings, and almost every celebration in between.
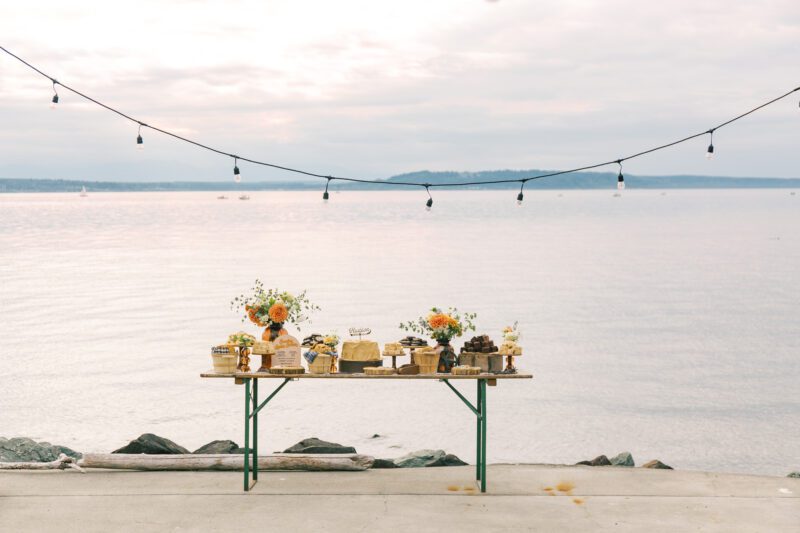
One of the things I love most about dessert tables is that they instantly make people feel celebrated.
They don’t have to be elaborate or over-the-top to feel special.
Some of my favorite tables have been the simplest ones with a beautiful cake, a few thoughtful desserts, fresh flowers, and people gathered around them.
At the end of the day, it’s less about perfection and more about creating something that feels welcoming, thoughtful, and memorable.
And once you understand a few foundational principles like layering, color, balance, and texture, creating beautiful dessert tables becomes so much easier and more fun.
If you create dessert tables too, I’d love to know your favorite tips, themes, or entertaining staples in the comments.

This post contains affiliate links. I only recommend products I actually use and love!
more like this
hosting / parties


Are we friends Yet?!
Sign up to receive my favorite recipes, party ideas and latest finds.