Easy Holiday Pie Ideas
This post was sponsored by JOANN. All opinions are my own.

Hello pie season!! There’s something about the smell of a pie baking in the oven that just feels like fall. I don’t know about you, but I love a big piece of pie with a scoop of vanilla ice cream!
As with the majority of my baking, I like to keep the baking time and prep intensity minimal and spend more time on the decorating and display of a dessert. Of course it has to taste good, but even better when it looks great too!
My go-to way to decorate a pie is to dress it up with cookie cutter shapes and fun lettering. With just a few tools from JOANN, you’ll have everything you need for a full season’s worth of pies!
You will need:
Rolling Pin
Pie Crust
Apple Pie Filling
Butterscotch Chips
Flour for rolling

You can bake your own favorite homemade pie recipe or you can grab a pre-made pie crust and filling at the store and create something semi-homemade. Whatever you have time for is the best route to go.
For this particular pie, I went the semi-homemade direction and dressed up my canned apple filling with extra cinnamon and added butterscotch chips to it. If you are looking for a few homemade pie recipes, check out my Caramel Apple Pie or Pumpkin Bourbon Pie!

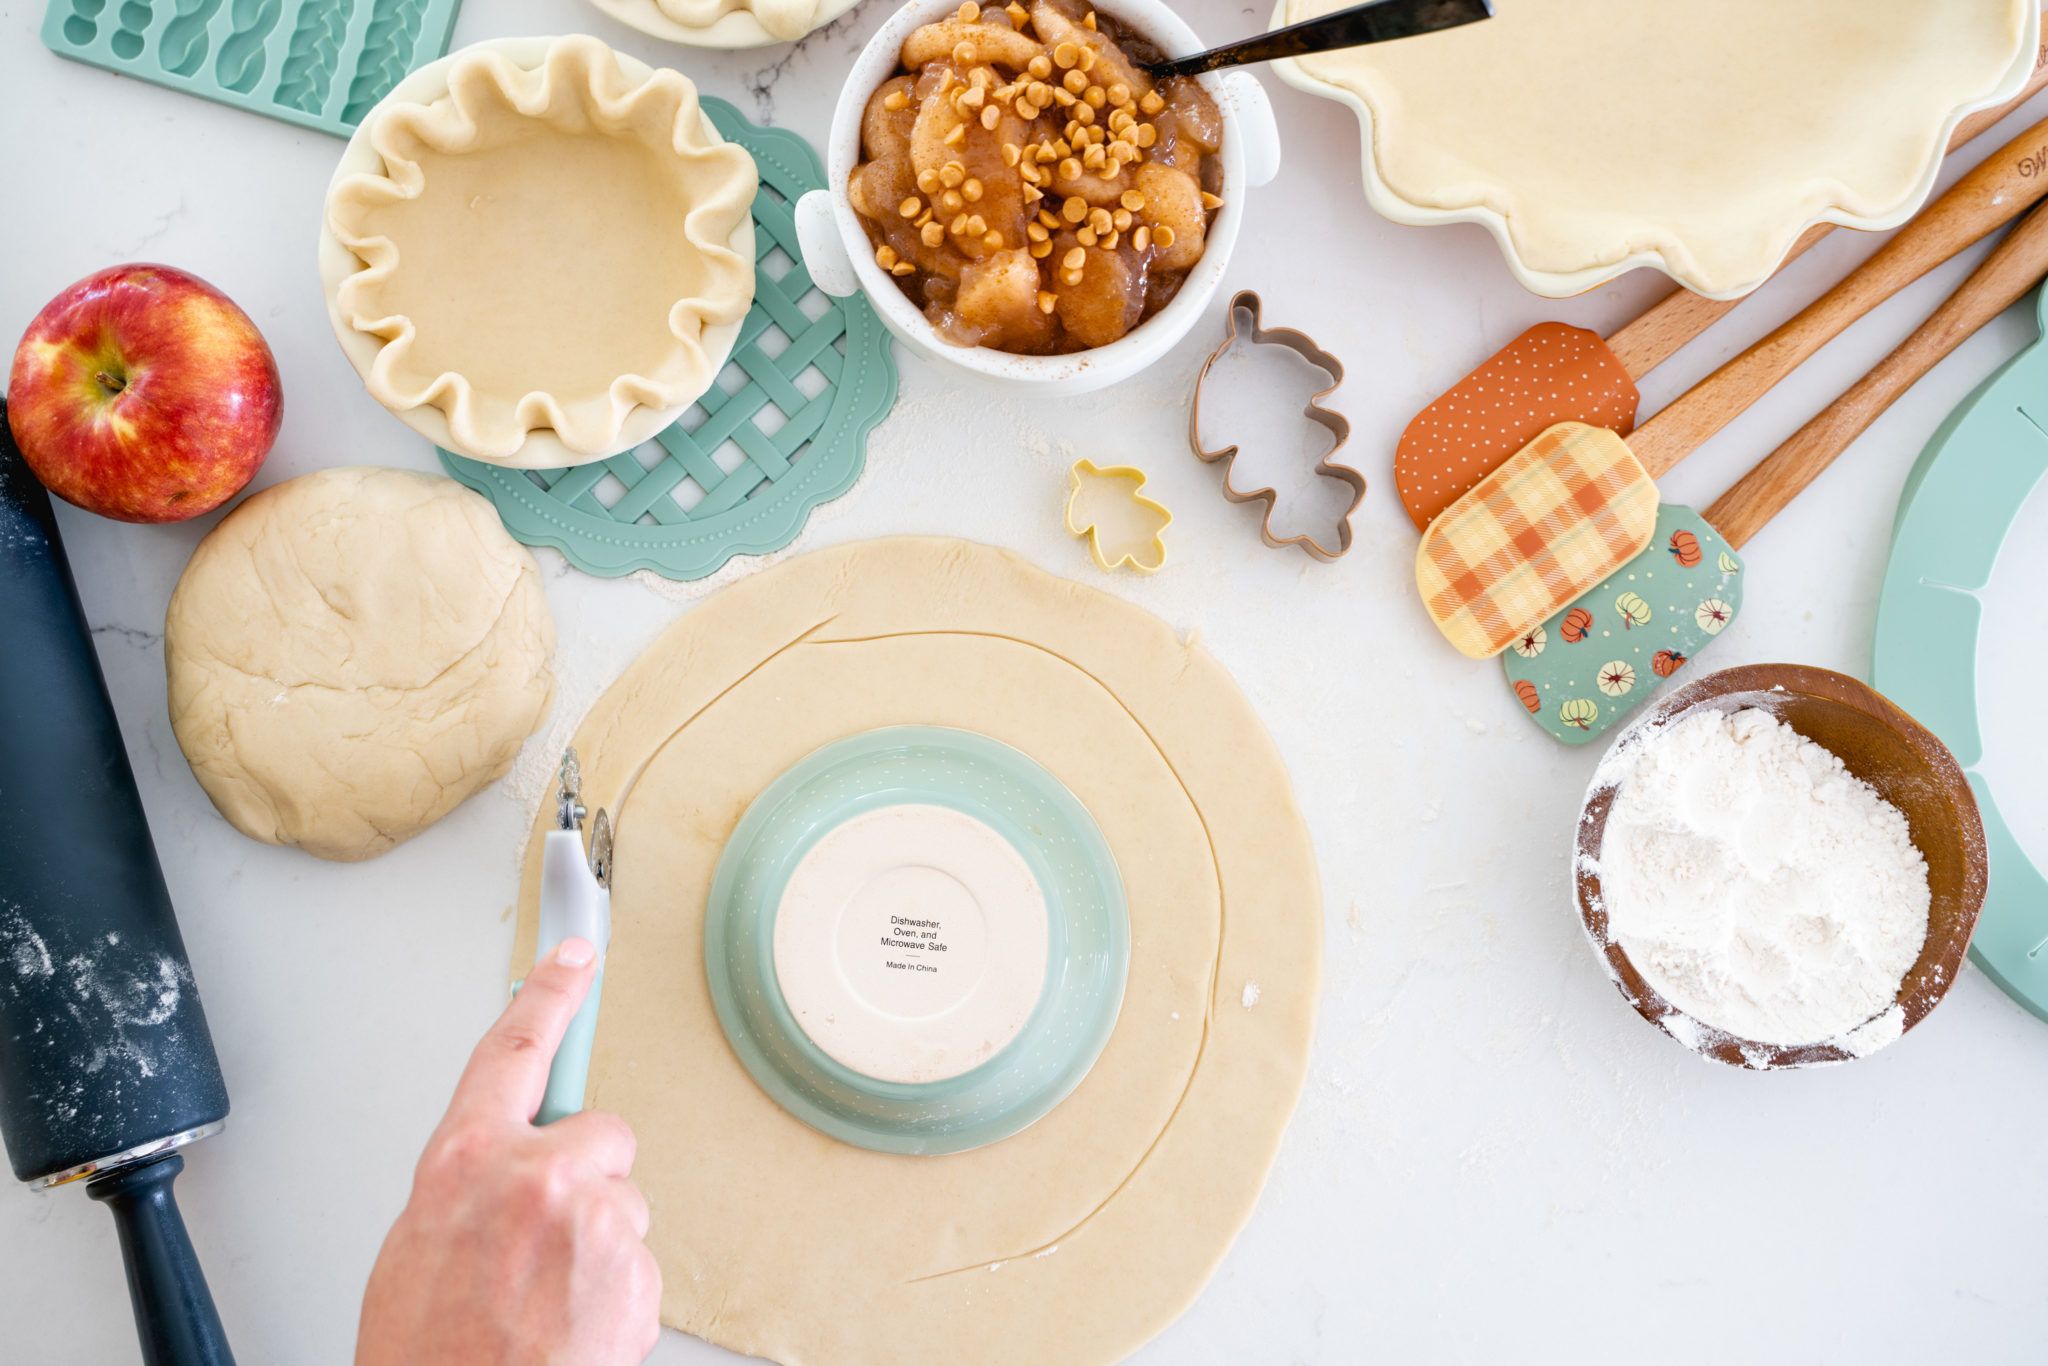
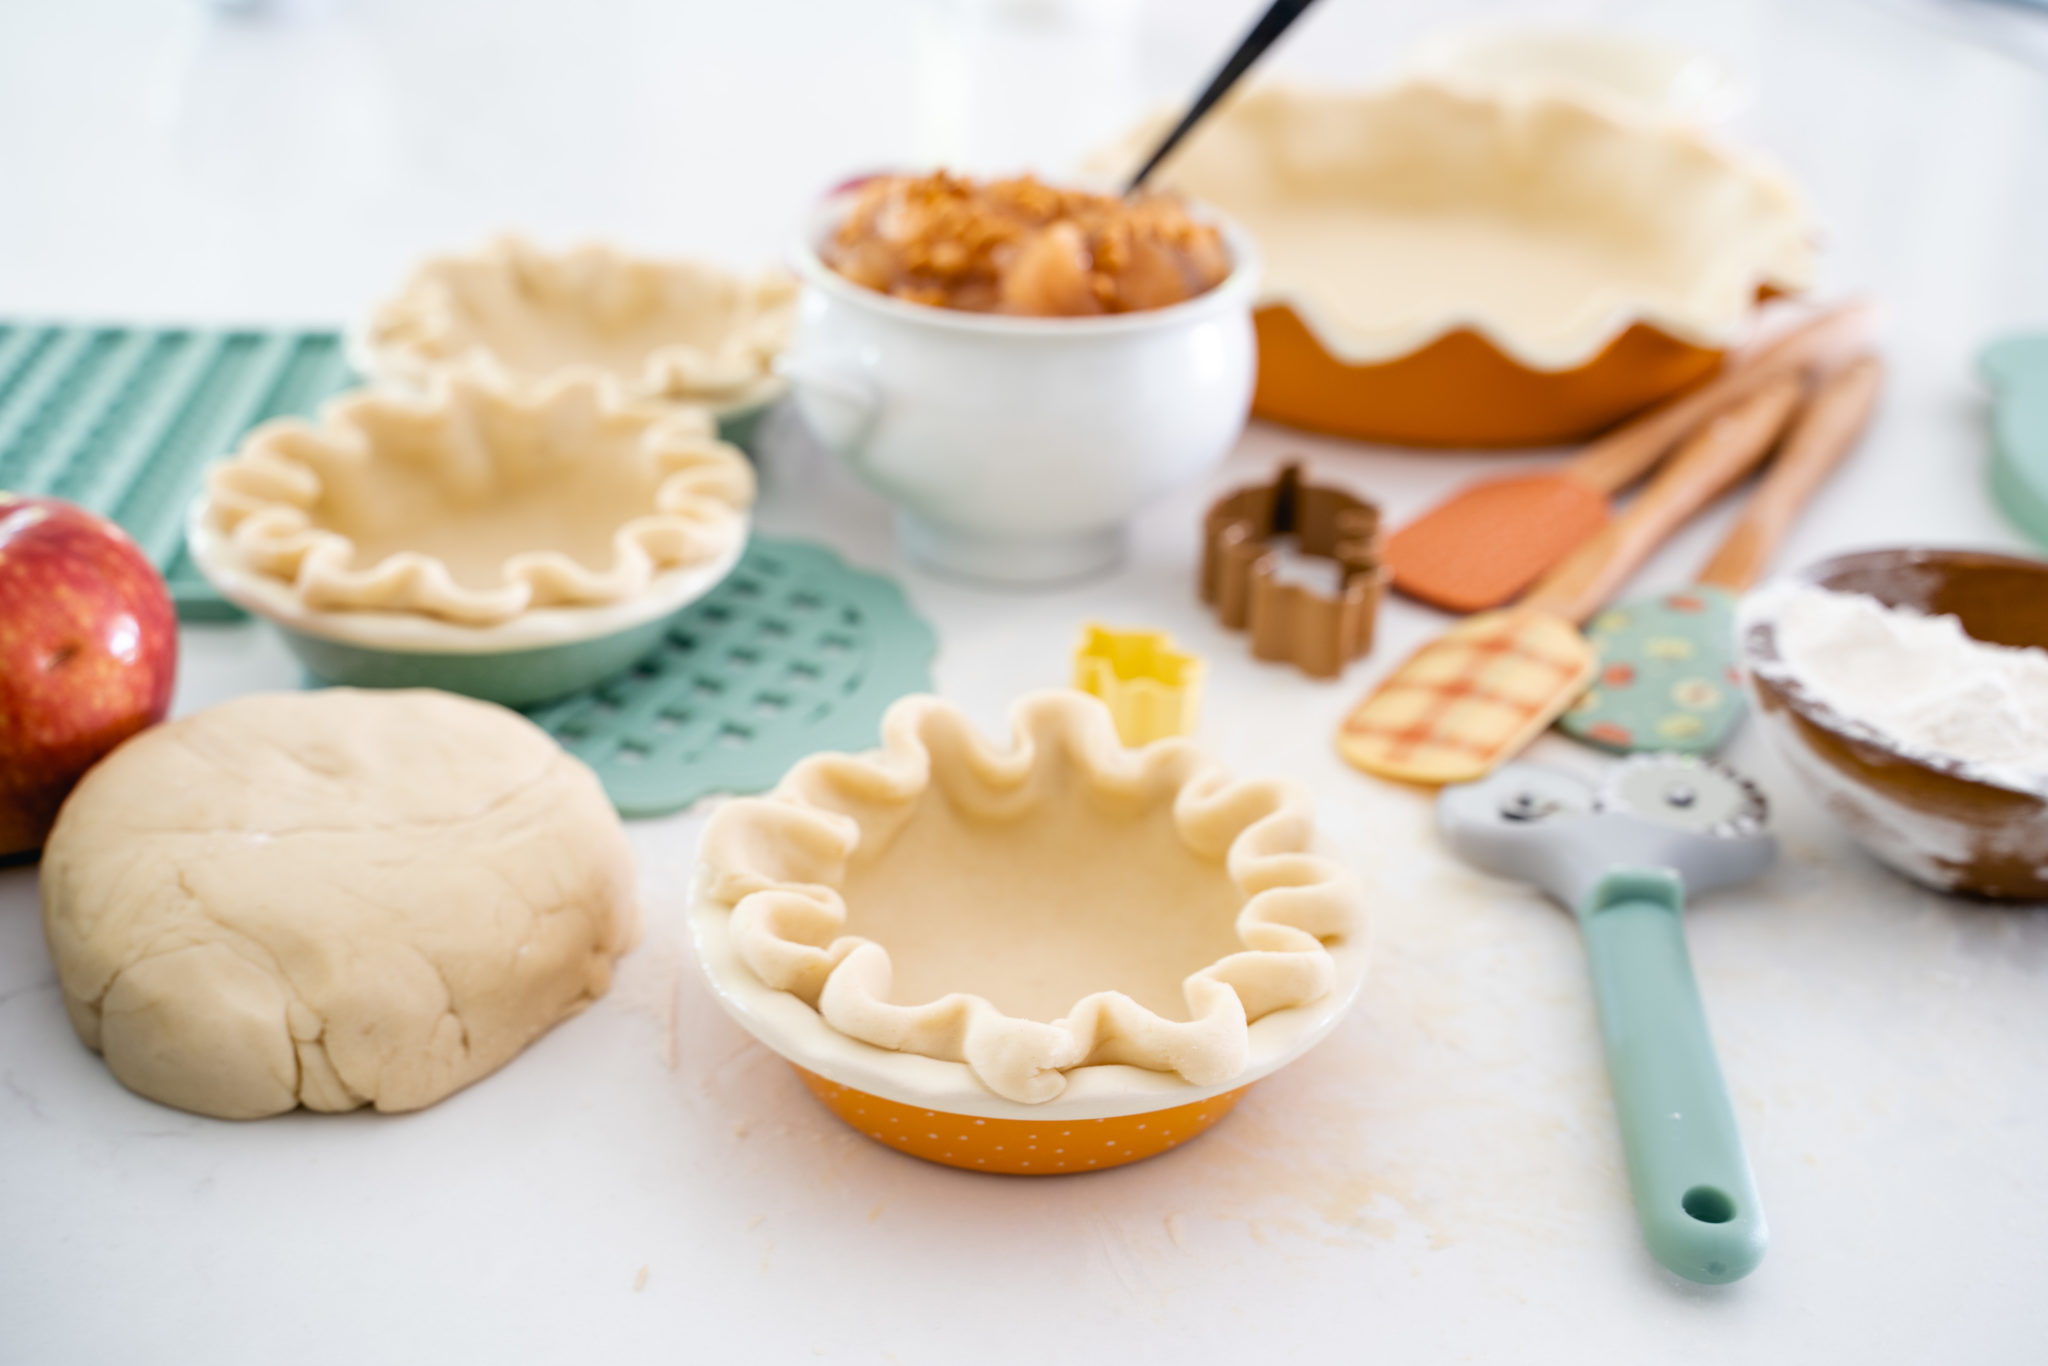
I couldn’t decide whether to make mini pies or a large pie, so I made a little of both! The mini pies are always adorable and great for gift giving. To make the mini pie, roll the crust out onto a lightly floured surface. Turn the mini pie pan upside down on top of the rolled out crust and carefully cut the crust in a diameter about an inch past the edge of the pan. This will allow ample crust to be formed into a crimp around your pie pan!

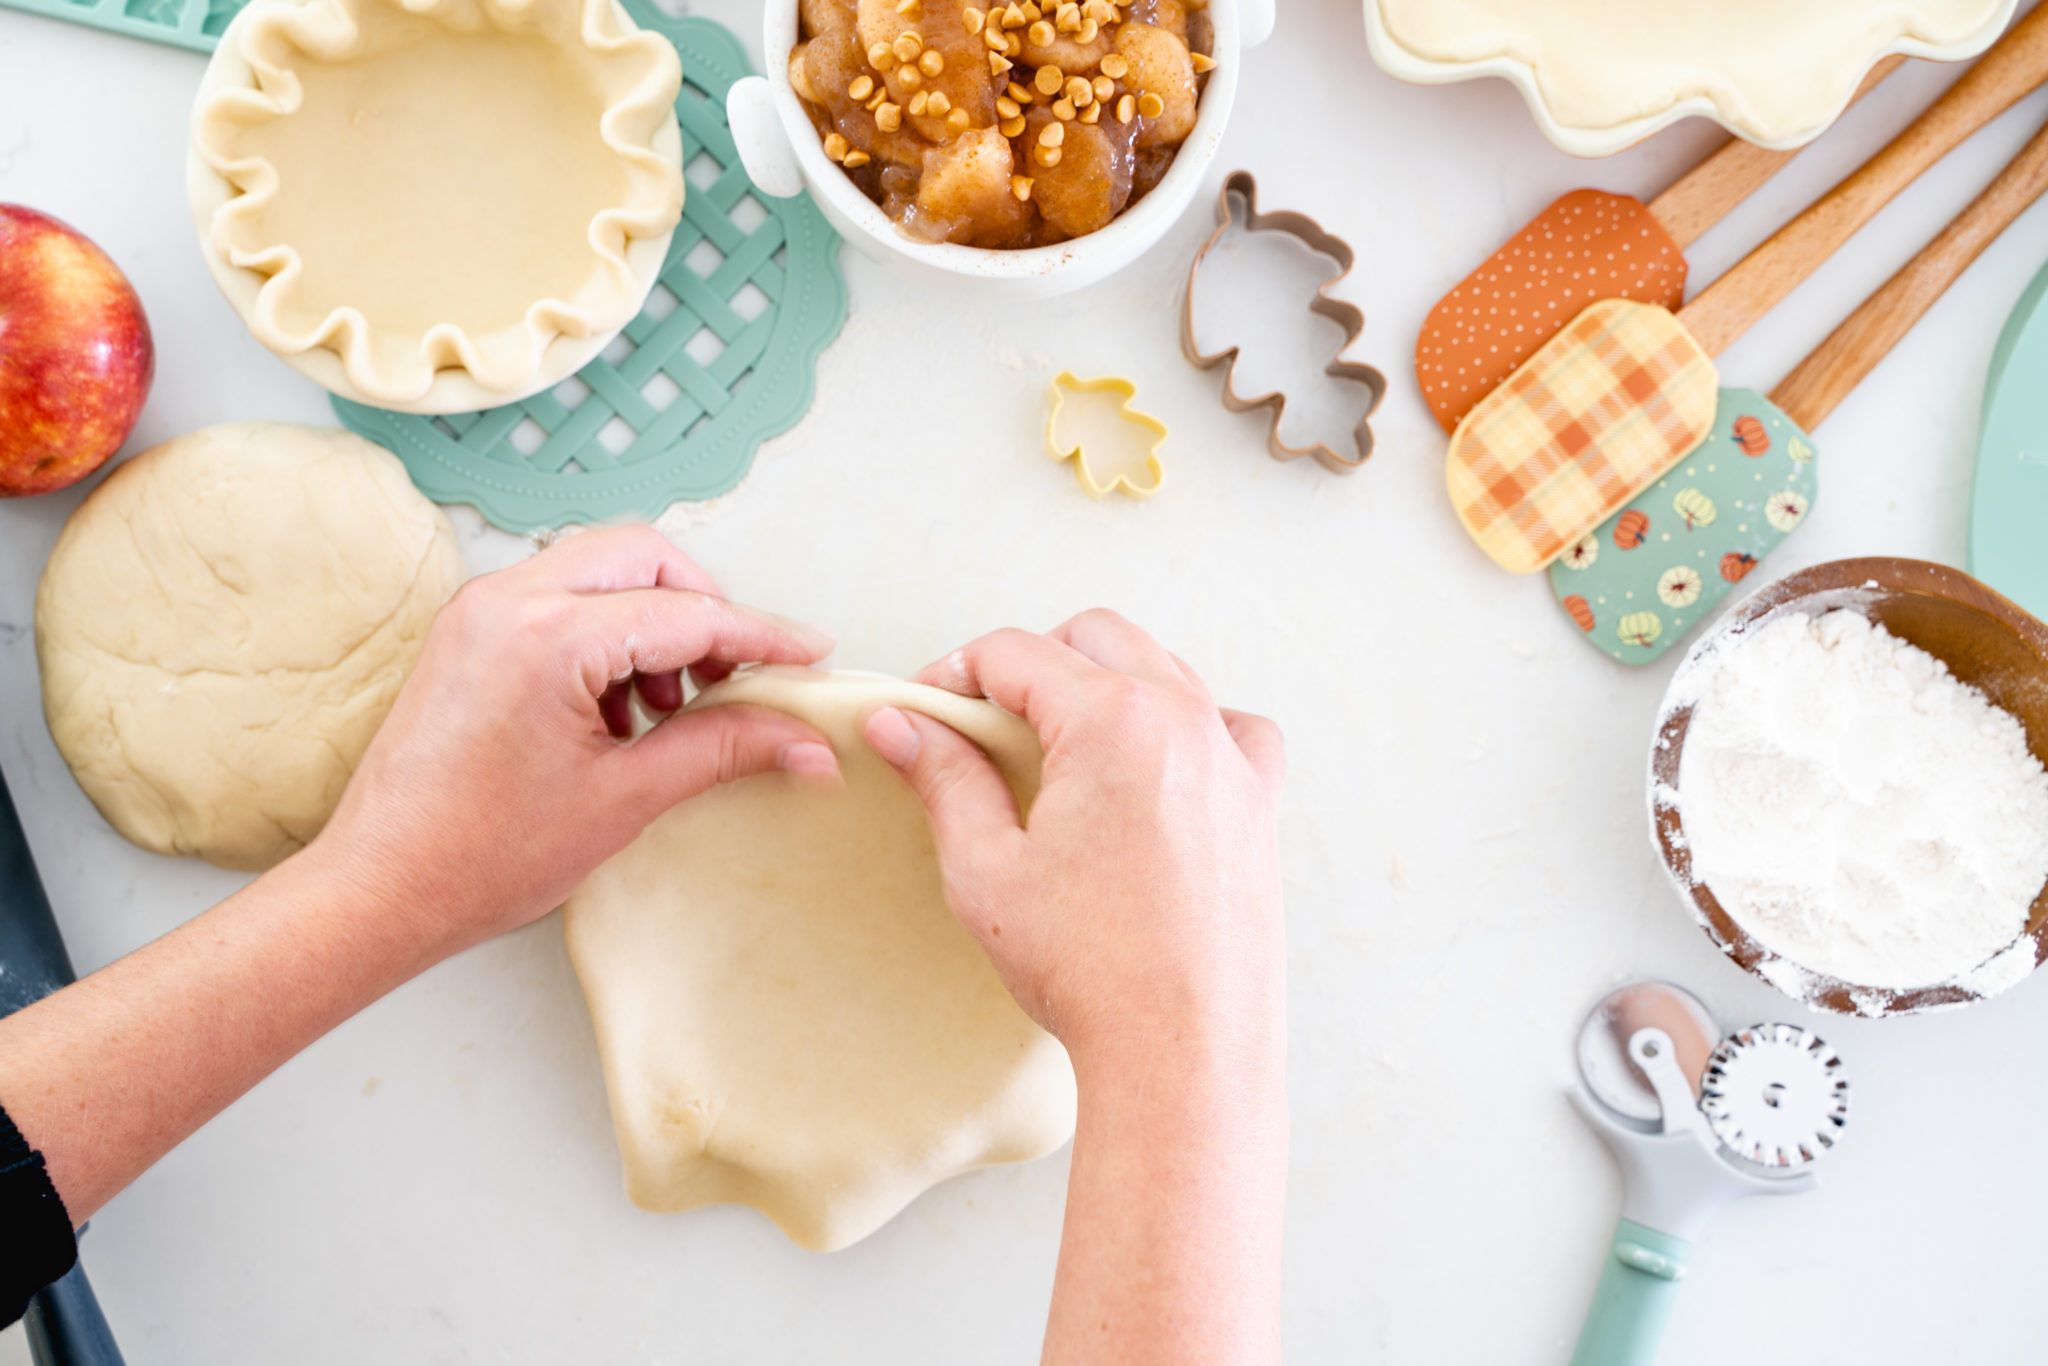
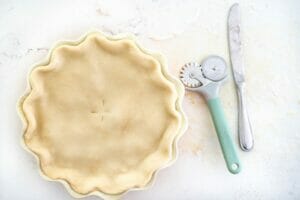
Once the crust is cut, carefully lay inside the pie pan and crimp the edges with your finger and thumb. (See photo below)

Fill pie cavities and set aside.
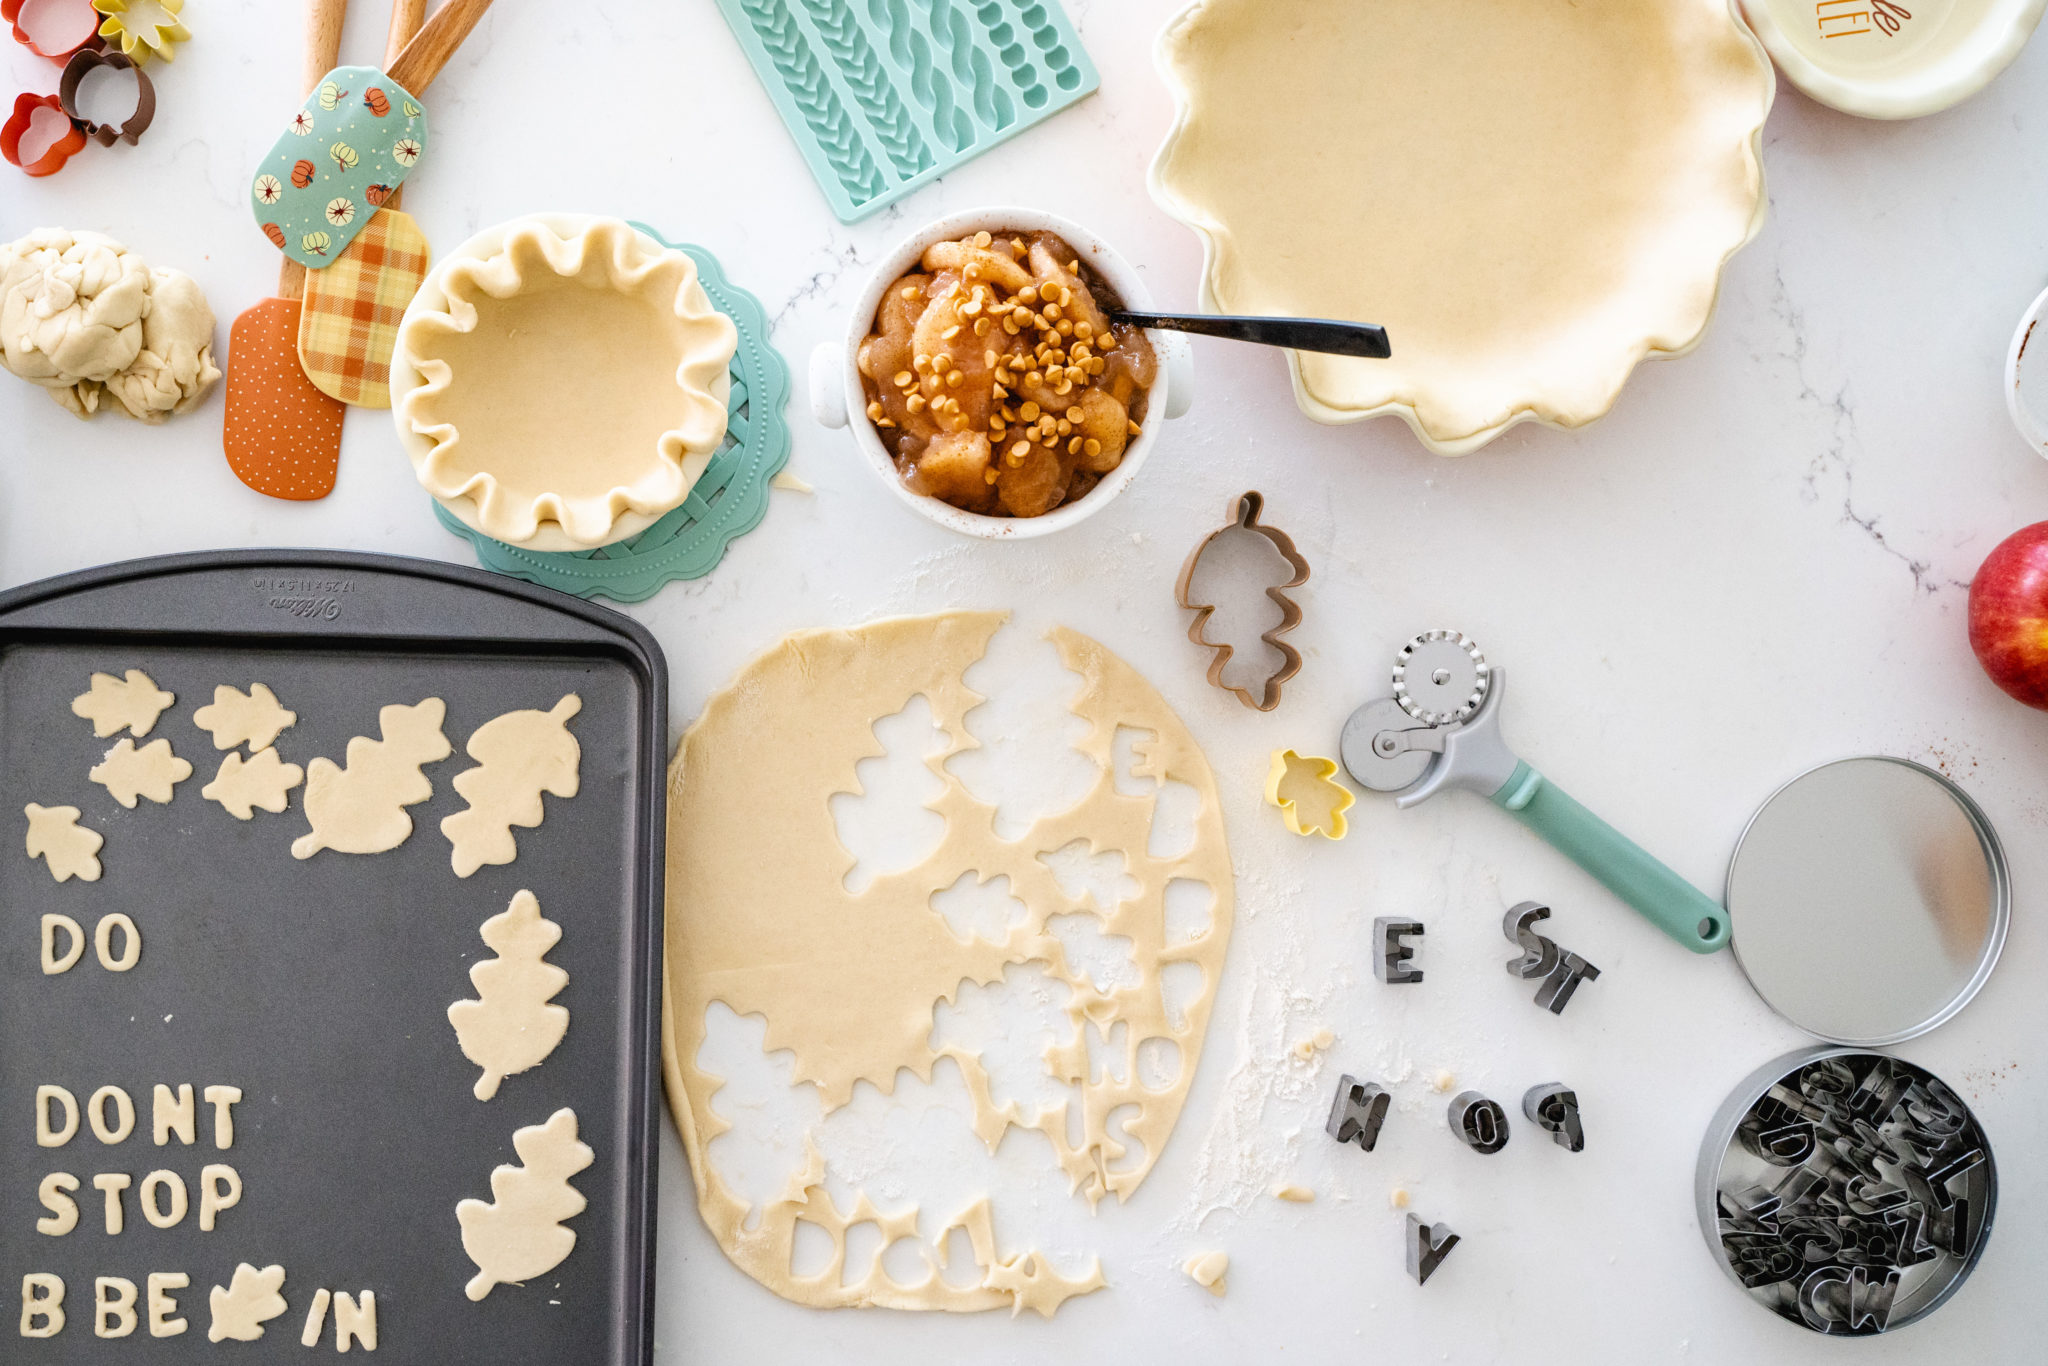
Using extra pie crust dough, cut out designs for the tops of the pies, and place them on top. The braid mold is FANTASTIC for those who want a lattice or braid look, but don’t have the time. I can’t stress enough how great this baking tool is!

Fun letters and a variety of miniature cookie cutter cut-outs are always a great way to go when finalizing the decor on your pie. We are known for our pie puns at Jenny Cookies Bake Shop, so I figured I may as well add one here!
As you’re adding fun pie dough shapes and letters, don’t forget to cut slits in the top of the pie to allow steam to vent!

When your pies are ready to go, here is my recommendation for baking times. All ovens bake a bit differently, so please keep an eye on your pie just in case your oven bakes hotter than mine!
For the full pie, bake at 425 for 40 to 45 minutes or until apples are tender and crust is golden brown. Cover edge of crust with the pie shield 15 to 20 minutes of baking to prevent excessive browning. Cool on cooling rack at least 2 hours before serving.
Bake at 425 for 20-25 minutes or until the pie crust is lightly golden brown and the filling is bubbly. Remove from the oven and set aside to cool for 10-15 minutes.
Pie Ideas
Equipment
- Pie Pan
- Mini Pie Pans
- Fall Cookie Cutters
- Mini Alphabet Cookie Cutters
- Pie Crust Mold
- Pie Weight
- Pie Shield
Ingredients
- Pie Crust
- Apple Pie Filling
- Butterscotch Chips
- Flour for rolling
Instructions
- You can bake your own favorite homemade pie recipe or you can grab a pre-made pie crust and filling at the store and create something semi-homemade. Whatever you have time for is the best route to go.

- For this particular pie, I went the semi-homemade direction and dressed up my canned apple filling with extra cinnamon and added butterscotch chips to it.
- To make the mini pies roll the crust out onto a lightly floured surface. Turn the mini pie pan upside down on top of the rolled out crust and carefully cut the crust in a diameter about an inch past the edge of the pan. This will allow ample crust to be formed into a crimp around your pie pan!

- Once the crust is cut, carefully lay inside the pie pan and crimp the edges with your finger and thumb.

- Fill pie cavities and set aside.
- Using extra pie crust dough, cut out designs for the tops of the pies, and place them on top. The braid mold is FANTASTIC for those who want a lattice or braid look, but don't have the time. I can't stress enough how great this baking tool is!

- Fun letters and a variety of miniature cookie cutter cut-outs are always a great way to go when finalizing the decor on your pie. We are known for our pie puns at Jenny Cookies Bake Shop, so I figured I may as well add one here!
- As you're adding fun pie dough shapes and letters, don't forget to cut slits in the top of the pie to allow steam to vent!
- When your pies are ready to go, here is my recommendation for baking times. All ovens bake a bit differently, so please keep an eye on your pie just in case your oven bakes hotter than mine!
- For the full pie, bake at 425 for 40 to 45 minutes or until apples are tender and crust is golden brown. Cover edge of crust with the pie shield 15 to 20 minutes of baking to prevent excessive browning. Cool on cooling rack at least 2 hours before serving.
- Bake at 425 for 20-25 minutes or until the pie crust is lightly golden brown and the filling is bubbly. Remove from the oven and set aside to cool for 10-15 minutes.
I was thrilled with how my pies turned out. Rustic, homemade and fun! I packaged the mini pies in twine and gifted them to friends. I think whenever you bake, you should bake two, then you’ll always have one to share!
Pin this idea for later!

Photos by Kelly Clare Photography
THIS IS A SPONSORED POST. JENNY COOKIES HAS RECEIVED PAYMENT, TRADE AND/OR PRODUCTS IN EXCHANGE FOR PROMOTING, HOWEVER ALL OPINIONS STATED ARE MY OWN AND I ONLY PROMOTE PRODUCTS/COMPANIES I LOVE.