
My Beginner Sourdough Recipe + Everything That Finally Helped It Click
Last year I took a sourdough class and completely convinced myself it was too hard.
I left feeling overwhelmed, intimidated, and pretty certain sourdough people were operating on a level I wasn’t prepared for. Between feeding starter, stretch and folds, proofing, scoring… it felt like a full-time job just to make a loaf of bread.
So I quietly moved it to the “maybe someday” category and didn’t touch it again for almost a year.
But recently I decided to give it another try.
And while I can confirm it is, in fact, a lot of work… it also turned out to be one of the most rewarding things I’ve learned in a long time.
Over the past few weeks I’ve baked loaf after loaf, adjusted temperatures, tested timing, overanalyzed bread scoring, and learned more through repetition than I ever did sitting in a class feeling intimidated.
There’s definitely a learning curve with sourdough, but once I stopped trying to make it perfect and just committed to practicing, everything started clicking.
And now I finally understand why people become obsessed with it.
So many of you have been asking for the recipe, process, and tools I’ve been using, so I wanted to put everything together here in one place, including the things that genuinely helped me the most as a beginner.
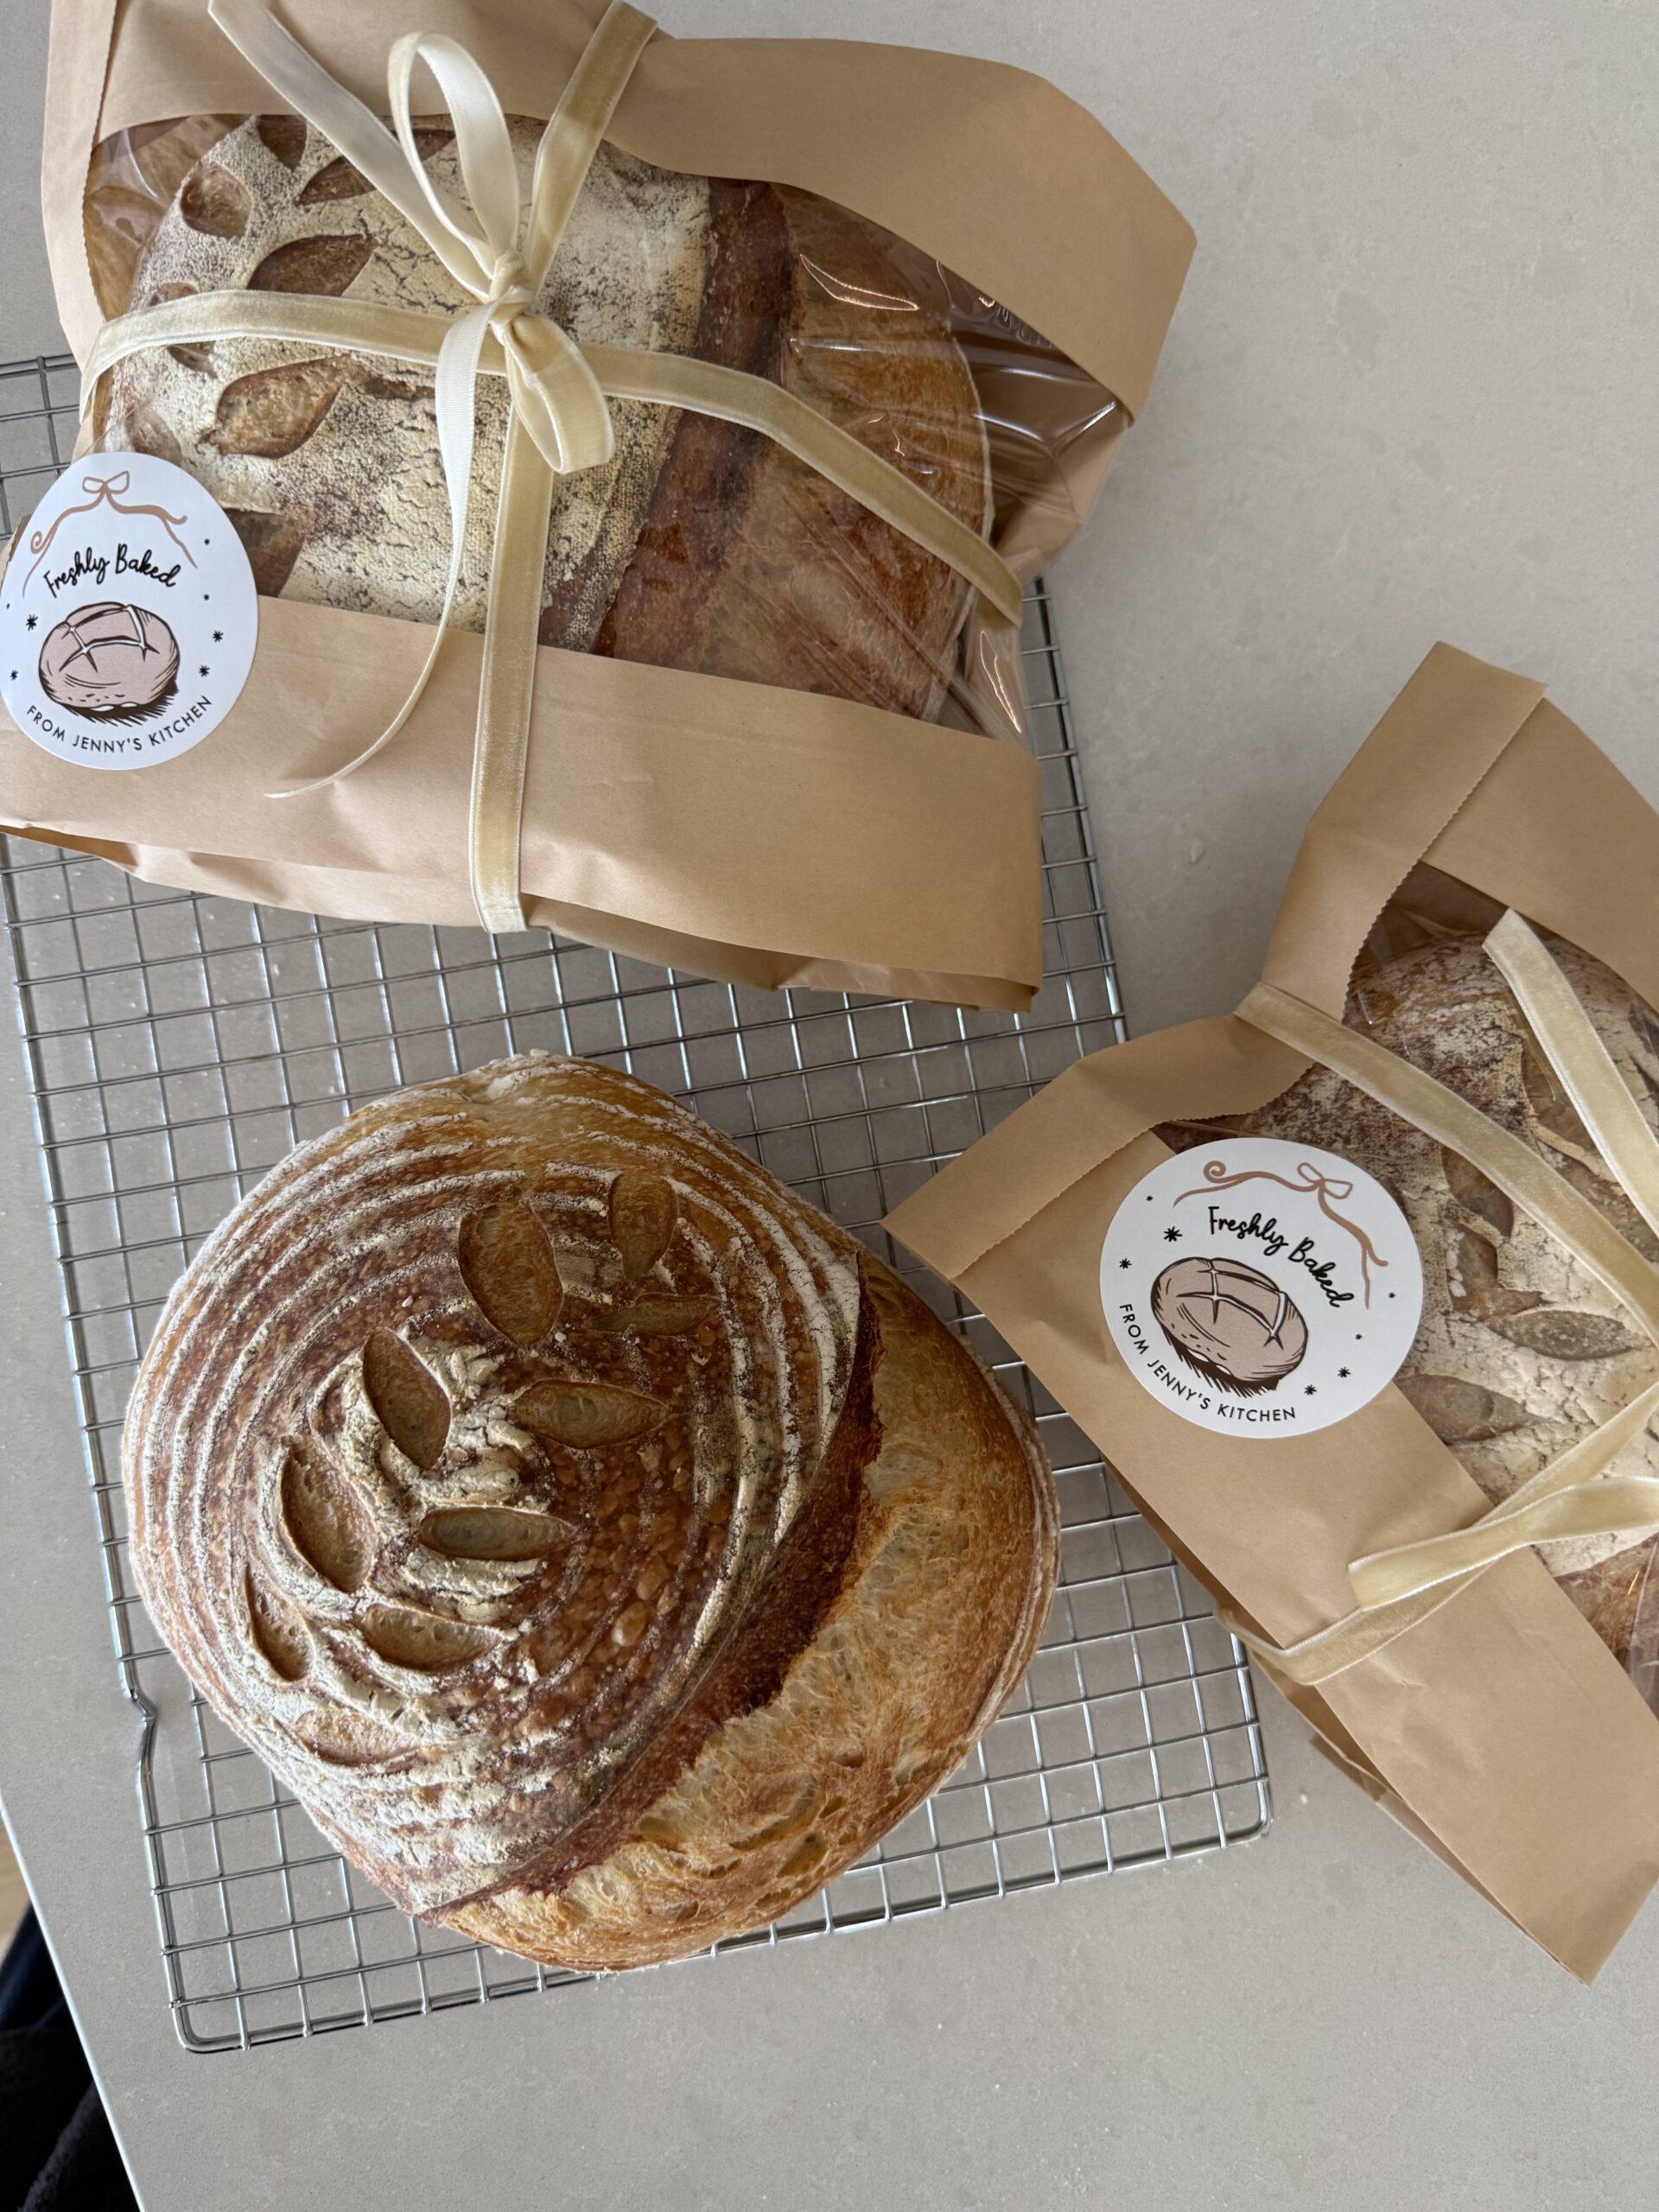
Why I Started Learning Sourdough
I think part of the appeal of sourdough is that it slows you down a little.
It’s not instant. You can’t rush it. And while that can feel frustrating at first, it’s also what makes it so satisfying.
There’s something really rewarding about pulling a beautiful loaf of bread out of the oven knowing it started with four simple ingredients:
I also love that sourdough feels both practical and creative at the same time. It’s equal parts science experiment and cozy kitchen ritual.
And yes… your camera roll will slowly become filled with photos of bread.
My Beginner Sourdough Recipe
This is the simple sourdough bread recipe I’ve been using for my recent loaves.
Ingredients
Step 1: Mix the Dough
In a large mixing bowl, combine the active sourdough starter and warm water. Stir until mostly combined.
Add the bread flour and salt and mix until a shaggy dough forms.
Cover with a damp towel and let rest for 30 minutes.
Step 2: Stretch & Folds
Over the next 2 hours, complete 4 sets of stretch and folds every 30 minutes.
This step helped improve the structure and strength of my dough so much and made a huge difference in the final loaf.
Step 3: Bulk Fermentation
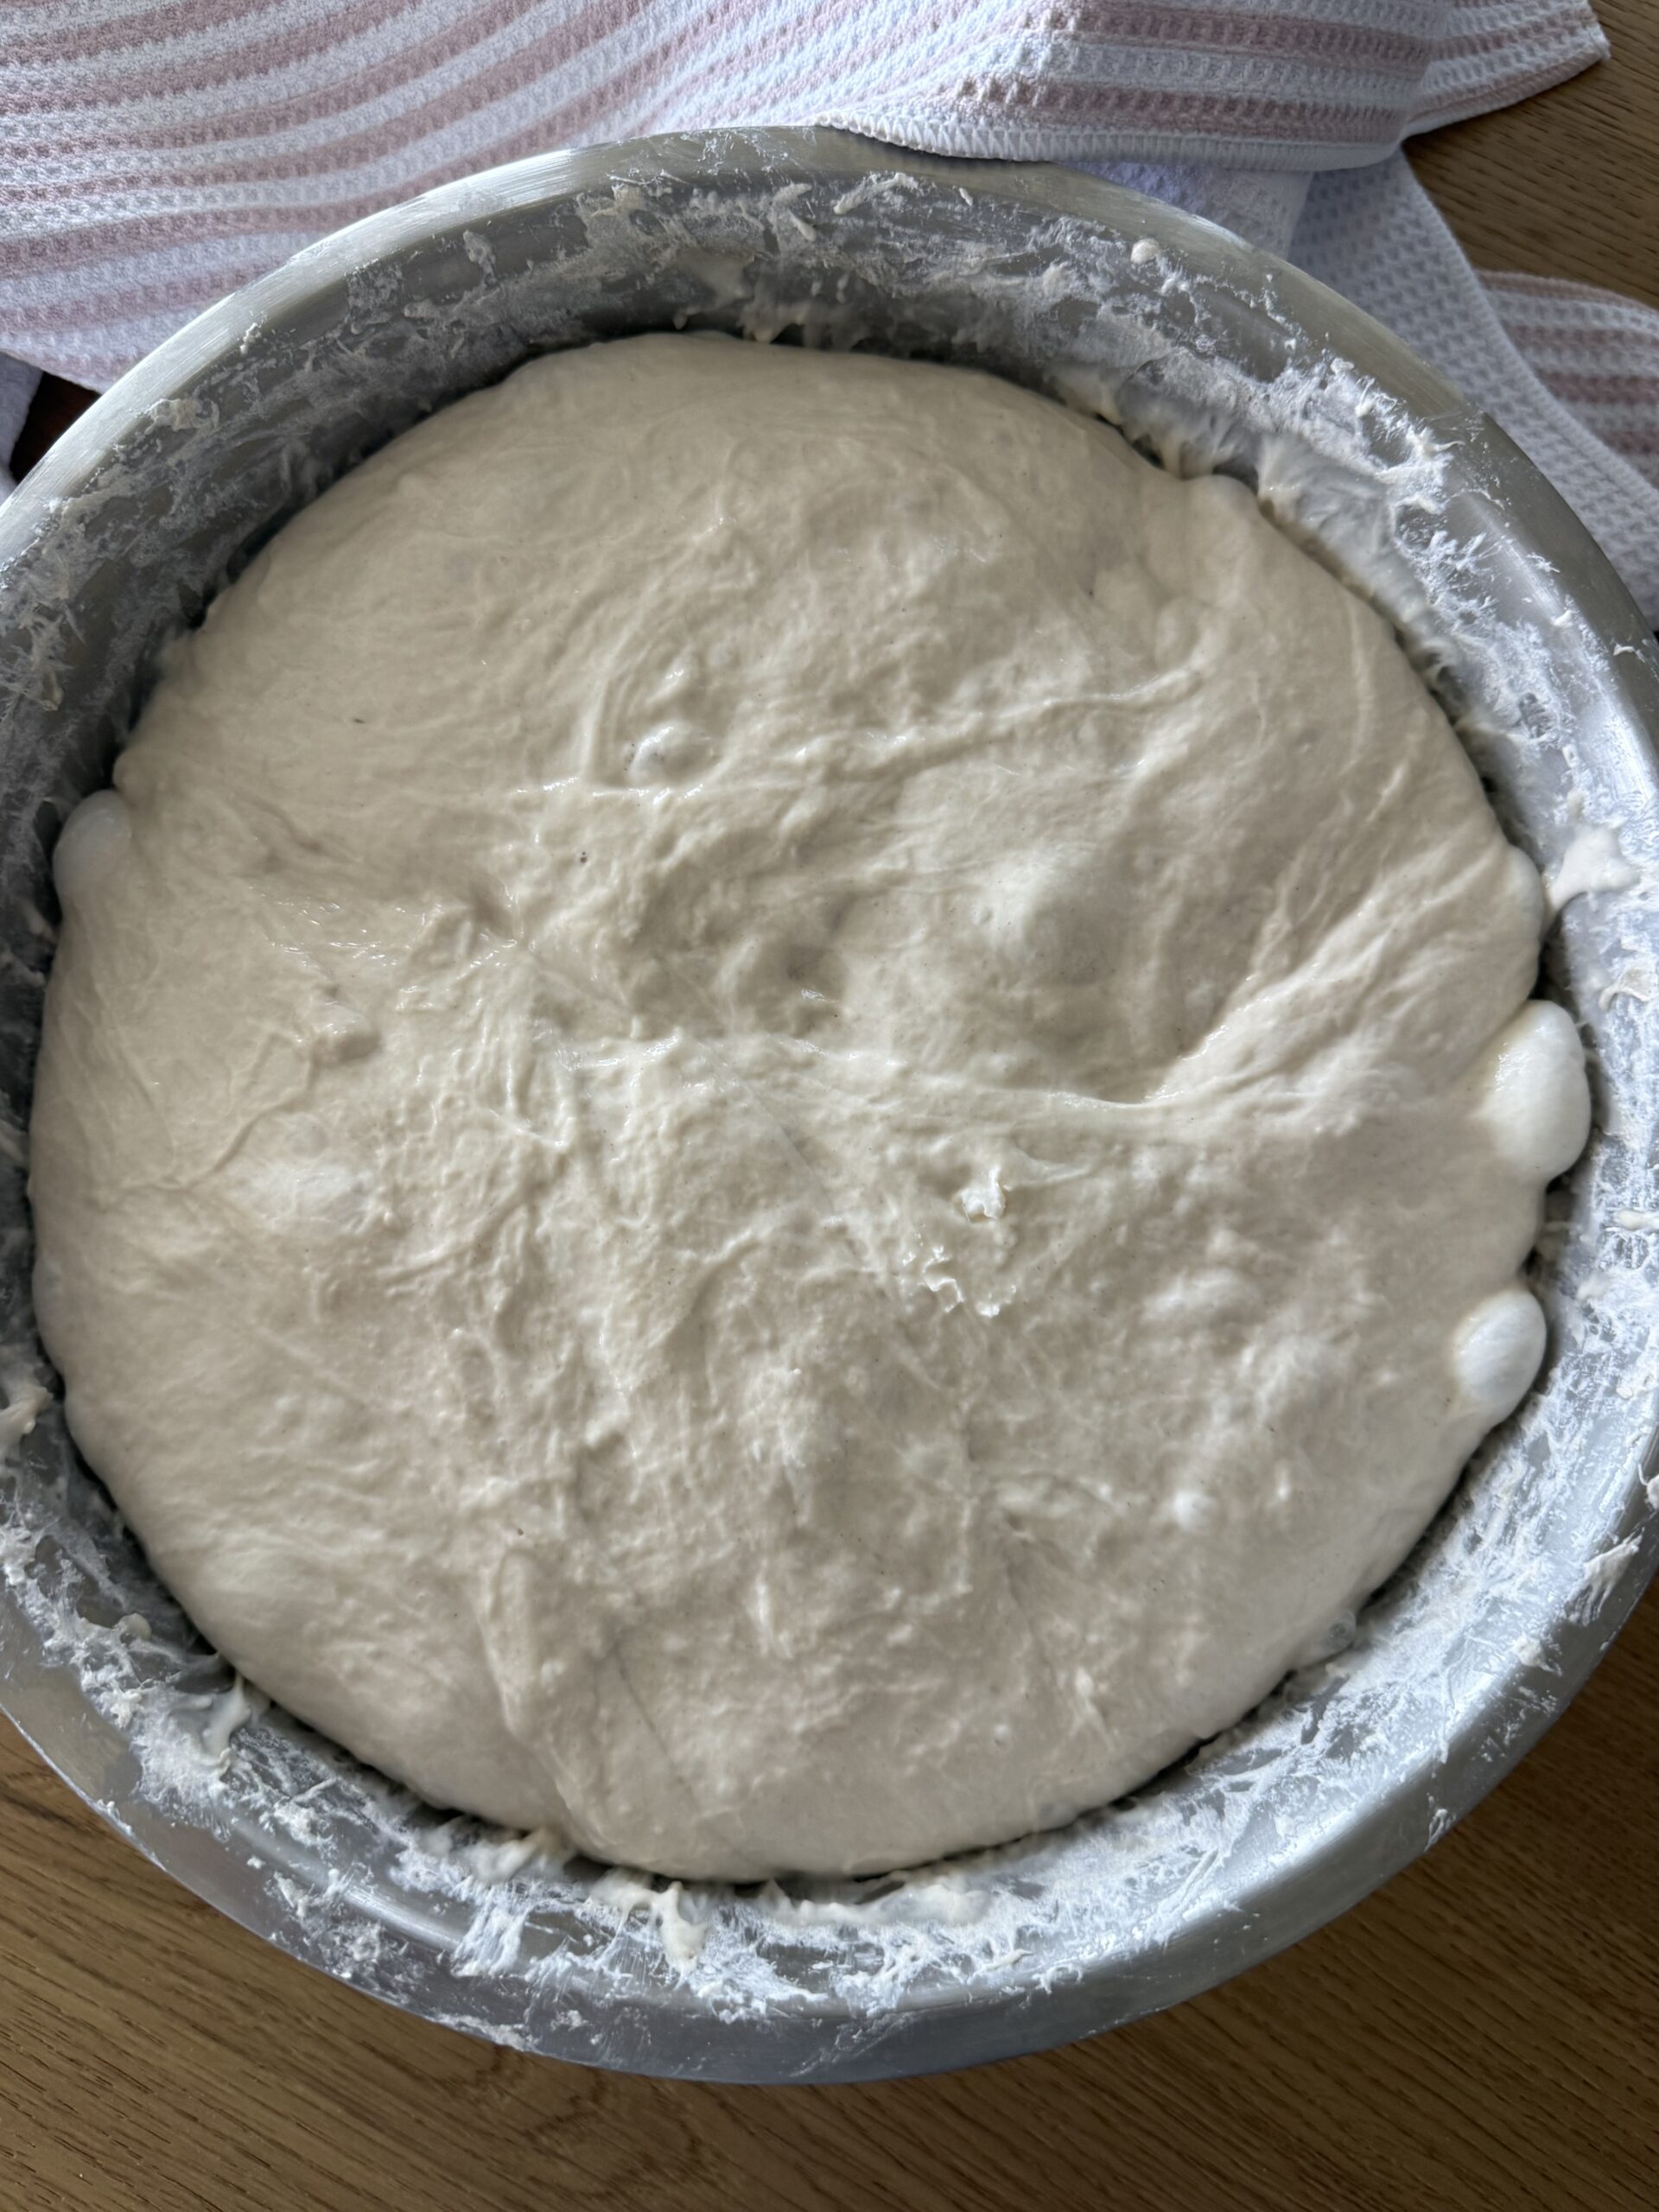
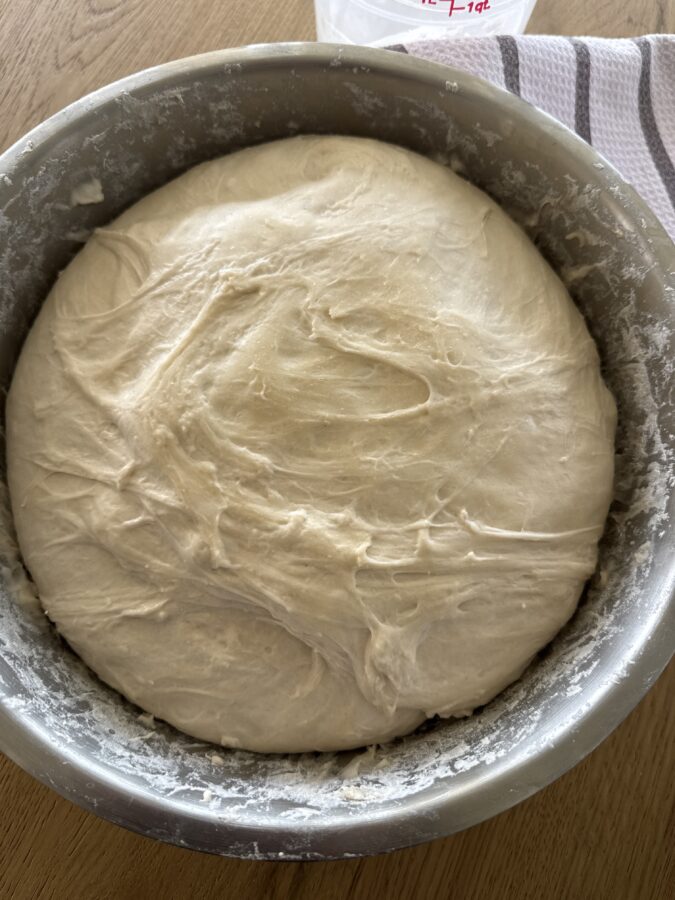
Cover the dough and allow it to rise at room temperature until doubled and slightly jiggly.
The timing here will vary depending on your kitchen temperature. This was probably the hardest part for me to learn because there’s not an exact timer for it.
Step 4: Shape the Dough
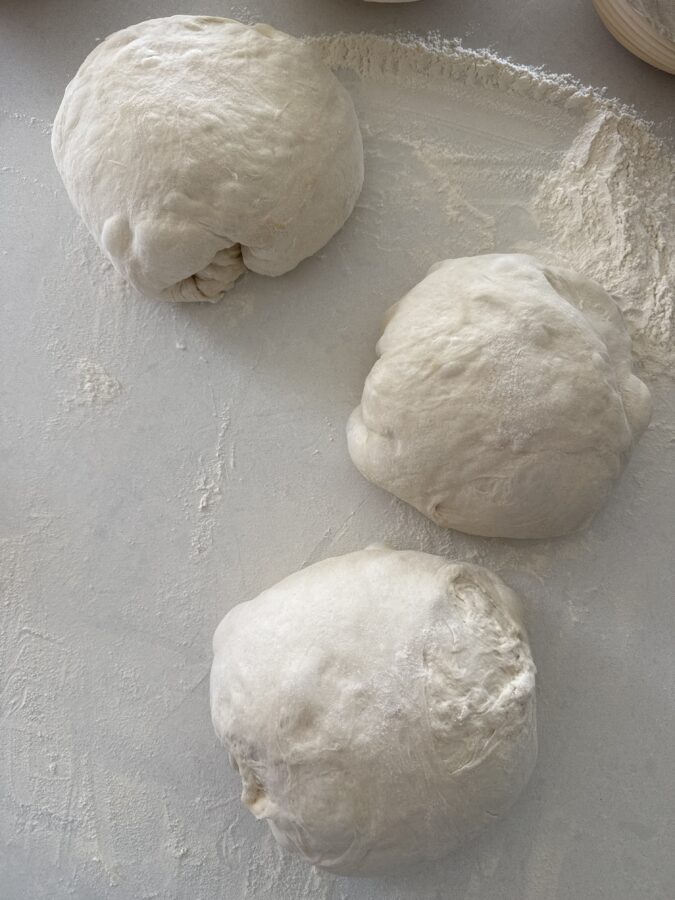
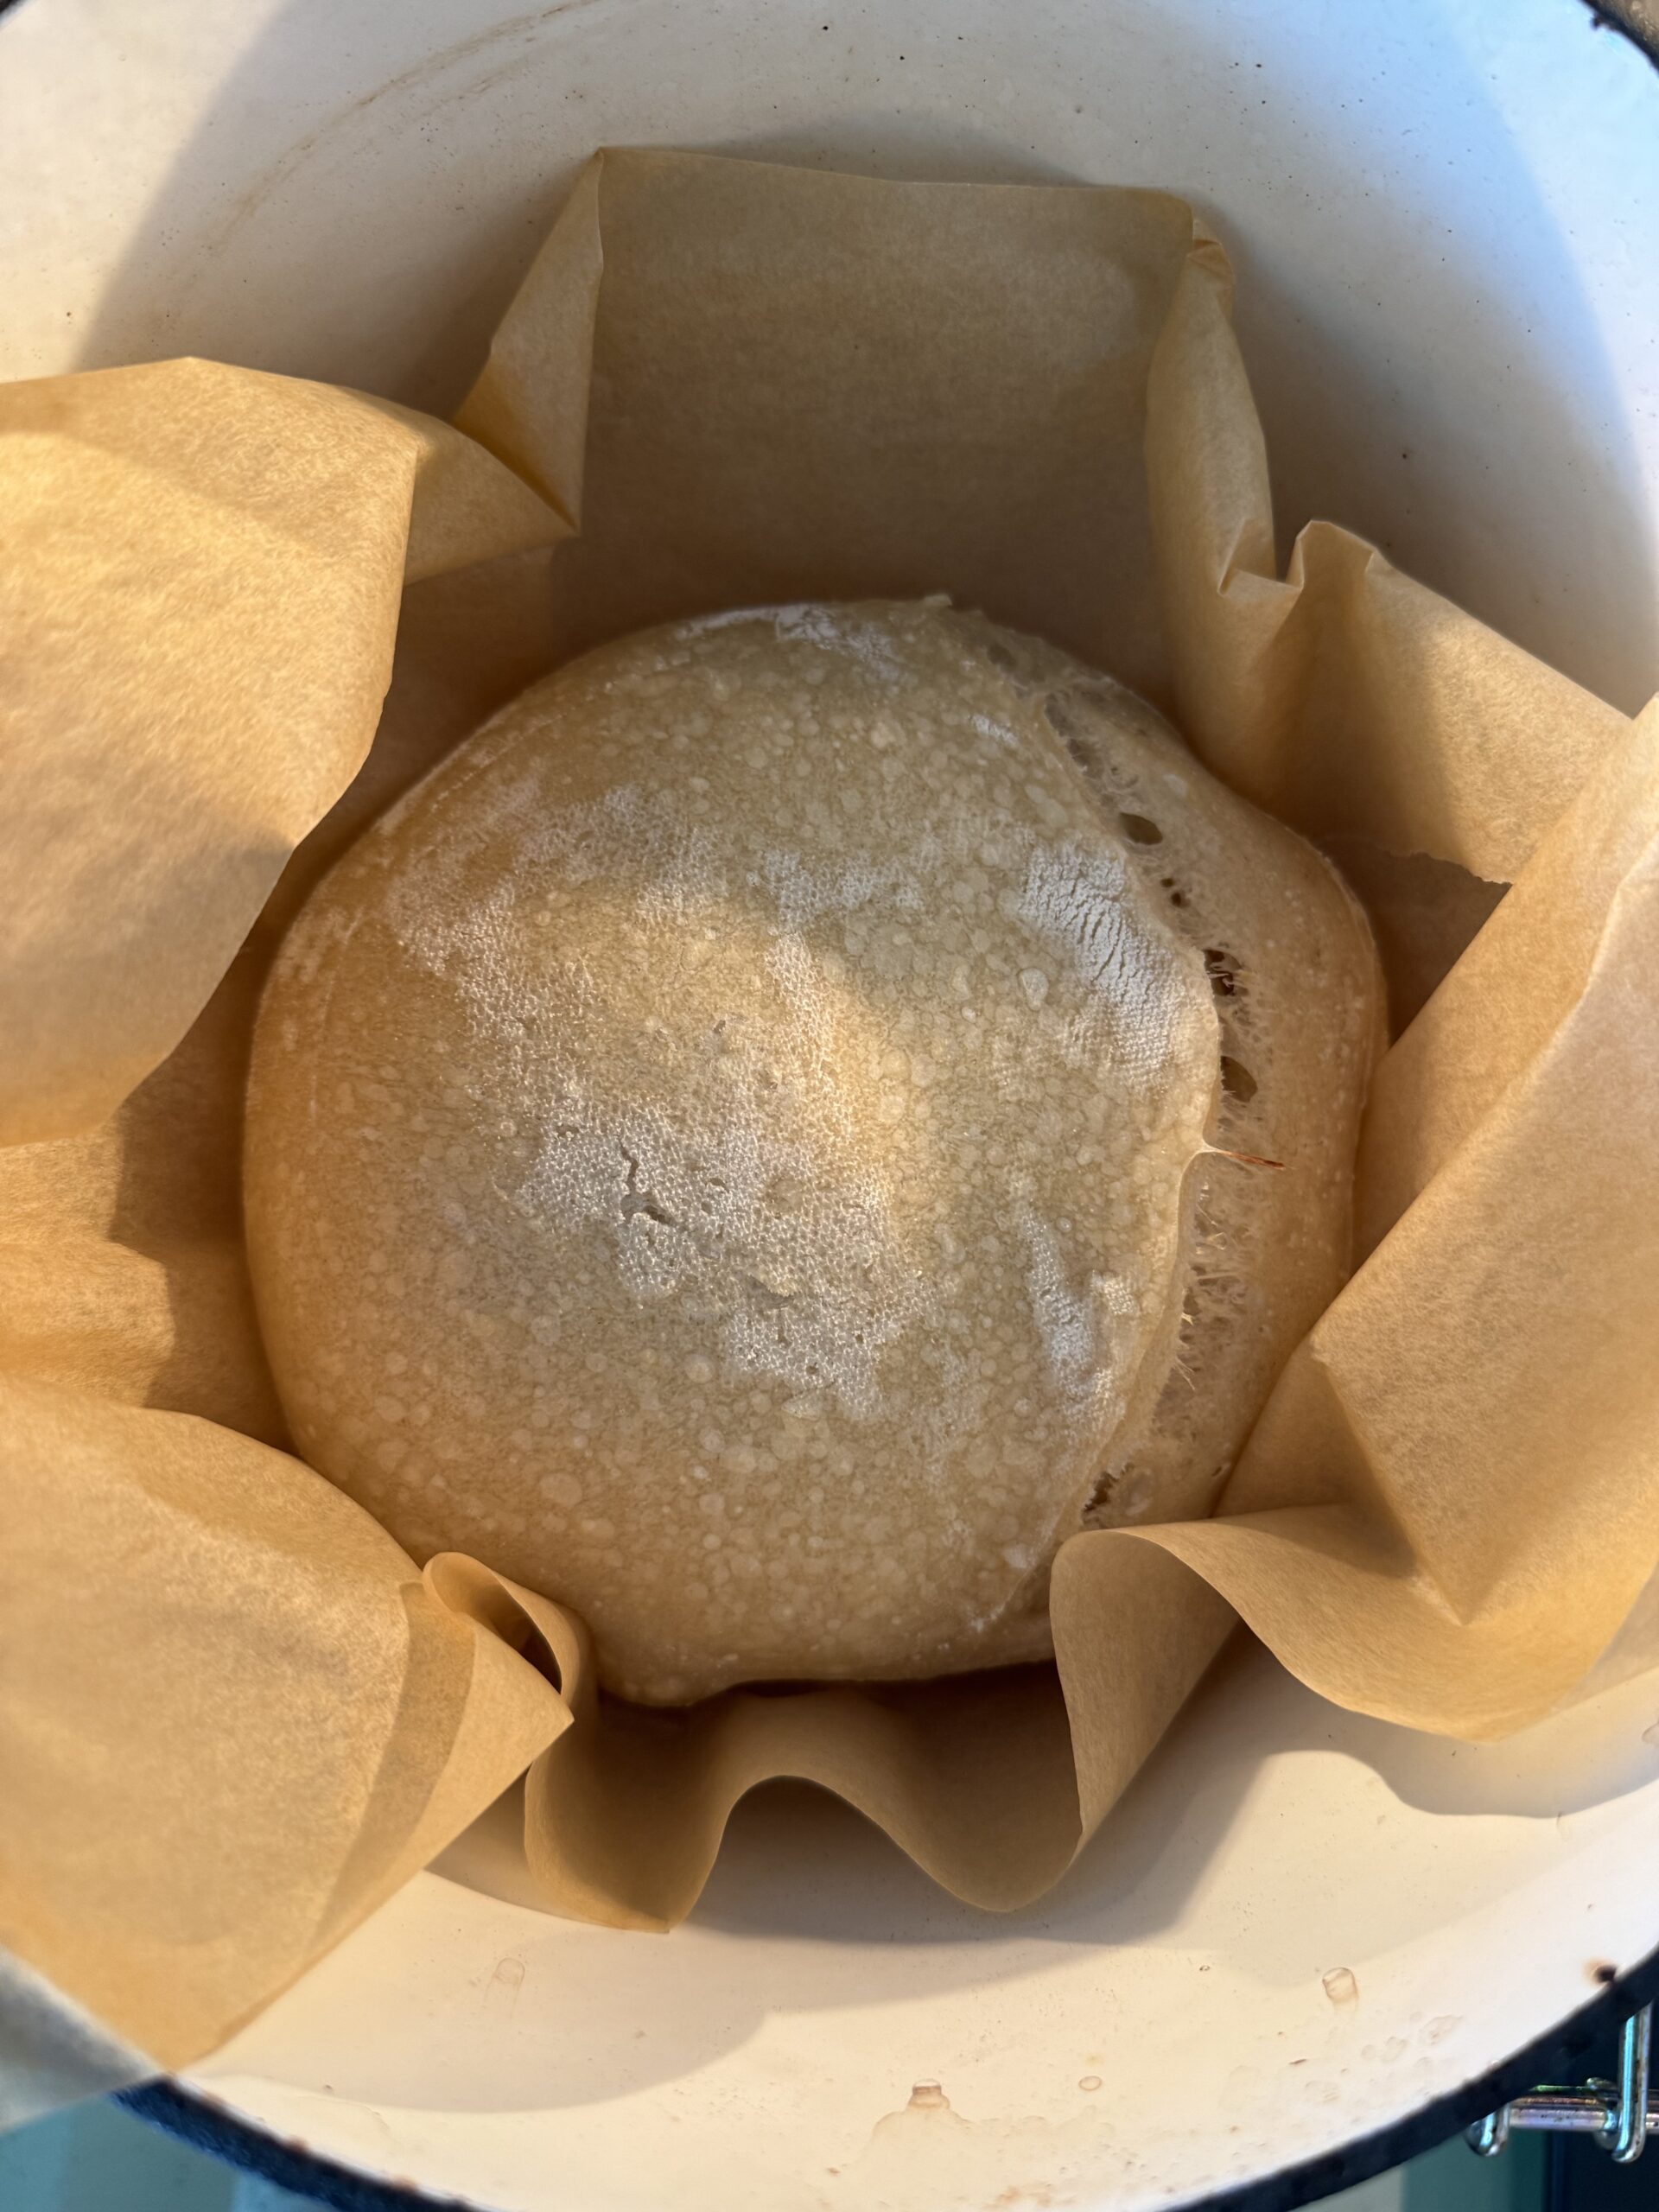
Transfer the dough onto a lightly floured surface and shape into a round loaf.
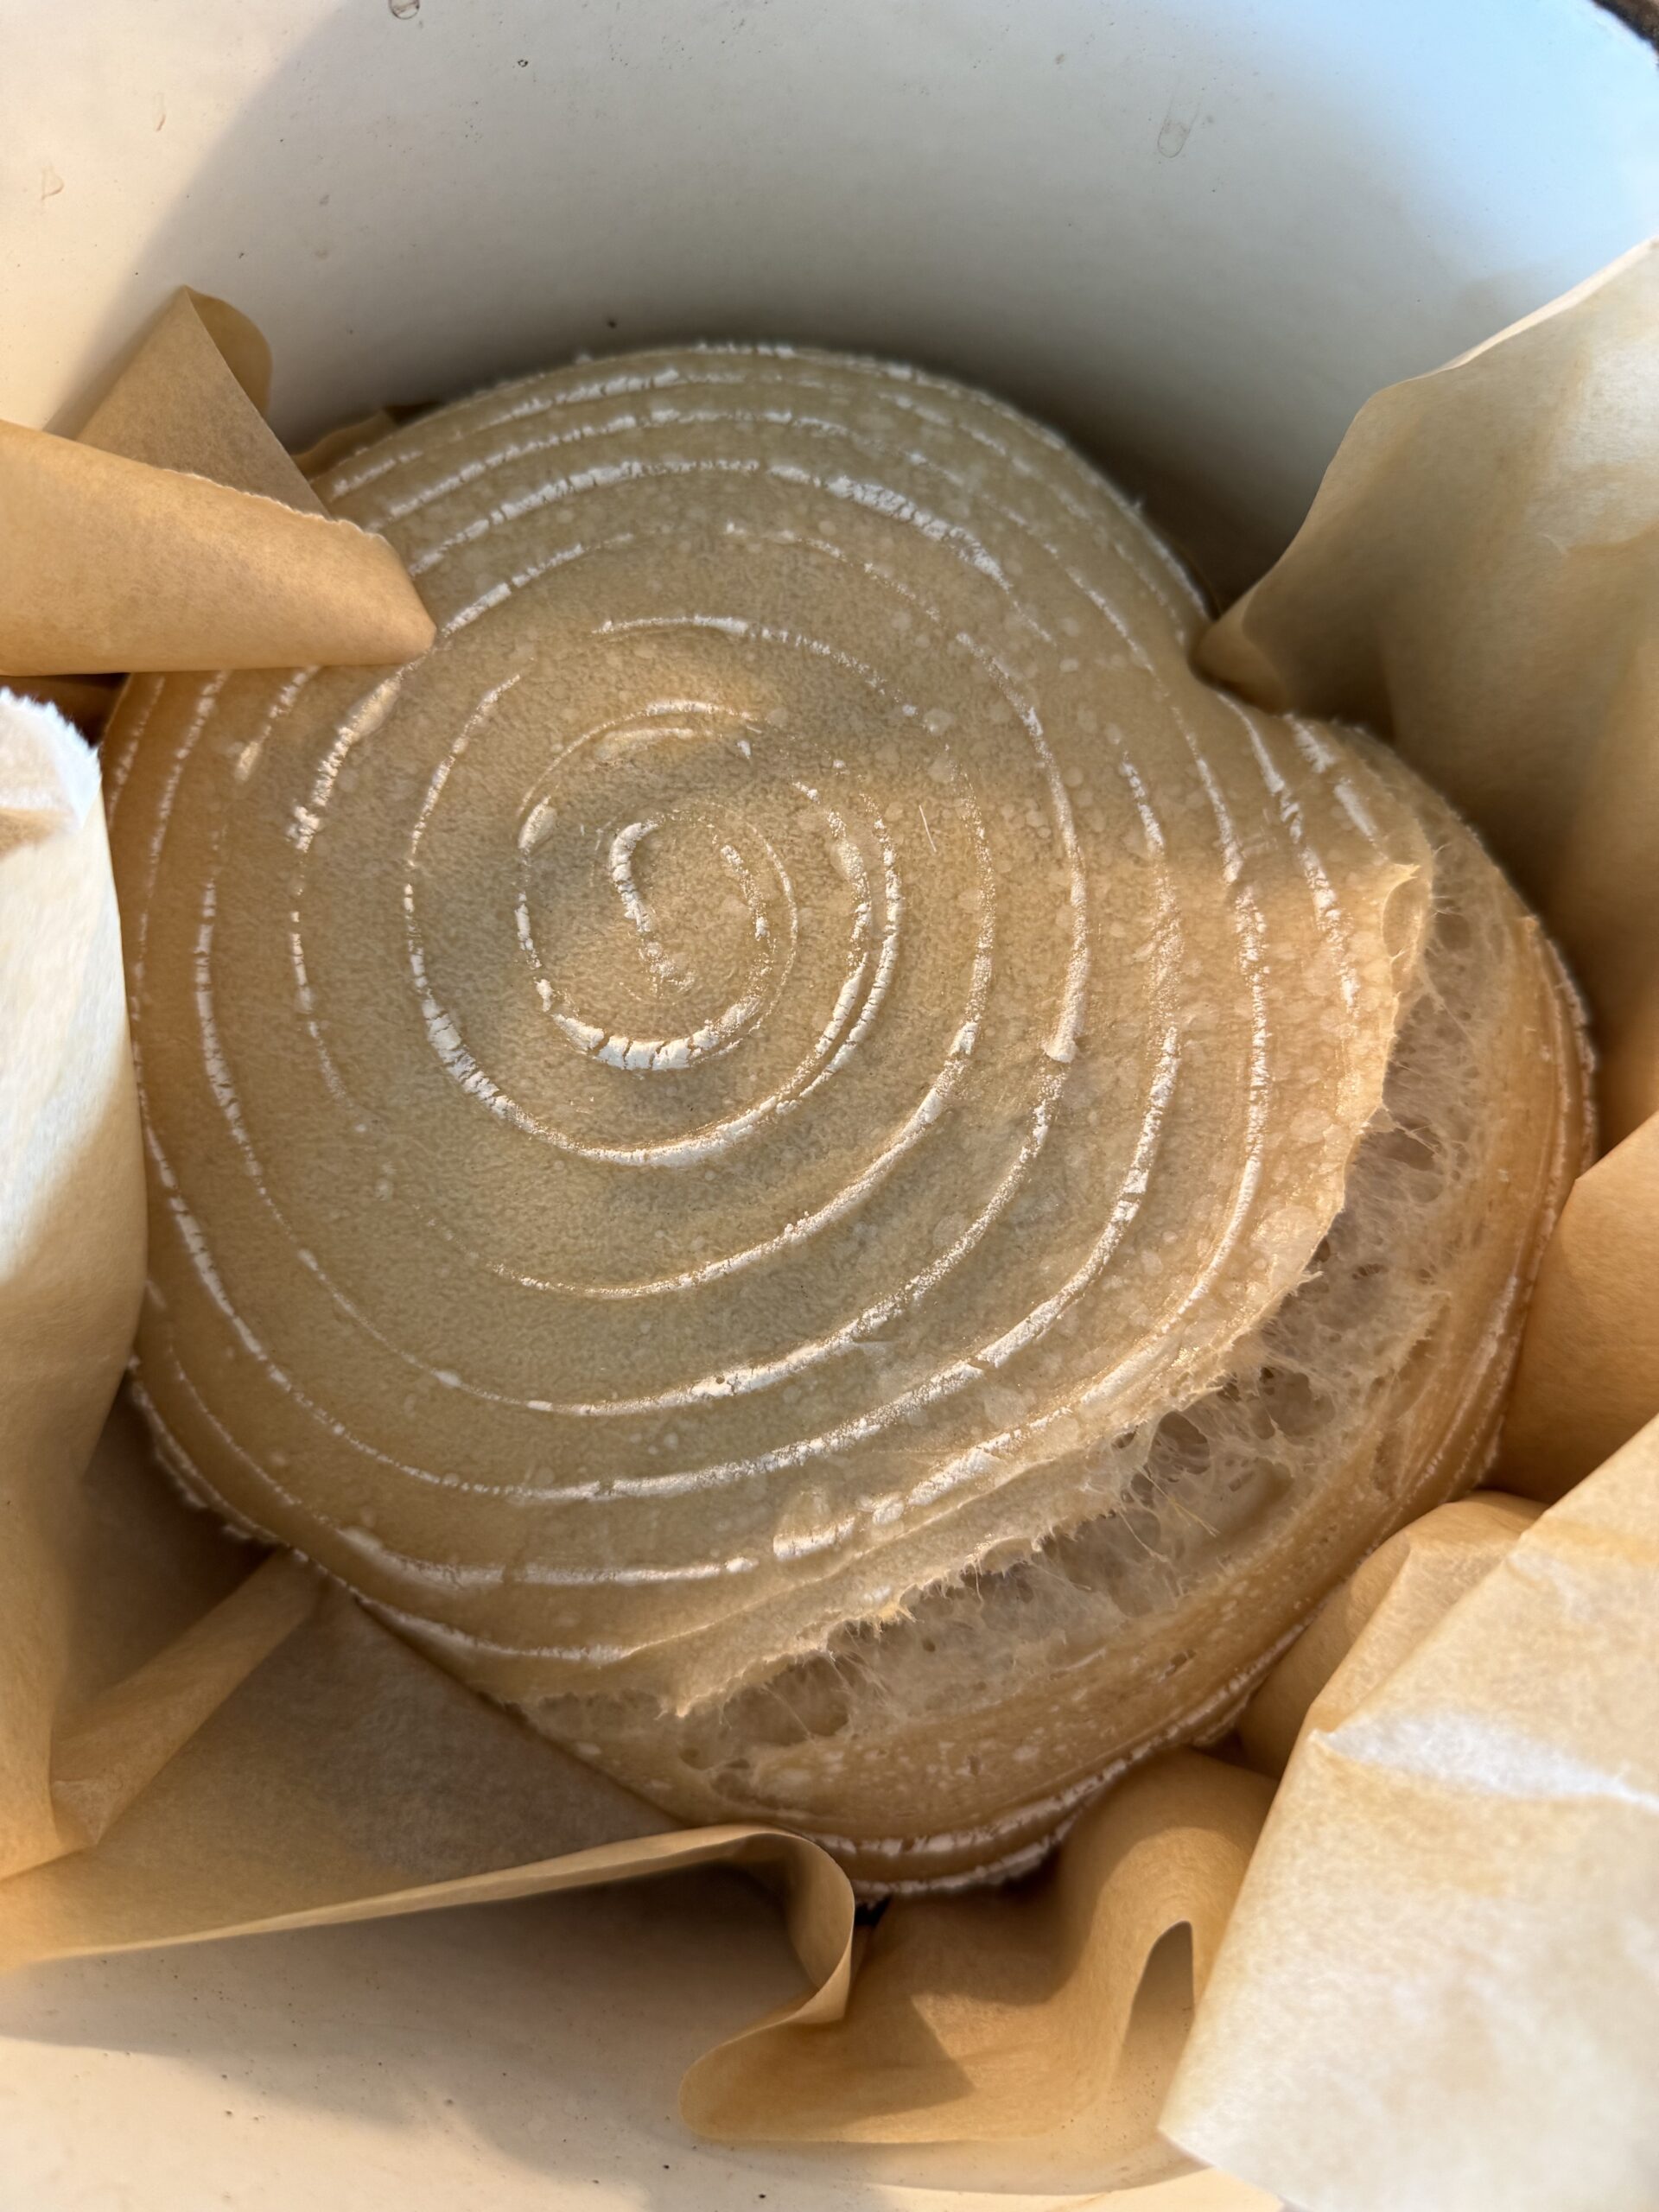
Using a dough scraper, place into a floured proofing basket or bowl lined with a floured tea towel.
Step 5: Cold Proof Overnight
Cover and refrigerate overnight.
This was one of the biggest game changers for me. The cold dough is much easier to score and helped improve my oven spring.
Step 6: Bake
Preheat your Dutch oven at 475° for at least 30 minutes.
Transfer dough onto parchment paper, score the top using a bread lame, and carefully place into the hot Dutch oven.
Bake covered for:
Then remove the lid and reduce the temperature:
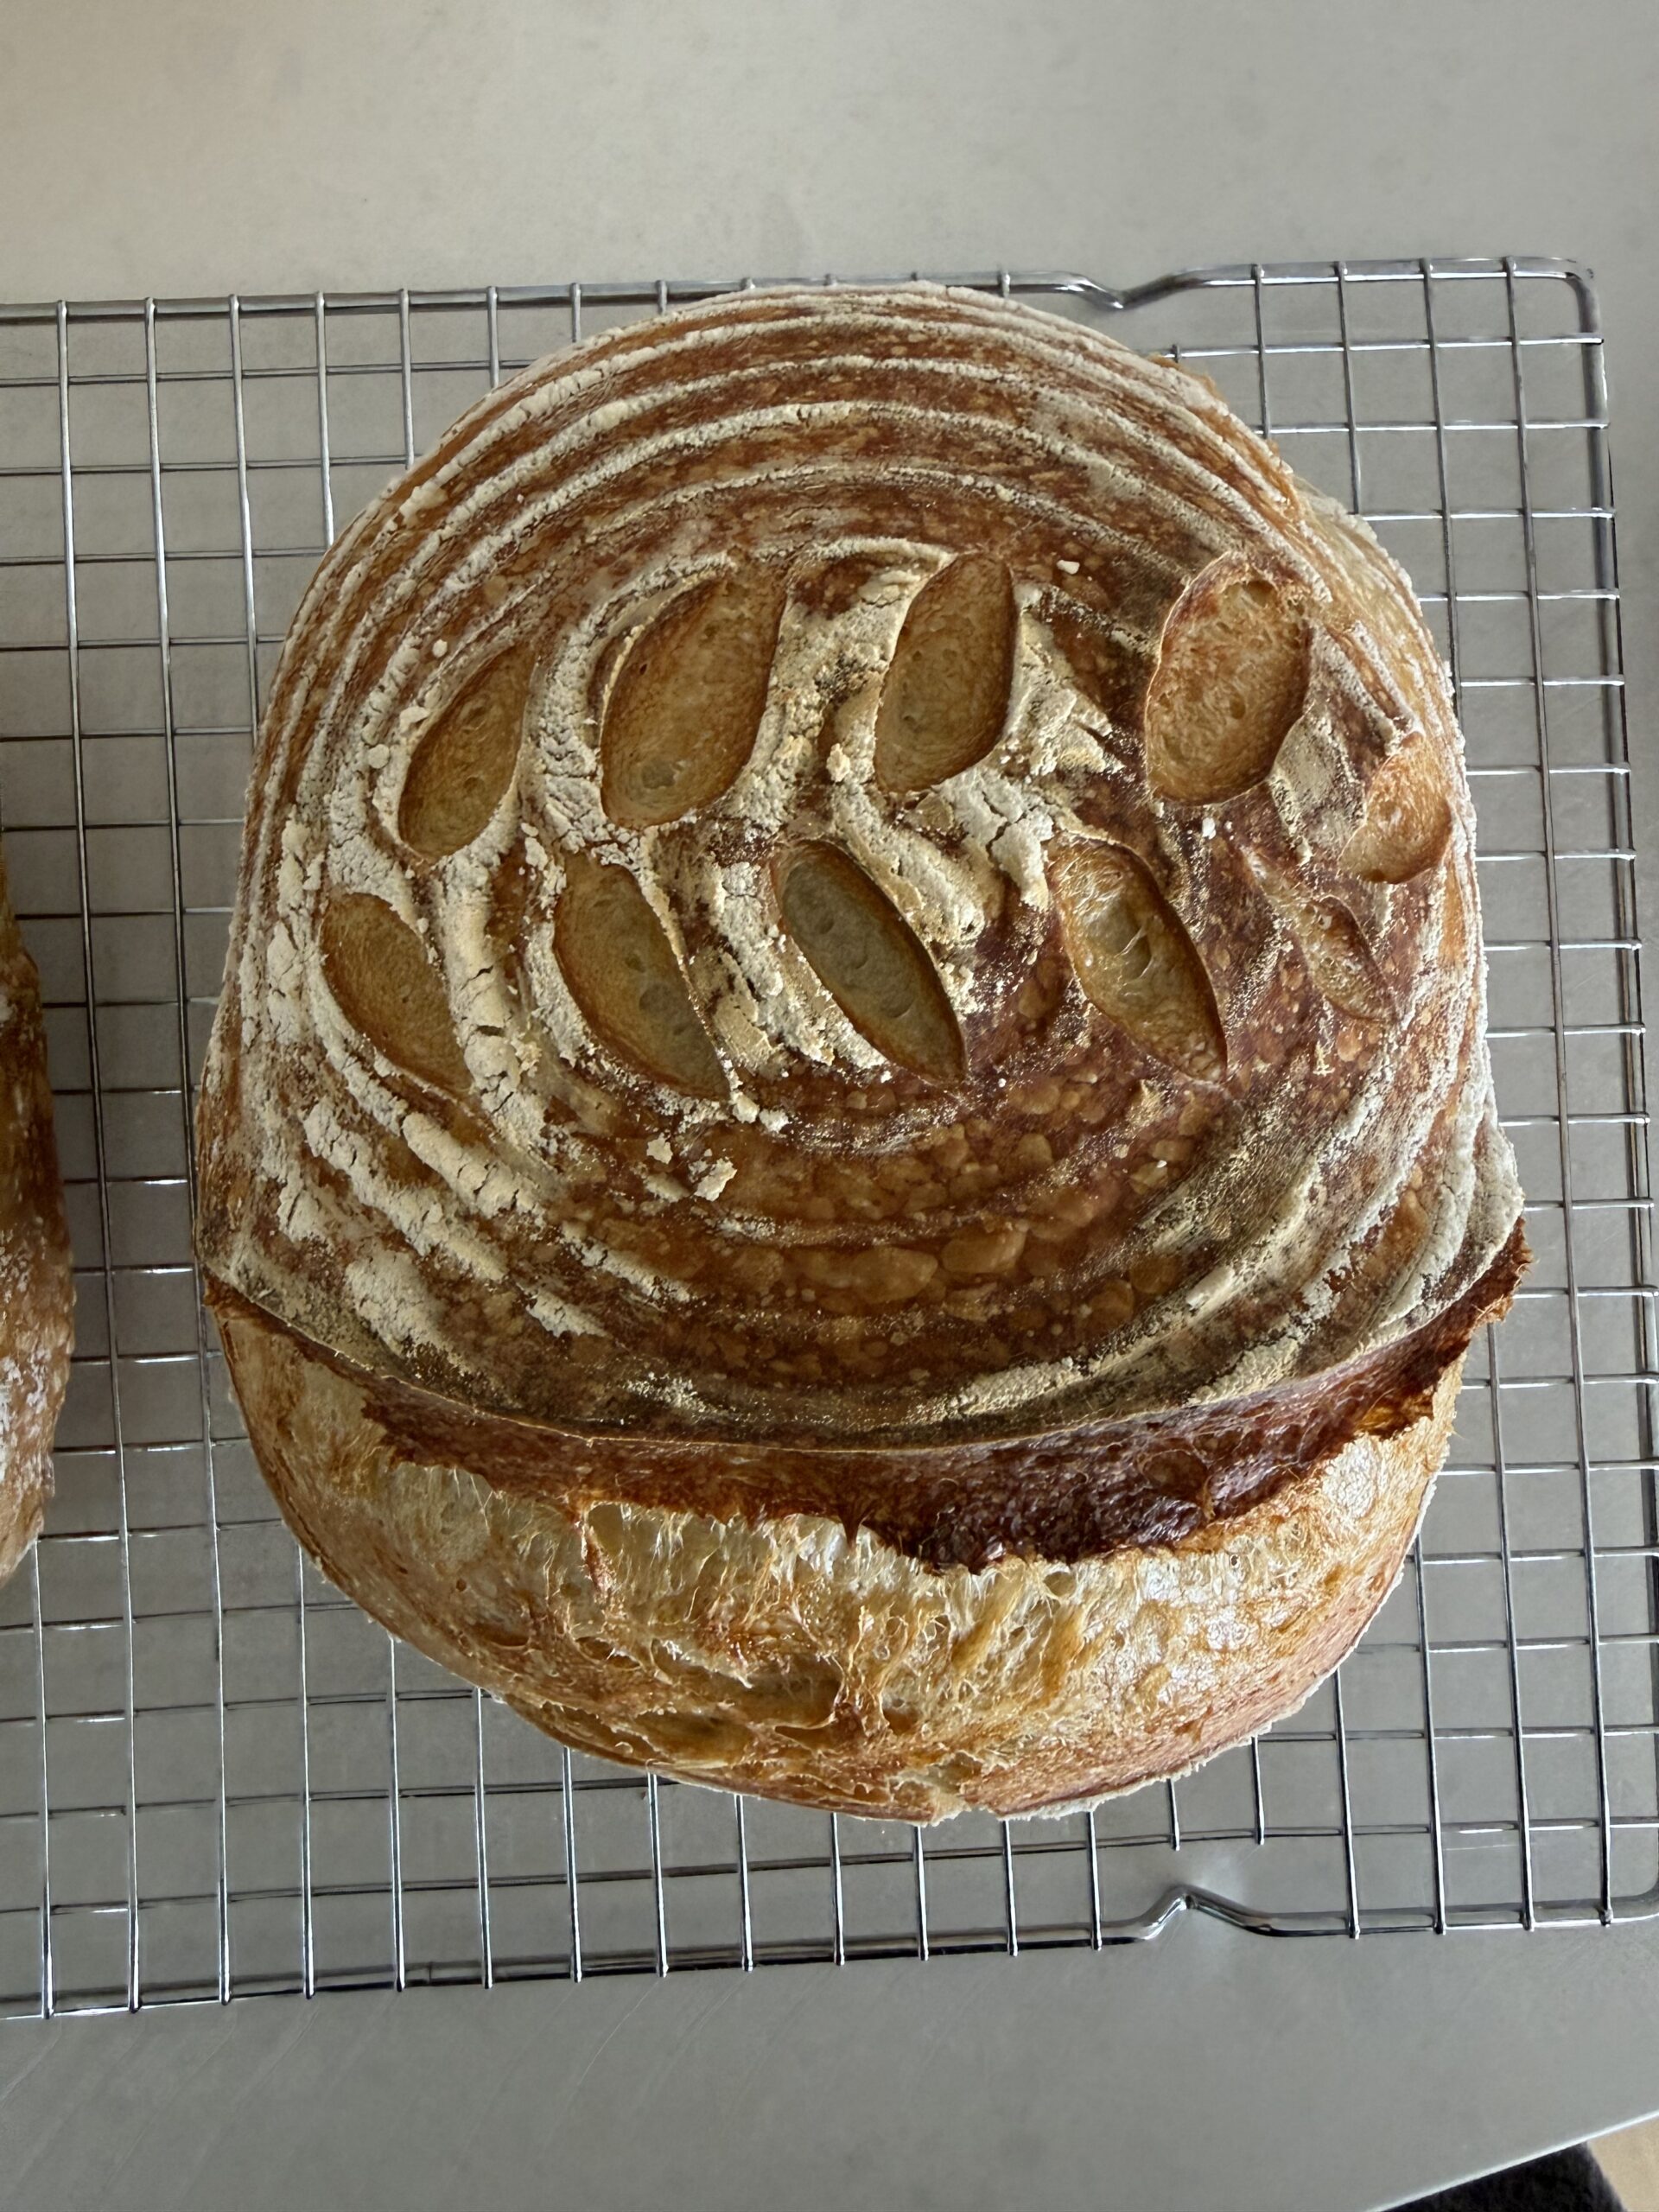
Bake until the crust is deep golden brown.
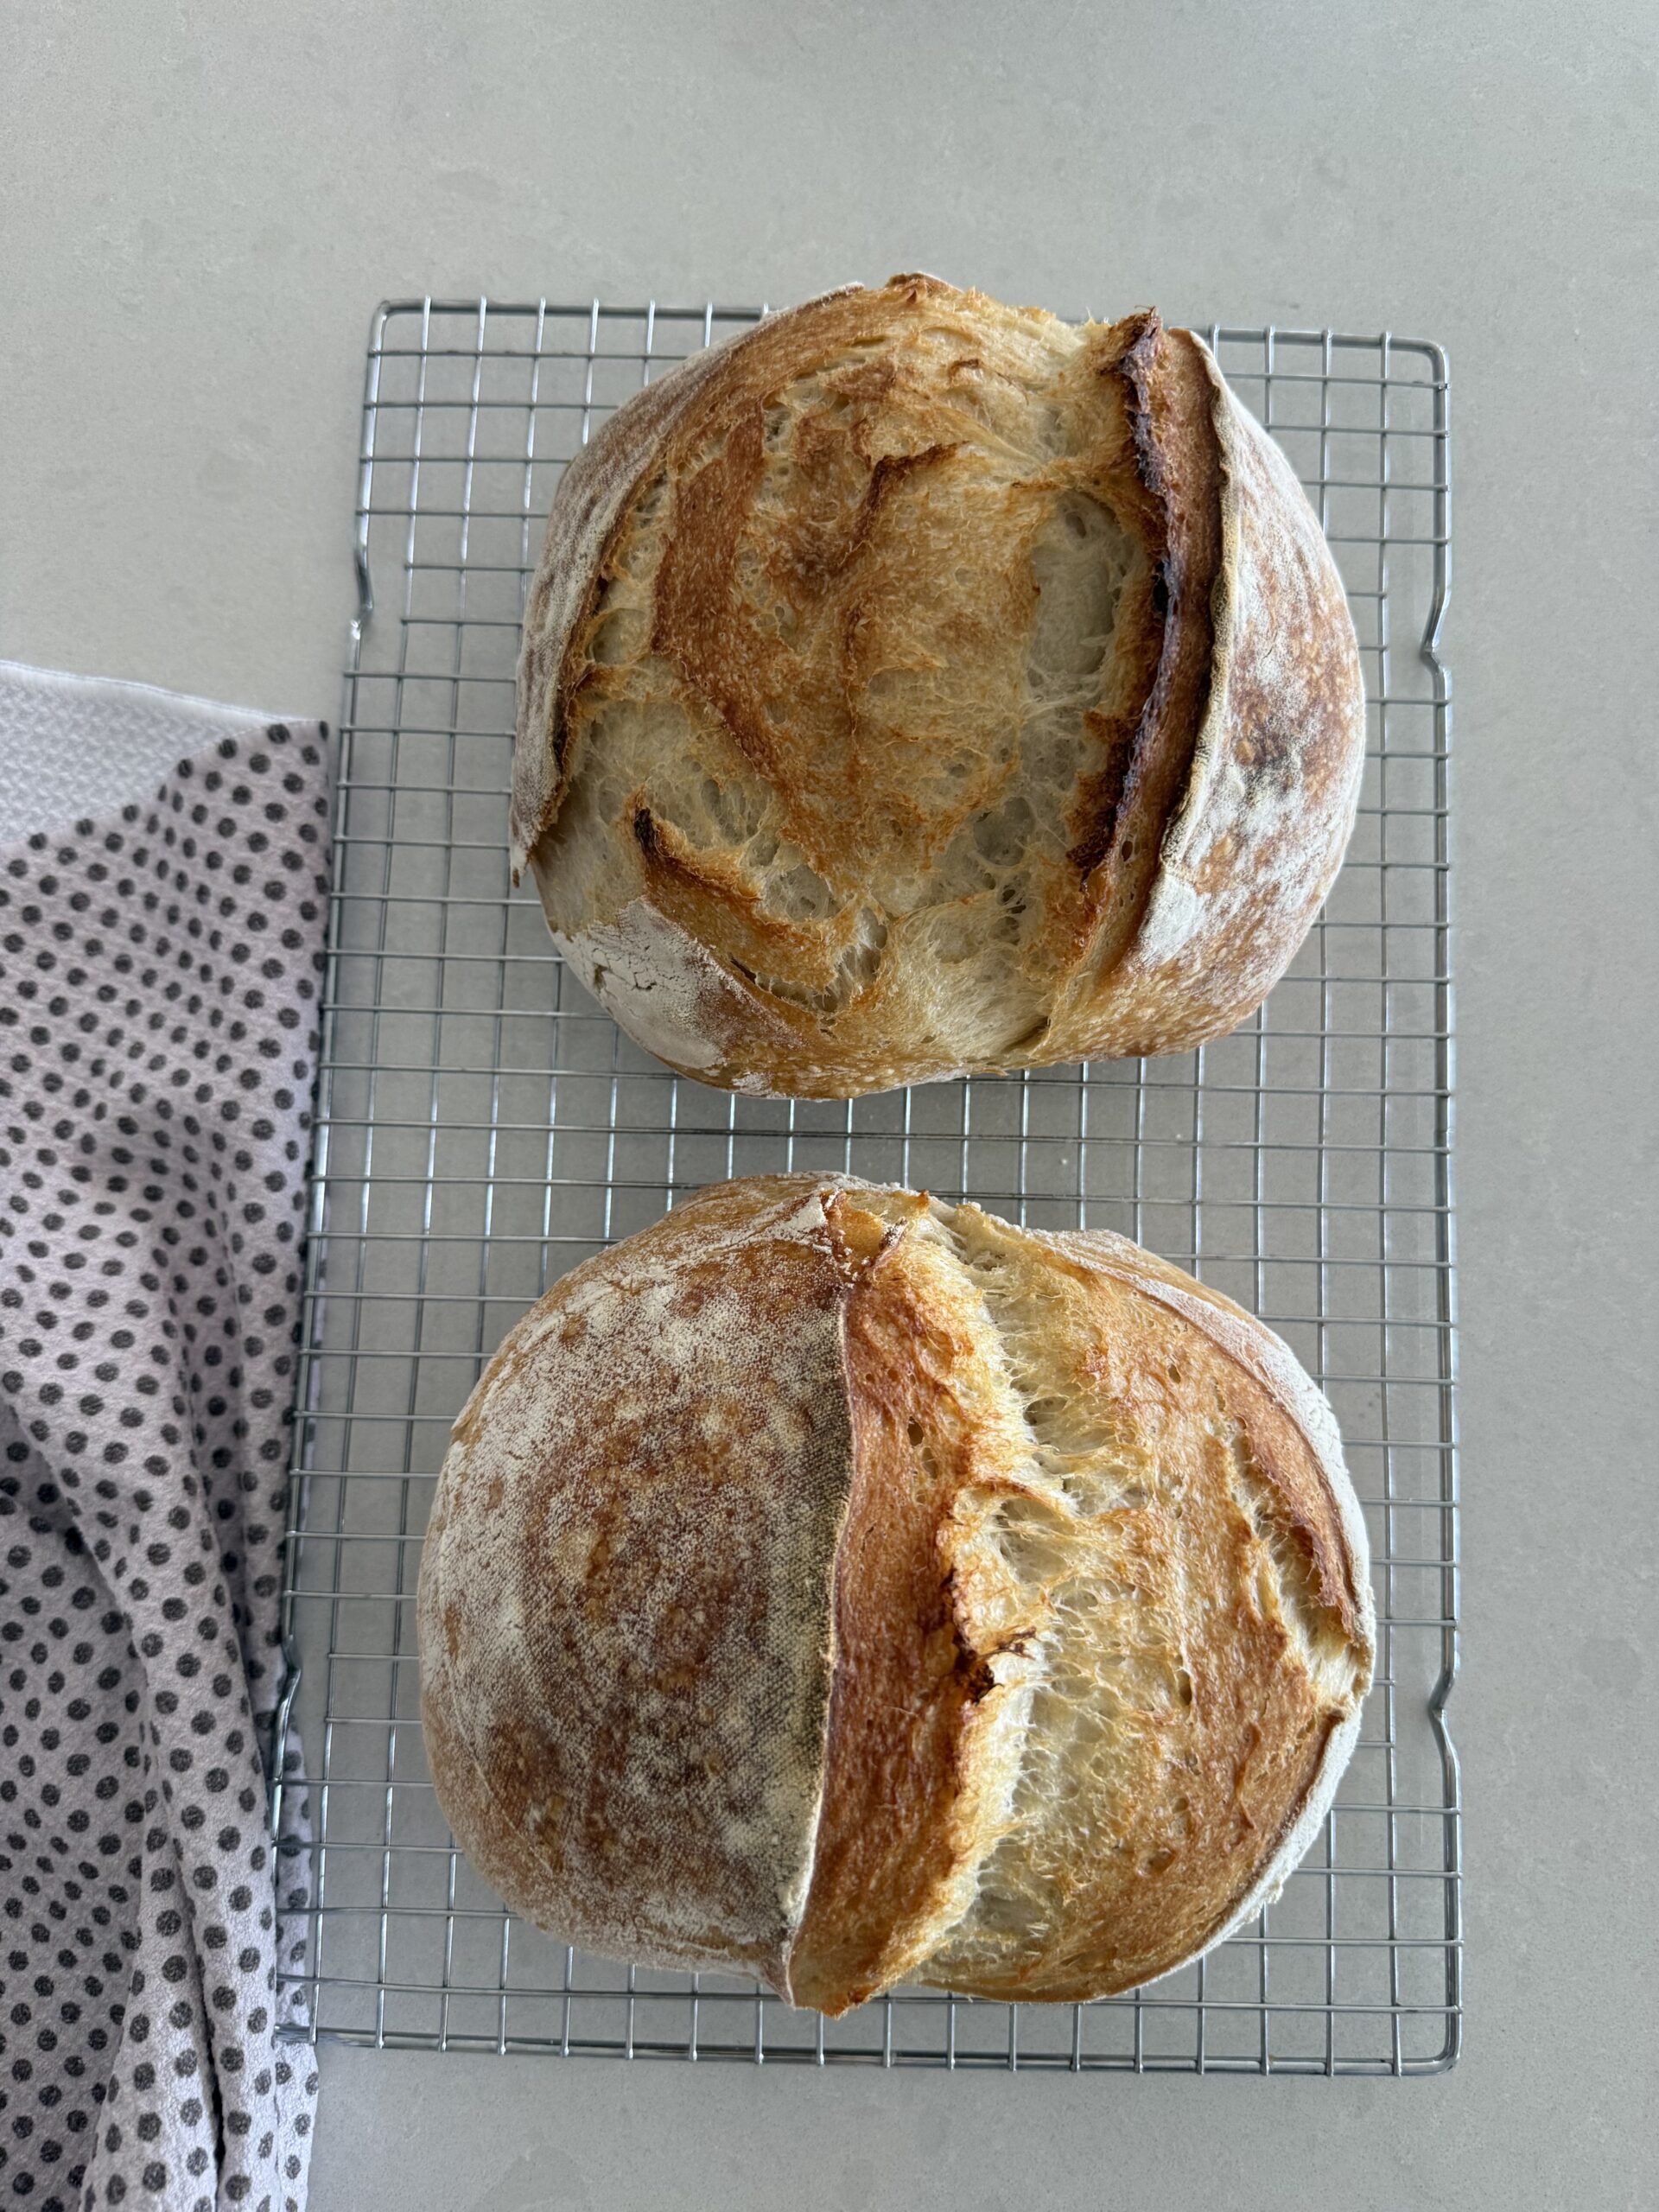
Allow the bread to cool completely before slicing.
(Which is harder than it sounds.)
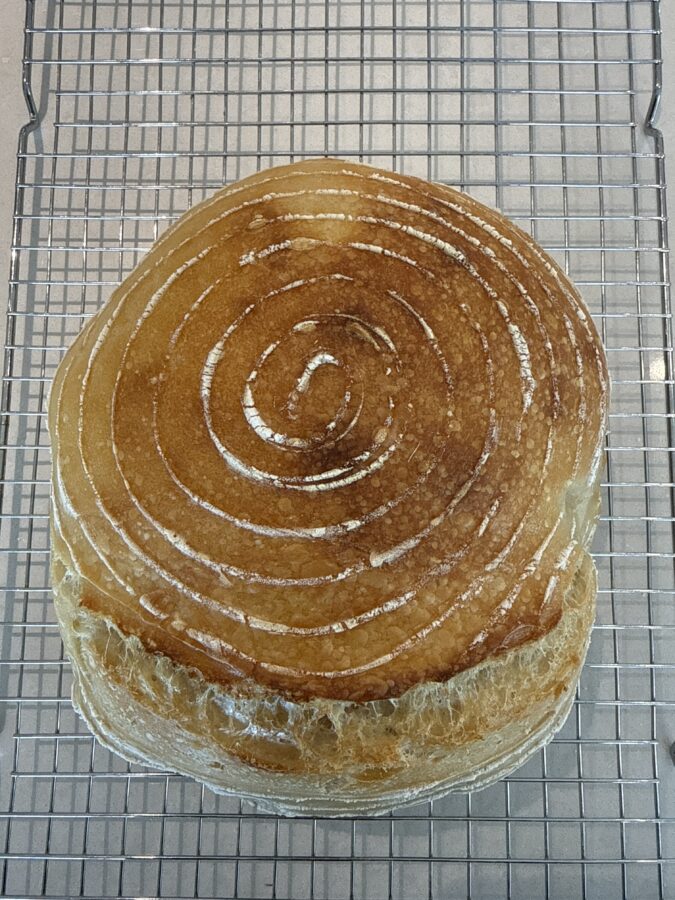
Did you make this recipe? i’d love to see! Tag me @jennycookies on Instagram!
My Best Beginner Sourdough Tips
1. Use a Kitchen Scale
Measuring ingredients by weight using a kitchen scale made my loaves so much more consistent than using measuring cups.
2. Don’t Get Discouraged by the First Loaf
My biggest improvement came from repetition, not perfection.
Each loaf taught me something different.
3. Cold Dough is Easier to Score
Once I started proofing overnight in the fridge, scoring became so much easier and cleaner.
4. A Hot Dutch Oven Really Matters
The steam created inside the Dutch oven helps develop that beautiful crust and oven spring.
5. Your Kitchen Temperature Changes Everything
This was one of the trickiest parts for me to understand as a beginner. Warmer kitchens move much faster than colder ones.
6. Don’t Overcomplicate It
There’s a lot of advanced sourdough content online that can make it feel intimidating. Start simple and focus on consistency first.
Signs Your Dough Is Ready
Example Beginner Sourdough Schedule
(What Actually Worked Best for Me)
9 PM – Feed starter
Leave covered on the counter overnight.
9 AM – Mix dough
Mix active starter, water, and flour until shaggy. Let rest 30 minutes.
9:30 AM – Add salt + finish mixing
10 AM – Stretch & fold #1
10:30 AM – Stretch & fold #2
11 AM – Stretch & fold #3
11:30 AM – Stretch & fold #4
11:30 AM–3:30 PM – Bulk fermentation
Leave covered on the counter until dough looks puffier, smoother, and slightly jiggly.
3:30 PM – Divide + pre-shape
Shape into loose rounds and let rest 20 minutes.
Around 4 PM – Final shape
Create tension and place into floured proofing bowls.
Overnight – Cold proof in fridge
Next morning – Score + bake
Bake in a preheated Dutch oven:
475° covered for 20 minutes
440° uncovered for about 20–25 minutes
Beginner Sourdough Tools I’ve Been Loving
These are the sourdough tools that genuinely helped make the process easier for me as I learned:
My Must-Haves
Optional but Nice to Have
I’ve linked everything here for you!
troubleshooting sourdough
Why is my sourdough flat?
Flat sourdough usually comes down to one of three things: underproofing, overproofing, or weak dough structure.
If the dough didn’t ferment long enough, it may not have built enough strength or air before baking. But if it fermented too long, the dough can collapse and spread instead of holding its shape.
Another big factor is stretch and folds. Those folds help strengthen the dough, and skipping them can lead to flatter loaves.
Cold proofing overnight also helped me a lot because colder dough is easier to shape and holds structure better going into the oven.
Why didn’t my bread rise?
The most common reason is an inactive starter.
Your starter should look bubbly, active, and doubled in size before using it. If it’s sluggish, your bread probably will be too.
Kitchen temperature matters a lot too. Cold kitchens slow fermentation down significantly, which means your dough may just need more time than the recipe suggests.
And honestly? Sometimes beginners pull the dough too early because they’re nervous about overproofing it. I definitely did.
The dough should look puffier, softer, and slightly jiggly before shaping.
Why is my crumb gummy?
Usually gummy sourdough means one of two things:
(Which is painfully hard because warm sourdough smells incredible.)
The inside continues cooking while it cools, so if you cut into it too soon, the crumb can turn dense and gummy.
Another possible issue is underfermentation. Dough that hasn’t developed enough structure can create a tighter, wetter interior.
I’ve found baking until the crust is a deep golden brown helps a lot.
Why is scoring difficult?
Warm dough is MUCH harder to score cleanly.
Once I started cold proofing my dough overnight in the fridge, scoring became dramatically easier.
A sharp bread lame also makes a huge difference. Dull blades drag through the dough instead of slicing cleanly.
And honestly, scoring just takes practice. My first few loaves looked chaotic.
Still tasted good though.
Why is my crust too hard?
This can happen if the loaf is baked too long or if there’s not enough moisture during baking.
The covered portion of baking inside a Dutch oven helps create steam, which keeps the crust from hardening too quickly.
I’ve also noticed that letting the bread cool uncovered on a wire rack helps prevent the crust from getting overly tough from trapped moisture.
And sometimes… homemade sourdough just naturally has a heartier crust than store-bought bread. That’s part of the charm.
more frequently asked questions
One of my favorite parts of learning sourdough has been realizing how satisfying it feels to learn a slower skill again.
It takes patience, repetition, and a little trial and error, but there’s something really rewarding about pulling a loaf out of the oven that you made completely from scratch.
If you’ve been intimidated to try sourdough, this is your sign to start anyway.
And if you’re already deep into the sourdough world, I’d love to hear your best tips, favorite tools, or recipes too.
Have you started your sourdough journey? How’s it going? Let me know!

This post contains affiliate links. I only recommend products I actually use and love!
more like this
recipes




Are we friends Yet?!
Sign up to receive my favorite recipes, party ideas and latest finds.