
Salted Caramel Chocolate Cake with Caramel Buttercream
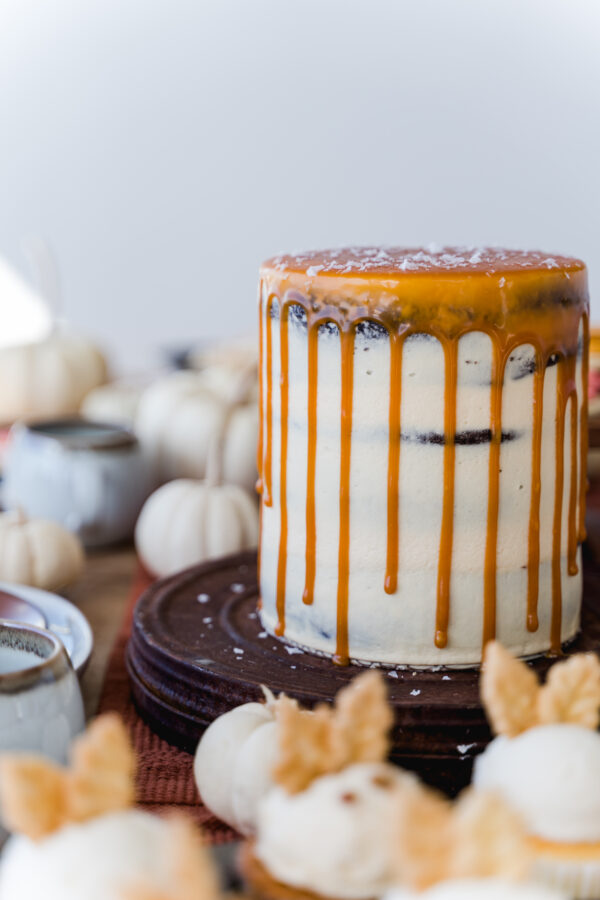
Chocolate and caramel might be one of my favorite dessert combinations, and this Salted Caramel Chocolate Cake is such a beautiful way to bring them together!
Layers of rich, moist chocolate cake are filled and frosted with homemade caramel buttercream, then finished with a generous drizzle of salted caramel sauce and a sprinkle of flaky sea salt.
The combination of sweet caramel, rich chocolate and a little salt is so good. And while the finished cake looks like something you’d find in a bakery, you can absolutely make it at home.
This cake is perfect for fall gatherings, Thanksgiving dessert tables, birthdays or any occasion that calls for a really good chocolate cake.
Why You’ll Love This Salted Caramel Chocolate Cake
There are a few things that make this cake extra special.
And the best part? You can make several of the components ahead of time, so you don’t have to do everything in one day.
What You’ll Need to Make Salted Caramel Chocolate Cake
This cake has three main components: chocolate cake, caramel buttercream and homemade salted caramel sauce.
Chocolate Cake Layers
For the base, I use my favorite homemade chocolate cake recipe.
The rich chocolate flavor pairs perfectly with the sweet caramel buttercream, and the soft cake layers make every bite delicious.
You’ll want enough cake batter for three tall 6-inch layers, or your preferred layer-cake size.
Homemade Salted Caramel Sauce
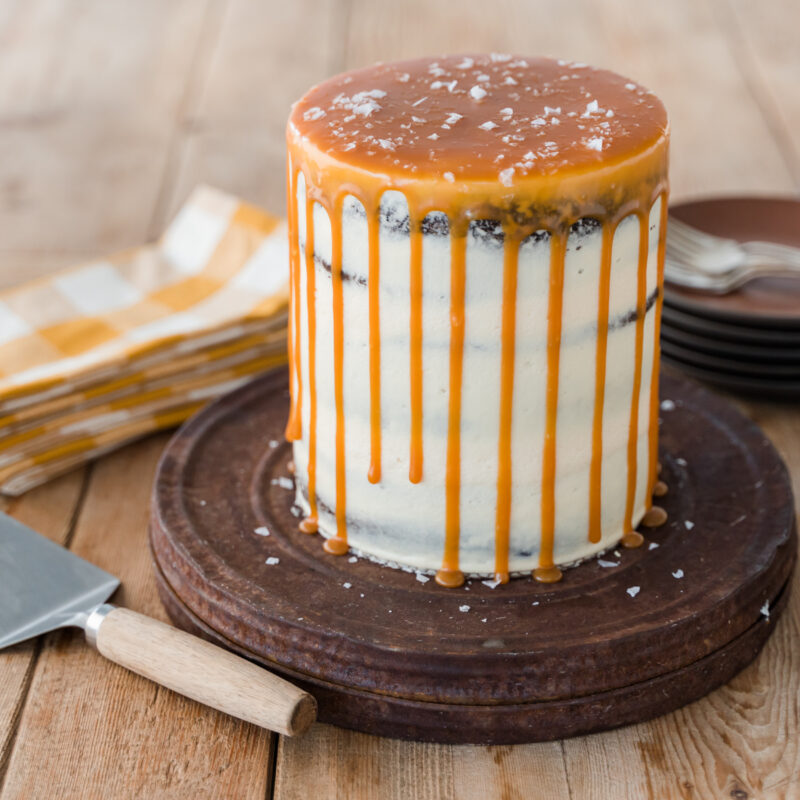
Homemade caramel is what gives this cake its delicious flavor.
We’ll use the caramel sauce in two different ways: mixed into the buttercream and drizzled over the finished cake.
I recommend making the caramel ahead of time so it has plenty of time to cool before decorating.
Make sure your caramel is completely cooled before adding it to the buttercream. Warm caramel can cause the frosting to soften or separate.
Homemade Caramel Buttercream
The buttercream is what brings everything together!
It’s a classic American buttercream made with butter, powdered sugar, vanilla and homemade caramel sauce.
The caramel gives the frosting a beautiful light golden color and a rich, buttery flavor that works so well with chocolate cake.
Homemade Salted Caramel Buttercream
Equipment
Ingredients
- 2 cups 4 sticks unsalted butter, softened
- 7 cups powdered sugar sifted
- 1/2 cup homemade caramel sauce completely cooled
- 2 teaspoons vanilla extract
- 1/2 teaspoon fine sea salt or to taste
- 1 –3 tablespoons heavy cream if needed
Instructions
- Add the softened butter to the bowl of a stand mixer fitted with the paddle attachment.
- Beat on medium-high speed for approximately 4–5 minutes, until the butter is very light, fluffy and pale in color.
- Scrape down the sides and bottom of the bowl.
- Reduce the mixer speed to low and gradually add the sifted powdered sugar, about 1 cup at a time.
- Mix until fully incorporated, scraping the bowl as needed.
- Pour in 1/2 cup of completely cooled homemade caramel sauce.
- Add the vanilla extract and sea salt.
- Mix on medium speed until the caramel is evenly incorporated into the buttercream.
- Increase the mixer speed to medium-high and beat for another 2–3 minutes until the buttercream is smooth and fluffy.
- If the buttercream is too thick, add heavy cream 1 tablespoon at a time until you reach your desired consistency.
- For a smooth cake finish, I recommend keeping the buttercream slightly firmer than you would for piping cupcakes.
- Turn the mixer to low speed and mix for 1–2 minutes to help remove larger air bubbles.
Notes
Tips for the Best Caramel Buttercream
Use room-temperature butter. Your butter should be soft enough to press with your finger but not melted or greasy. Cool the caramel completely. This is especially important when making caramel buttercream. Warm caramel can melt the butter and make the frosting too soft. Use a thick caramel sauce. A pourable but not watery caramel works best. If your homemade sauce is very thin, start with 1/3 cup and add more gradually. Adjust the salt. Depending on how salty your caramel sauce is, you may want to use less additional salt. Don’t add too much liquid. If you’re planning to stack a tall cake, you want the frosting to be sturdy enough to support the layers. Make it ahead. The buttercream can be refrigerated in an airtight container for up to 5 days. Bring it back to room temperature and rewhip before using.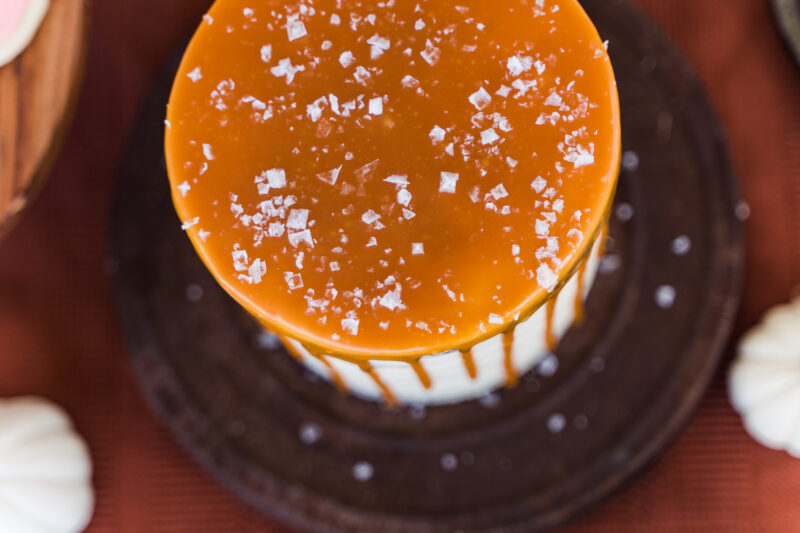
How to Assemble a Salted Caramel Chocolate Cake
Once your chocolate cake layers, caramel buttercream and homemade caramel sauce are ready, it’s time to put everything together.
Step 1: Prepare the Chocolate Cake
Bake your chocolate cake layers according to your recipe and allow them to cool completely.
For easier stacking and decorating, I like working with chilled cake layers.
If your cakes have domed tops, use a serrated knife to level them before assembling.
Step 2: Fill the Cake with Caramel Buttercream
Place the first chocolate cake layer on a cake board or serving plate.
Spread an even layer of caramel buttercream over the cake.
For extra caramel flavor, you can add a small amount of homemade caramel sauce between the layers.
If you’re adding caramel sauce, pipe a ring of buttercream around the outside edge first to help keep the caramel contained.
Repeat with the remaining cake layers.
Step 3: Apply a Crumb Coat
Spread a thin layer of caramel buttercream over the entire cake.
This first layer of frosting helps trap any loose cake crumbs so they don’t show through your final frosting.
Refrigerate the cake for approximately 15–20 minutes, or until the buttercream feels firm.
Step 4: Frost the Cake
Add another layer of caramel buttercream over the chilled cake.
Use an offset spatula and cake scraper to smooth the sides and top.
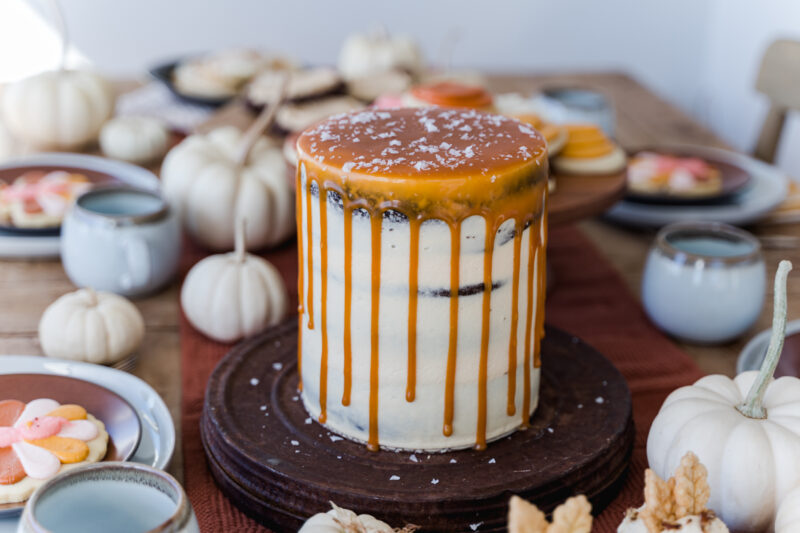
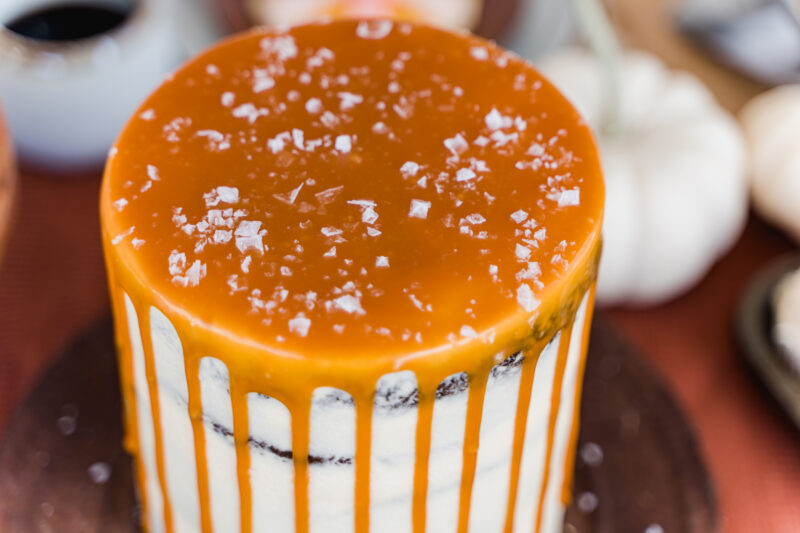
For the look in the photos, I love leaving the frosting relatively smooth with just a hint of the chocolate cake showing through.
It gives the cake a simple, rustic bakery-style finish.
Refrigerate the frosted cake until the buttercream is firm before adding the caramel drip.
Step 5: Add the Salted Caramel Drip
This is my favorite part!
Make sure your homemade caramel sauce is cool but still pourable.
Using a spoon or squeeze bottle, carefully add caramel around the top edge of the cake, allowing it to drip naturally down the sides.
Once you’ve finished the drips, spread a thin layer of caramel over the top of the cake.
The trick is working with a chilled cake and caramel that isn’t too warm or runny.
Step 6: Finish with Flaky Sea Salt
While the caramel is still slightly tacky, sprinkle the top with flaky sea salt.
You don’t need much! Just enough to balance the sweetness and add a little texture.
Allow the caramel to settle before slicing and serving.
How to Get the Perfect Caramel Drip
A caramel drip looks impressive, but it’s actually pretty simple once you know a few tricks.
Start with a chilled cake. Cold buttercream helps the caramel set before it runs all the way down the sides.
Use cooled caramel. The sauce should be fluid enough to drip but not warm enough to melt the frosting.
Test one drip first. Before going around the entire cake, add a small amount of caramel to the edge and watch how far it travels.
Vary the drip lengths. Some shorter and some longer drips create a more natural look.
Don’t rush. Work your way around the cake slowly, adding a little caramel at a time.
For a cake like this, I especially love the look of caramel covering the entire top with long, uneven drips down the sides.
FAQ
More cake Recipes:
The Perfect Chocolate and Caramel Cake
There’s something about the combination of rich chocolate cake, creamy caramel buttercream and homemade salted caramel that makes this cake so special.
It’s rich without being overly complicated, and the caramel drip makes it look like something straight out of a bakery display.
Whether you’re making it for a birthday, Thanksgiving or just because you’re craving chocolate and caramel, this Salted Caramel Chocolate Cake is such a beautiful dessert to share.
Salted Caramel Chocolate Cake
Equipment
Ingredients
- 1 batch homemade chocolate cake baked into three 6-inch layers
- 1 batch homemade caramel buttercream recipe above
- Approximately 3/4–1 cup homemade caramel sauce divided between filling and topping as desired
- Flaky sea salt for finishing
Instructions
- Prepare the chocolate cake according to your recipe and allow the layers to cool completely.
- Make the homemade caramel sauce and cool completely.
- Prepare the caramel buttercream.
- Place the first chocolate cake layer on a cake board and spread with caramel buttercream.
- If desired, add a thin layer of caramel sauce inside a piped buttercream border.
- Repeat with the remaining layers.
- Apply a thin crumb coat and refrigerate for 15–20 minutes.
- Frost the entire cake with the remaining caramel buttercream.
- Chill until the frosting is firm.
- Carefully drizzle cooled caramel sauce around the edges of the cake, allowing it to drip down the sides.
- Spread additional caramel over the top and finish with flaky sea salt.
- Slice and serve.
If you make this, let me know! I always love hearing from you.

This post contains affiliate links. I only recommend products I actually use and love!

Are we friends Yet?!
Sign up to receive my favorite recipes, party ideas and latest finds.