How To Make An Outdoor Floral Planter

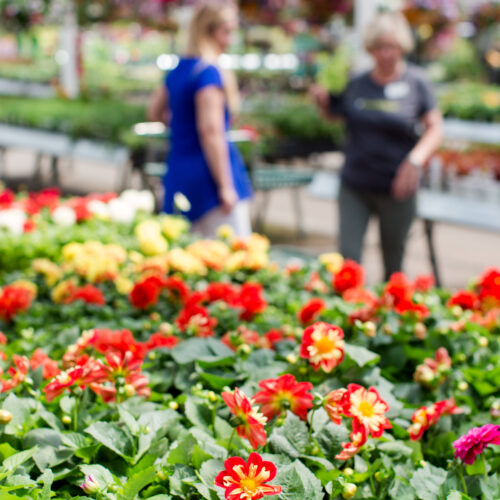
When the weather finally warms up in Seattle, I love adding new flowers to my front porch and back deck. It might sound silly, but seeing them as I’m walking out of my house, or from my windows just makes me happy. It’s a wonderful way to add a burst of color to your porch or patio.
Years ago I hosted a workshop at a local nursery where they taught me the “filler, spiller, and thriller” technique for choosing and creating planters. It’s stuck with me all these years and always helps when I’m choosing flowers. If your yard is in need of some fresh blooms, follow these simple steps to create your own outdoor planter, and learn the “filler, spiller, and thriller” technique too!
Materials needed
- A planter (wooden, plastic, ceramic, or any container of your choice)
- Potting soil
- Outdoor floral plants (choose plants suited for your climate)
- Gardening gloves
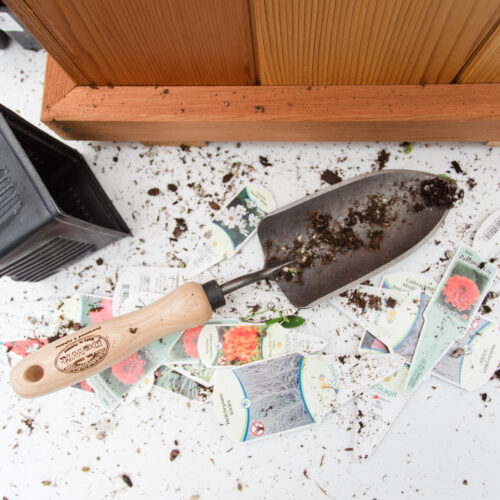
- Trowel or small shovel
- Watering can
TOOLS I USED
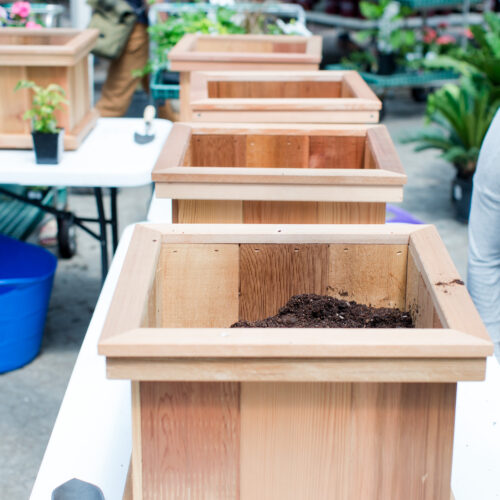
Choose Your Planter
Select a planter that fits the style of your outdoor space and is large enough to hold the plants you want to grow. It’s essential to ensure that the planter has proper drainage holes so that excess water can escape and prevent your plants from becoming waterlogged. You can choose from various materials like terracotta, wood, ceramic, or even repurpose an old bucket or basket!
Pick The Right Plants
The key to a beautiful and dynamic floral planter lies in choosing the right combination of plants. One popular method for creating visually appealing arrangements is the “filler, spiller, and thriller” technique. Here’s how it works:
Thriller: The “thriller” is the tallest, most eye-catching plant in your arrangement. This plant should be placed in the center or back of the planter. Thrillers add height and drama to your design. Consider plants like tall grasses, ornamental cabbage, or flowering shrubs such as dahlias or canna lilies.
Filler: The “filler” plants provide body and bulk to your planter. These are mid-height plants that fill in the space around your thriller and complement it. Choose plants with a more rounded shape or bushy foliage. Some great filler plants include begonias, petunias, or marigolds.
Spiller: The “spiller” plants trail over the edges of your planter, creating a cascading effect. These plants soften the arrangement and add a sense of movement. Look for plants like ivy, sweet potato vine, or trailing petunias.
Prepare Your Planter
Before you start planting, fill the bottom of your planter with a layer of small rocks or gravel to ensure proper drainage. Then, fill the planter about halfway with potting soil. Gently tap the planter on the ground to settle the soil and ensure it’s even.
Arrange Your Plants
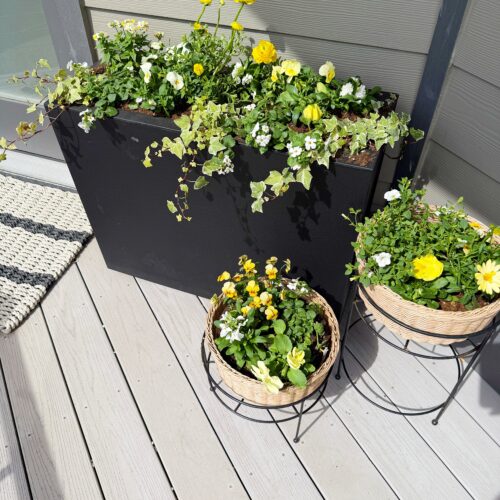
Now it’s time to arrange your plants! Using the “filler, spiller, and thriller” technique, place your tallest thriller plant in the center or back of the planter. Then, arrange your filler plants around the thriller, making sure they are evenly spaced. Finally, place the spiller plants along the edges so they can cascade over the sides of the planter. This technique creates a well-balanced display.
Fill With Soil
Carefully fill in around the plants with more potting soil, making sure each plant is securely anchored. Gently pat the soil down to eliminate any air pockets but avoid packing it too tightly. Leave about an inch of space from the top of the planter to allow for watering.
Water and Maintain
Give your new floral planter a good watering, making sure to moisten the soil thoroughly but not flood it. Check the moisture levels regularly and water as needed—typically when the top inch of soil feels dry to the touch. Be sure to remove any dead flowers or leaves to keep your planter looking fresh


Share your beautiful outdoor floral planters with me on Instagram!

Are we friends Yet?!
Sign up to receive my favorite recipes, party ideas and latest finds.