How to Transform a Store Bought Cake
This post was sponsored by JOANN. All opinions are my own.
For anyone who has ever wanted to decorate a cake but doesn’t have the experience, or maybe you have made cakes before but don’t have the time to bake the cake? I’m sharing just how simple it is to take a store-bought cake and transform it into a work of art.
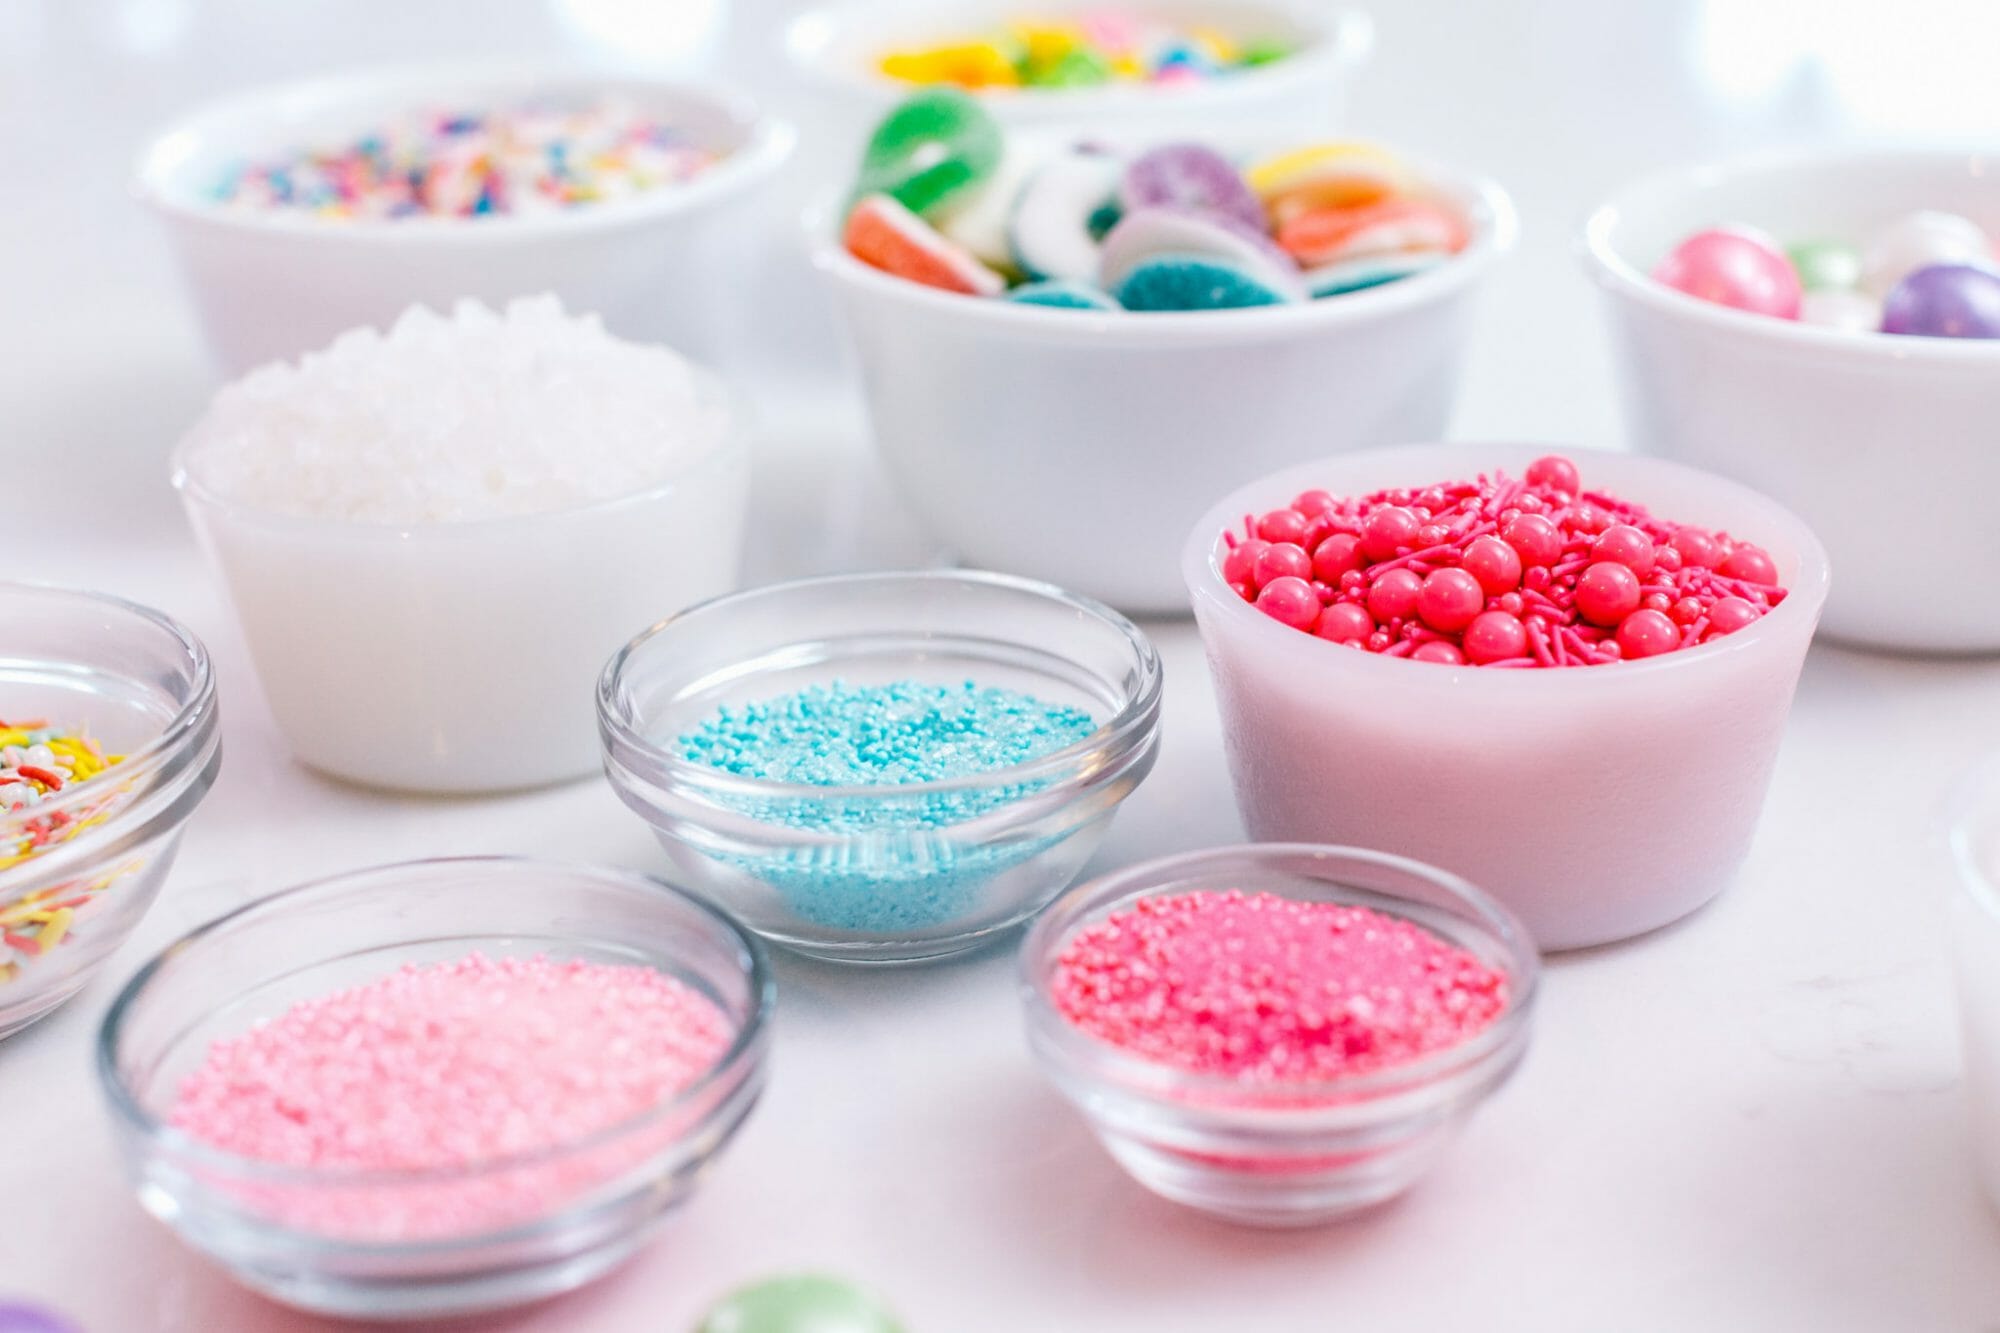
To give your grocery store cake an overhaul, you’ll need a few supplies from JOANN. I am head over heels in love with the new candy and sprinkles line from Sweet Tooth Fairy. If you’ve seen our popular MAX CAKES at Jenny Cookies Bake Shop, you’ll know how often we use these supplies in our bakery. Normally we have to source the candies at a variety of stores but now we can get just about every color and candy topping in one place!
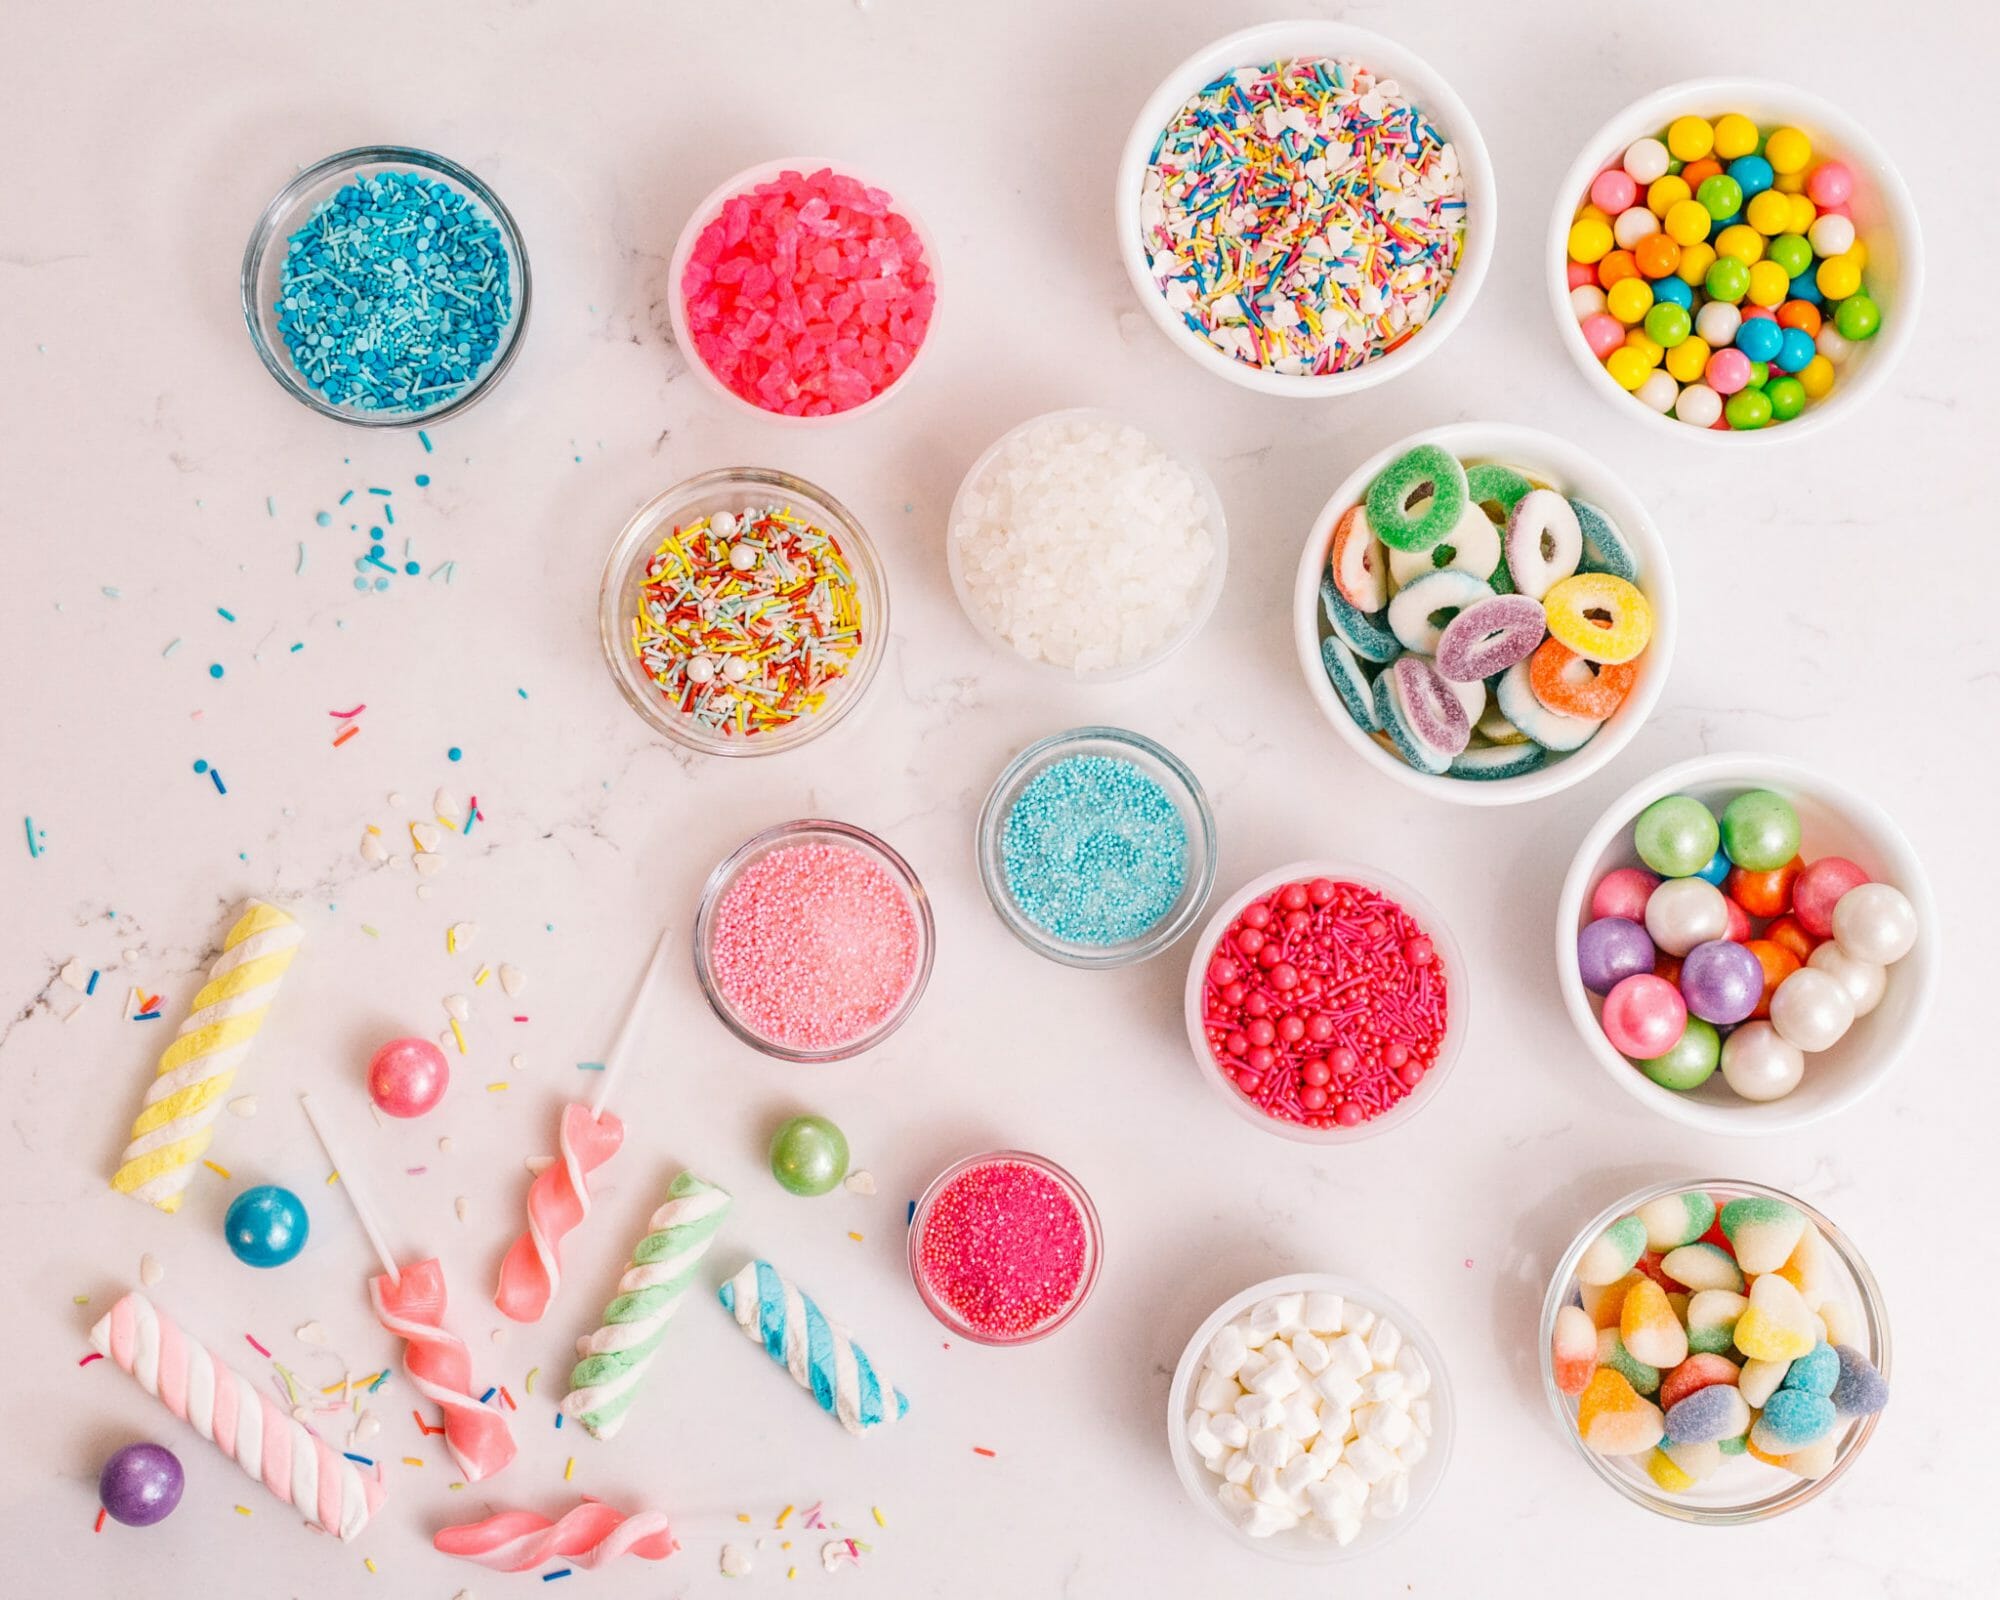
In addition to your store bought cake, you’ll want to pick up a variety of gumballs, rock candy, sprinkles and lollipops. I like having an assortment and using the extras to top cupcakes or use as decor around the party. You can also save the extra for your next baking project. I store leftover sprinkles and candy in air tight containers so that I have them for last minute baking projects and decorating projects.
You’ll also need a few cake decorating tools if you don’t already own these. I’ll link them below. These are my must-have cake decorating tools that any baker should have in their baking arsenal!
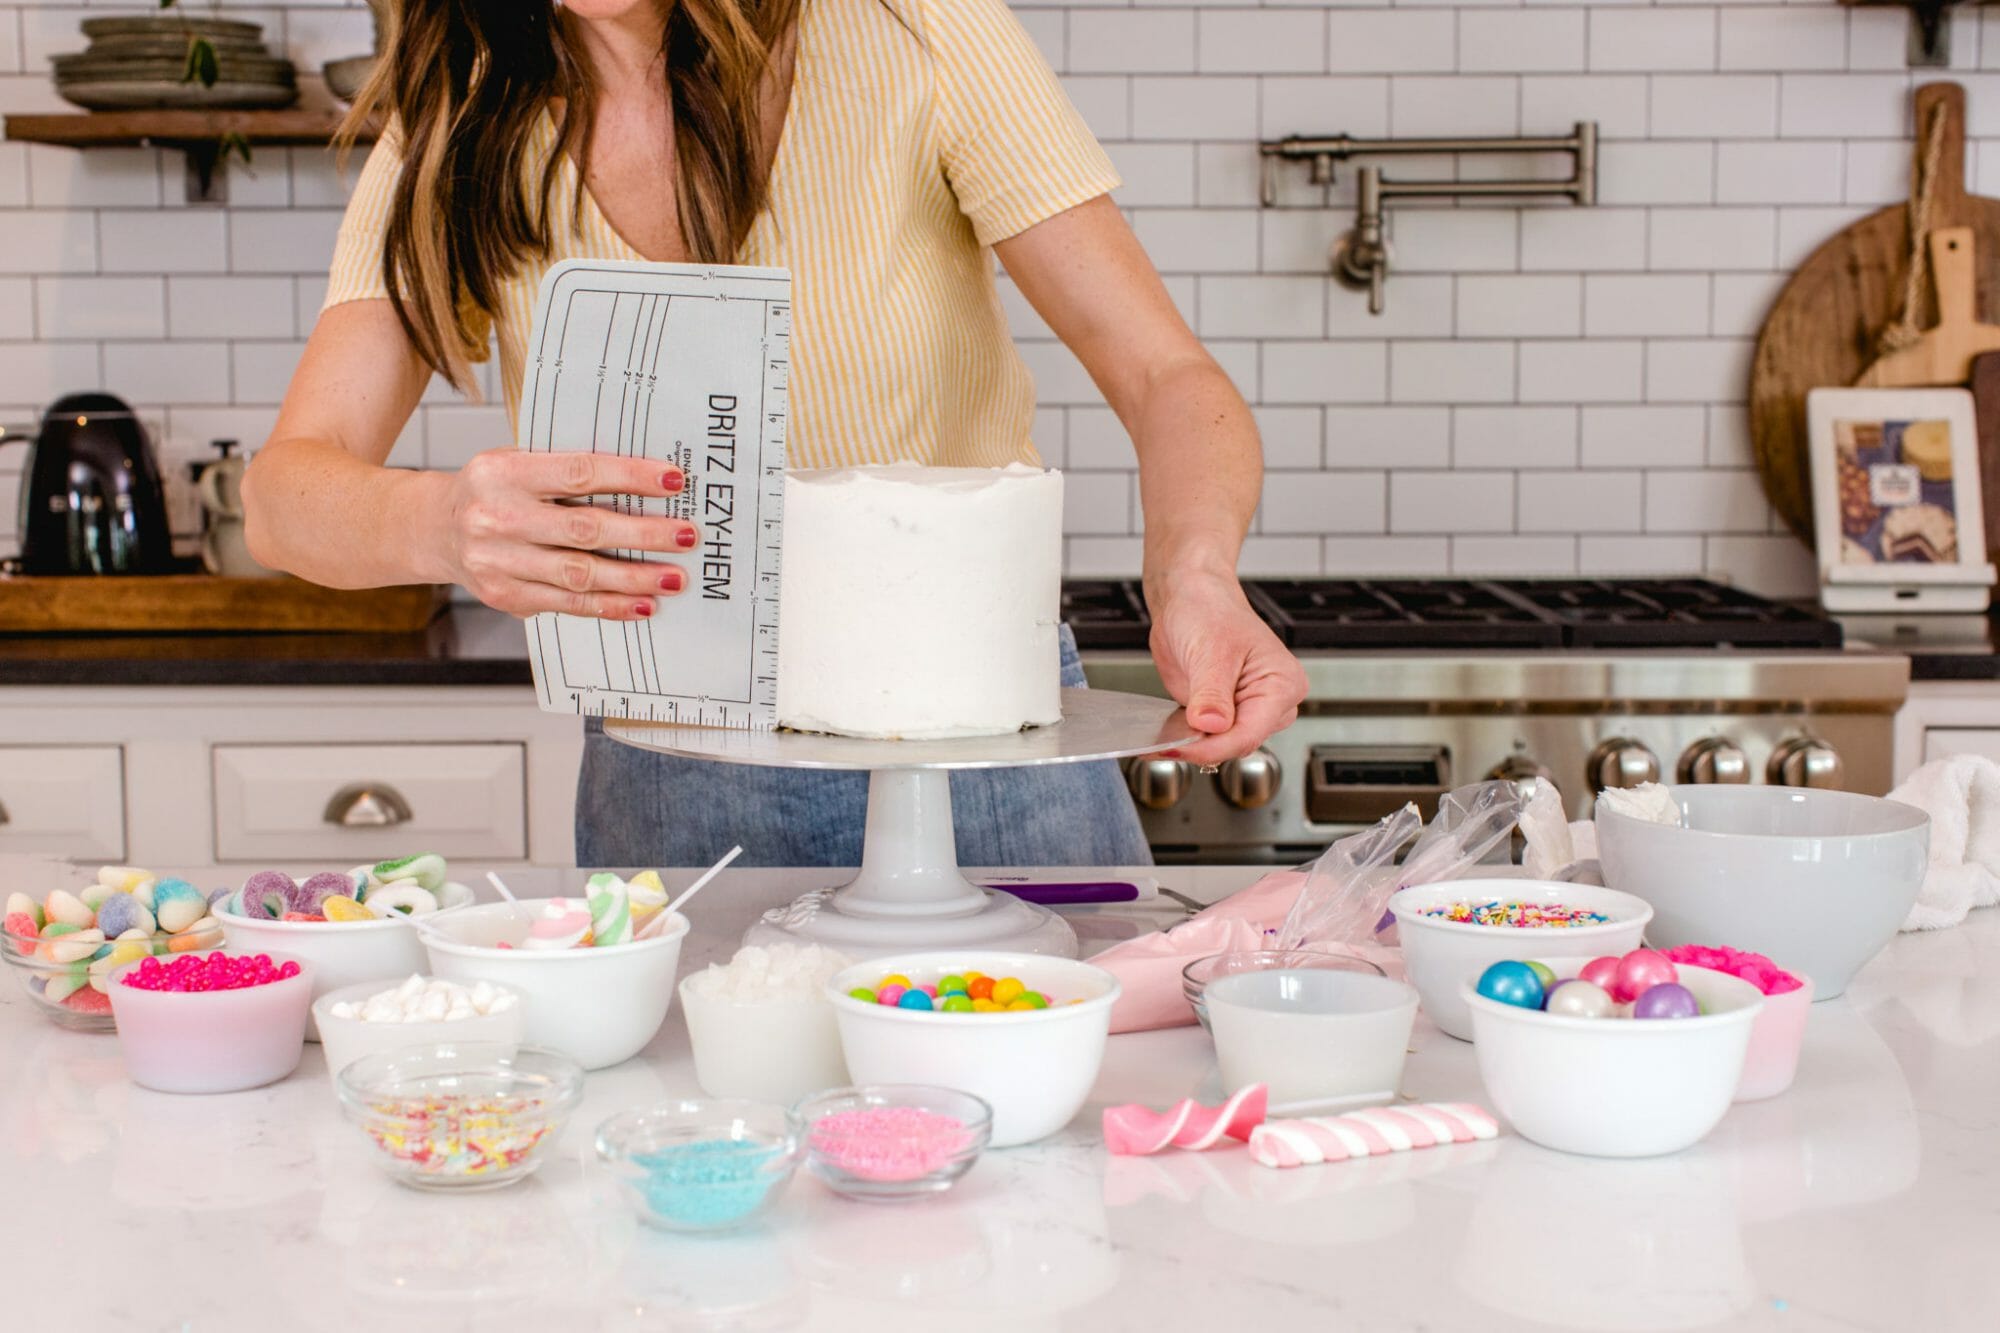
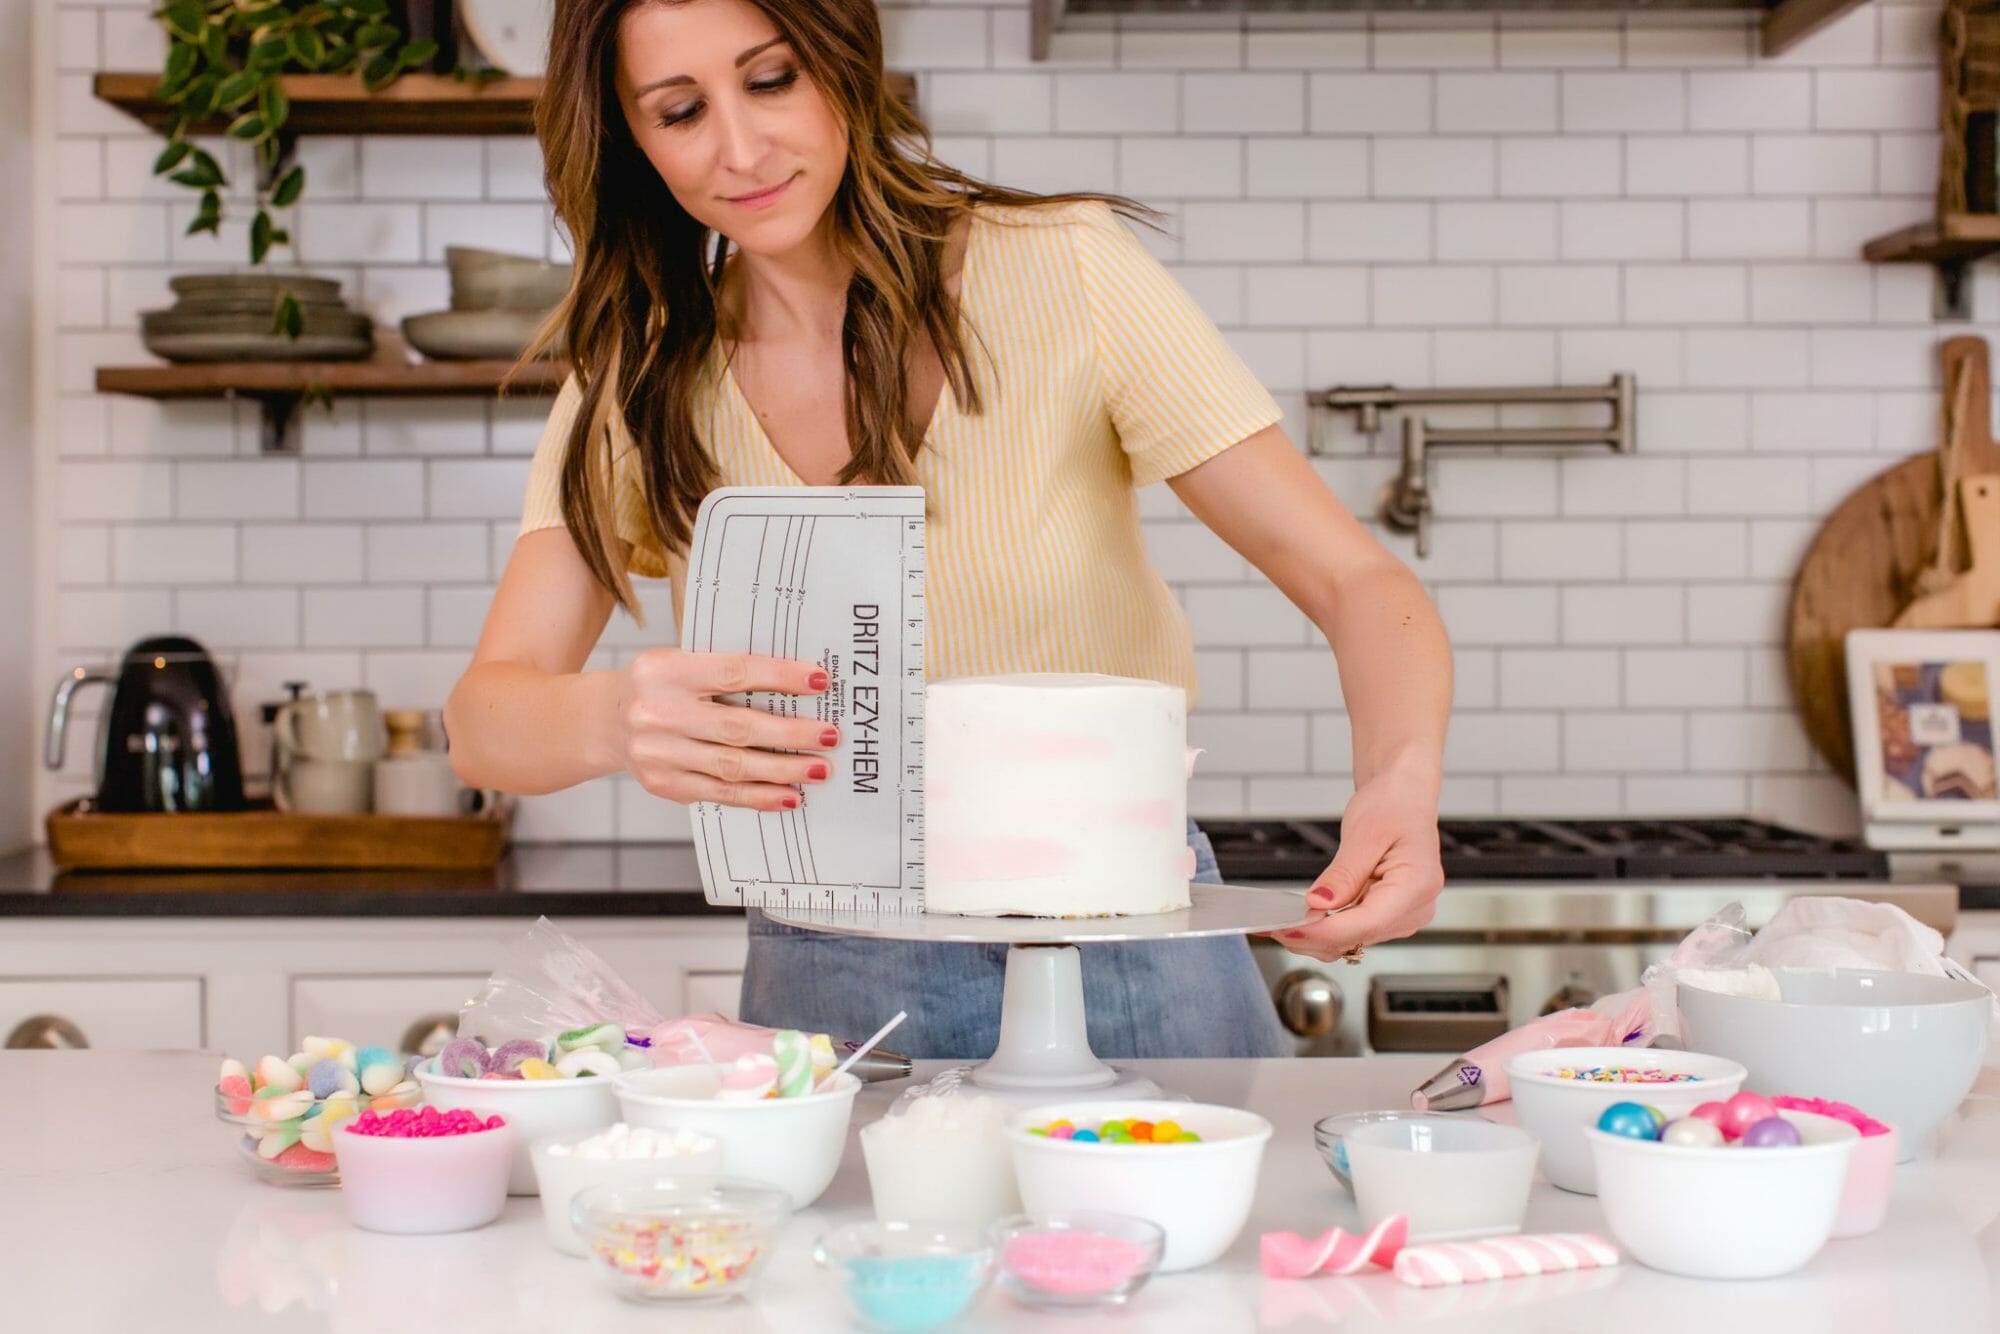
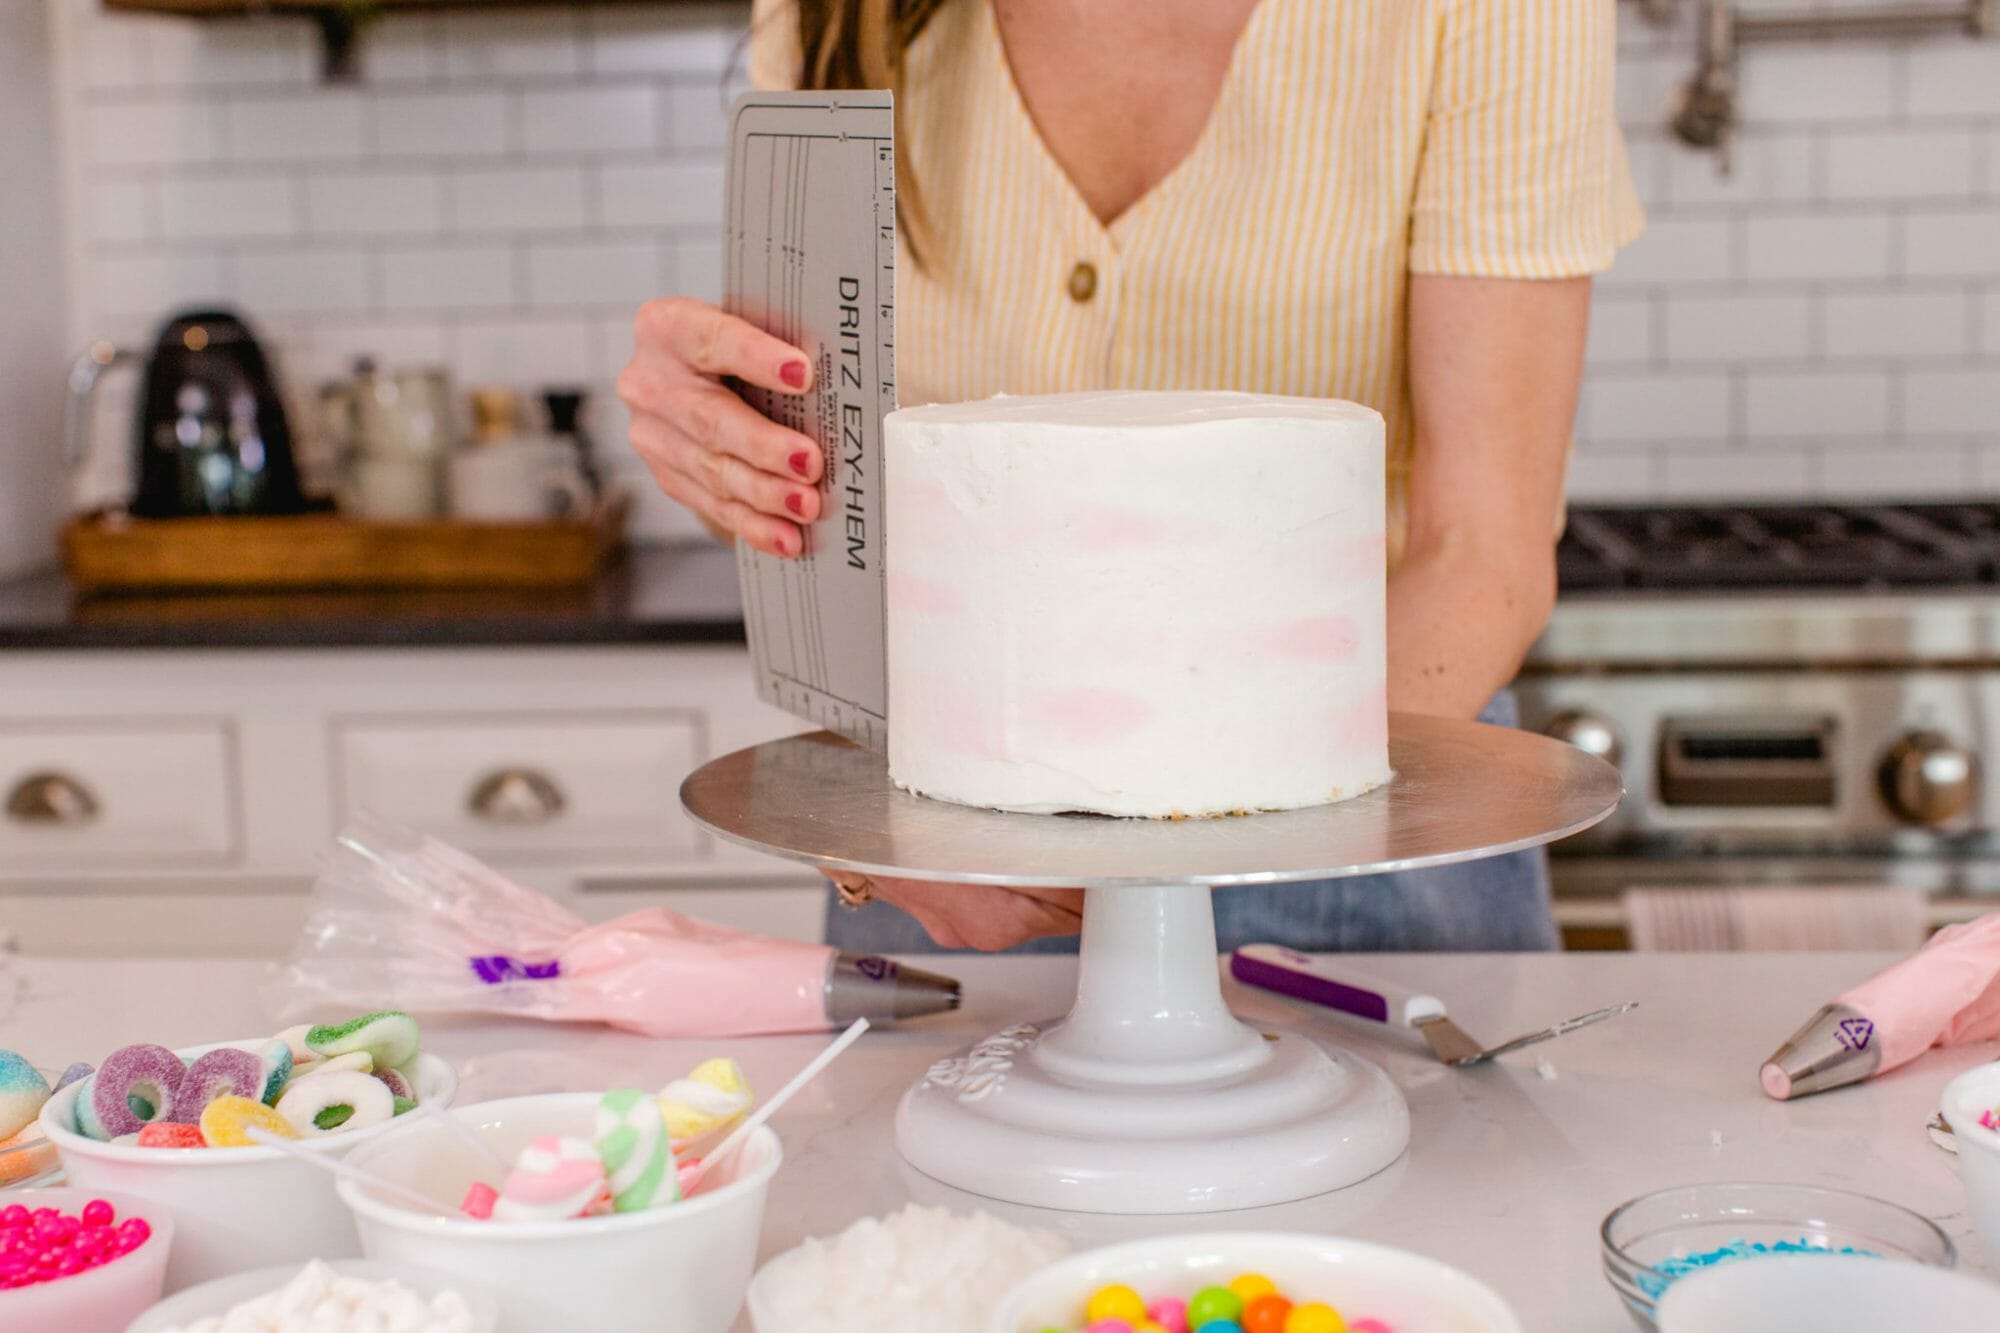
Dritzy Hem (my cake smoothing hack tool!)
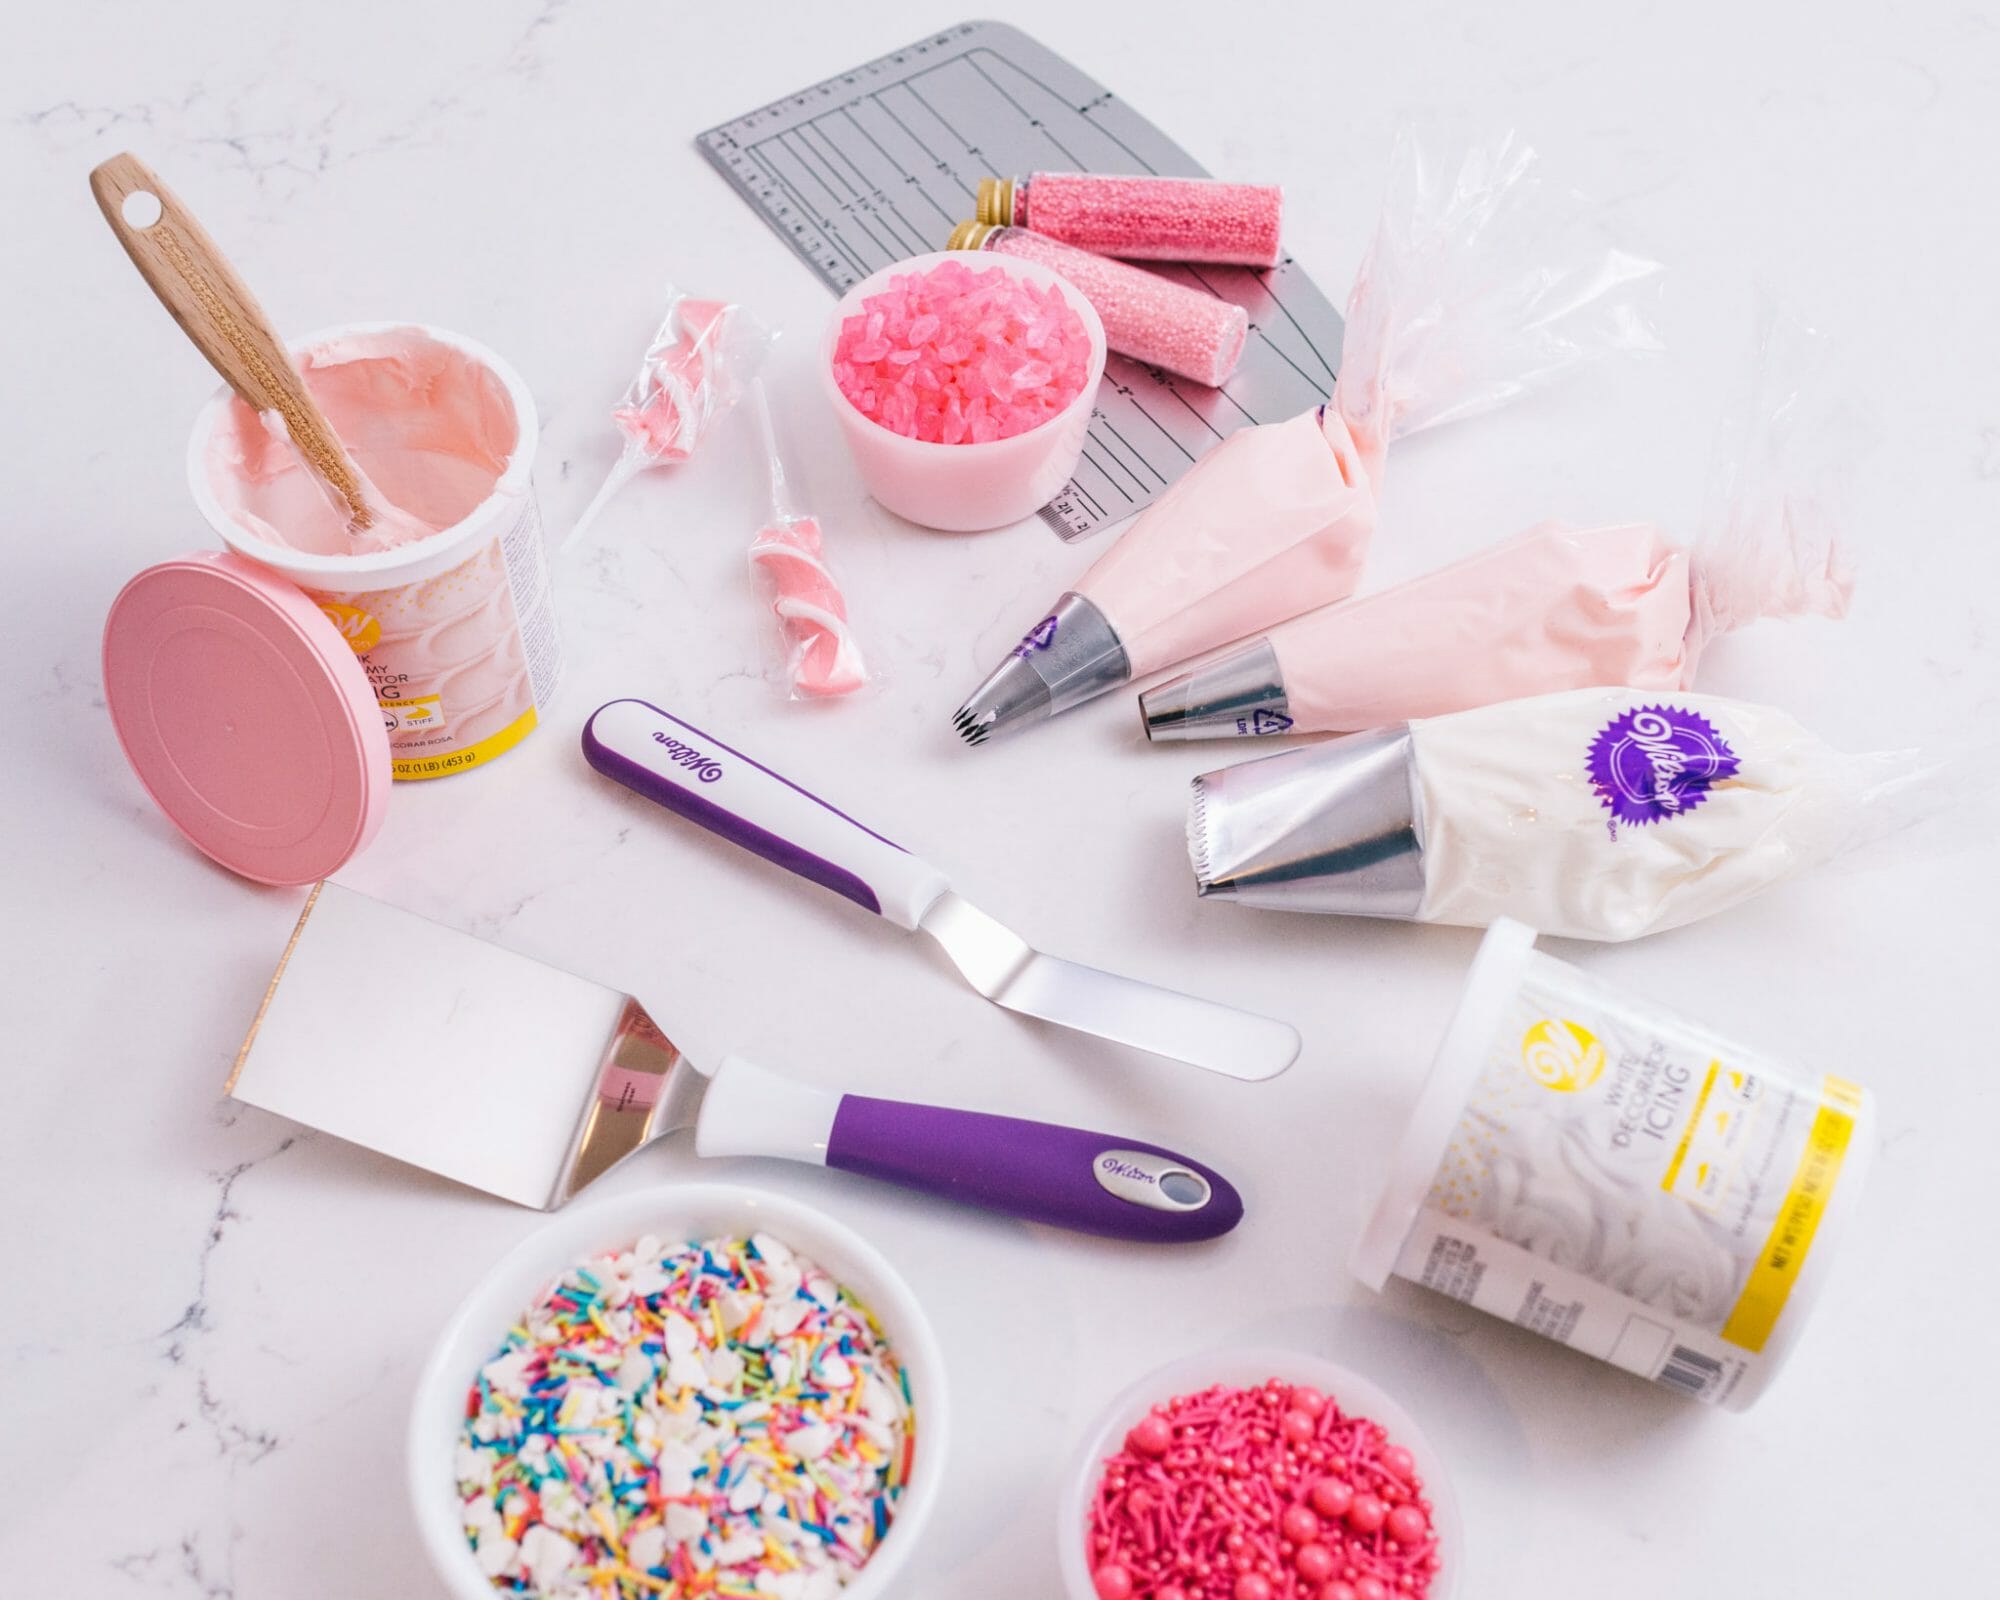
Pick up a few cans of decorator icing at JOANN or pick up your favorite flavor of frosting at the grocery store when you get the cake! As for the cake itself, you can choose whatever size and flavor you wish. I found a small cake at our local store that had sprinkles already on it, so I had to scrape them off. You’ll probably want to scrape your cake before re-decorating, but if you plan enough ahead, you can have the grocery store make you a cake the is just plain white icing (or whatever color you wish) and you can just add the decorations.
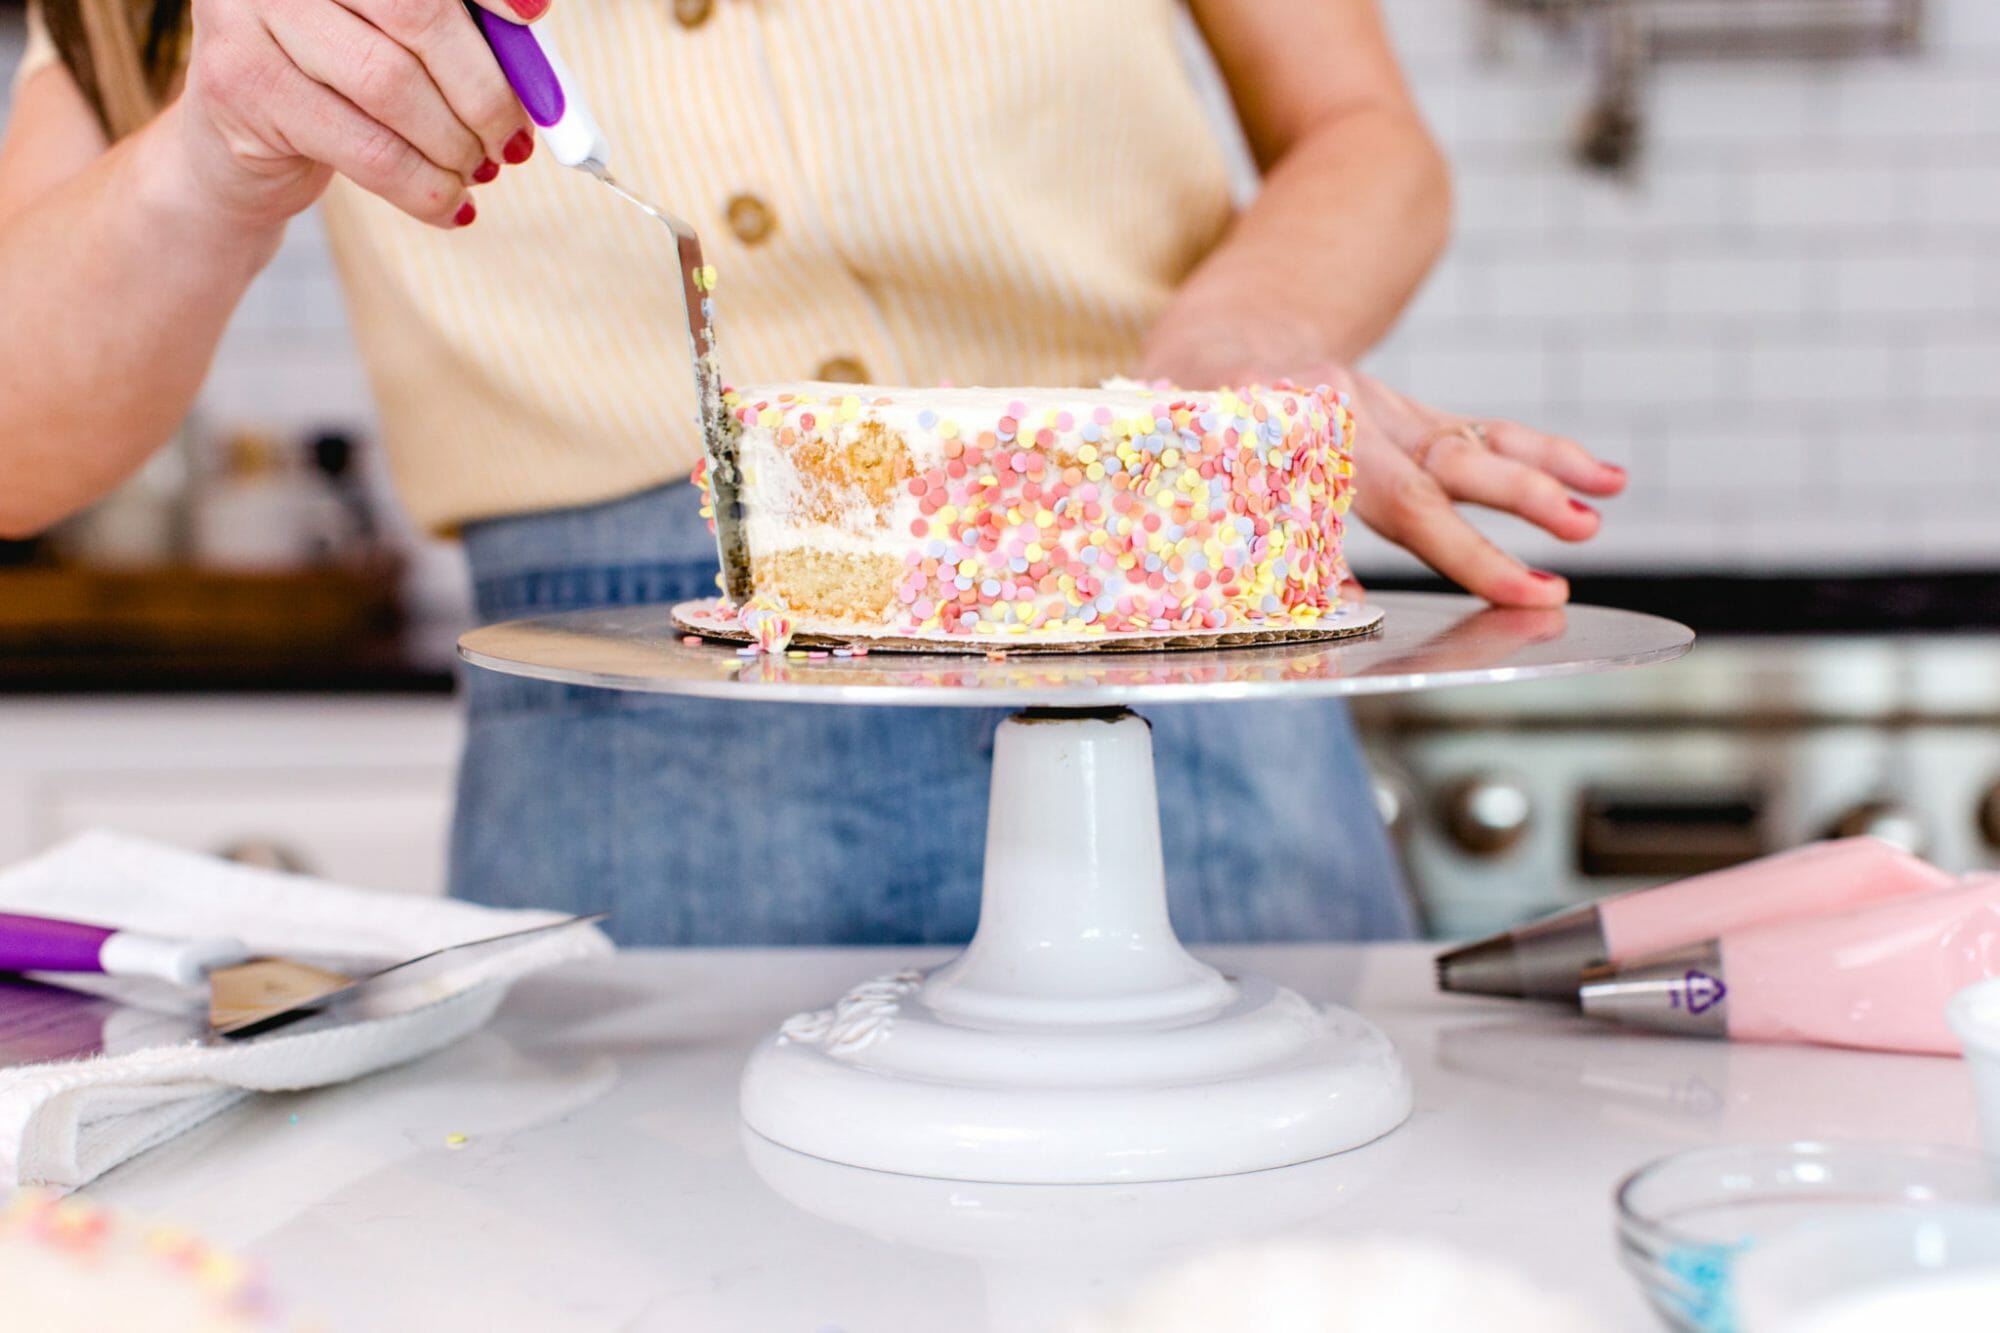
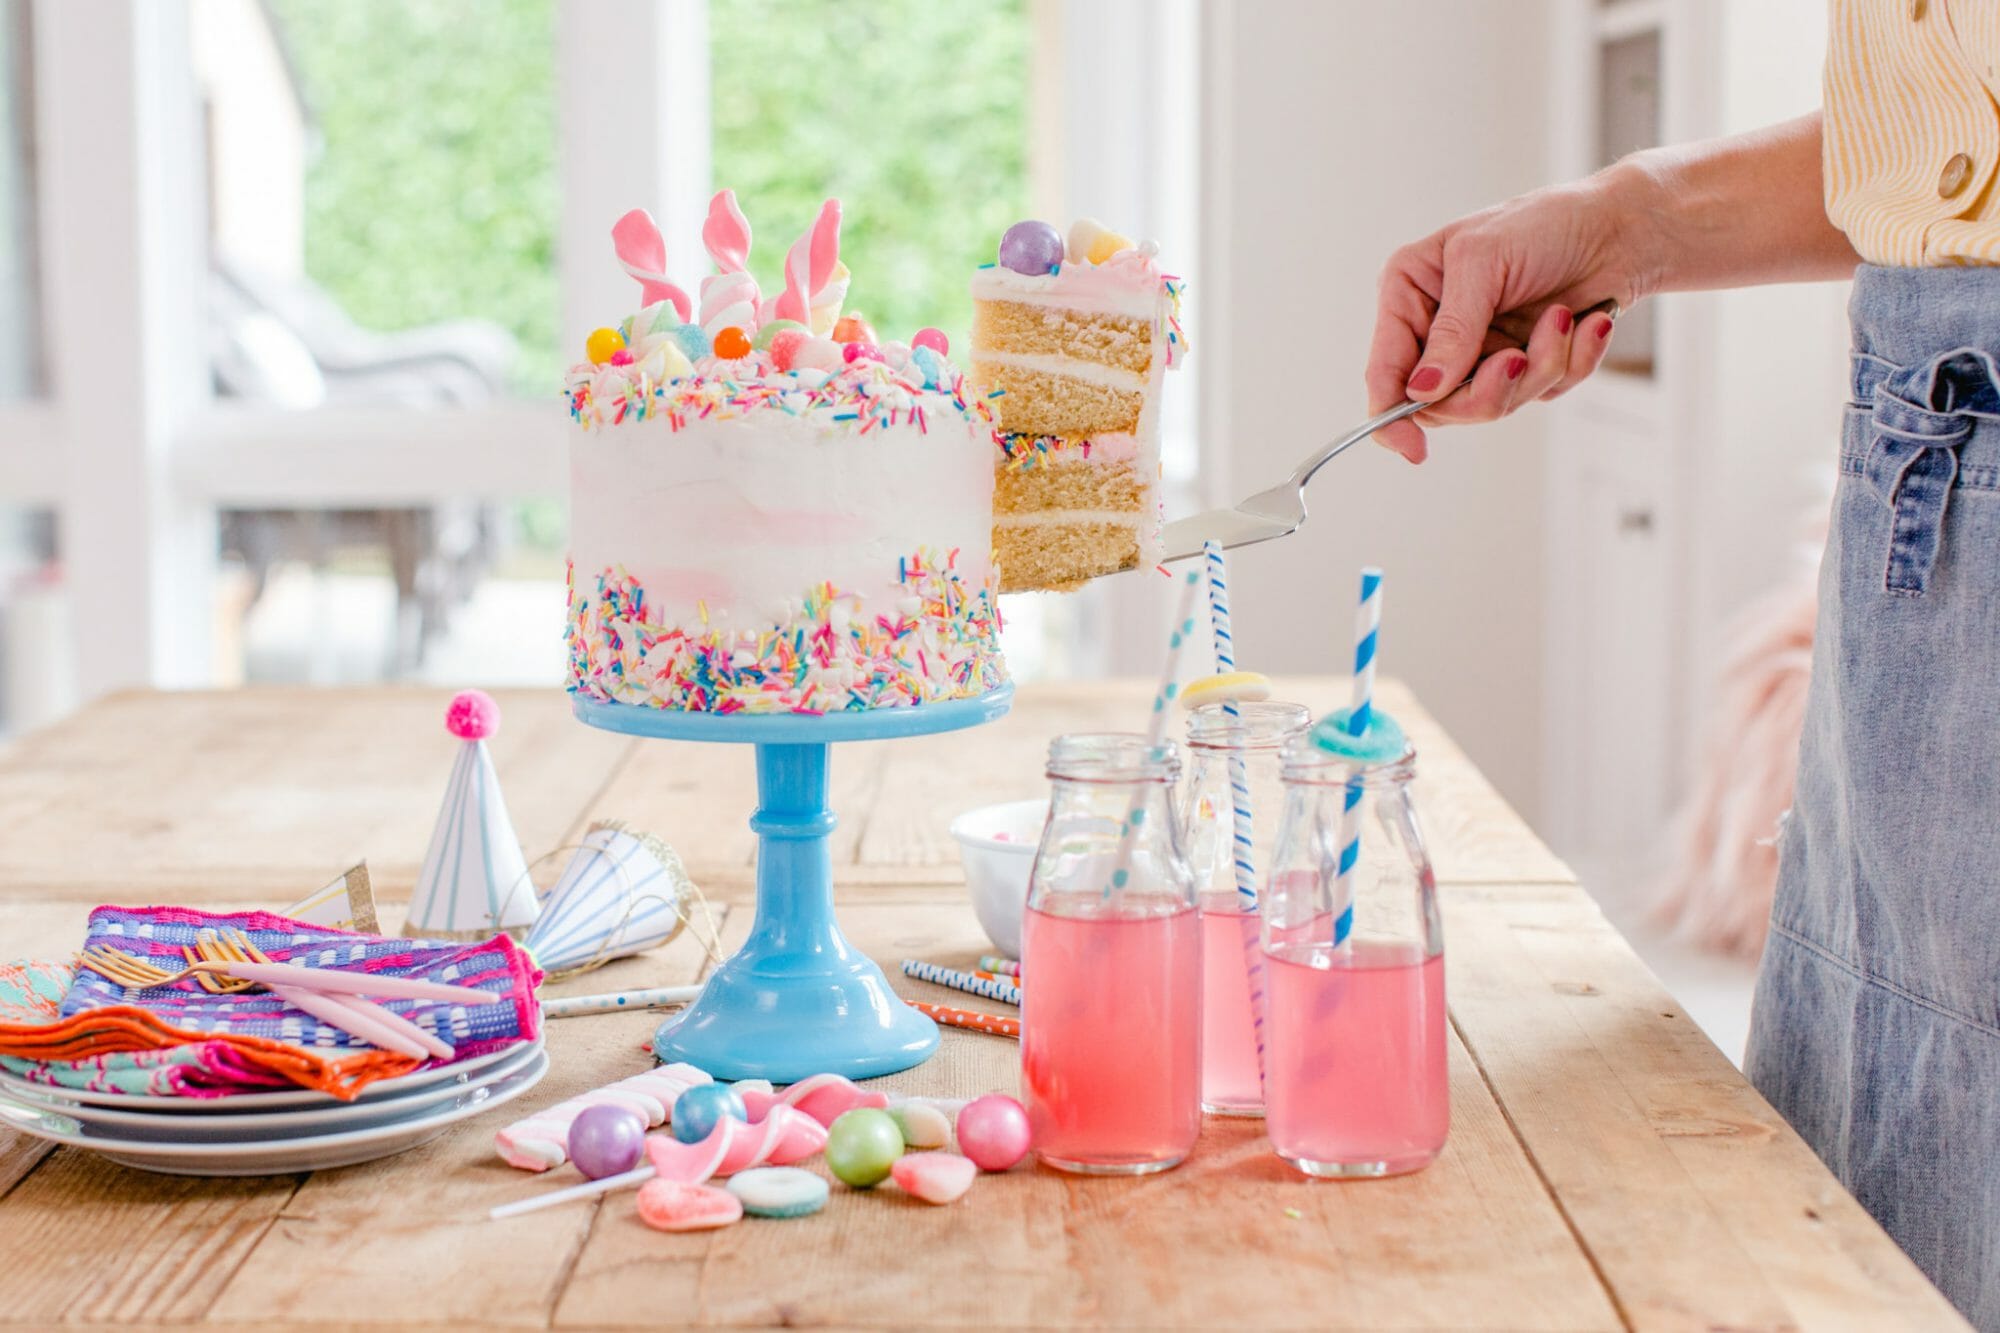
Since my cake was pretty small, I picked up two cakes so that I could add height to the cake and have extra servings for party guests. You’ll start by scraping the sides and removing any decorations from the cake.
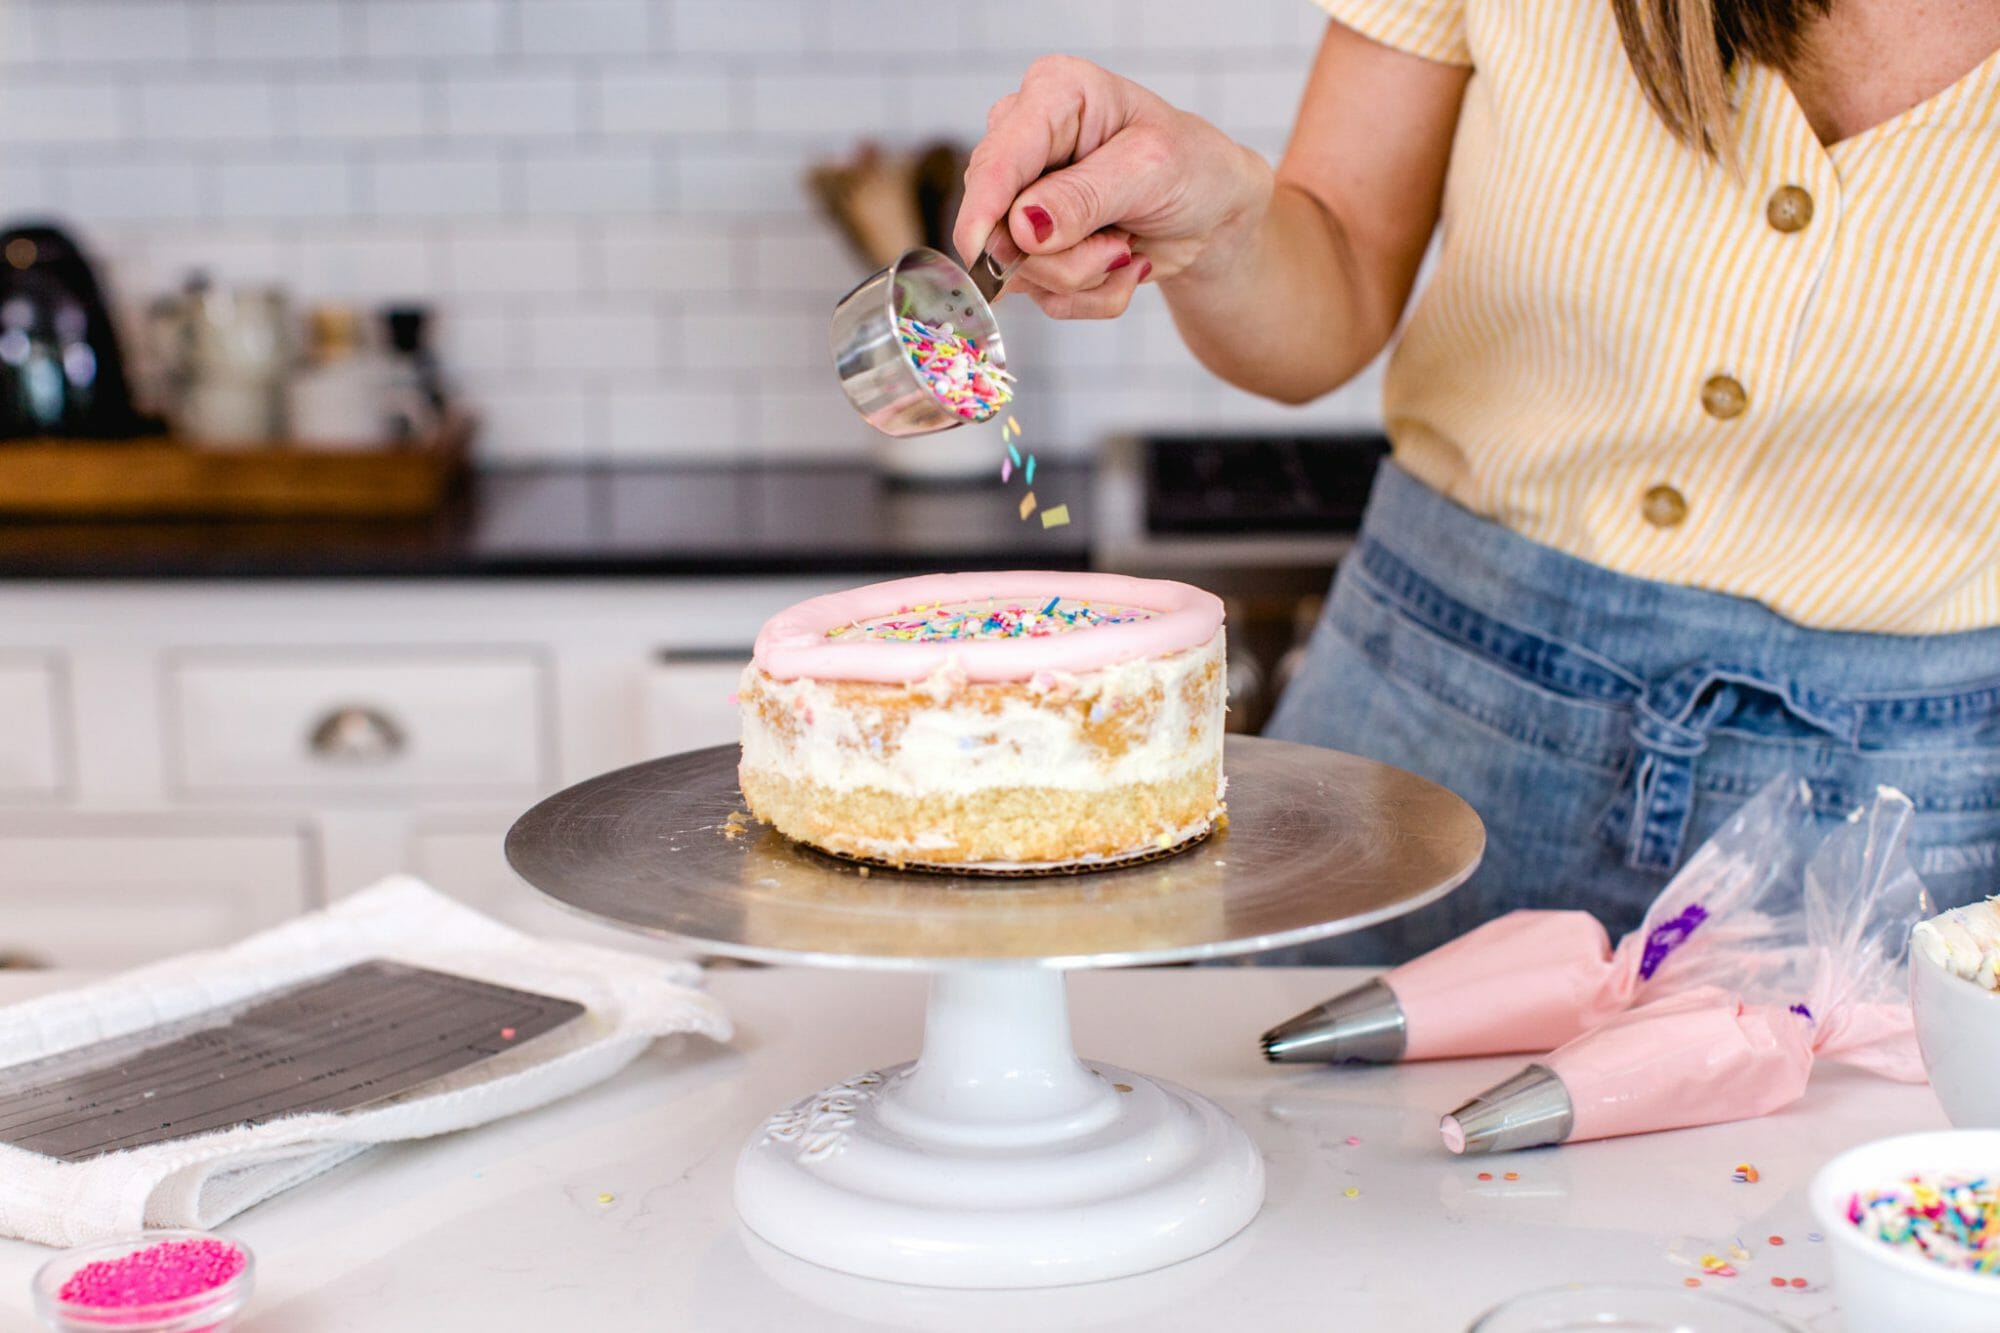
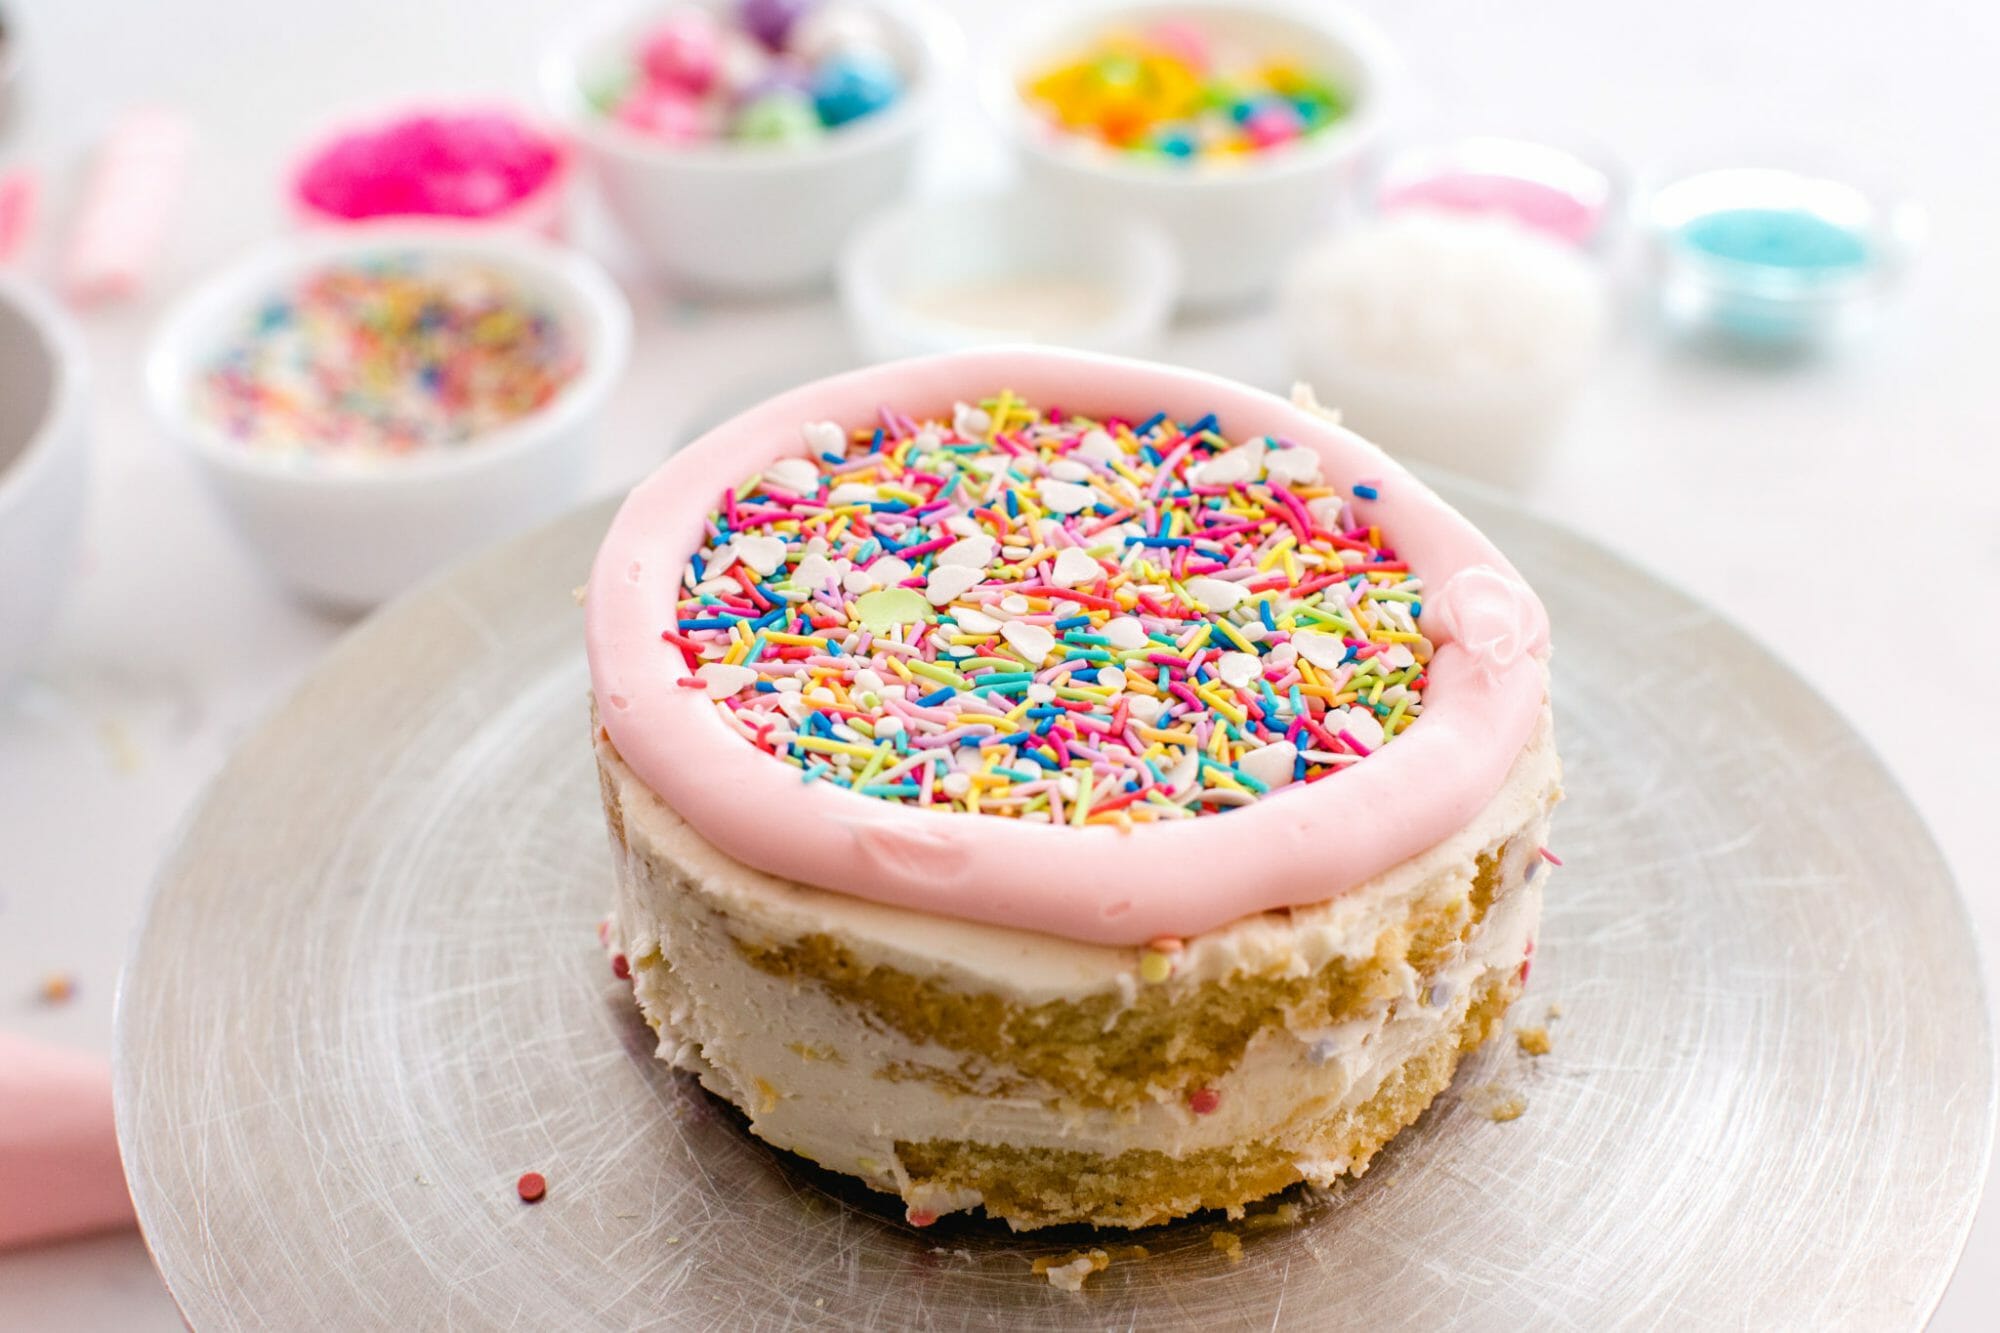
Once the cake (or both cakes if you are using two) are scraped, fill a decorating bag with icing and pipe a dam around the outer edge of the top of the cake. Add sprinkles inside the middle and top with the second cake using your cookie lifter.
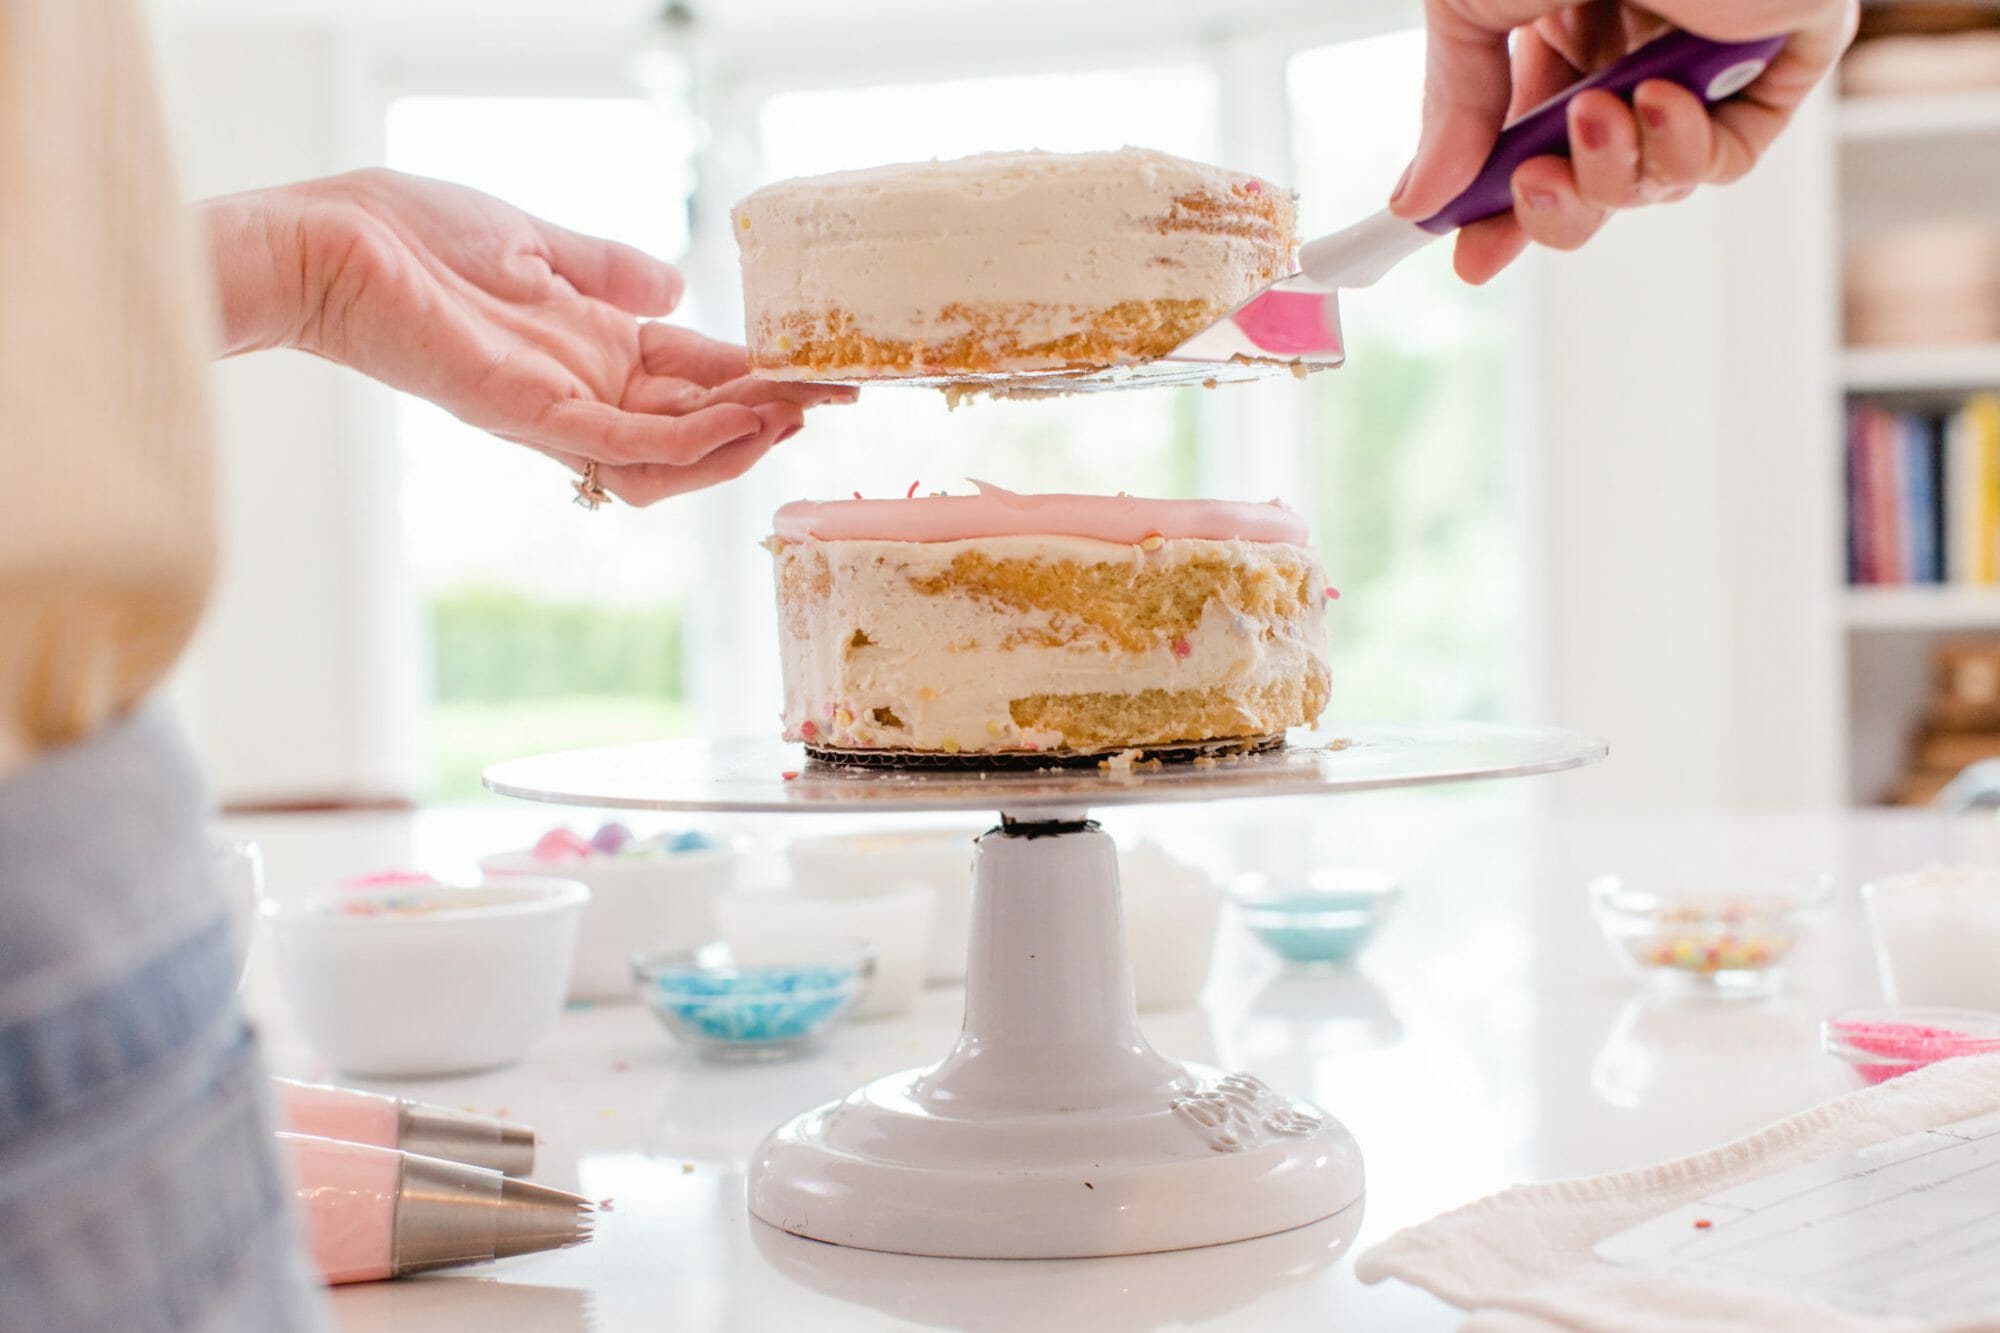
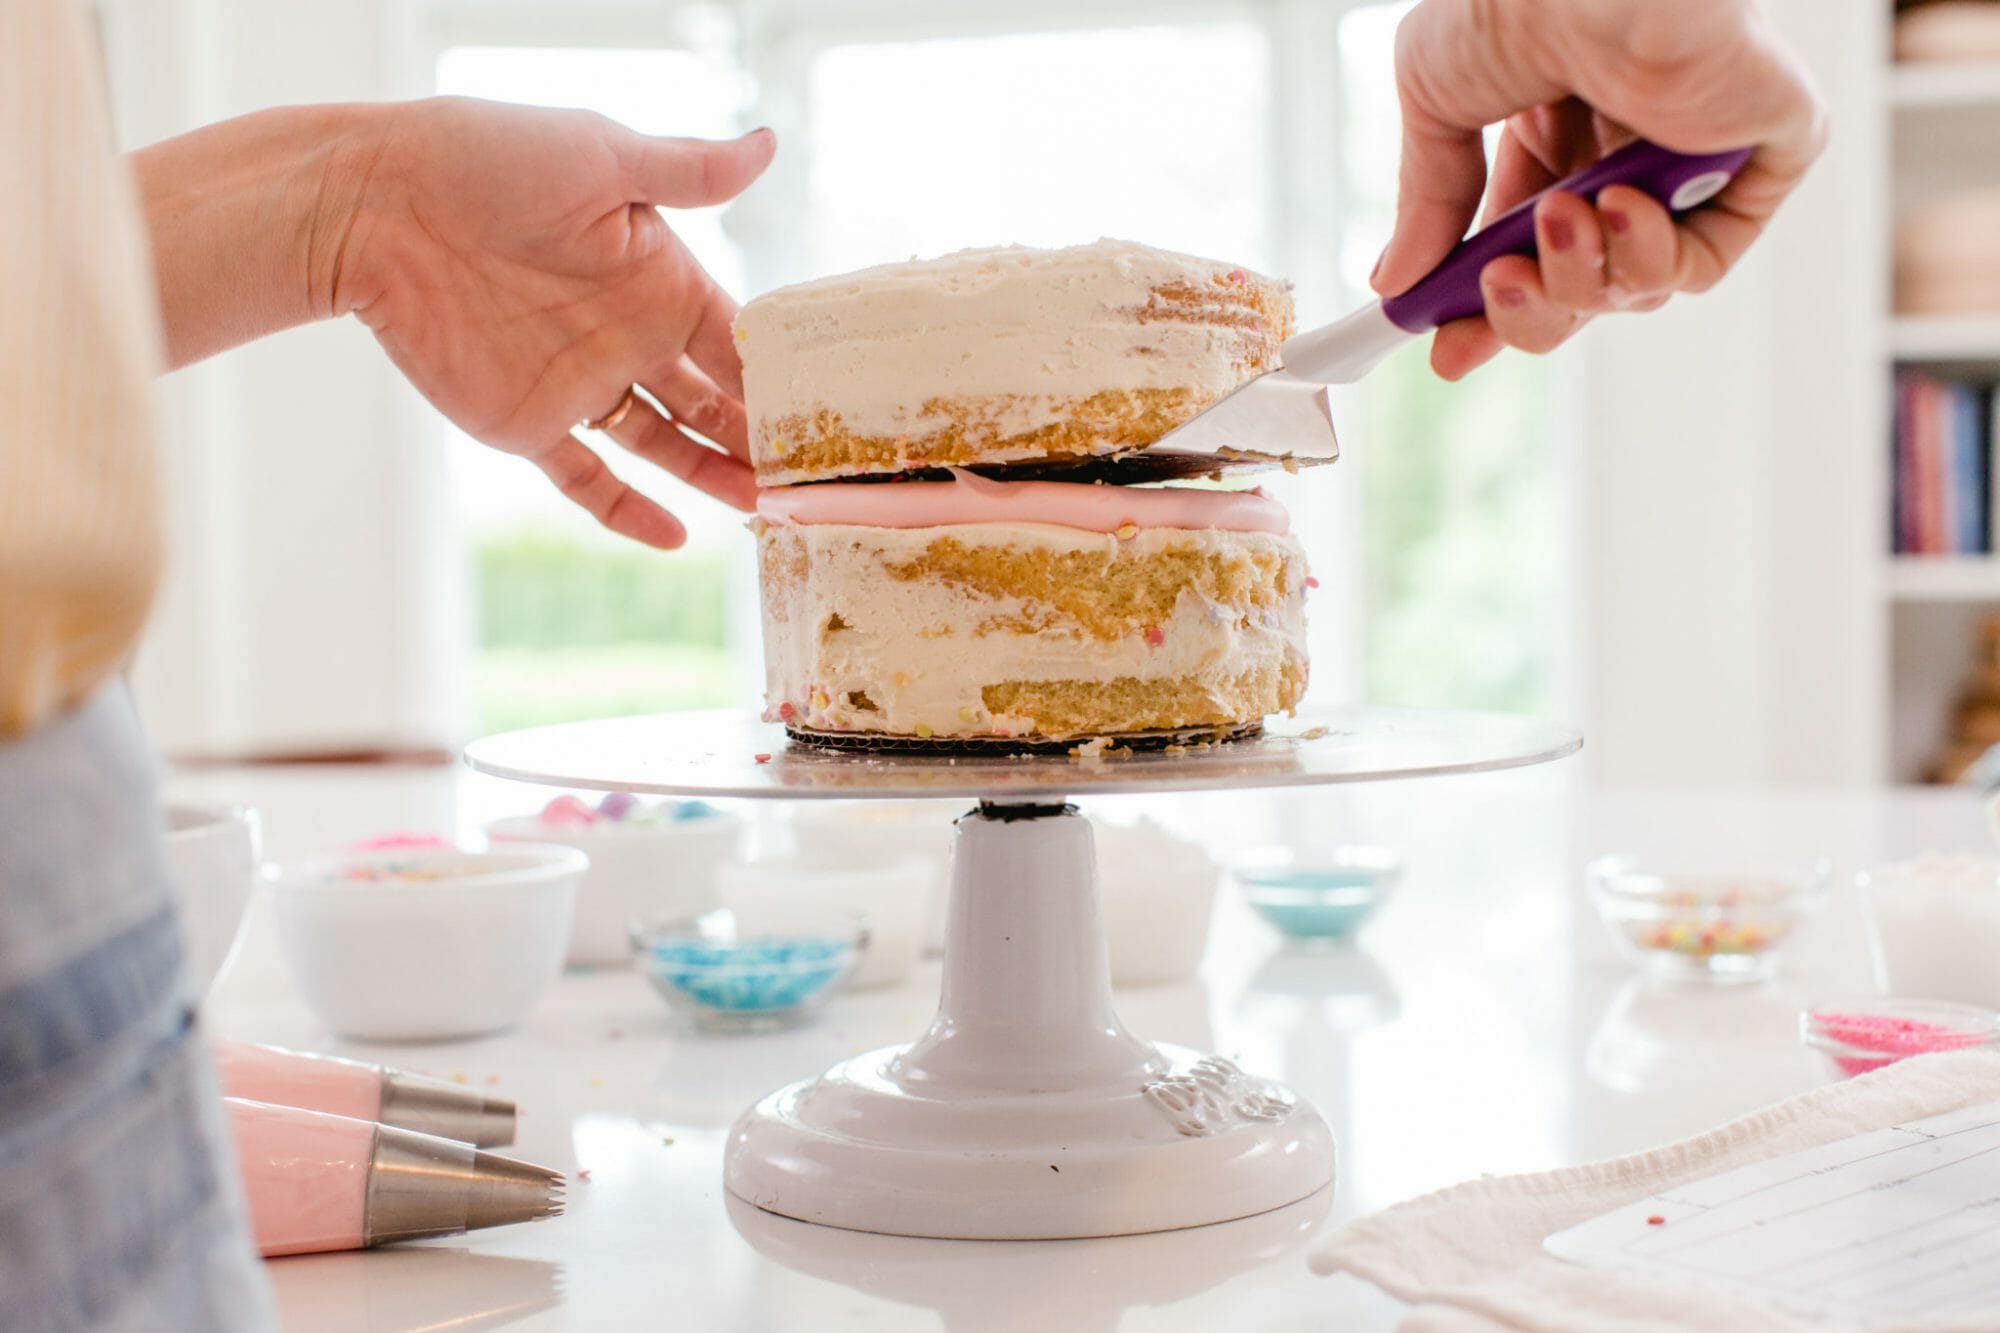
When the second cake is carefully stacked on top, gently press down on the top cake to secure it in place.

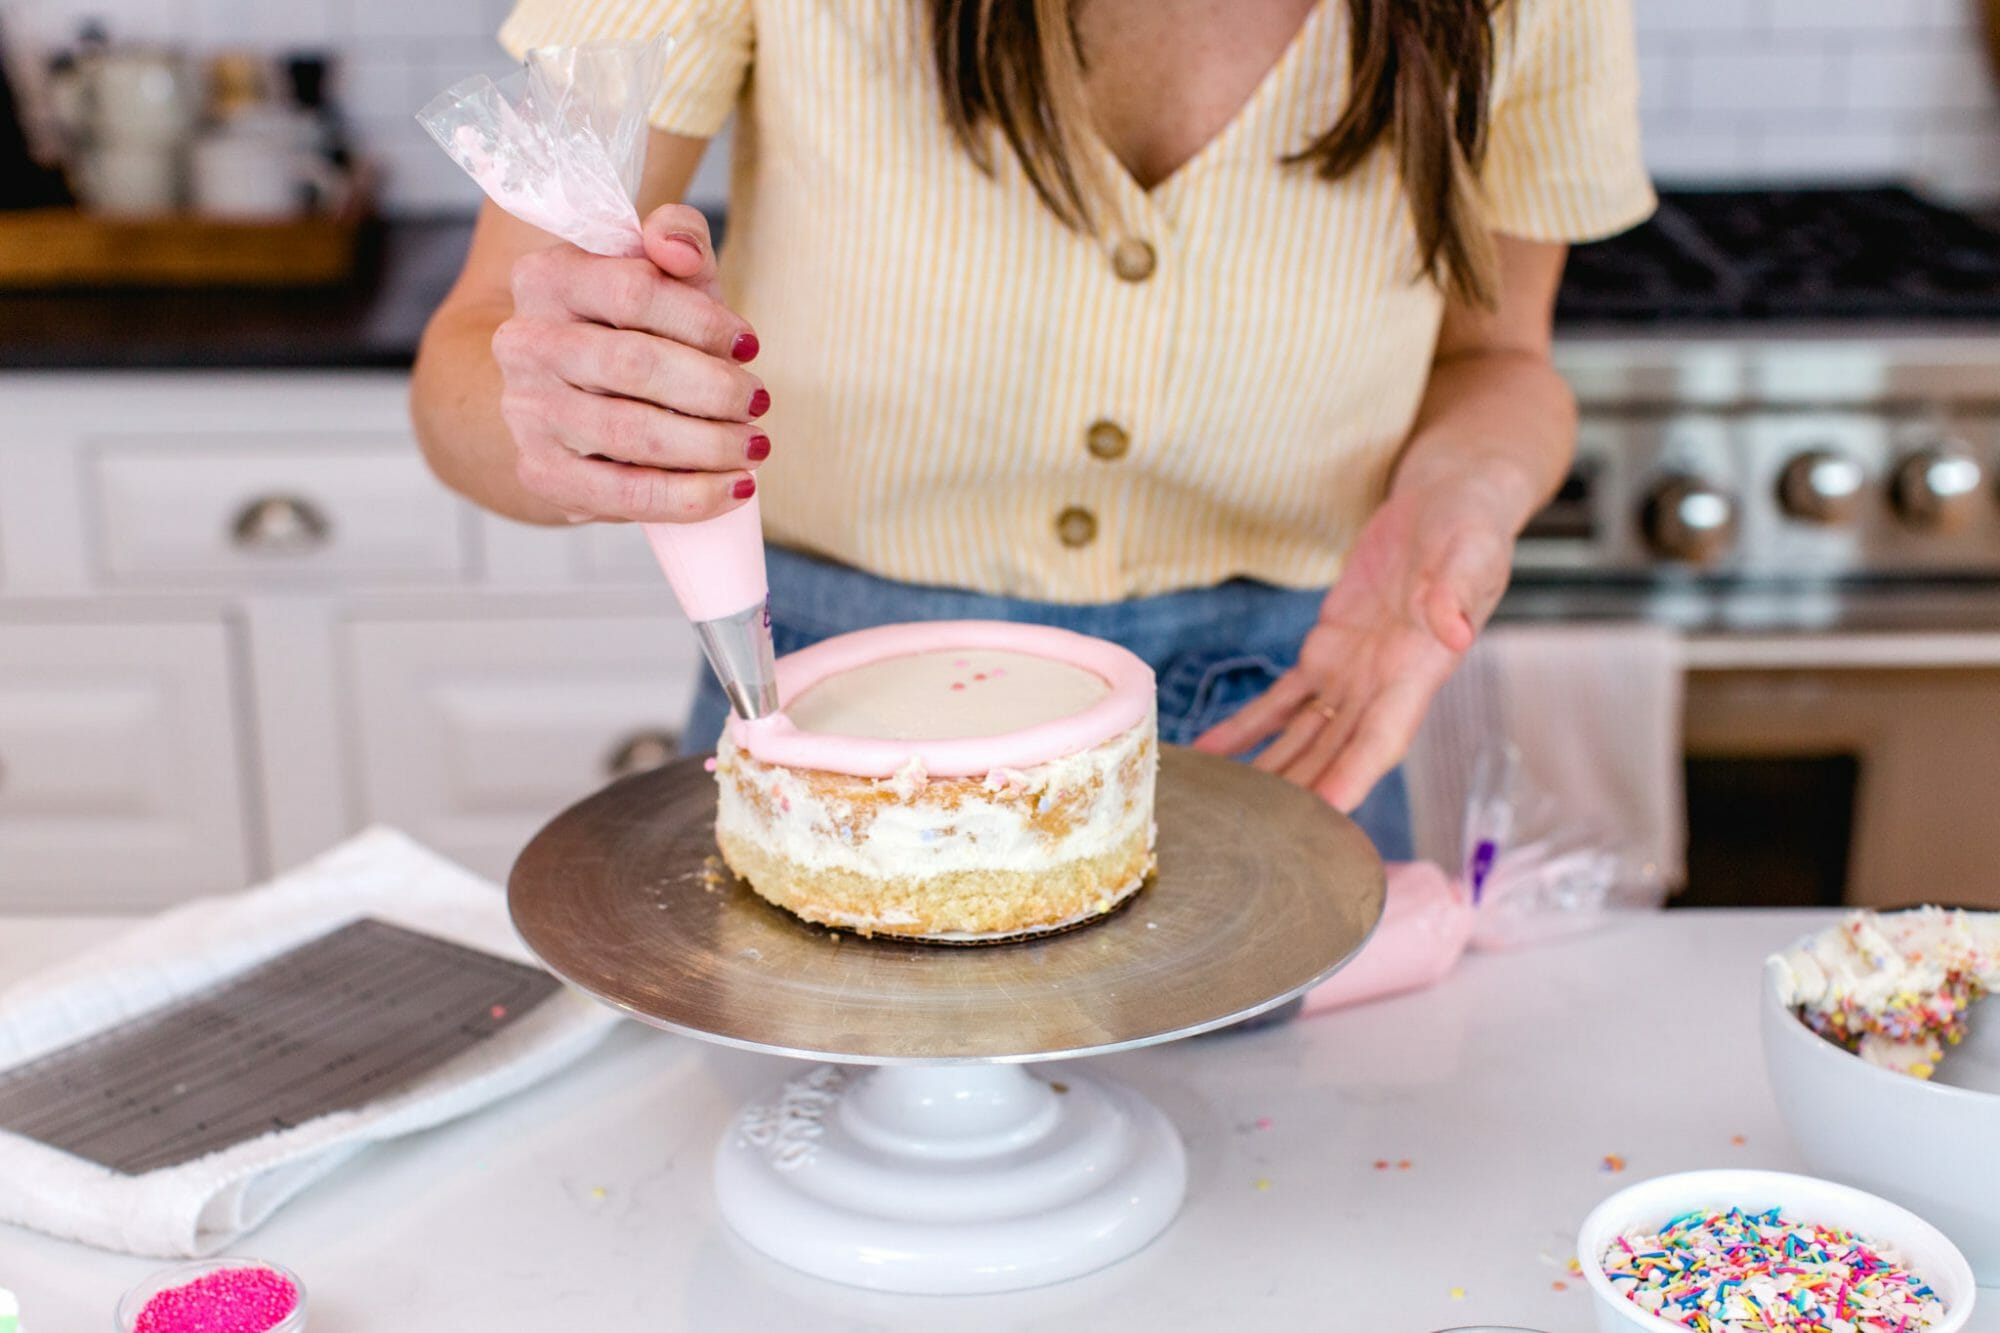
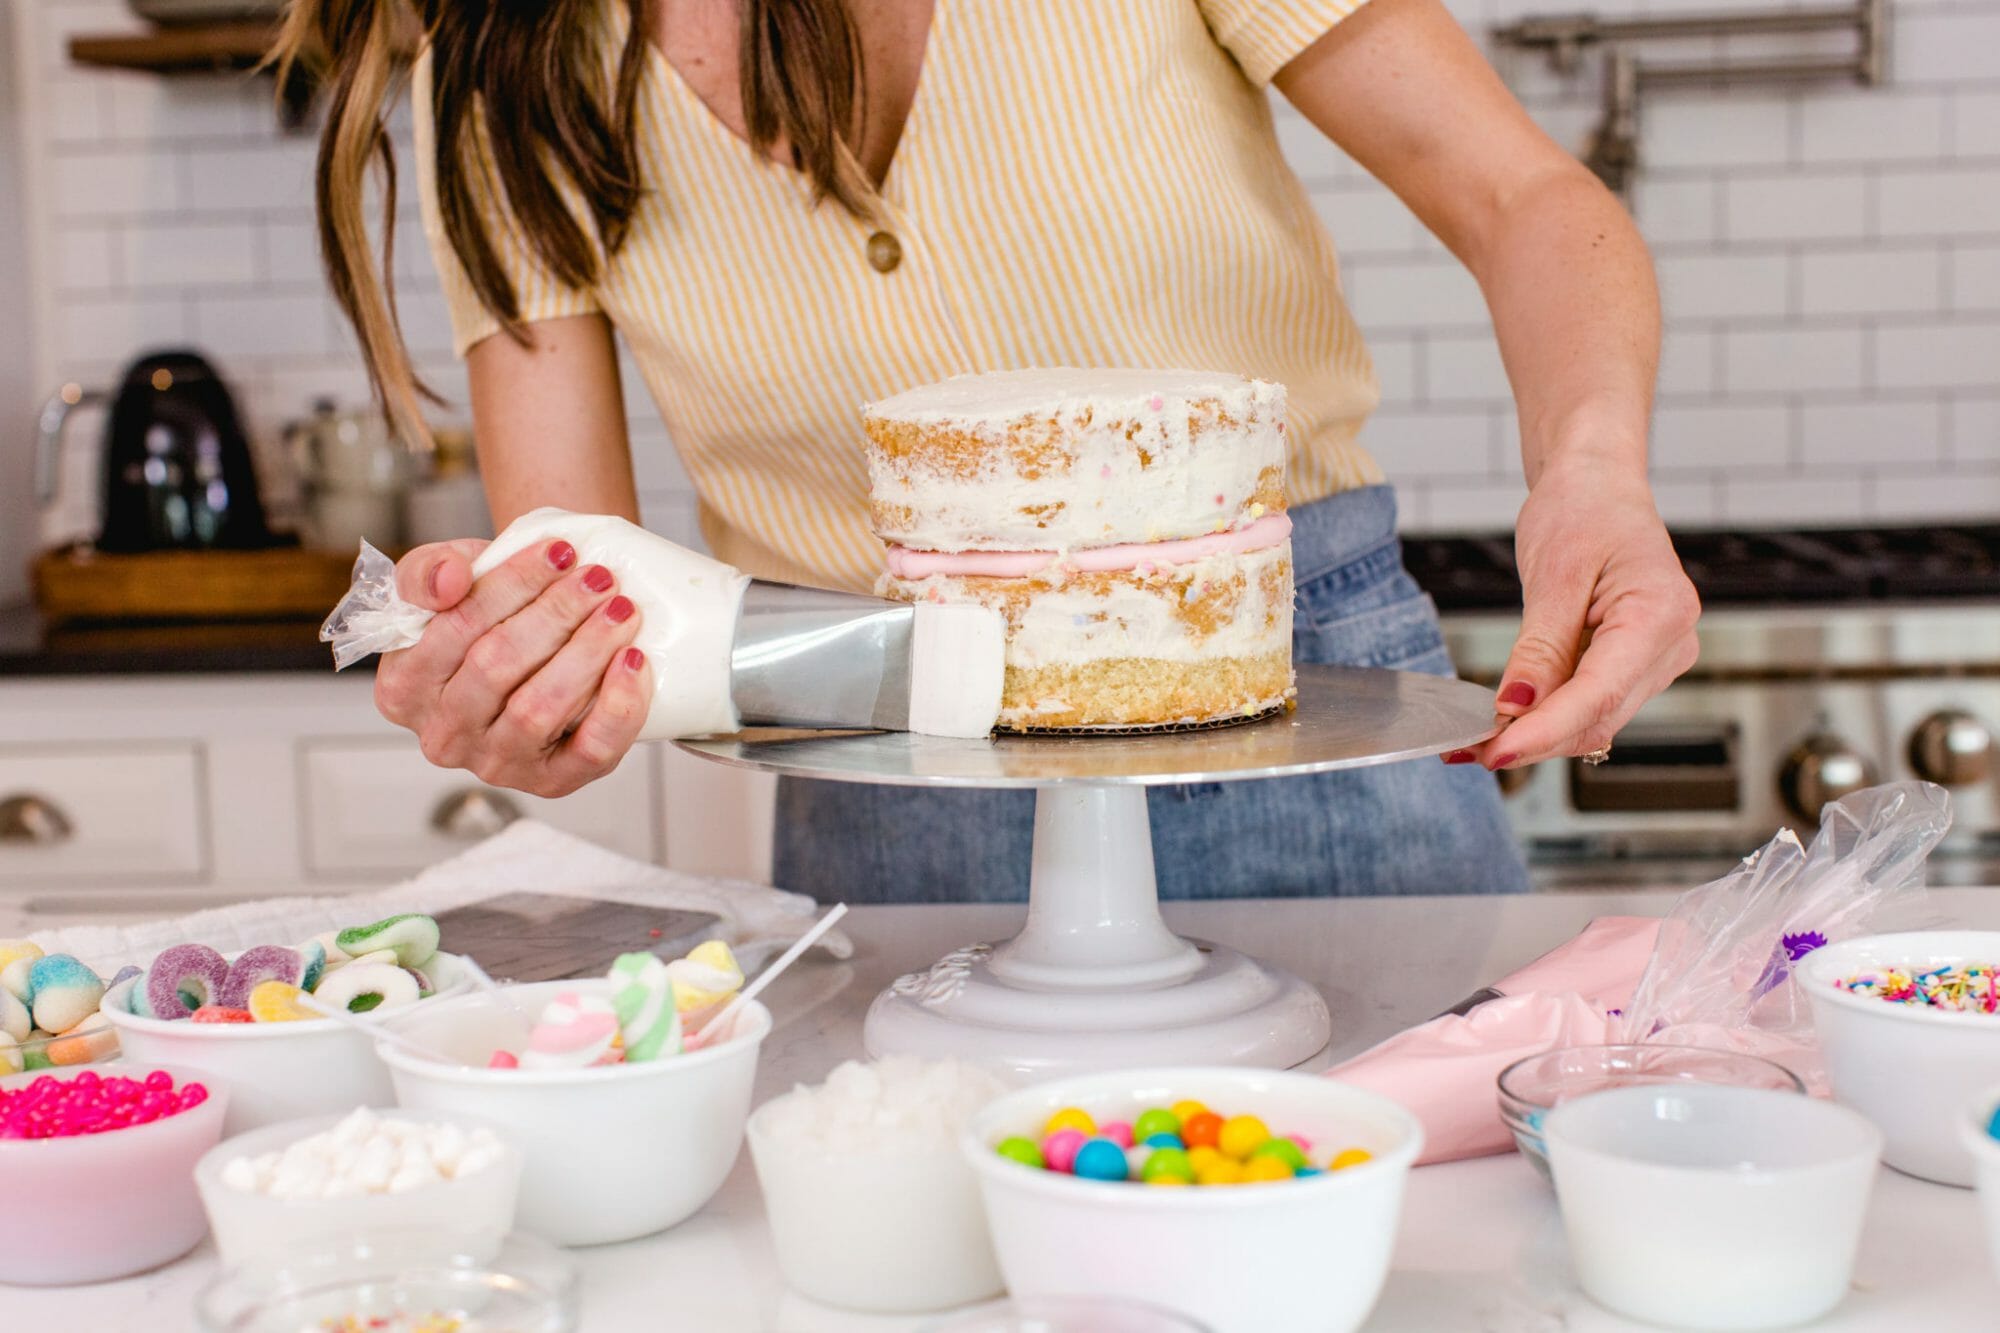
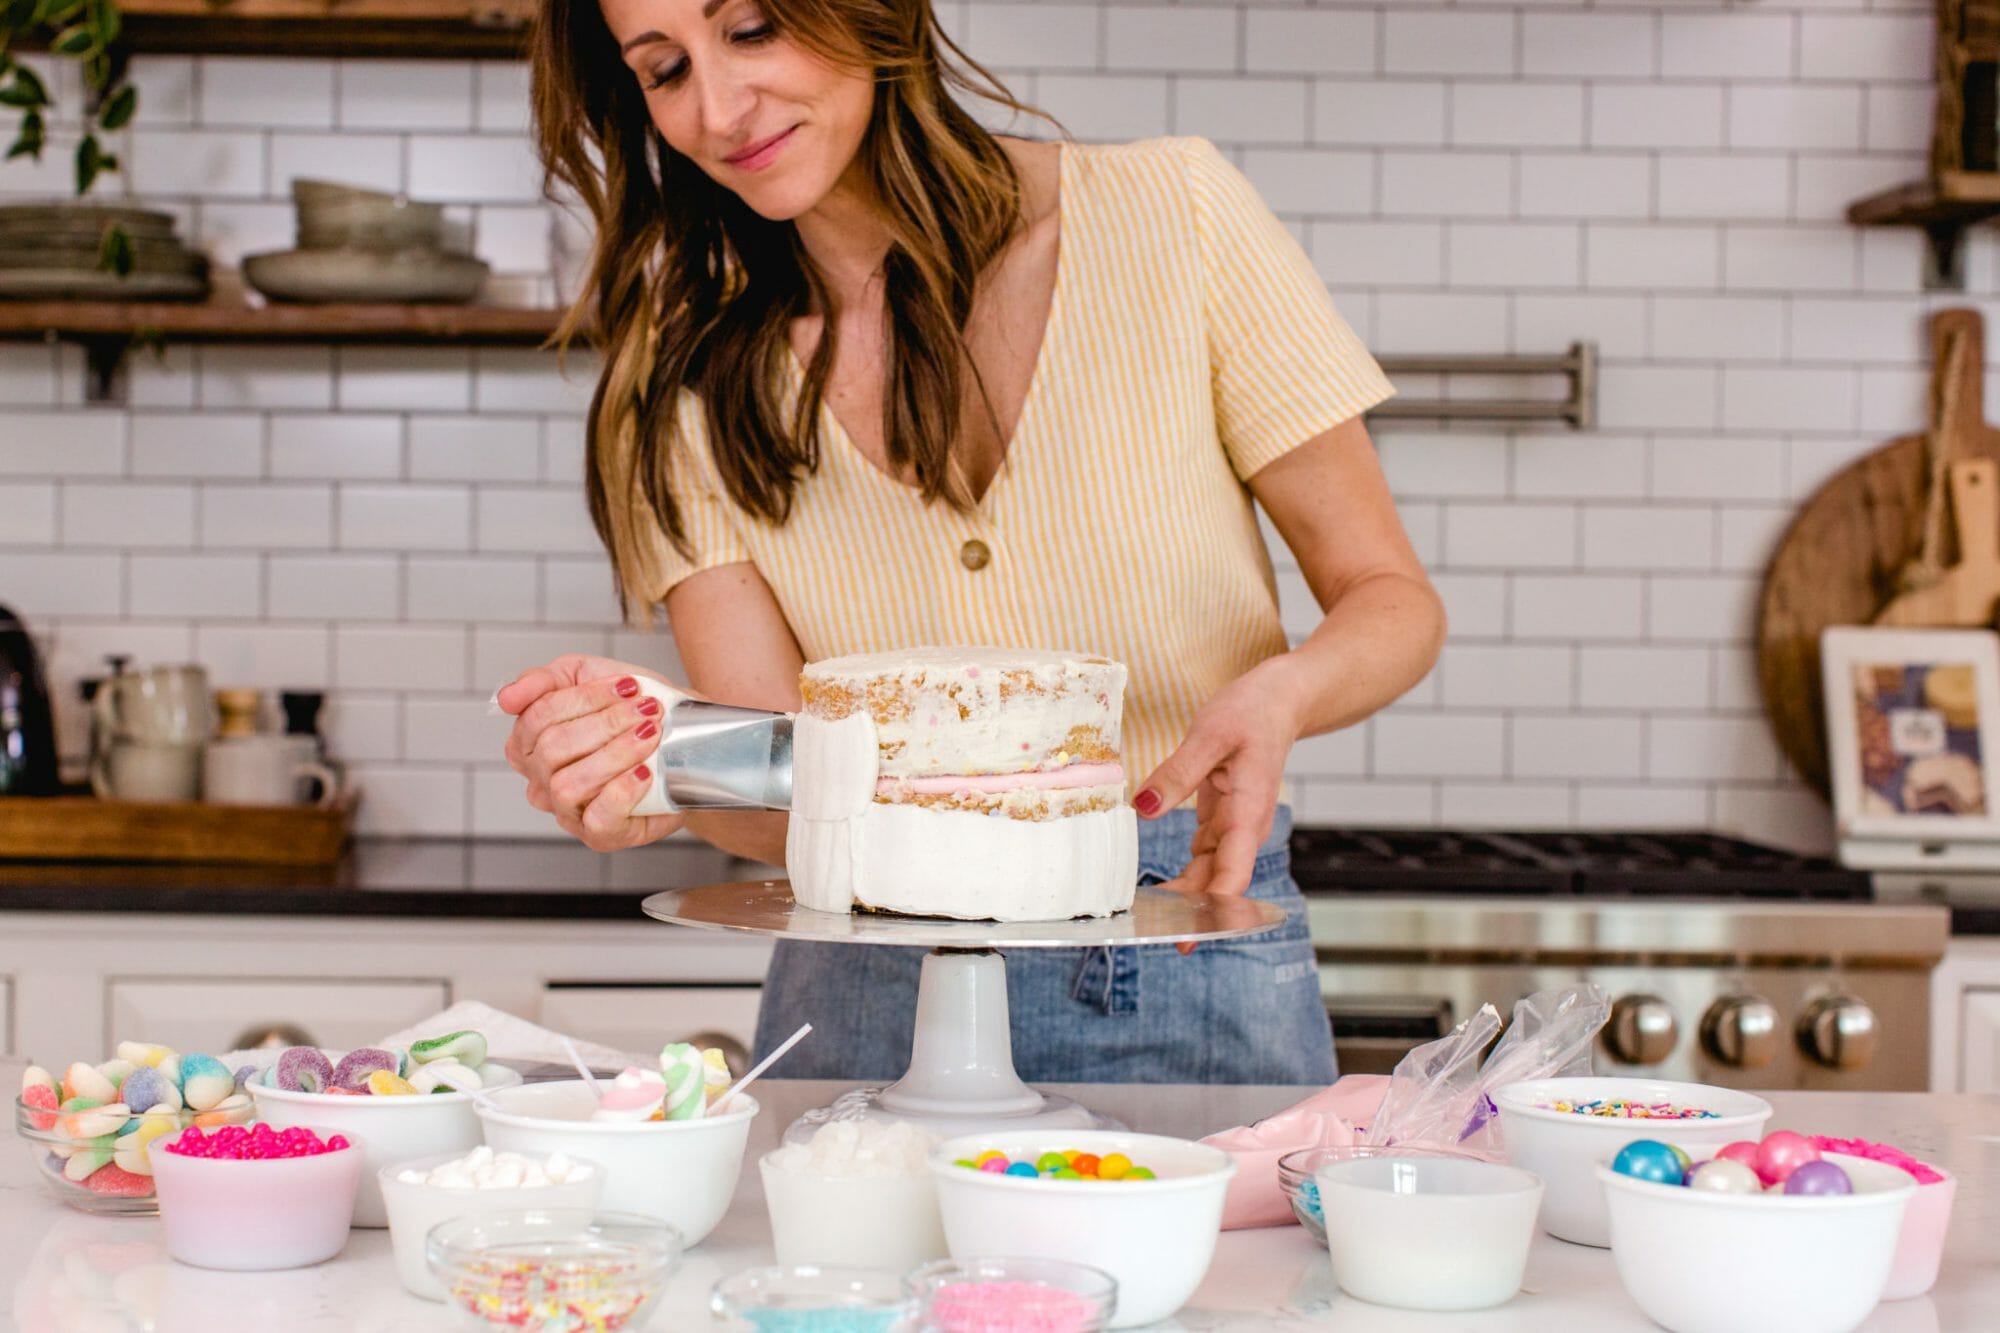
Fit a disposable decorating bag with a cake icer tip and fill with icing. Coat sides and top of the cake with icing.
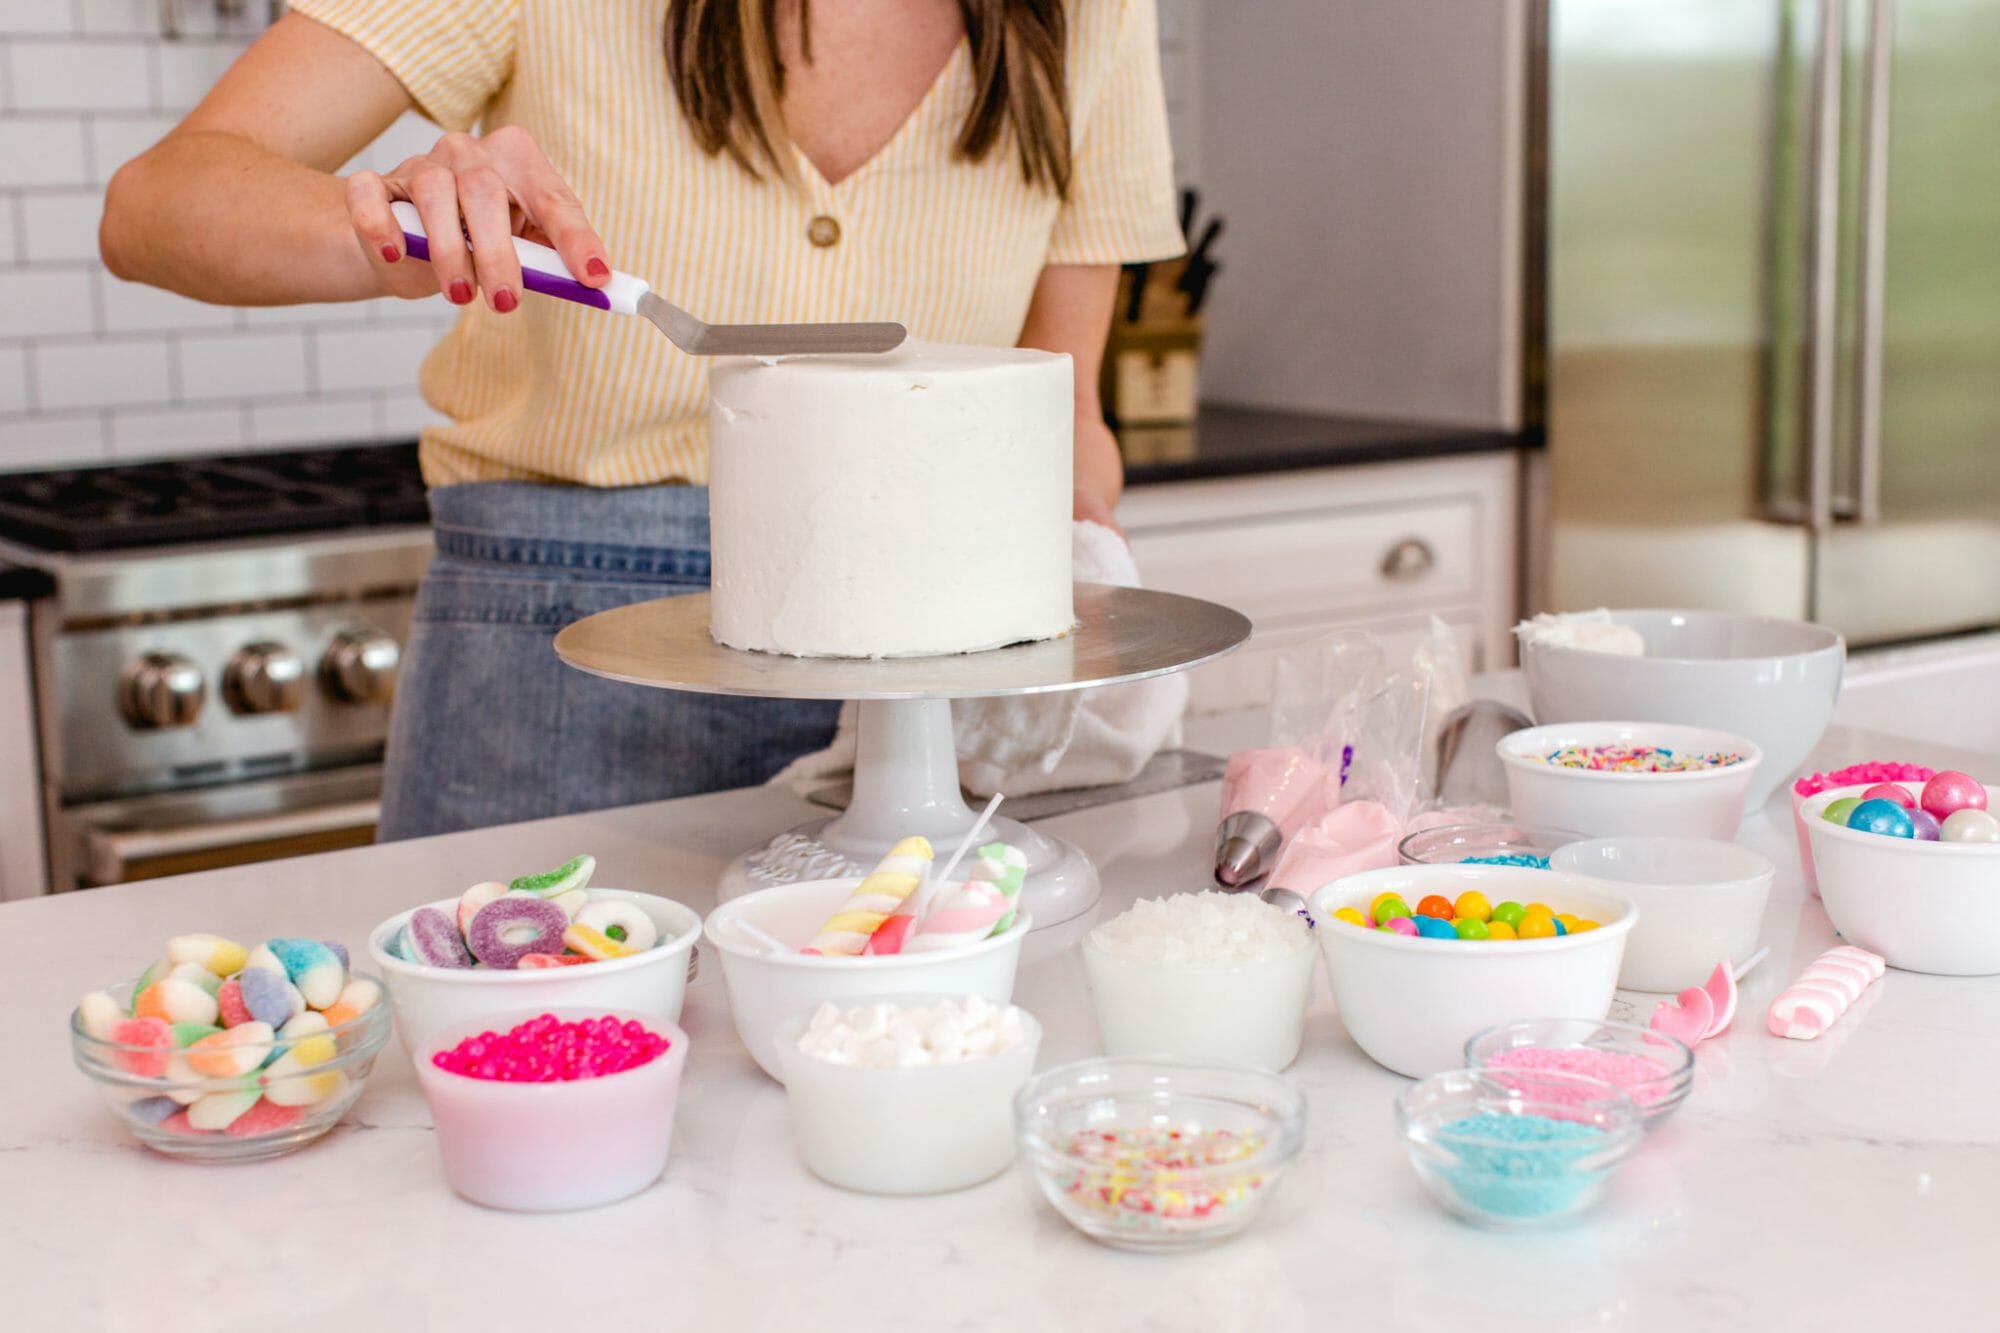
Use an angled spatula to even out the top of the cake, not perfectly but enough to level the top. Then use your bench scraper or dritz hem (cake hack tool) to smooth the sides.
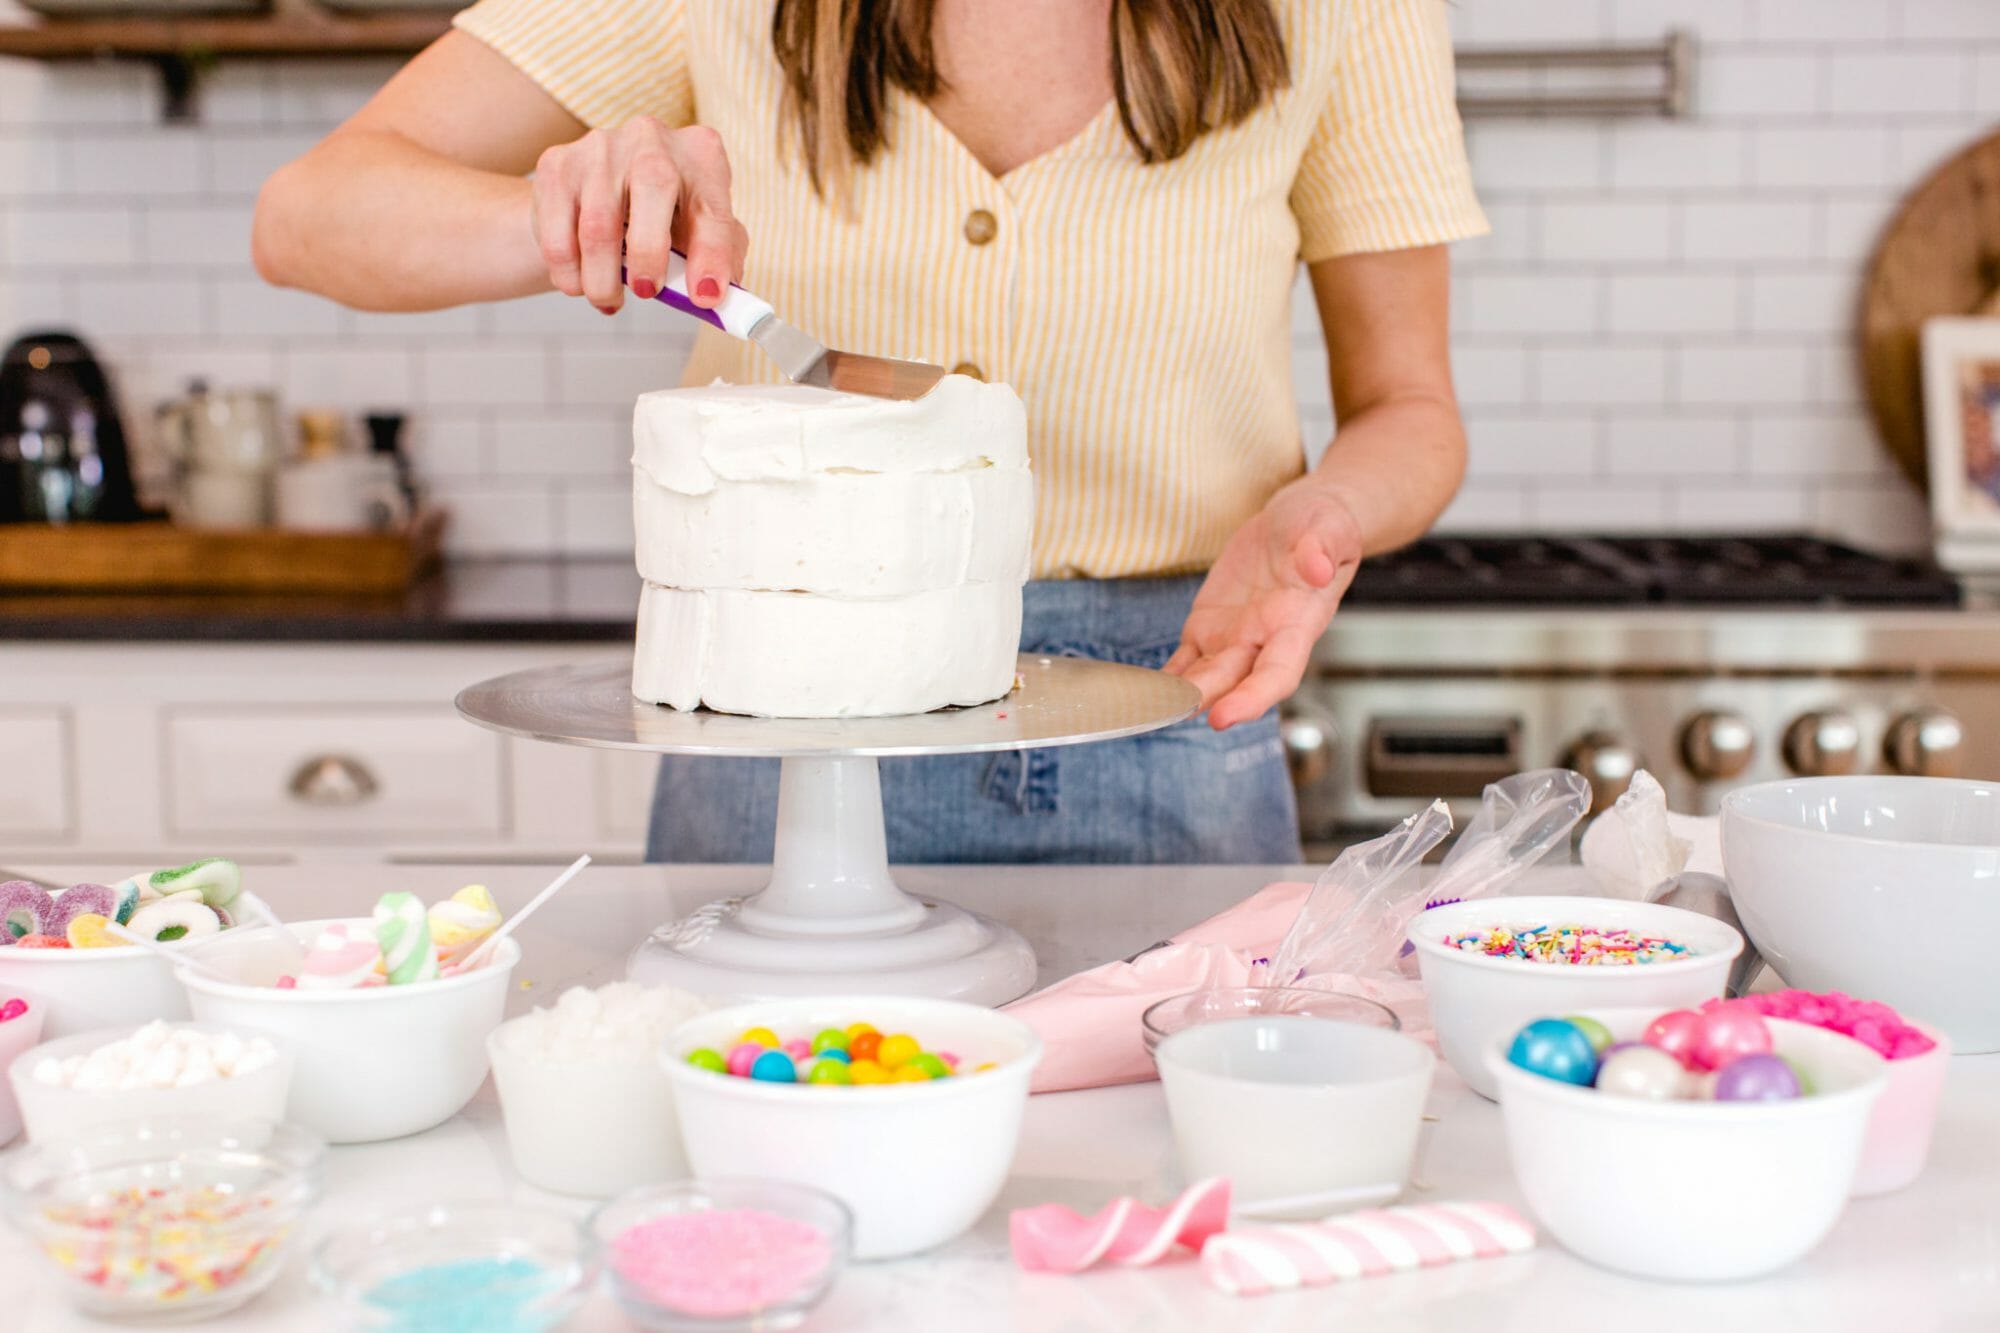
Lastly, use your angled spatula once more to pull in icing from the top of the cake, working from the outside edge in until you have sharp corners around the edge of the cake.
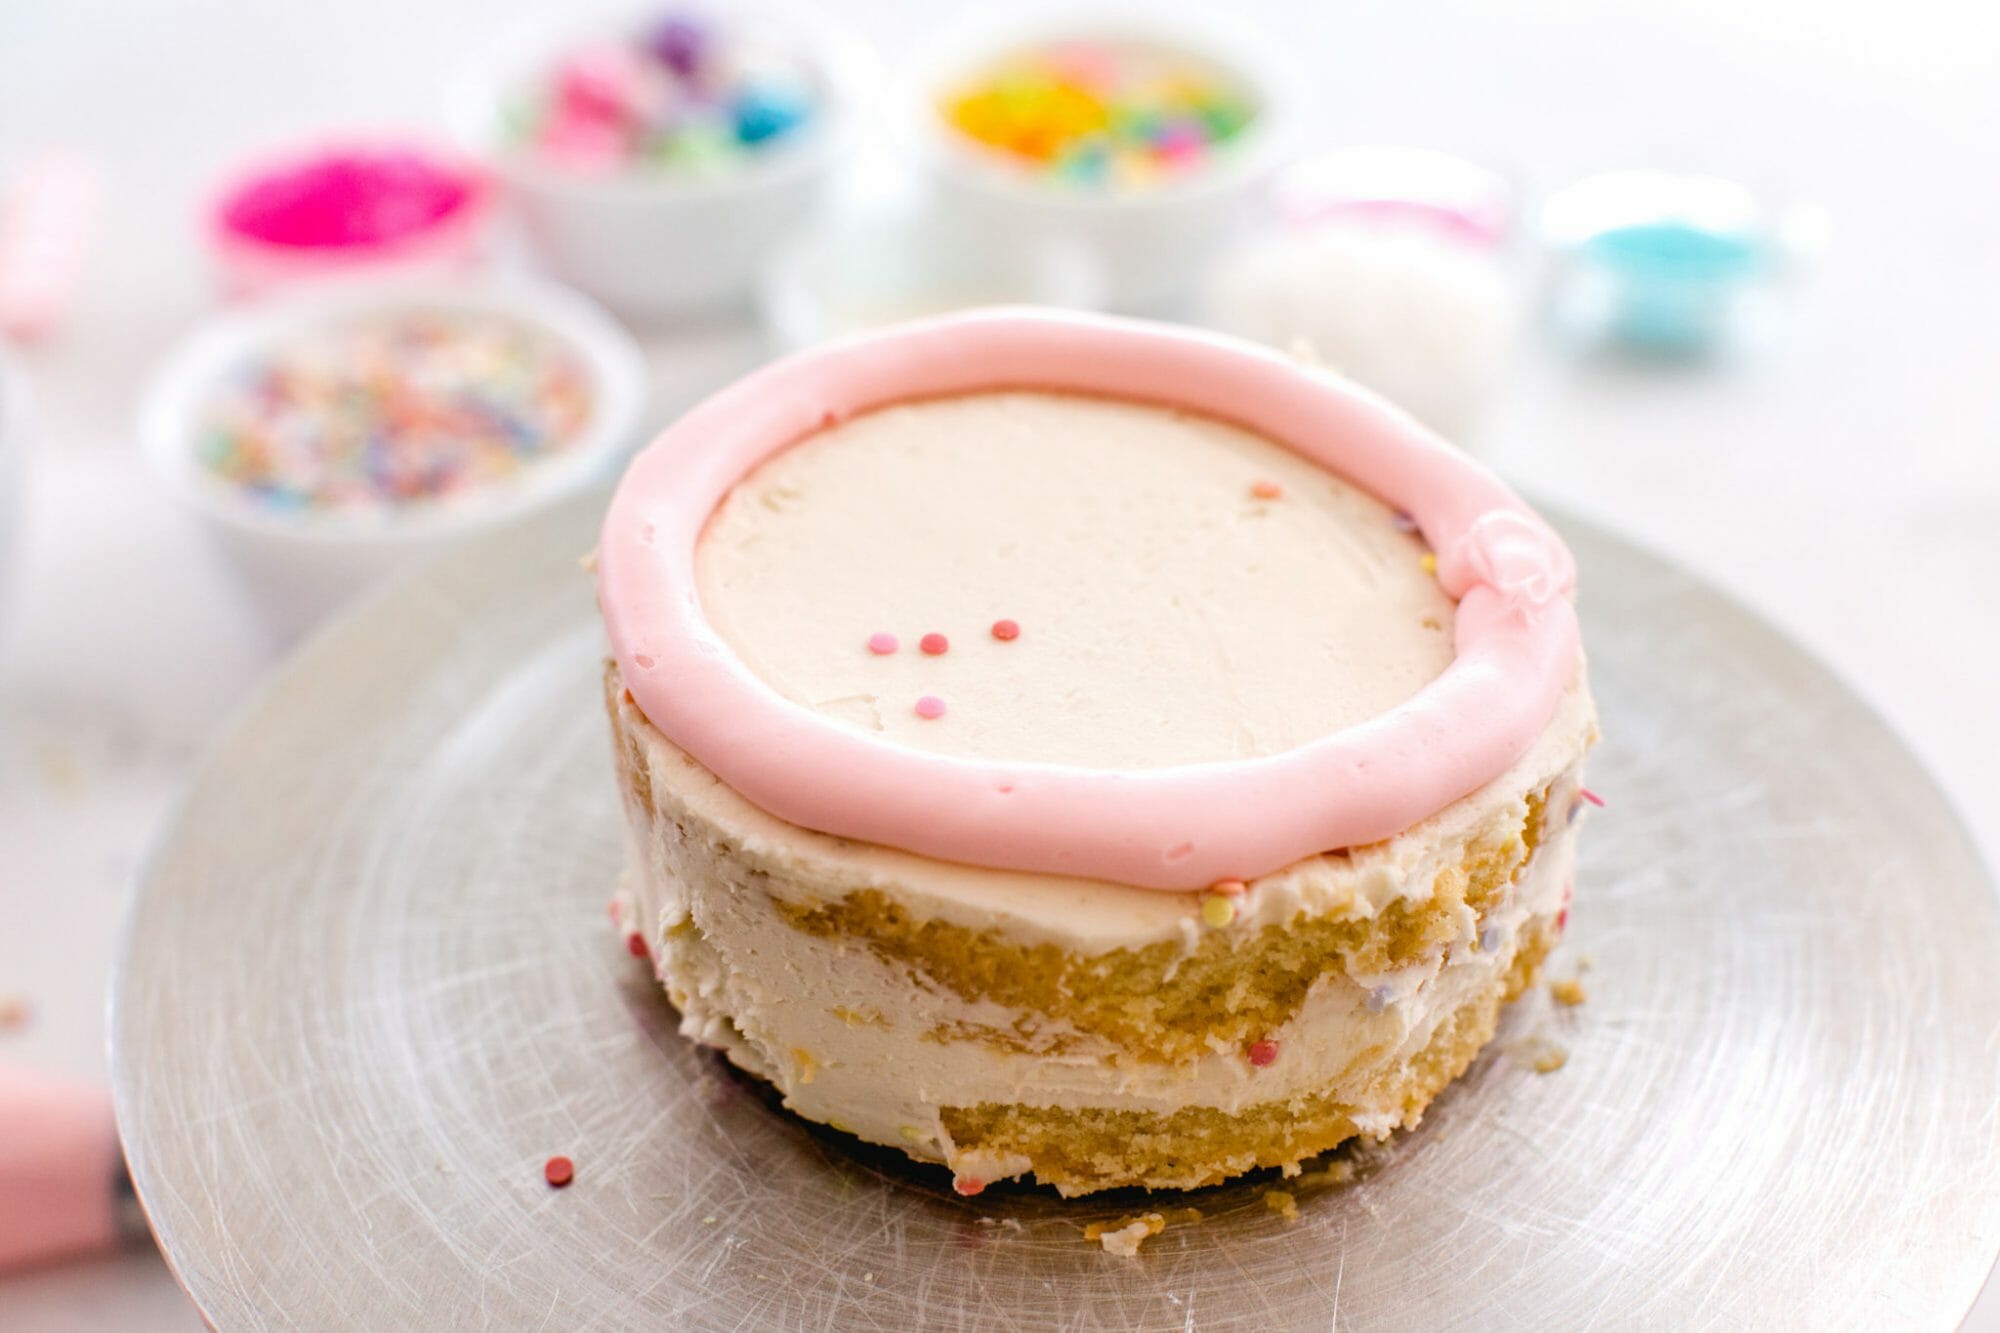
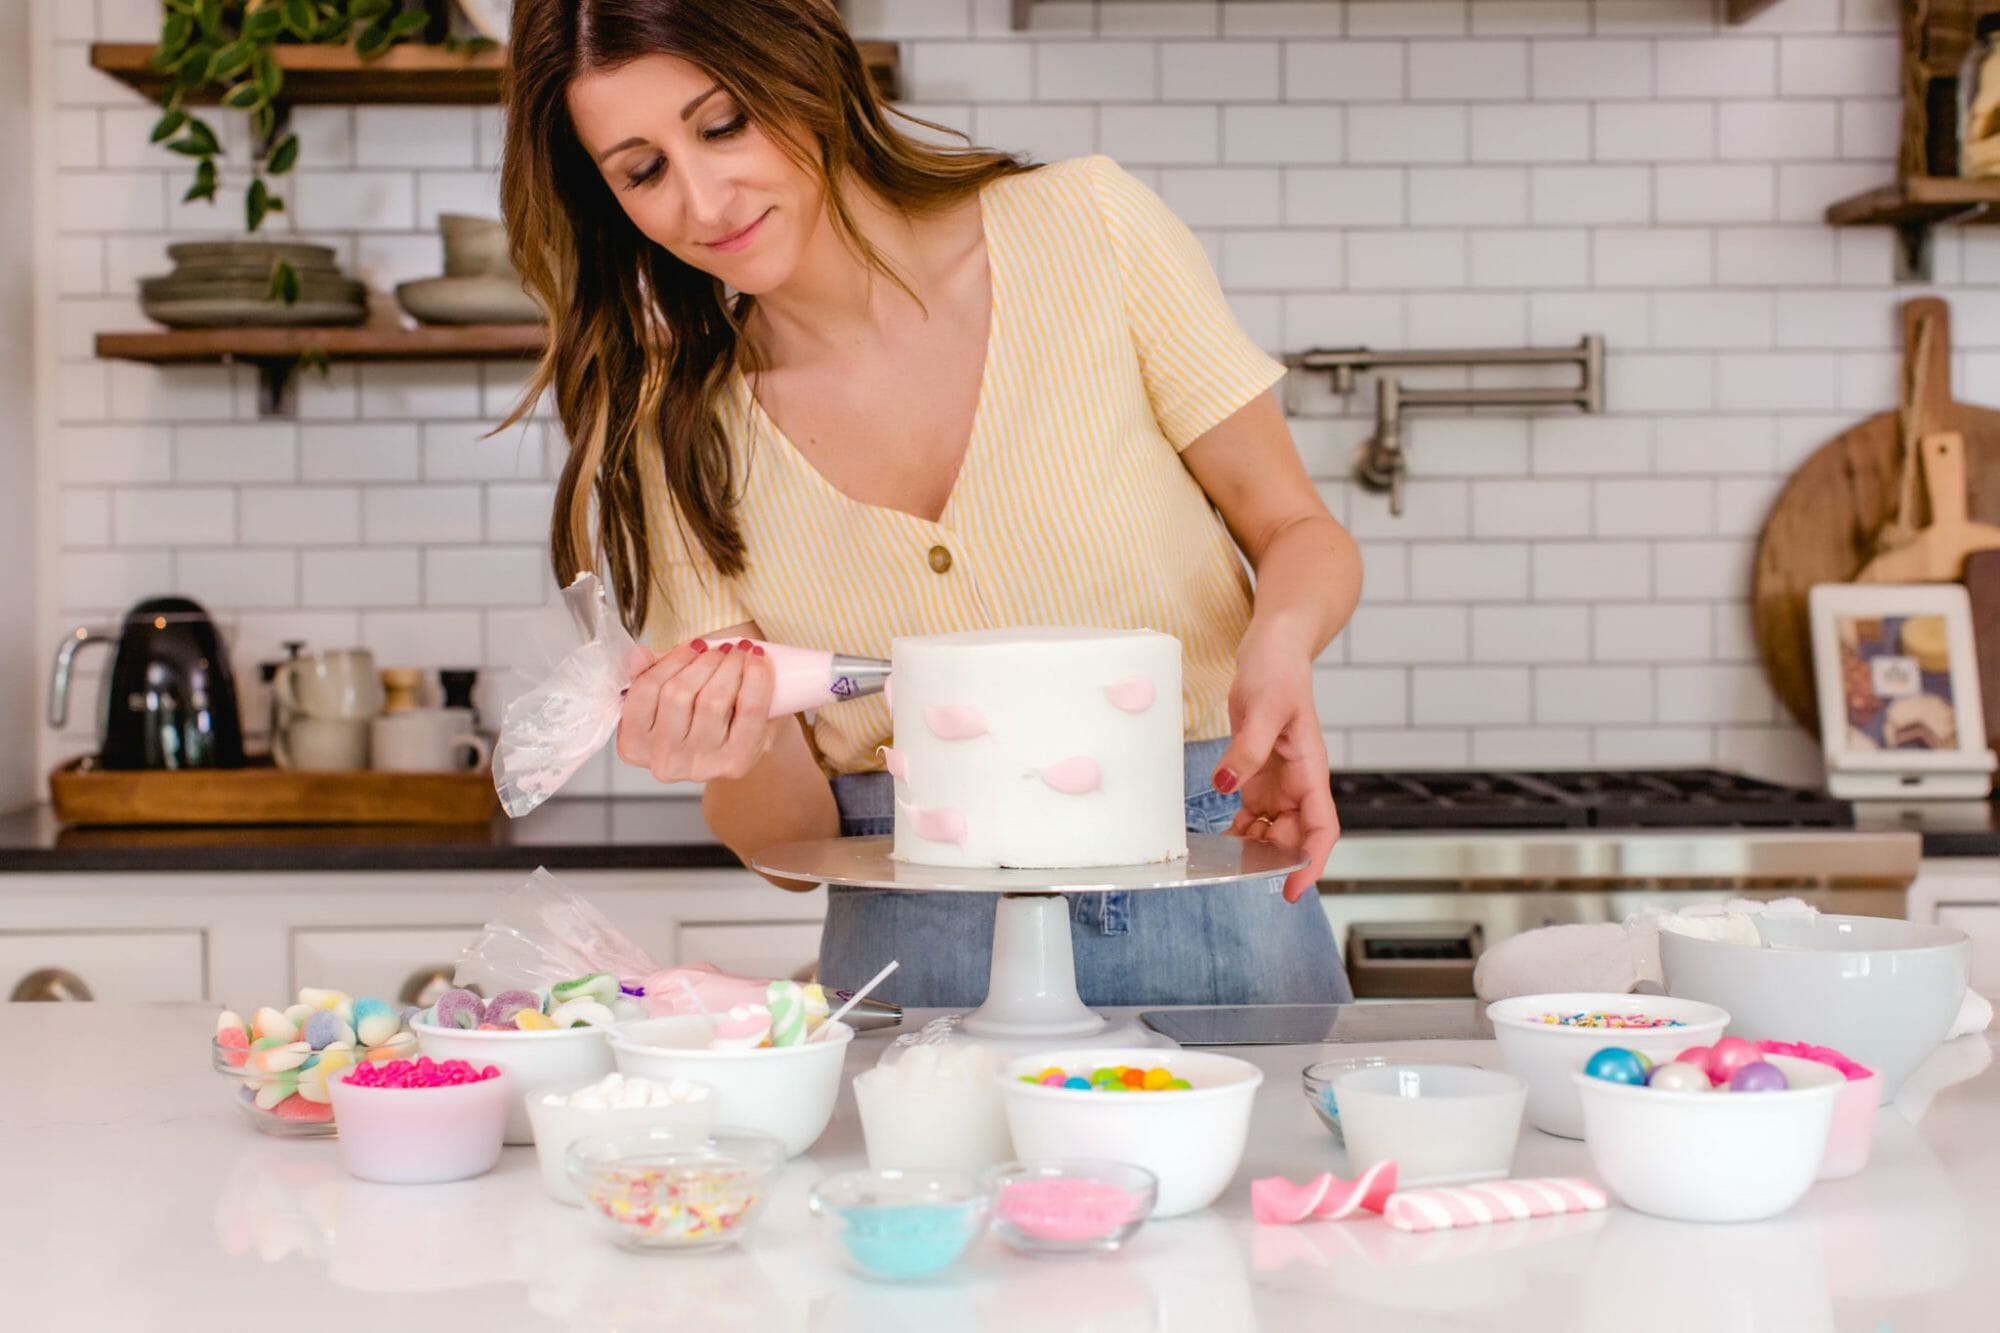
To add a bit of depth to my cake, I dotted some pink icing around the sides of the cake to give it a watercolor look. Spread them sporadically around the cake and then use your bench scraper again to smooth the sides, smearing the pink icing along the sides of the cake.
Keep in mind that since we are adding so much candy and sprinkles to the cake, you don’t have to worry about it being perfect. The edible decorations will hide any imperfections!

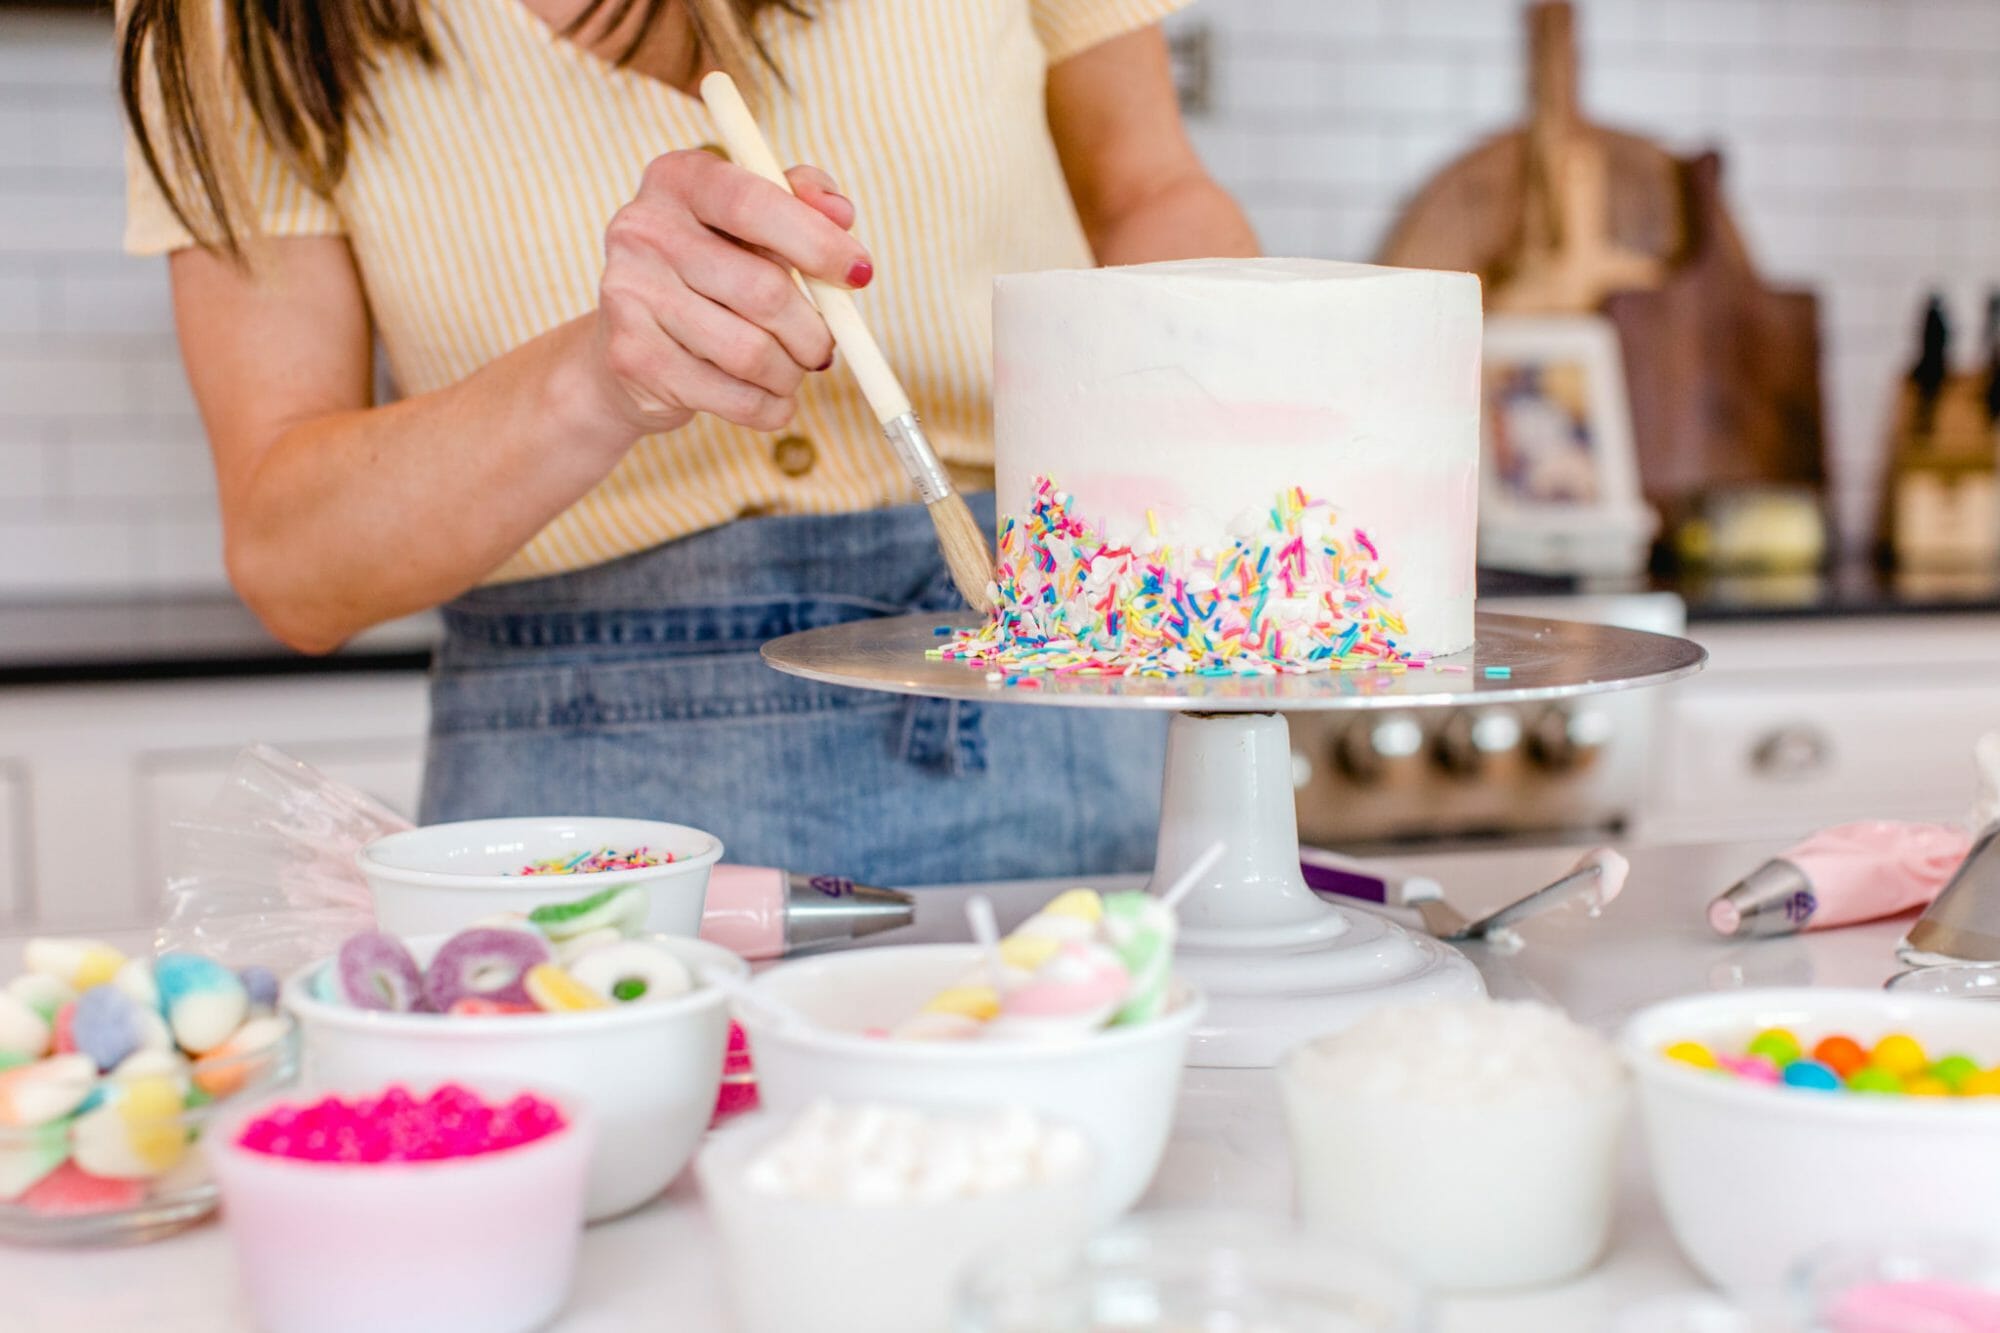
Once the cake feels smooth enough, pick your favorite sprinkles and add them to the base of the cake. I like to use a paint brush to carefully add sprinkles to the base. You’ll want to make sure you add the sprinkles while the cake is still tacky so the sprinkles adhere.
Now the fun part! This is the point in the decorating that may be difficult for perfectionists. This style of cake is more of an “extreme decorating” technique, meaning it’s all the things you can add with not too much symmetry and simplicity. I love these cakes because no two ever turn out alike, and people go crazy for them!
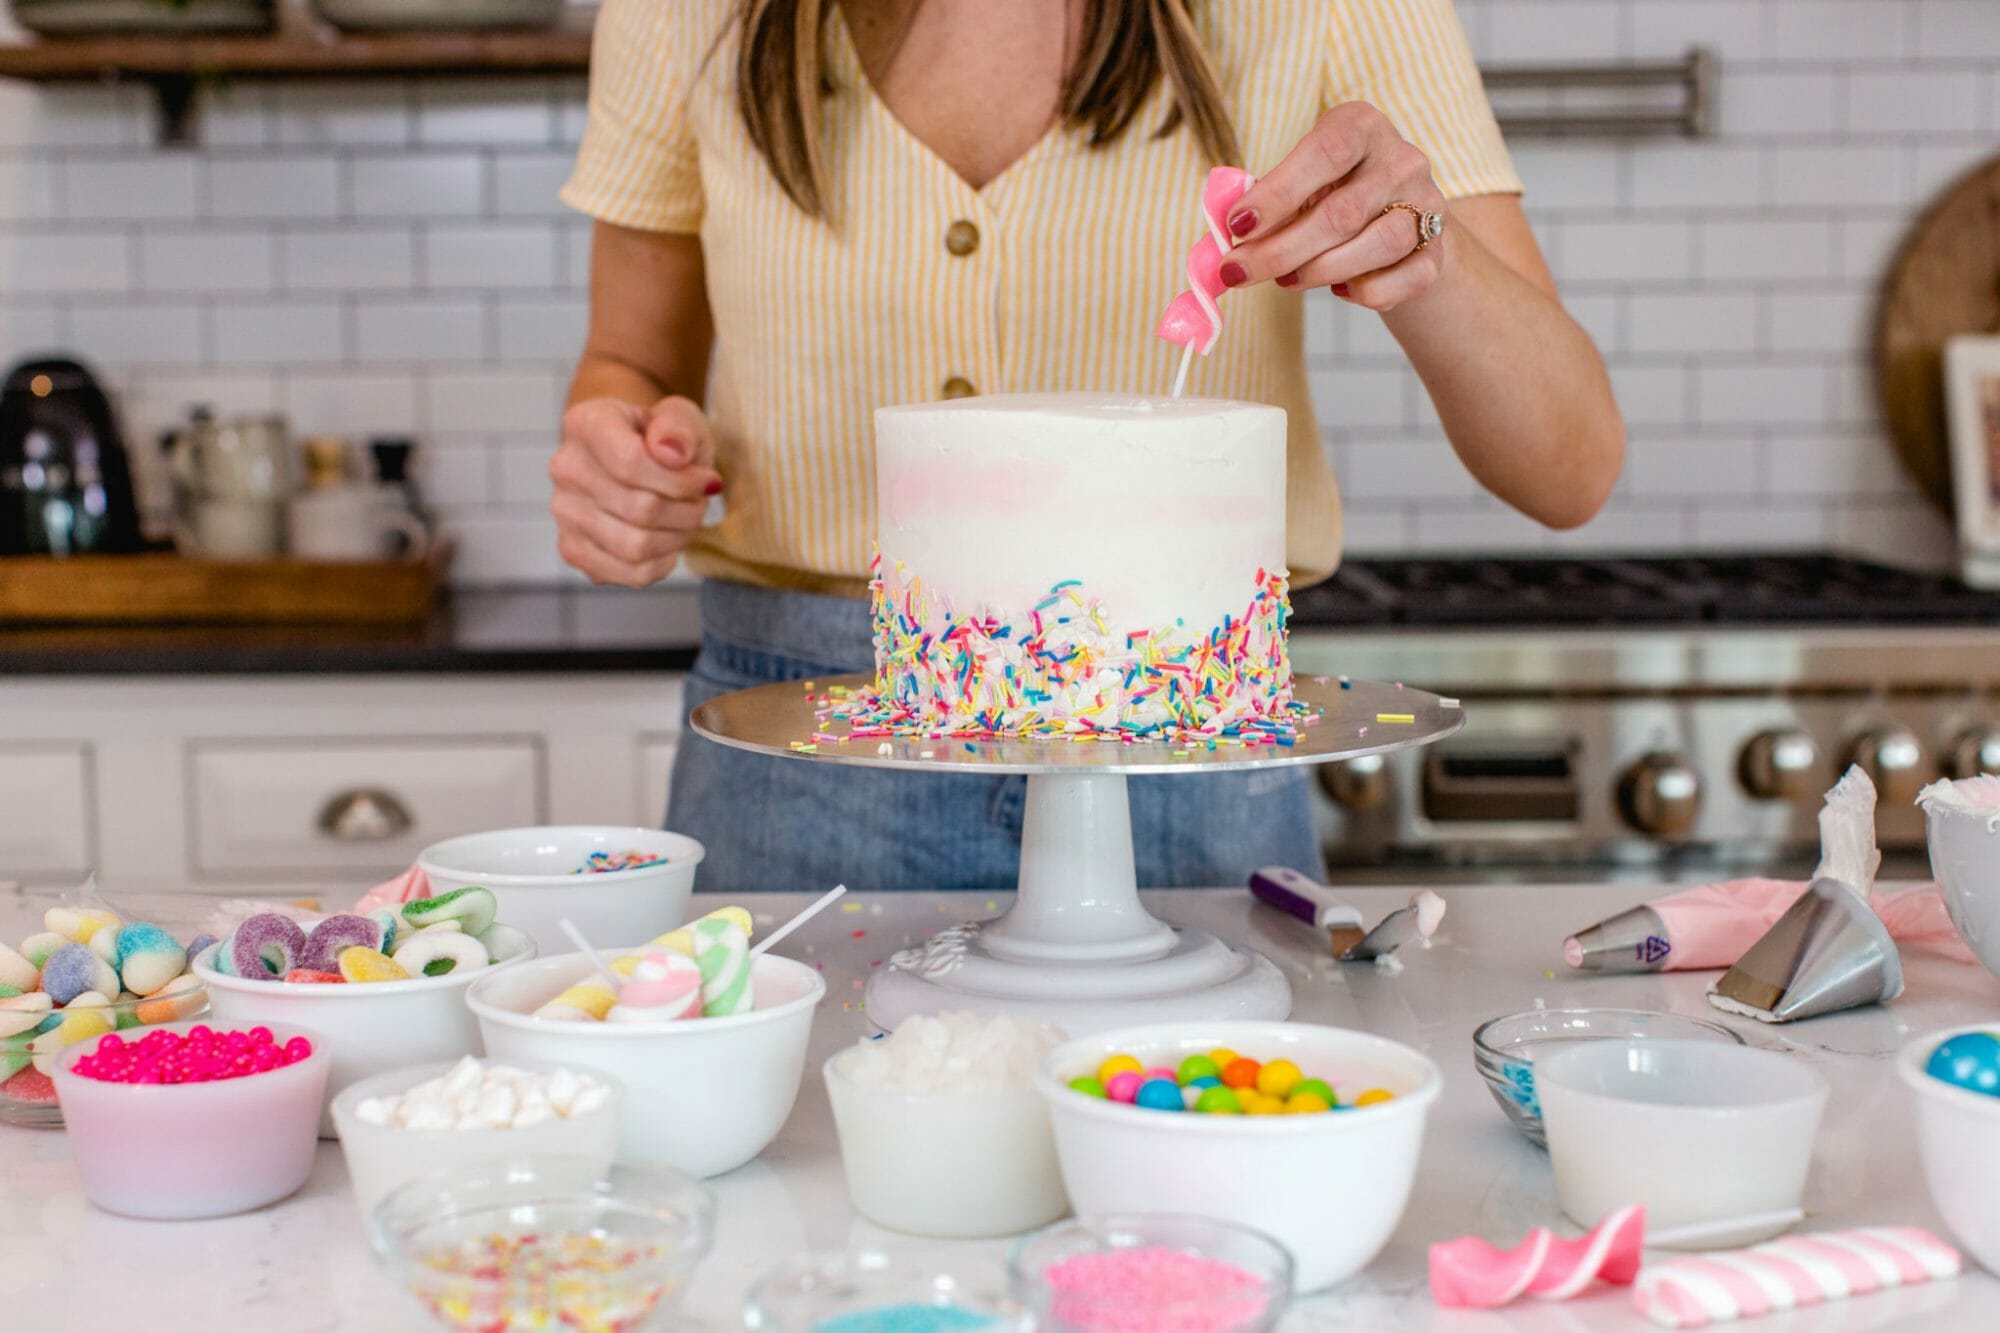
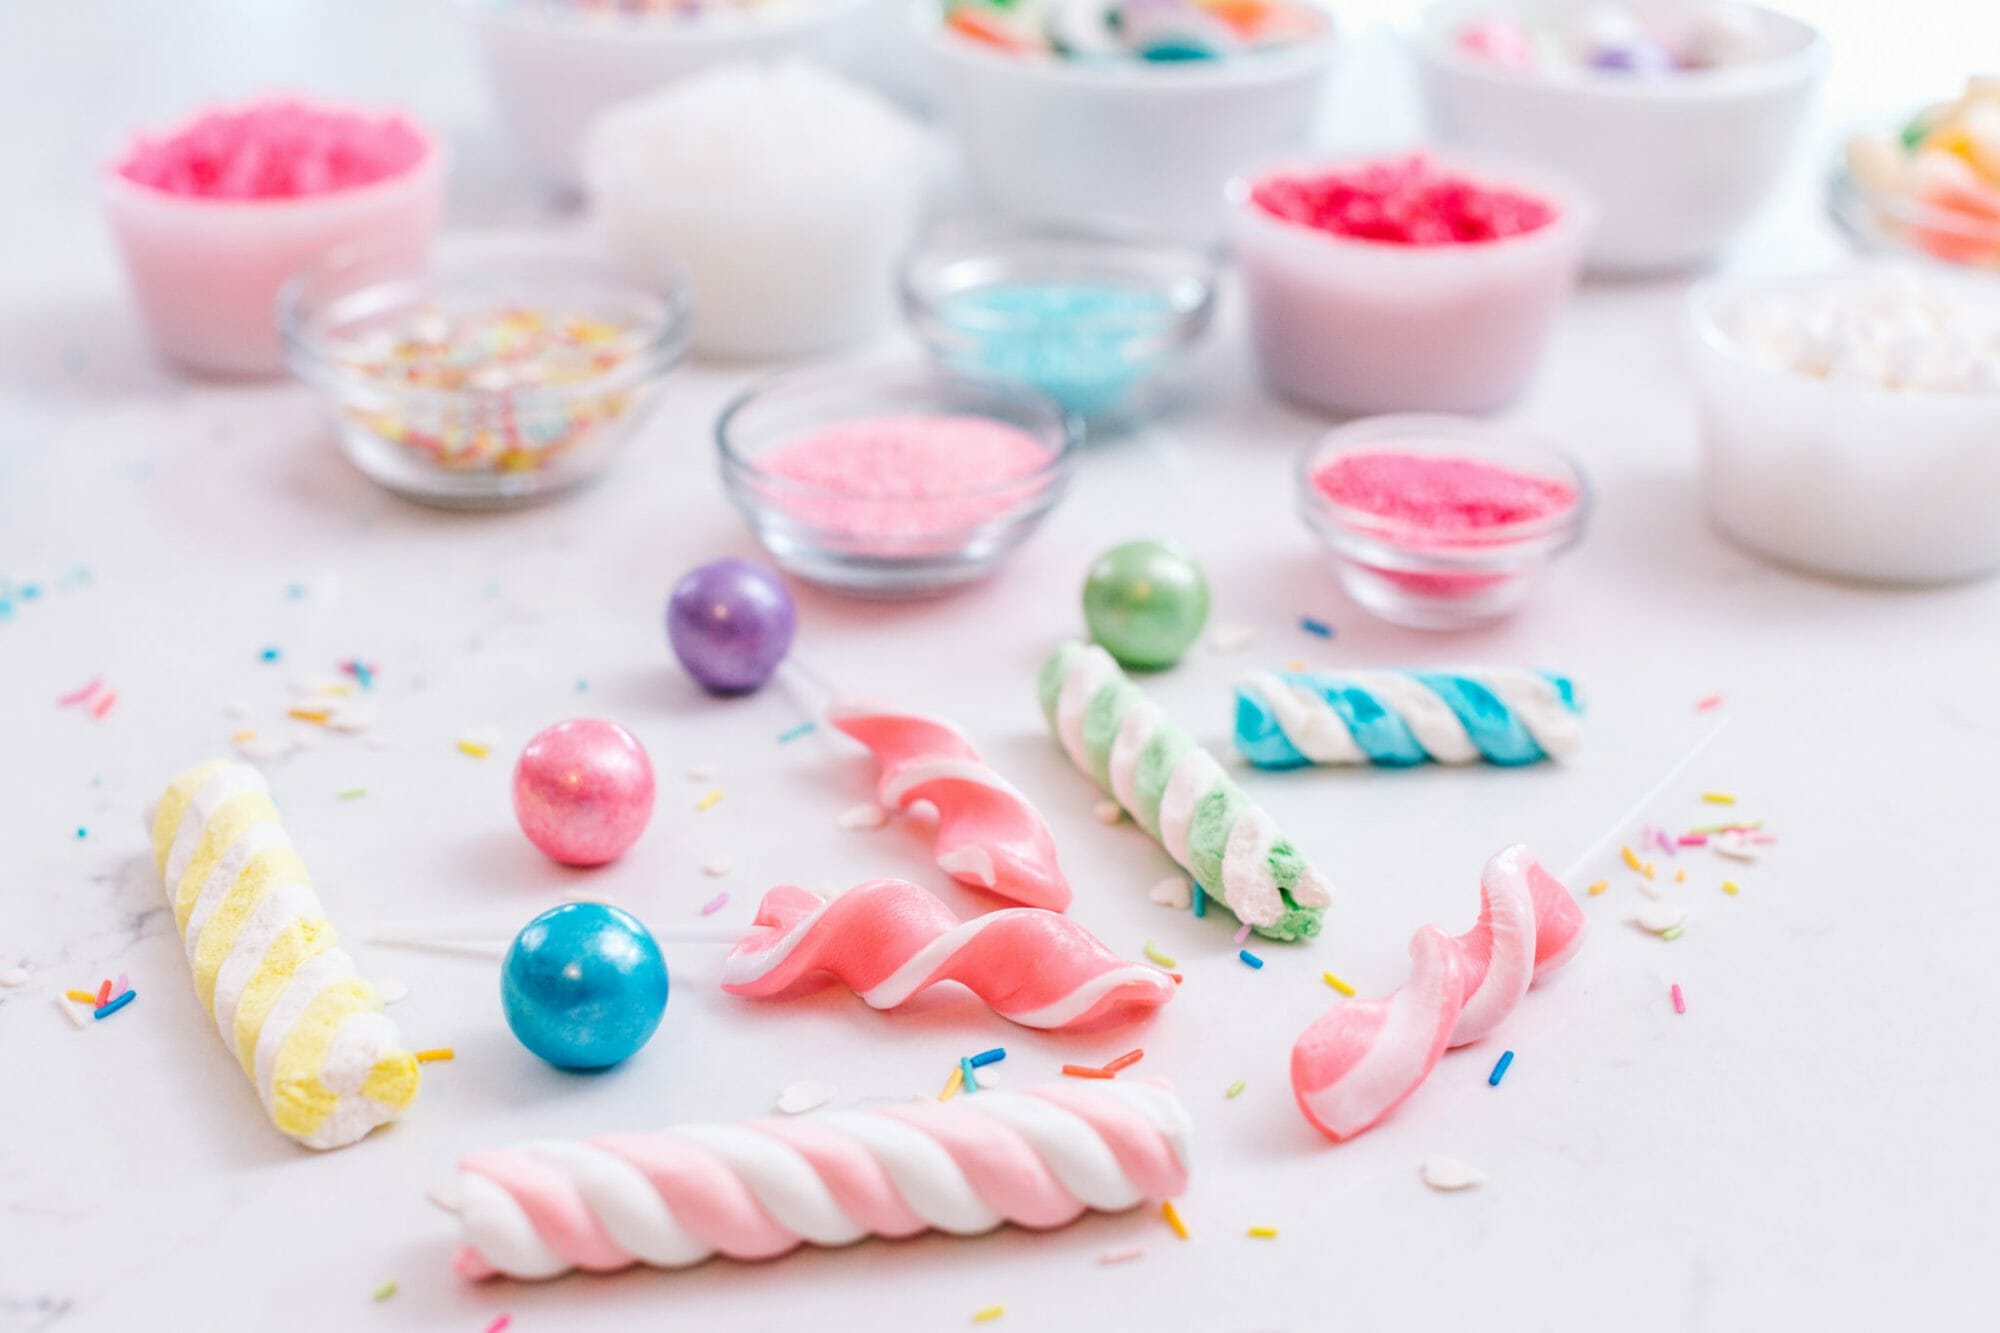
I always start with my largest pieces first and work around them. The largest candies I had were these lollipops so I added them to one side of the cake and had them point different directions.
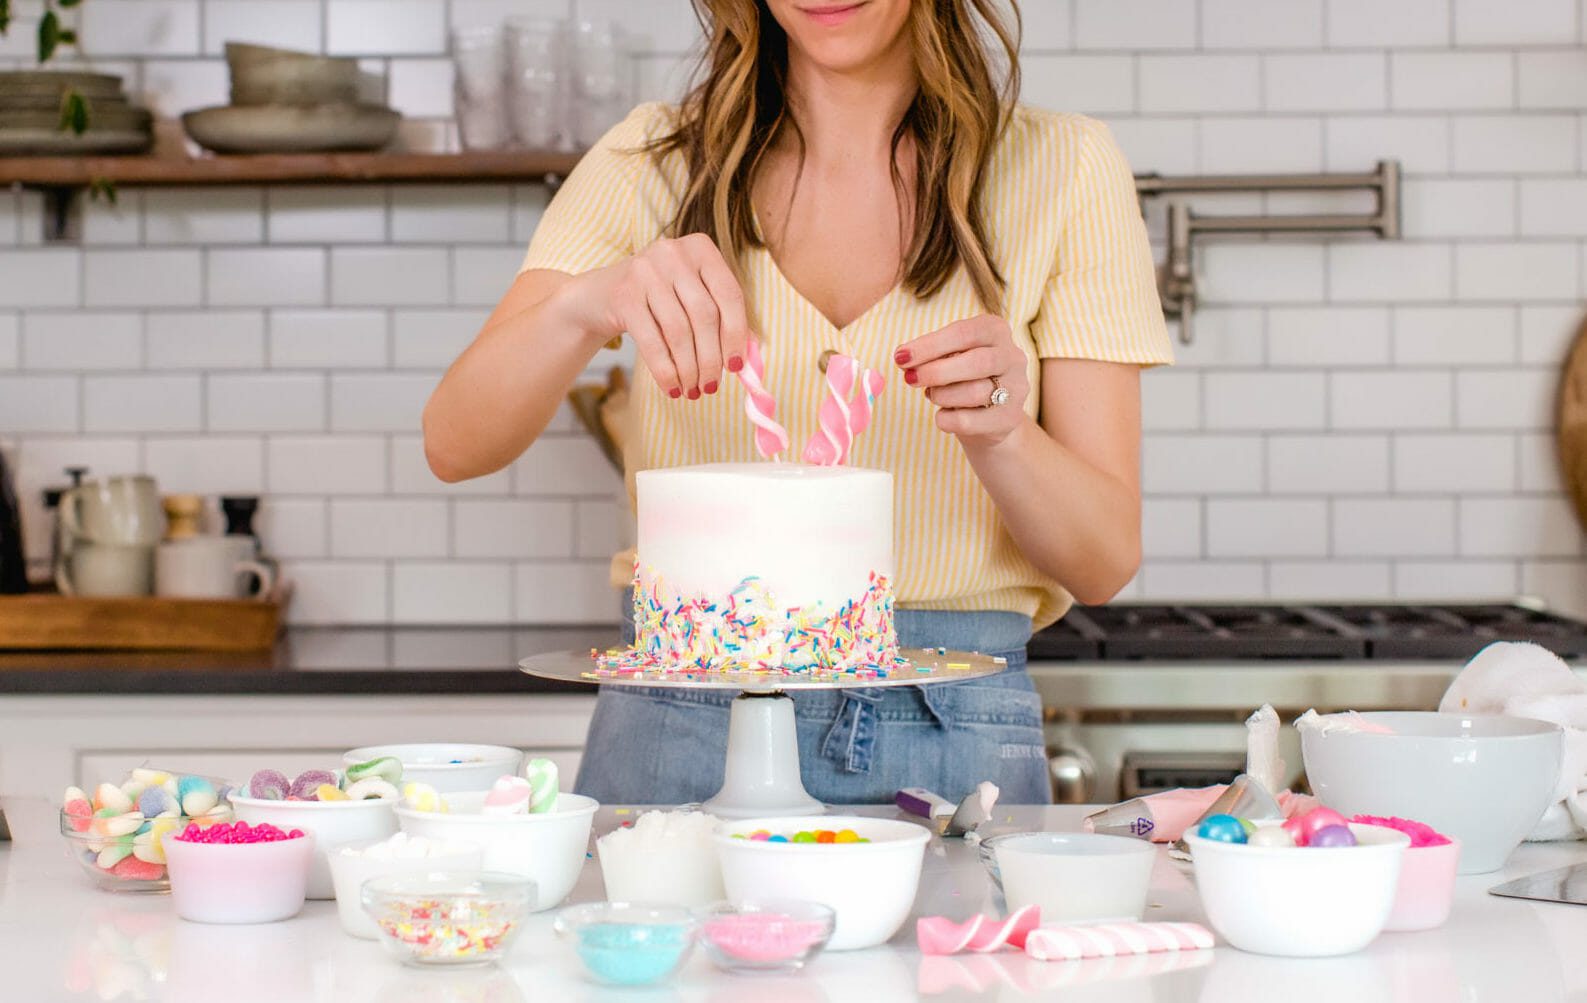
Next I added large gumballs, twisted marshmallows and piped on a few dollops of icing left over from the interior dam and the exterior watercoloring.
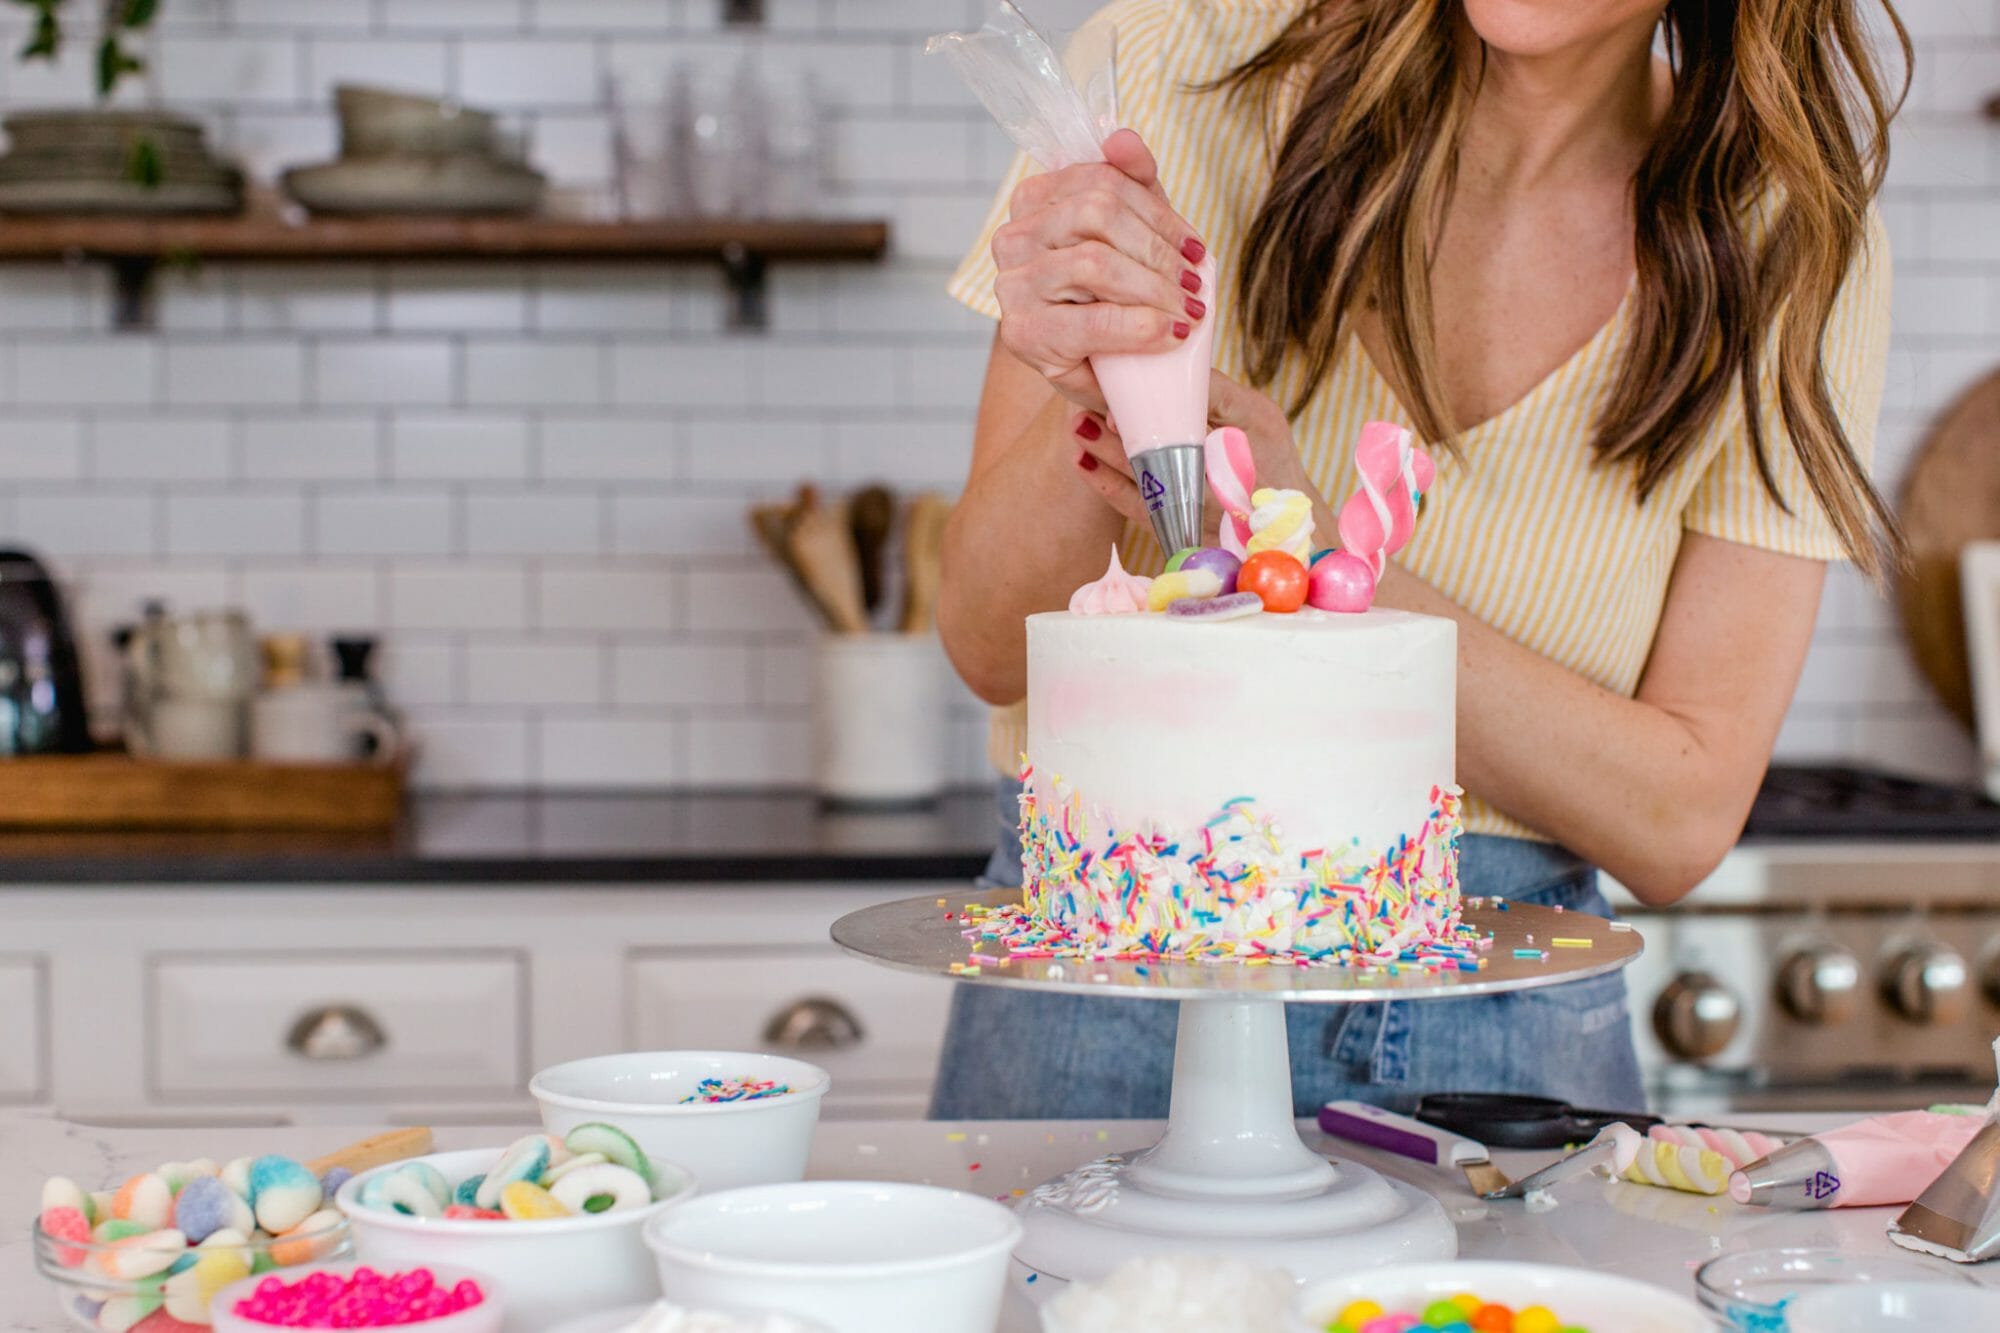
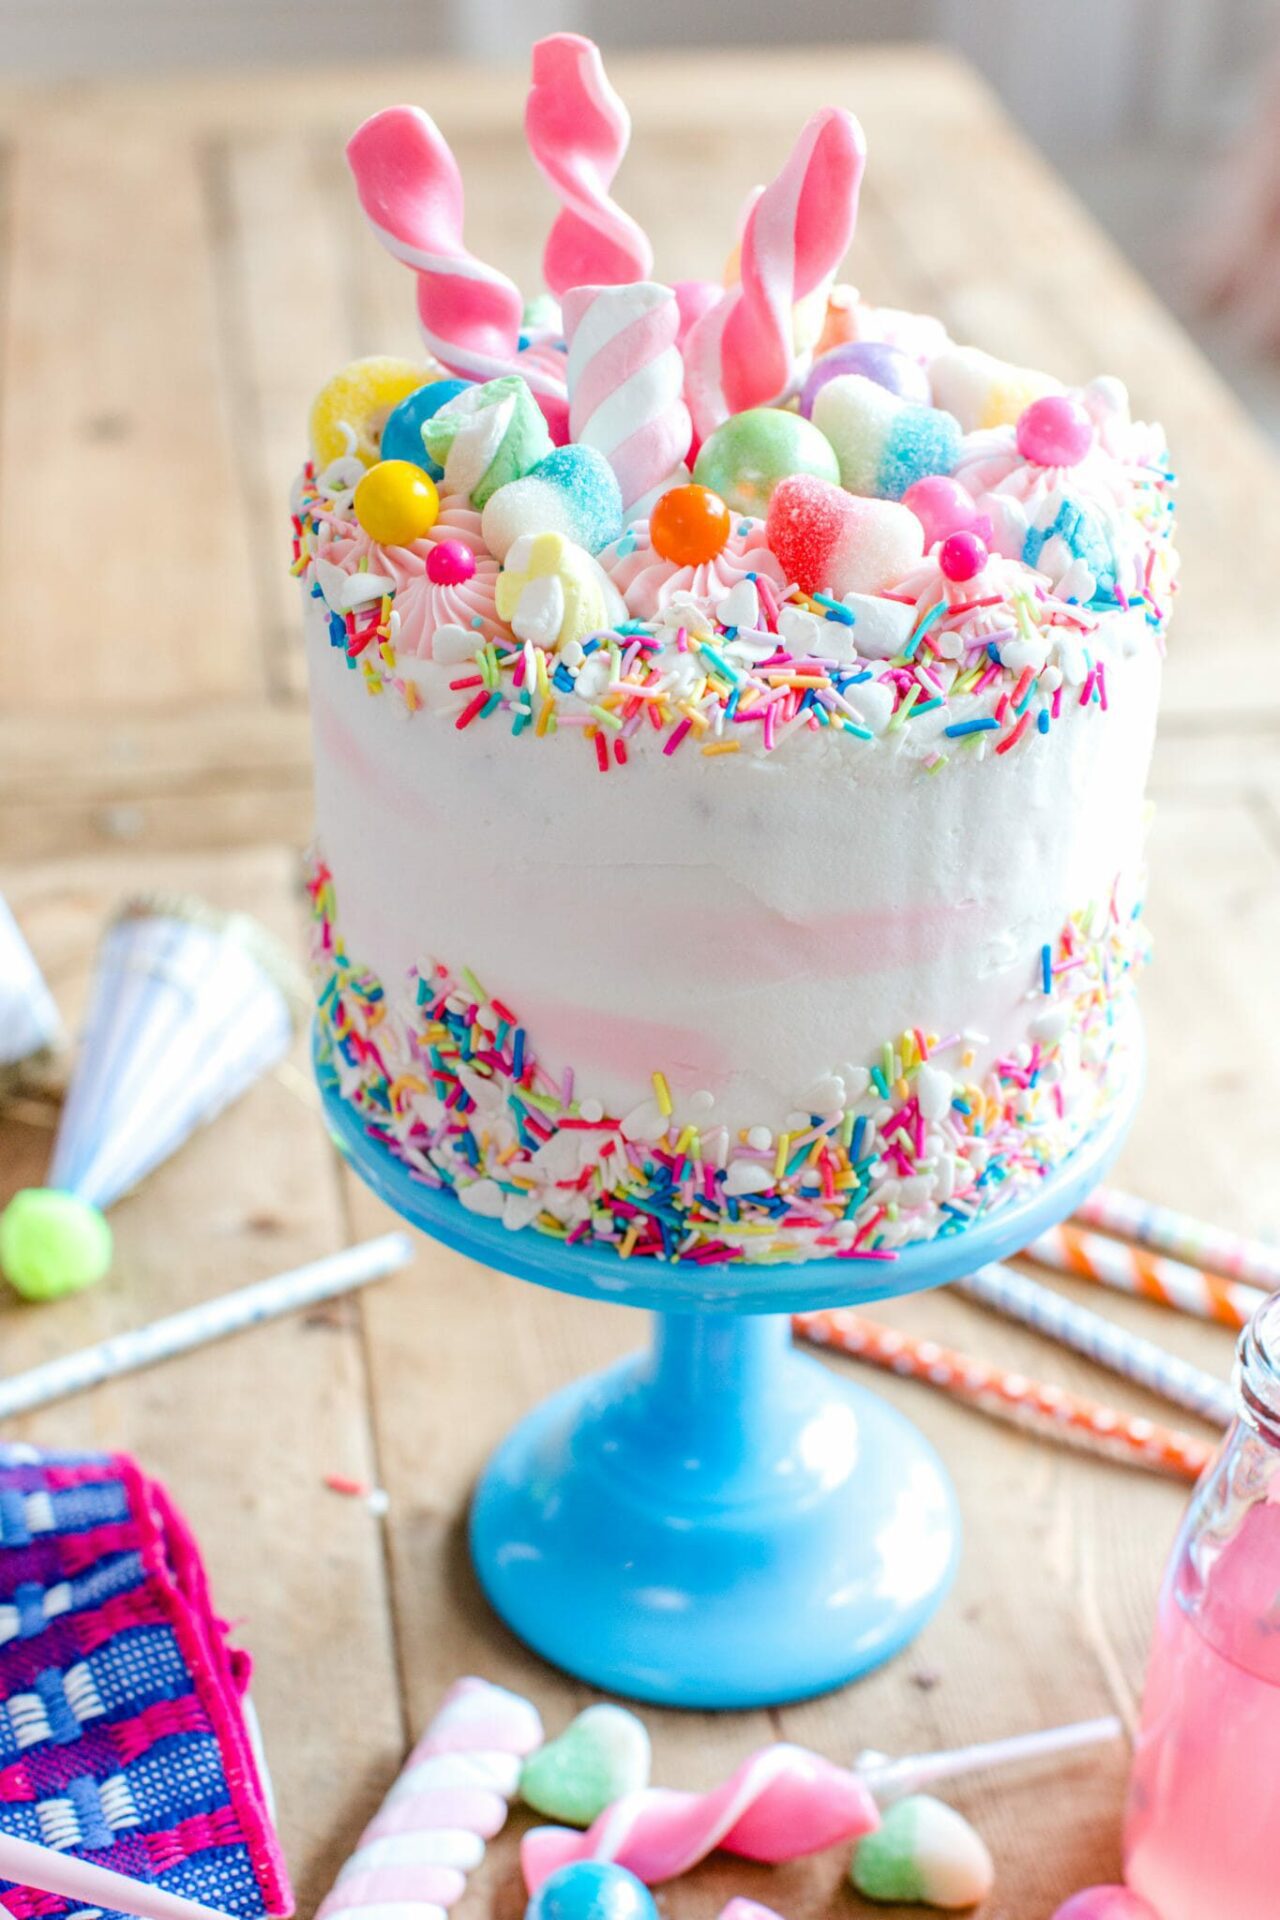
Add candy, gumballs, sprinkles and rock candy until the cake is to your liking. You can scale back on the decorating or go full speed. I think this style of cake is fun for any celebration so I say, go for it and add it all!
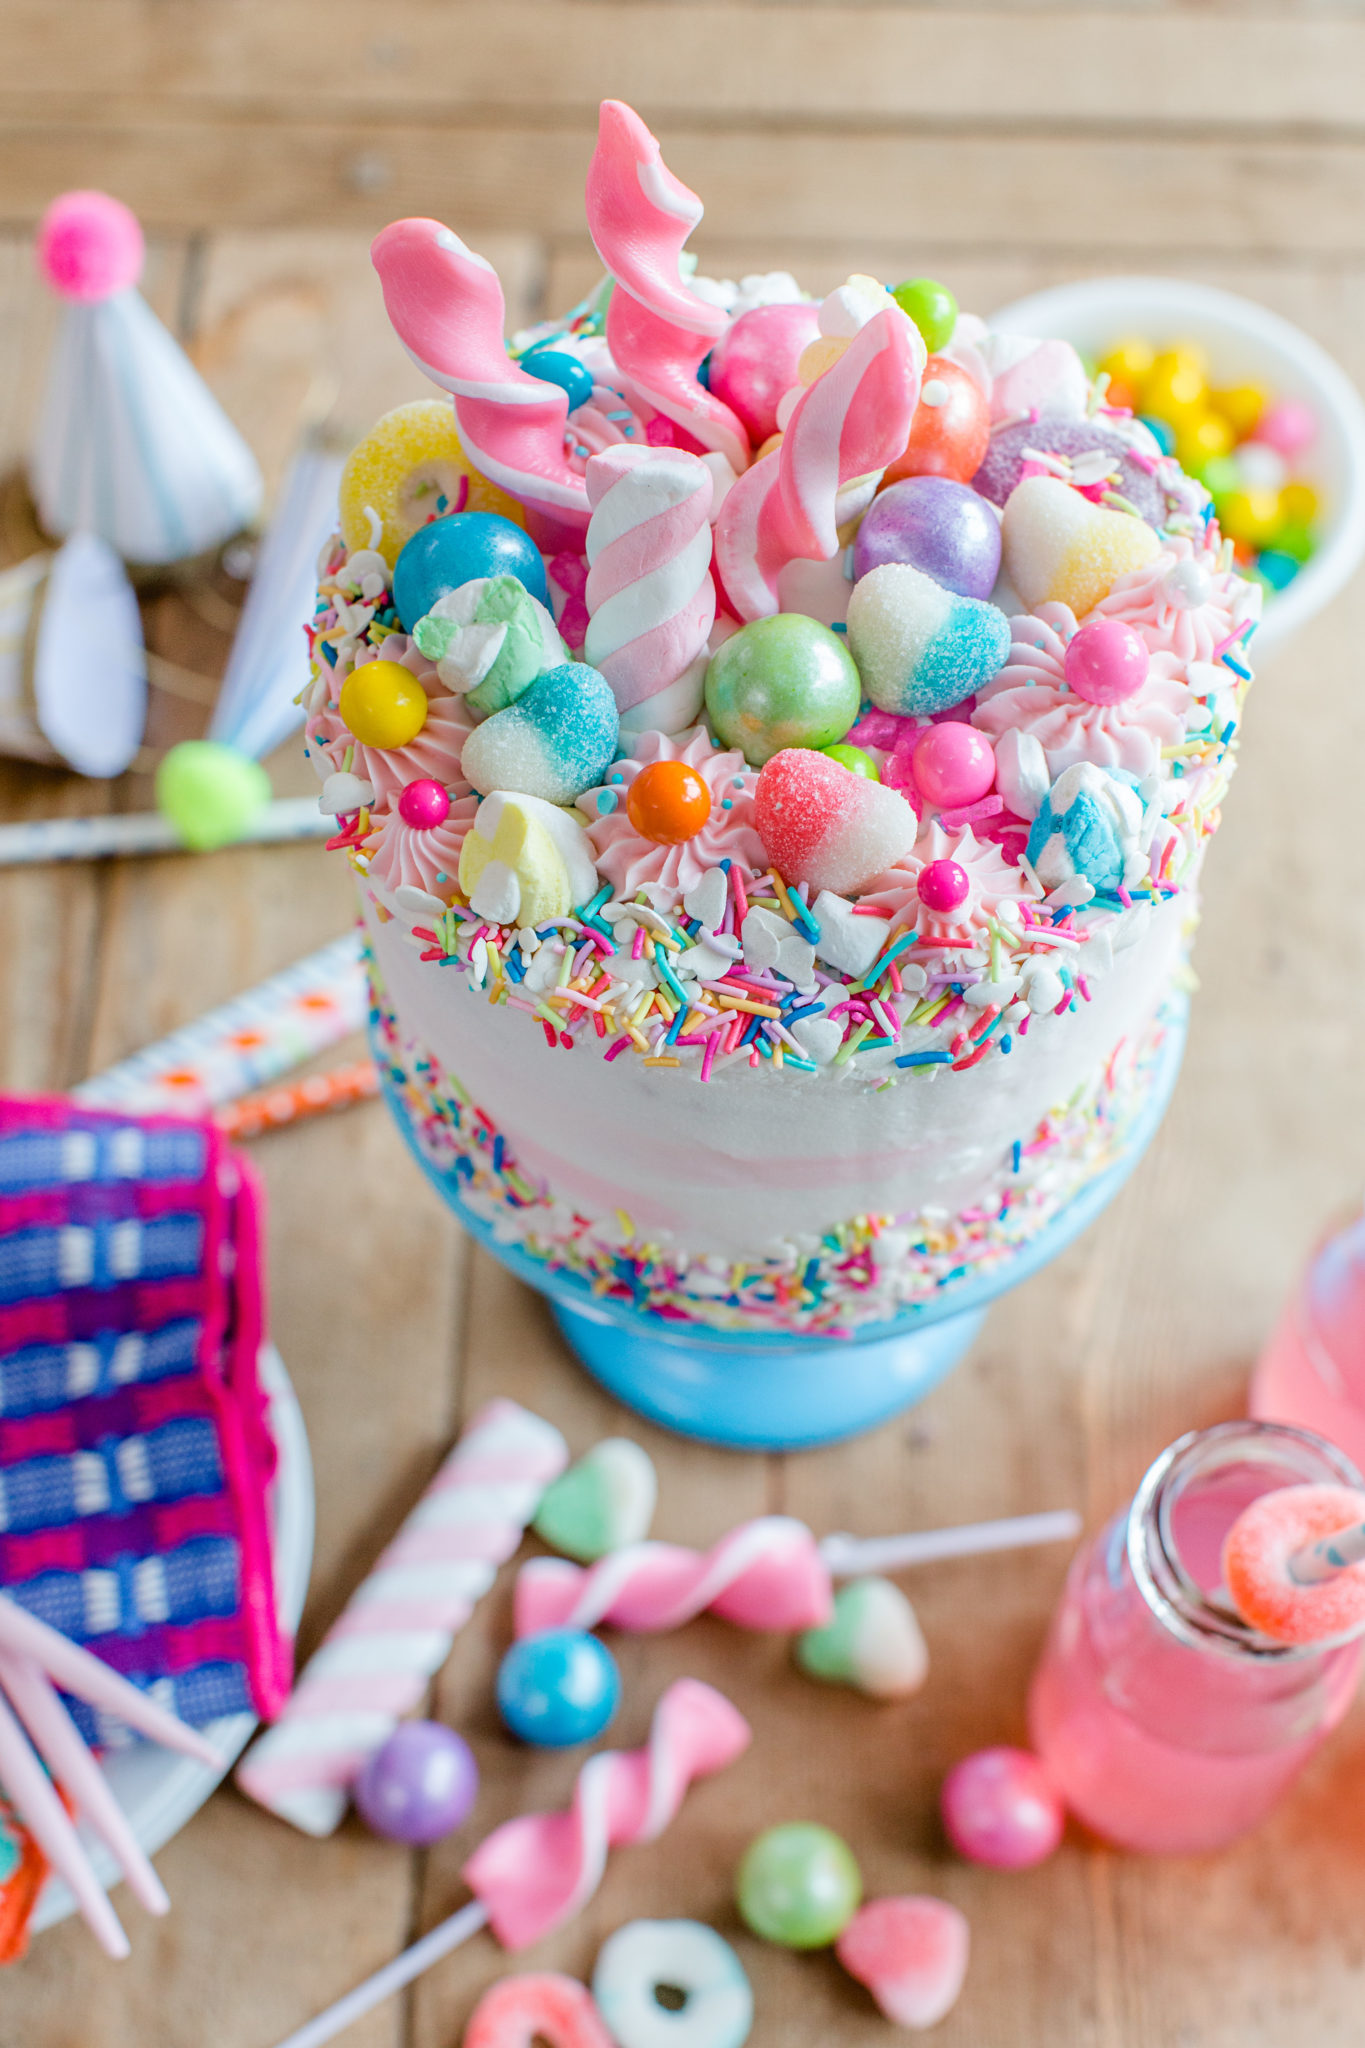
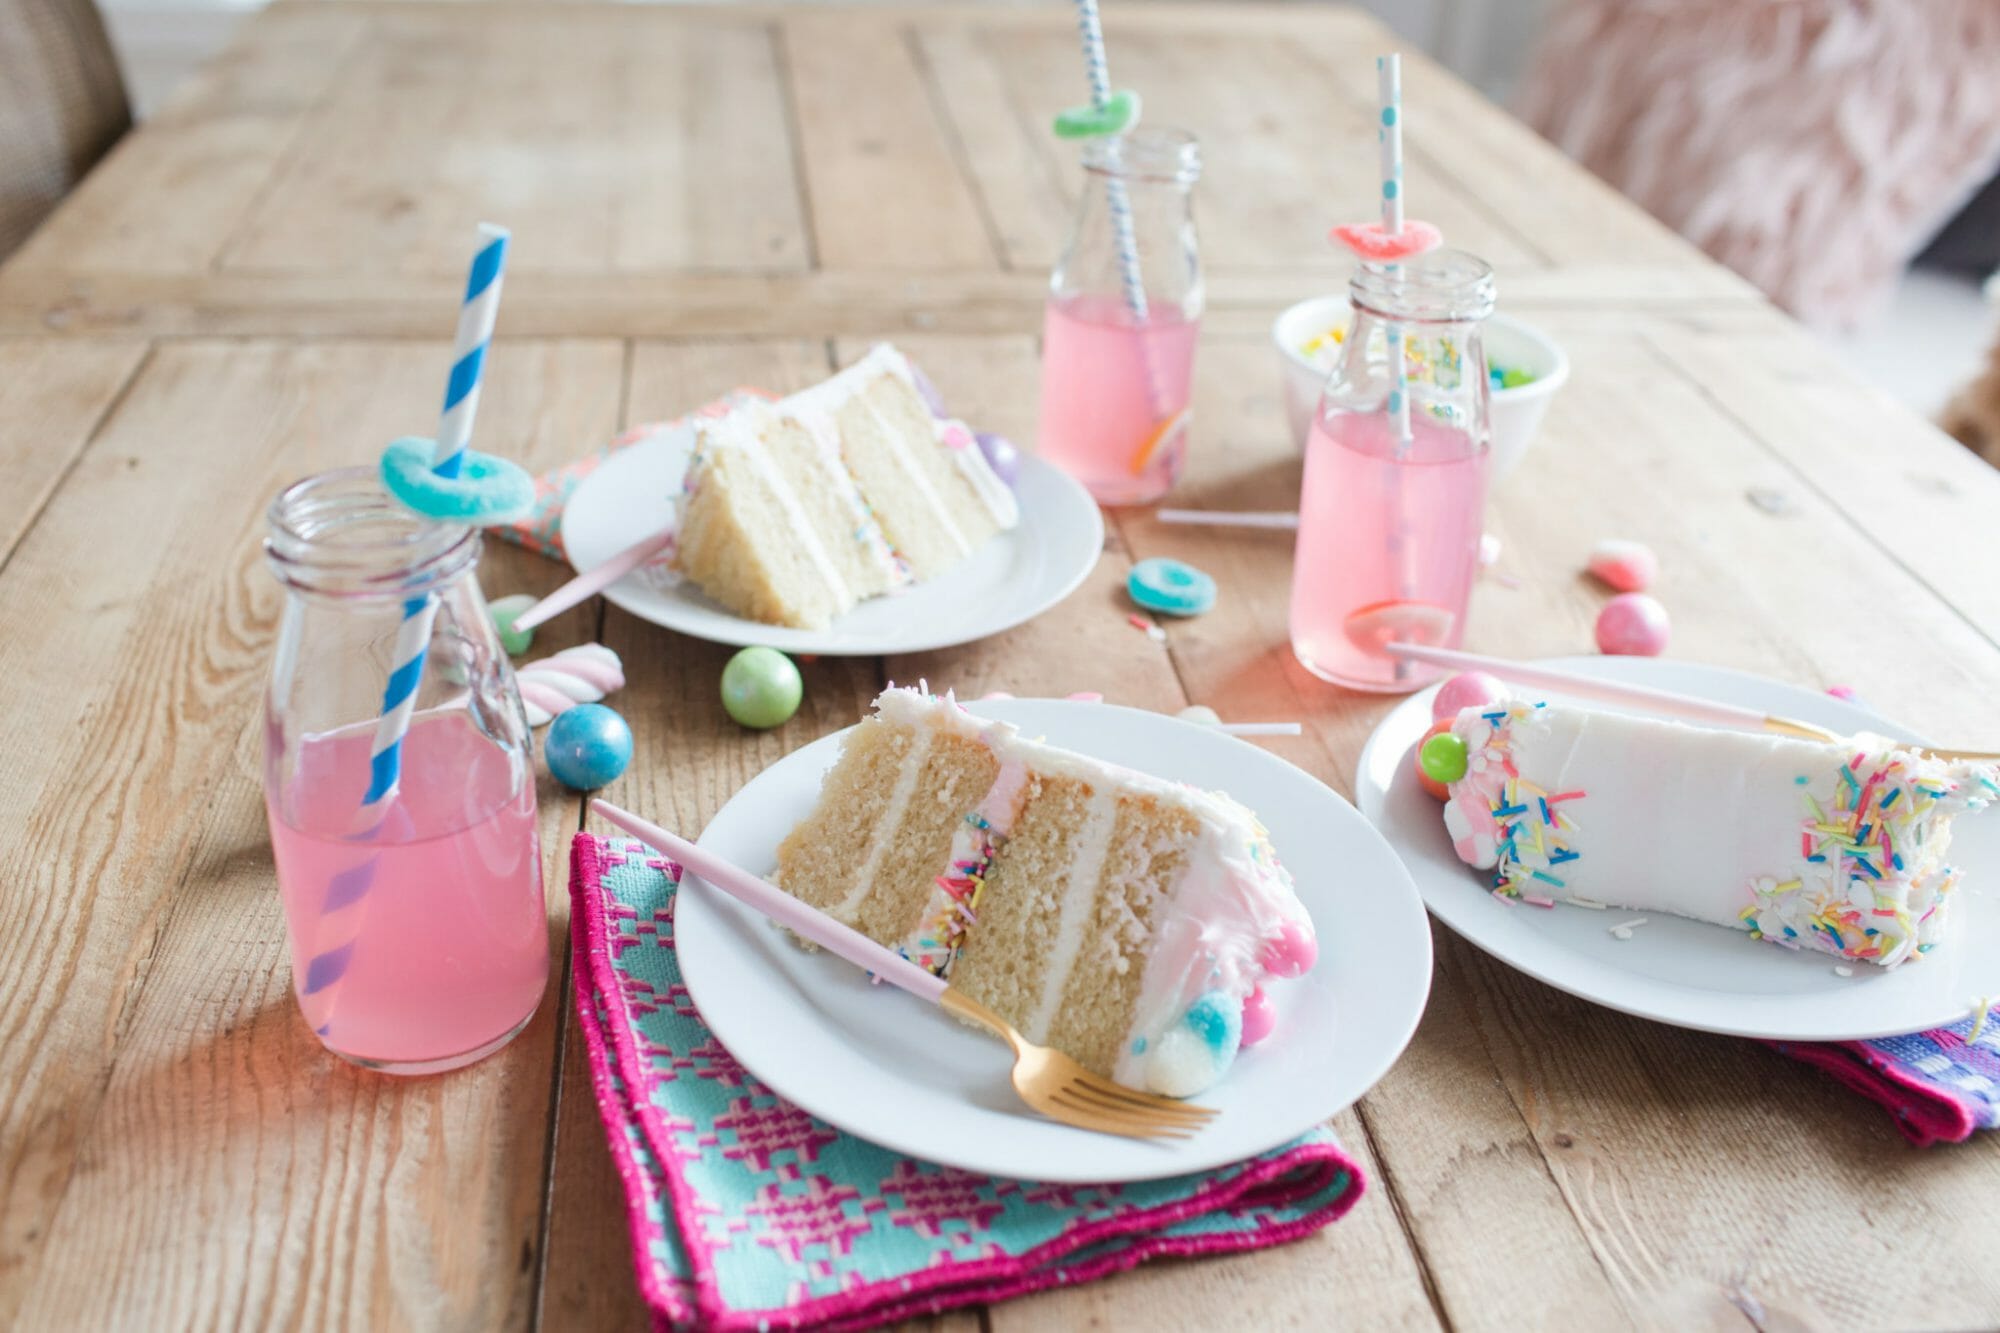
Once the cake is completed, you’ll want to transfer it to a beautiful cake pedestal to give it even more height. I added extra candies around the straws in juice bottles and sprinkled some on the table like confetti. You truly cannot go wrong with candy decorations!
The beauty of store-bought cakes is you can transform them into so many different cakes and save yourself the time and mess by baking the whole cake. Create a color specific cake using all the same colored candies or craft a design or pattern on the sides and top of the cake using your imagination. The options are endless but the key is having great decorations to use for the cake.
Let me know if you have any store-bought cake tricks or if you attempt this hack yourself. I want to see! Tag me on social @jennycookies or use the hashtag #jennycookiestipsandtricks.
Pin this idea for later!
![]()
![]()
Photos by Kelly Clare
THIS IS A SPONSORED POST. JENNY COOKIES HAS RECEIVED PAYMENT, TRADE AND/OR PRODUCTS IN EXCHANGE FOR PROMOTING, HOWEVER ALL OPINIONS STATED ARE MY OWN AND I ONLY PROMOTE PRODUCTS/COMPANIES I LOVE.
Oh wow… this looks like such a fun cake!
http://www.henatayeb.blogspot.com