DIY Frankenstein Rice Krispy Treats
This post was sponsored by JOANN. All opinions are my own.

EEEK! Halloween is almost here! It’s time to start dreaming up costumes, parties and treats for all of the fun that is just around the corner.
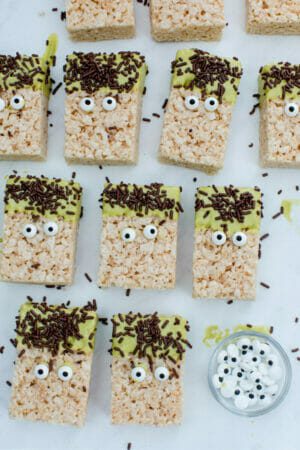
I love to create treats that are timeless and simple to replicate. It doesn’t get much easier than a classic Rice Krispy Treat. To give this basic recipe a Halloween look, I dressed up a typical Rice Krispy Treat as Frankenstein!
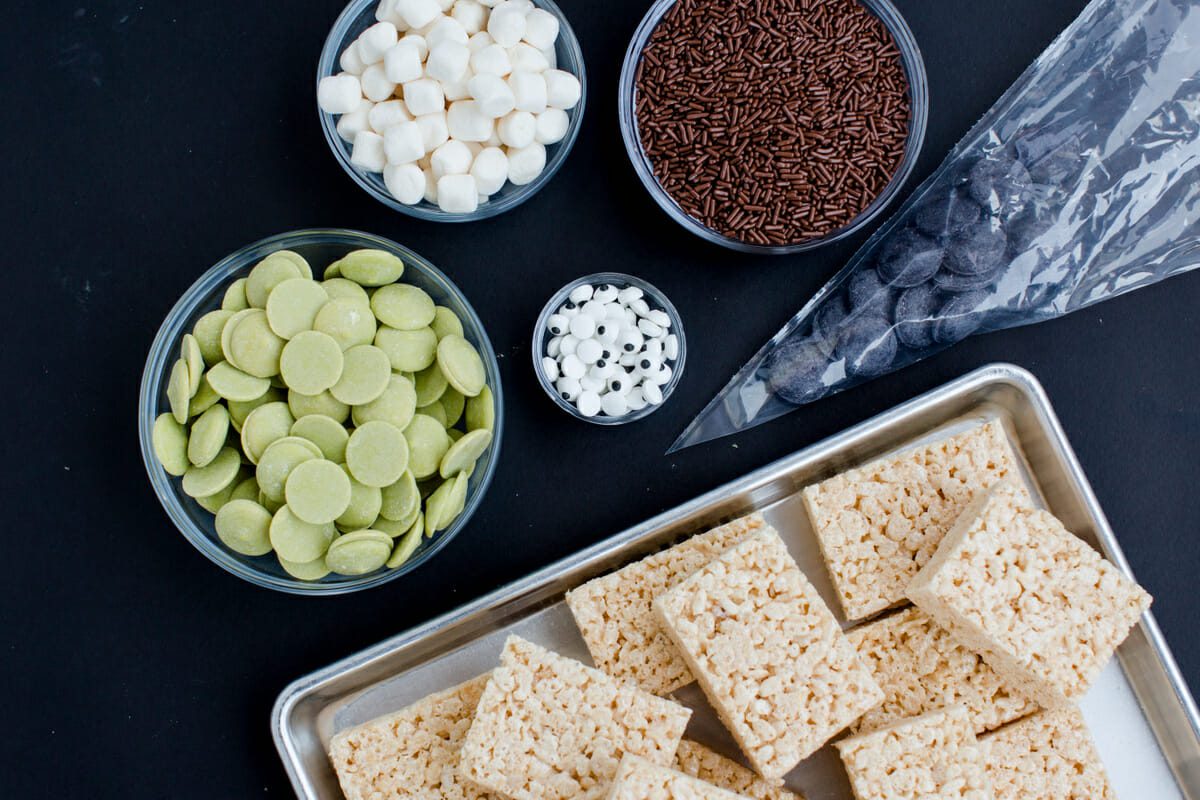
This project is easy to complete with only a few ingredients and tools! Head to JOANN for candy melts, googly (edible) eyeballs, brown jimmies and disposable decorating bags.
You can make your own favorite rice krispy treat recipe or save even more time by purchasing pre-packaged treats from the store. They’re conveniently already cut and sized proportionally. If you make your own batch, I like to spread mine into a jelly roll pan (AKA a cookie sheet with sides) and then cut them into small rectangles.
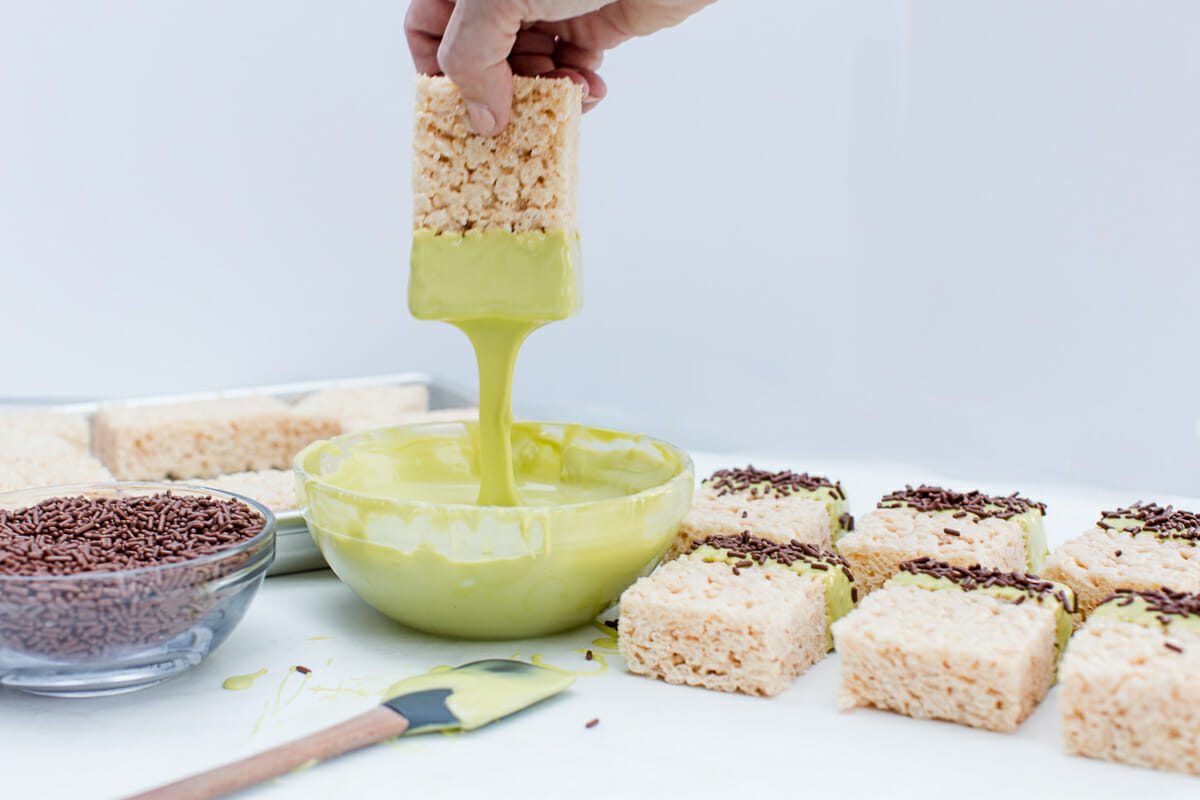
In a microwave safe bowl, melt a bag of green candy melts for 30 seconds at 30% power. Stir and repeat as necessary until fully melted.
Carefully dip rice krispy treat down into bowl of melted candy and then allow excess chocolate to drip back into bowl. I’ve found that you can gently tap the treat on the side of the bowl for quicker removal and it helps smooth out the chocolate.
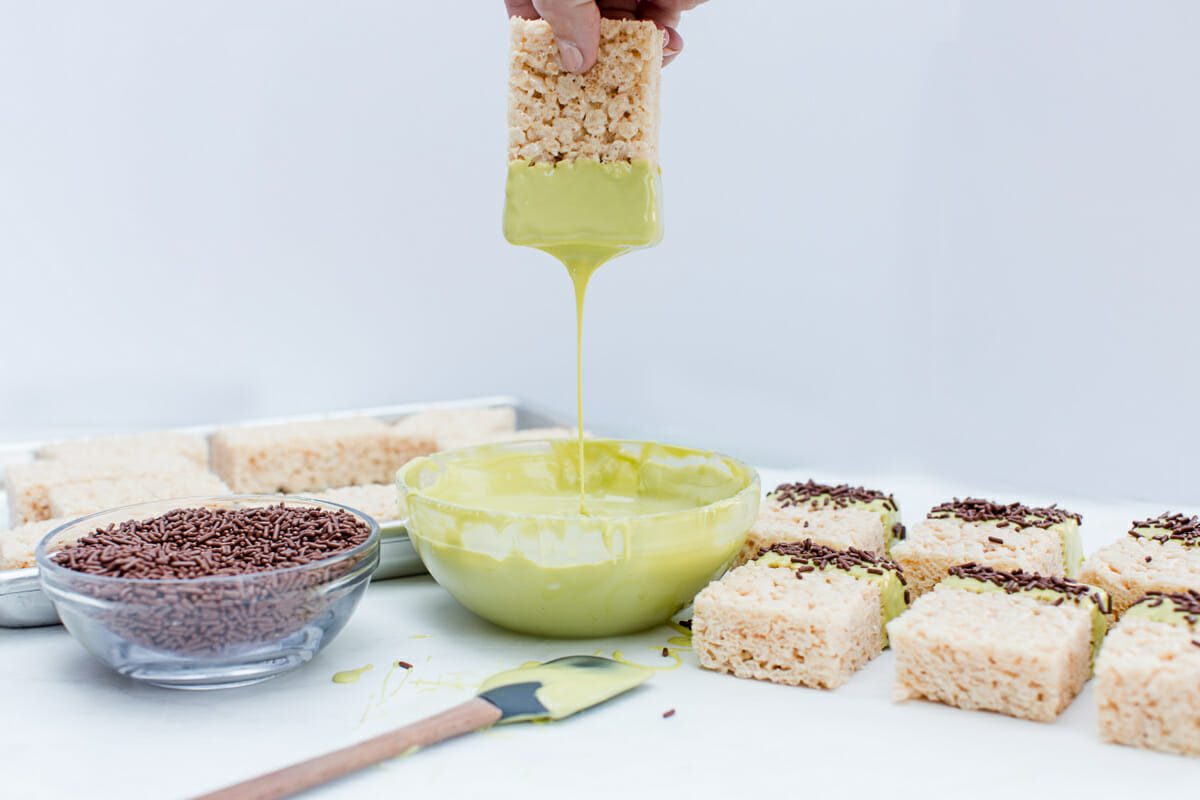
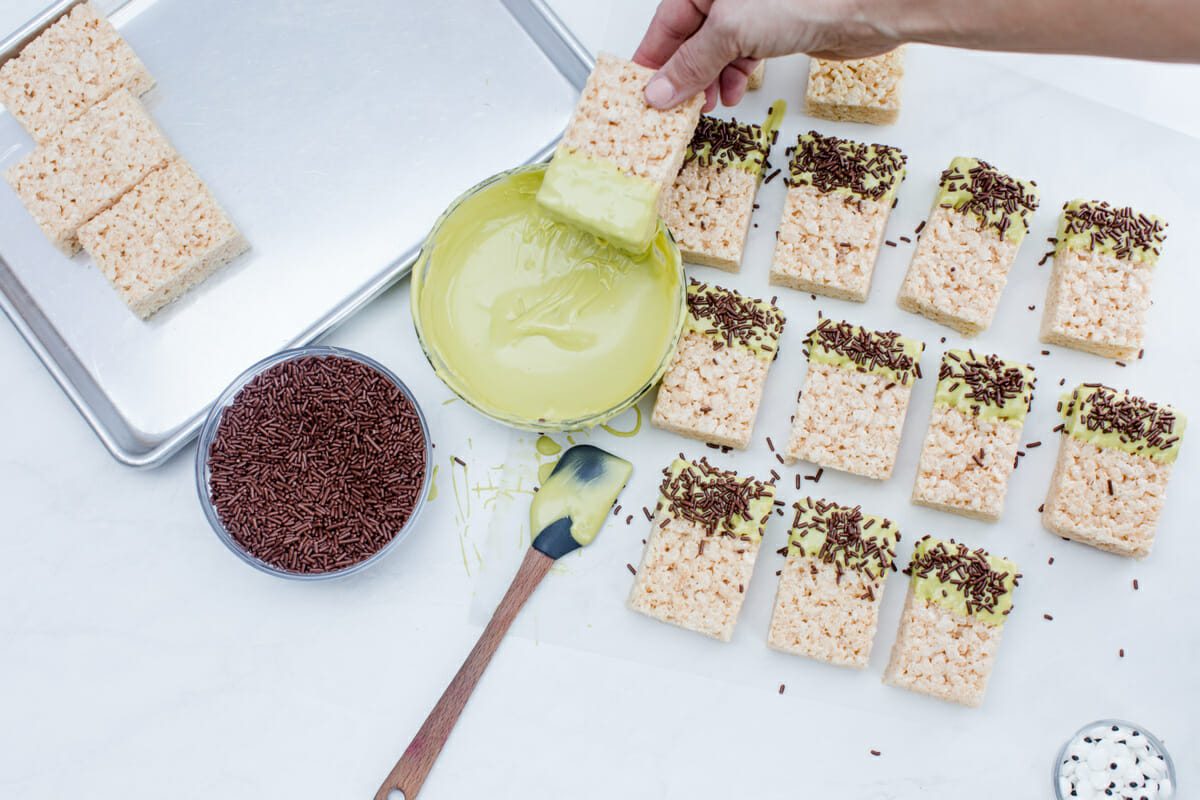
Lay out some parchment or wax paper onto your work space and lay rice krispy treats onto the paper. Working quickly before the candy melts dry, gently sprinkle brown jimmies onto green chocolate to mimic Frank’s “hair”.


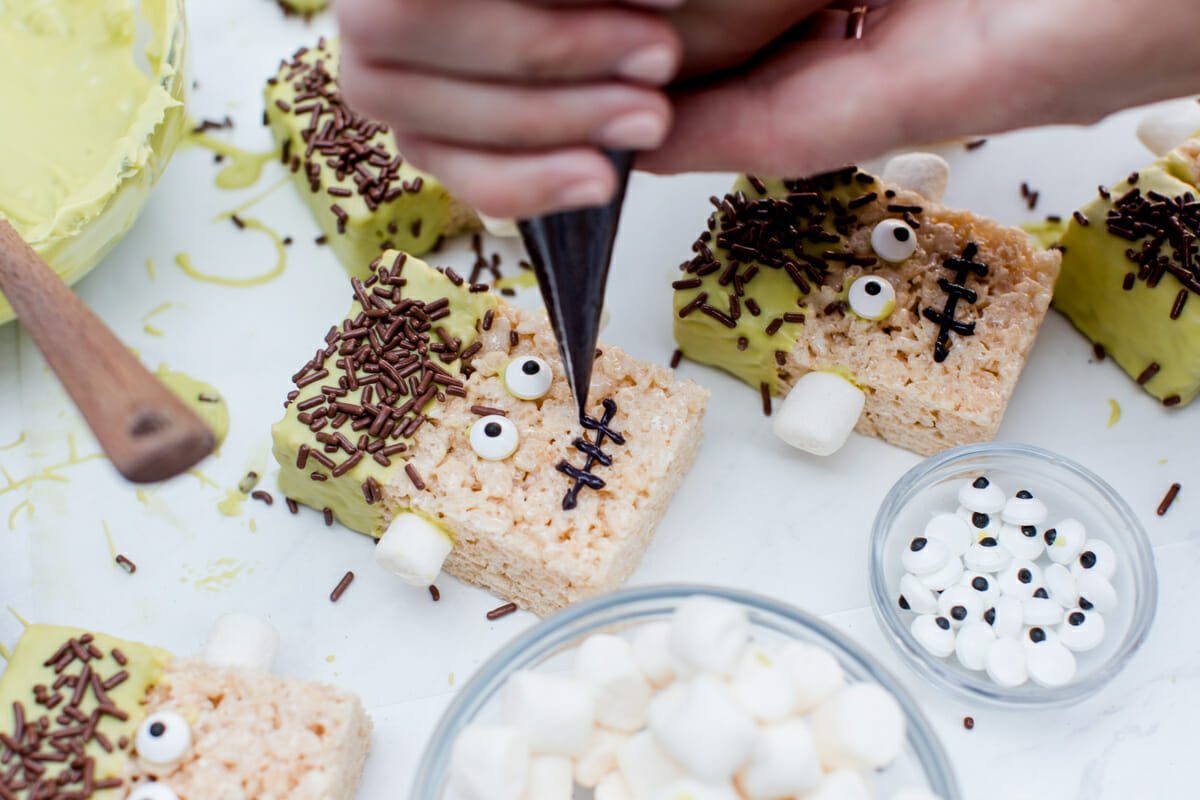
Using a tiny bit of the melted candy as a glue, attach two eyeballs to each treat.

While melted candy is still tacky, use it to attach mini marshmallows to either side of Frank’s head.

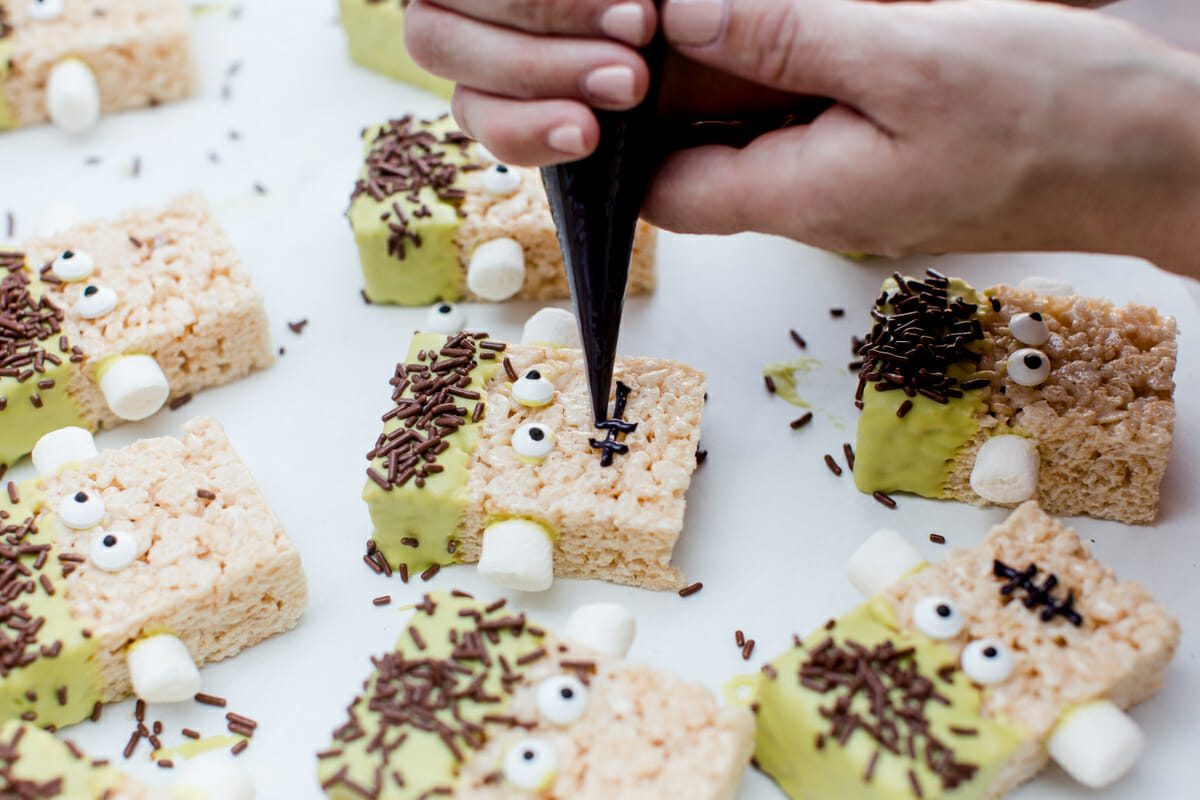
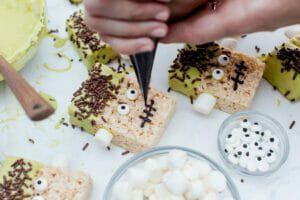
When Frank’s hair, eyes and bolts are completed, fill a disposable decorating bag with black candy melts. Microwave bag of melts for 30 seconds at 30% power. Remove bag and feel around to make sure all candy is melted. If it’s not melted completely, pop back into microwave and repeat.
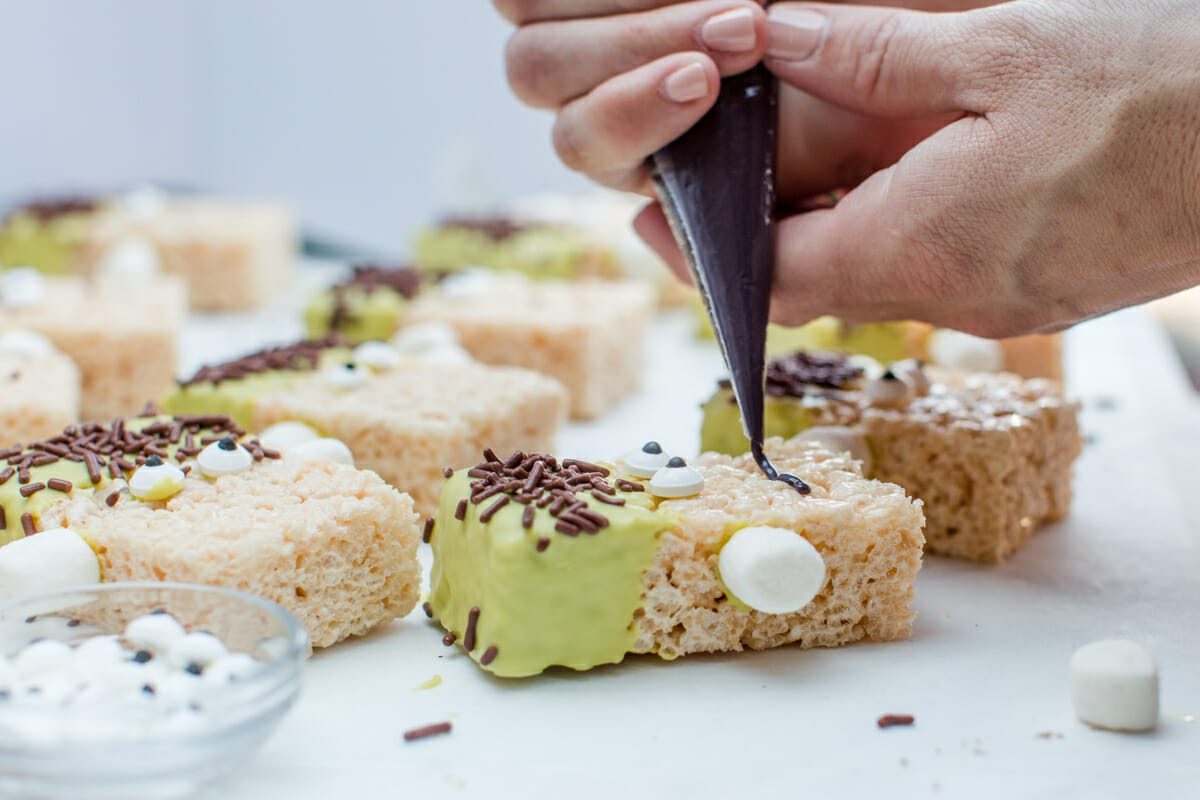
When all black candy is melted, make a tiny snip from the tip of the bag and slowly draw on Frankenstein’s mouth.
This direction may be the most difficult in all of the project. If you are working with kids, this might be the part where you step in to help, though if you go slow, it’s not a hard task, just tedious!
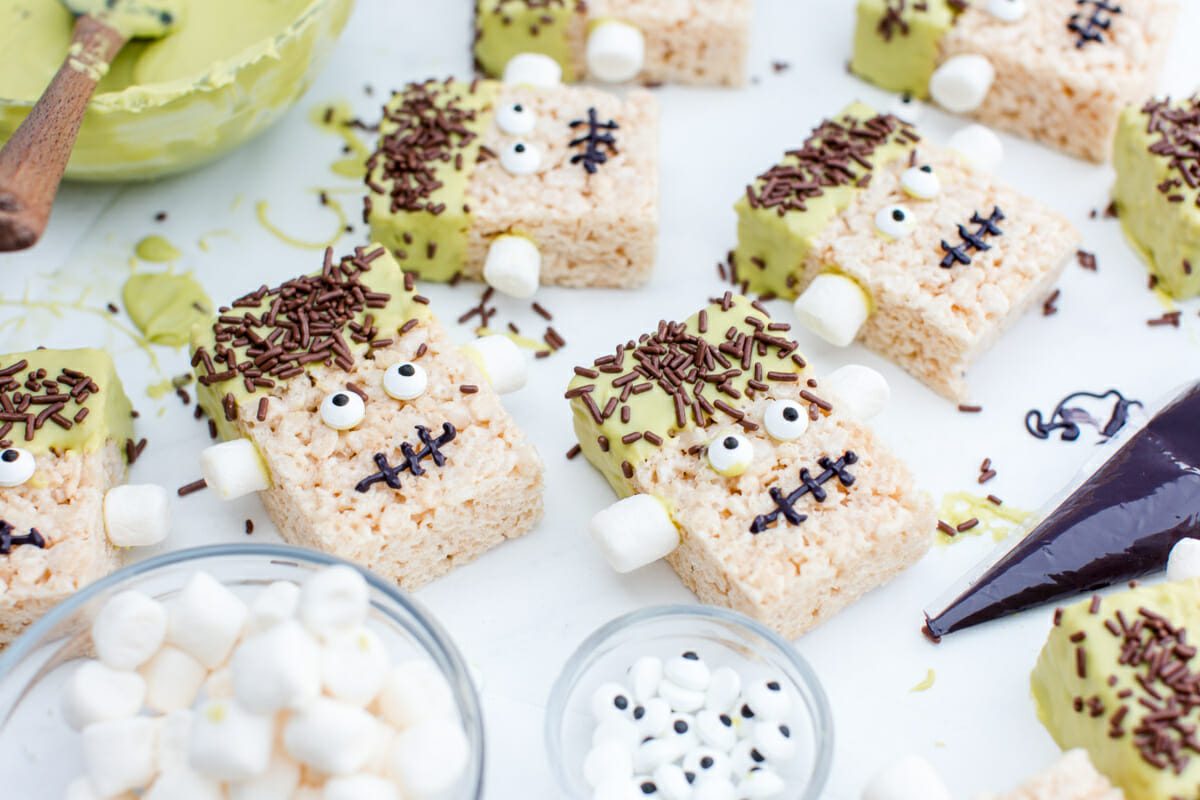
After all mouths have been drawn, let treats dry for 20 minutes. They can be packaged individually in cello bags or kept for a tray full of Halloween treats. I added a few paper straws to mine to turn them into a treat on a stick, though either way they are equally adorable!

These cute Frankenstein Rice Krispy Treats are the perfect treat for classroom parties, neighborhood kids or even trick-or-treaters! What are your go-to Halloween treats?
Ingredients
- classic Rice Krispy Treat
- candy melts
- googly edible eyeballs
- brown jimmies
- disposable decorating bags.
Instructions
- In a microwave safe bowl, melt a bag of green candy melts for 30 seconds at 30% power. Stir and repeat as necessary until fully melted.
- Carefully dip rice krispy treat down into bowl of melted candy and then allow excess chocolate to drip back into bowl. I’ve found that you can gently tap the treat on the side of the bowl for quicker removal and it helps smooth out the chocolate.

- Lay out some parchment or wax paper onto your work space and lay rice krispy treats onto the paper. Working quickly before the candy melts dry, gently sprinkle brown jimmies onto green chocolate to mimic Frank’s “hair”.

- Using a tiny bit of the melted candy as a glue, attach two eyeballs to each treat.
- While melted candy is still tacky, use it to attach mini marshmallows to either side of Frank’s head.

- When Frank’s hair, eyes and bolts are completed, fill a disposable decorating bag with black candy melts. Microwave bag of melts for 30 seconds at 30% power. Remove bag and feel around to make sure all candy is melted. If it’s not melted completely, pop back into microwave and repeat.
- When all black candy is melted, make a tiny snip from the tip of the bag and slowly draw on Frankenstein’s mouth.
- After all mouths have been drawn, let treats dry for 20 minutes. They can be packaged individually in cello bags or kept for a tray full of Halloween treats. I added a few paper straws to mine to turn them into a treat on a stick, though either way they are equally adorable!
Photos by Kelly Clare Photography
Pin this idea for later!

THIS IS A SPONSORED POST. JENNY COOKIES HAS RECEIVED PAYMENT, TRADE AND/OR PRODUCTS IN EXCHANGE FOR PROMOTING, HOWEVER ALL OPINIONS STATED ARE MY OWN AND I ONLY PROMOTE PRODUCTS/COMPANIES I LOVE.
How do you get your edges so perfectly sharp?
Thanks for sharing!