How to Host a Flower Crown Party!
I recently hosted a Flower Crown Ladies Lunch for mothers and daughters. My goal was to host a relaxing afternoon filled with time spent crafting together over delicious food, fun activities and sweet memories. It was so much fun, I’m already thinking about doing it again next spring!
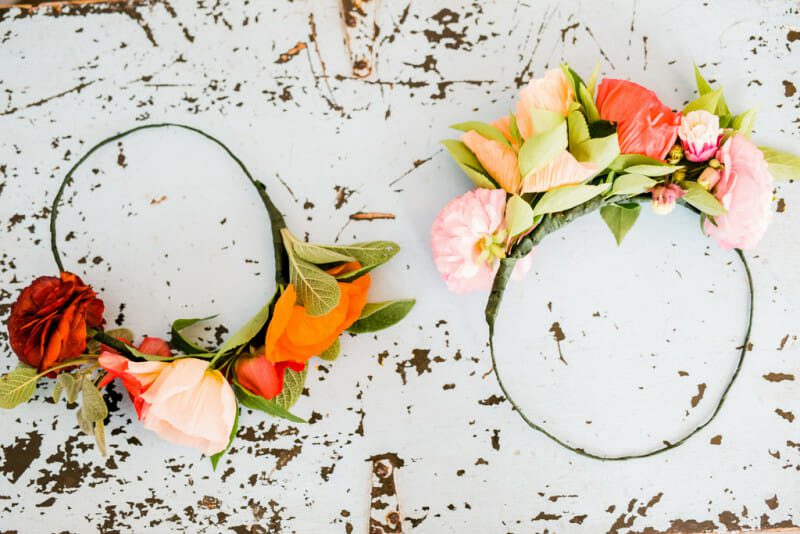
With summer just around the corner and Mother’s Day only days away, here are some fun ideas to host your own mother/daughter flower crown party!
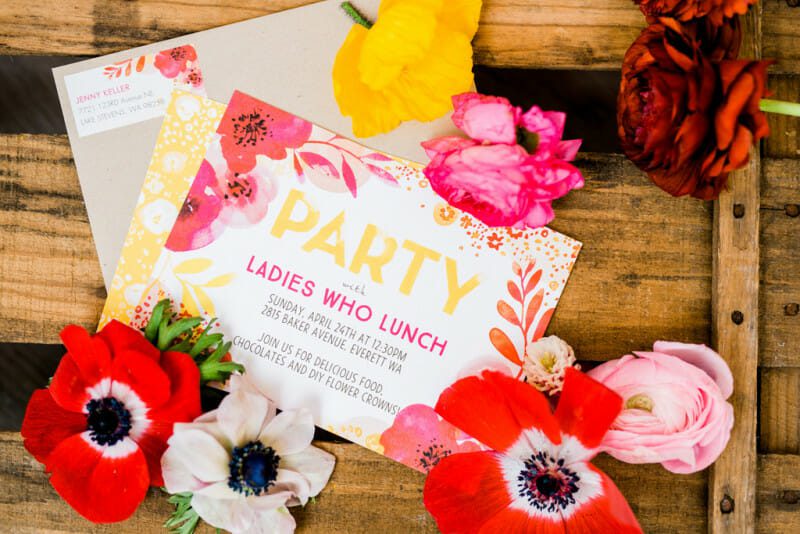
Send fun invites to the ladies in your life. I found these colorful and flower filled invites at Tiny Prints.
For our Flower Crown Ladies Lunch, I invited my friend Kelli of Country Bouquets Floral to lead a DIY flower crown making activity during our lunch which was really helpful. It can be done without a florist (step-by-step directions at the end of this post) just be sure to practice a couple times to avoid any DIY fails before guests arrive!
Contact a local florist or put in a flower order at Trader Joes, Whole Foods or other grocery store. Using flowers in season will save you money as well as foraging in your yard for greens! You’d be surprised what you can find in your own backyard.
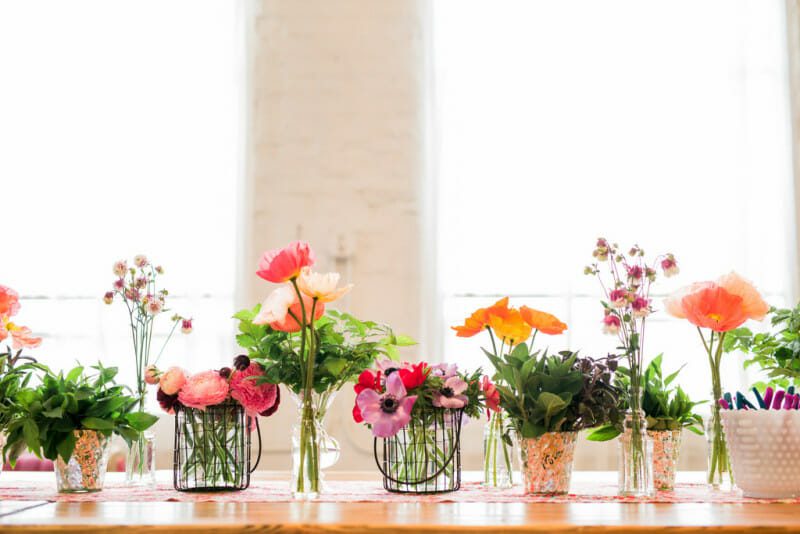
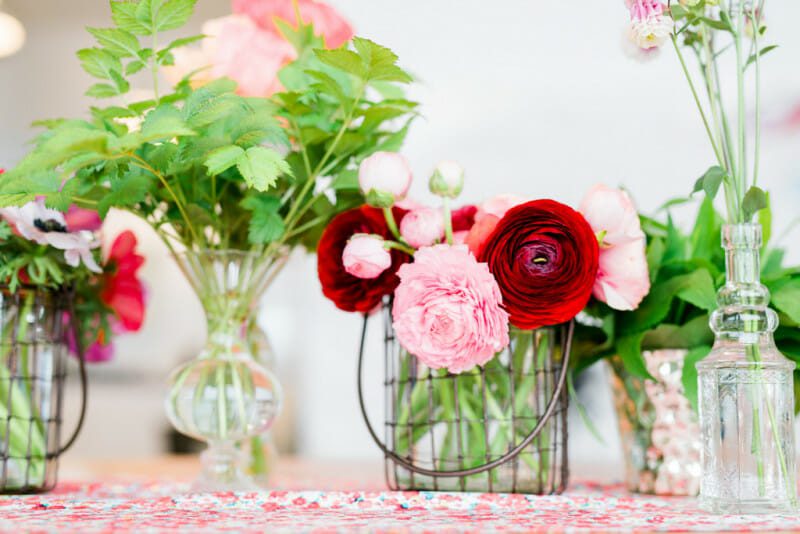
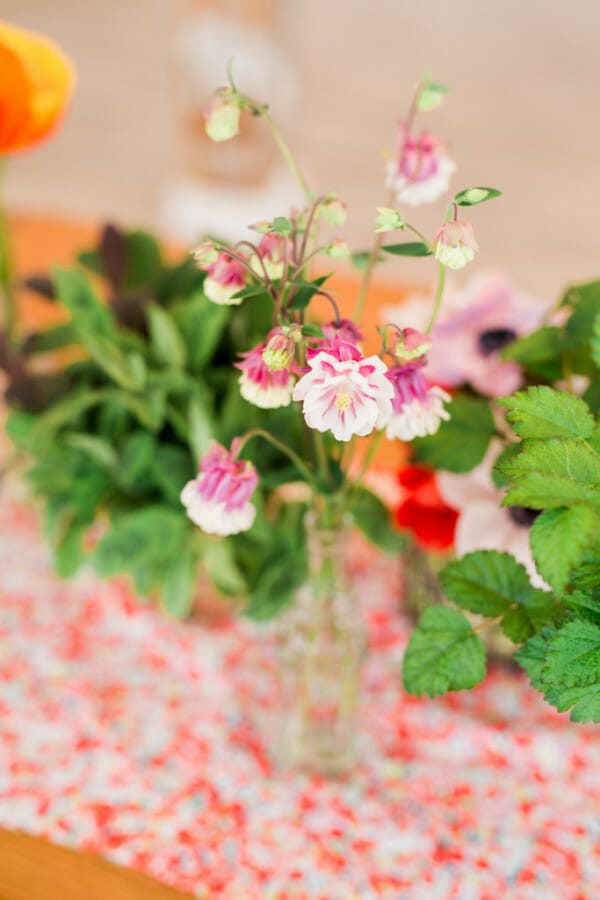
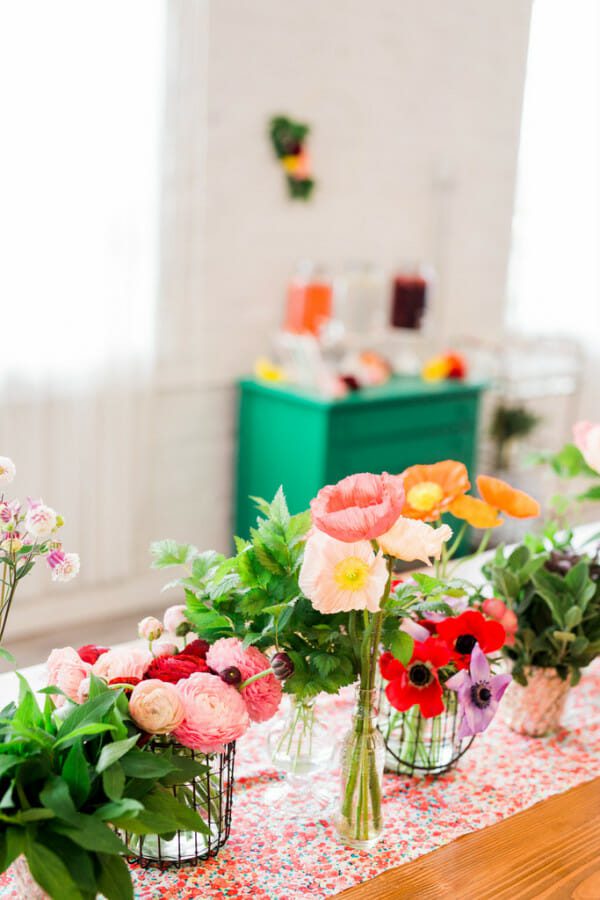
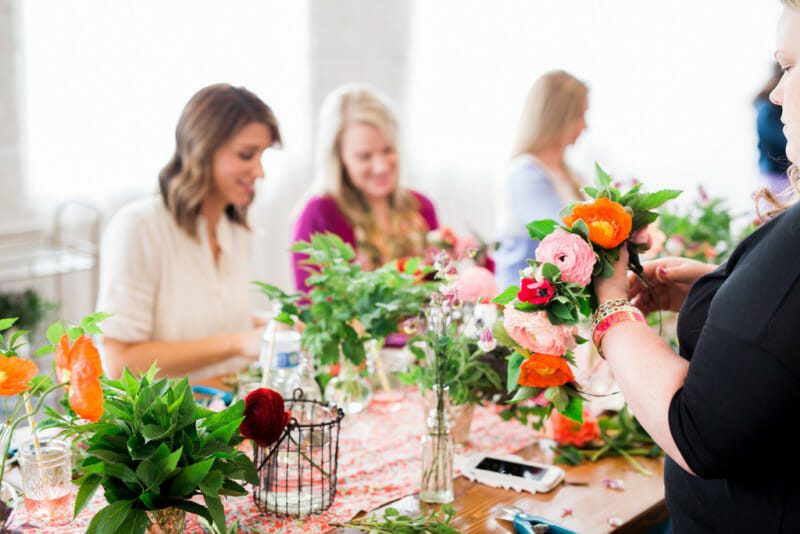
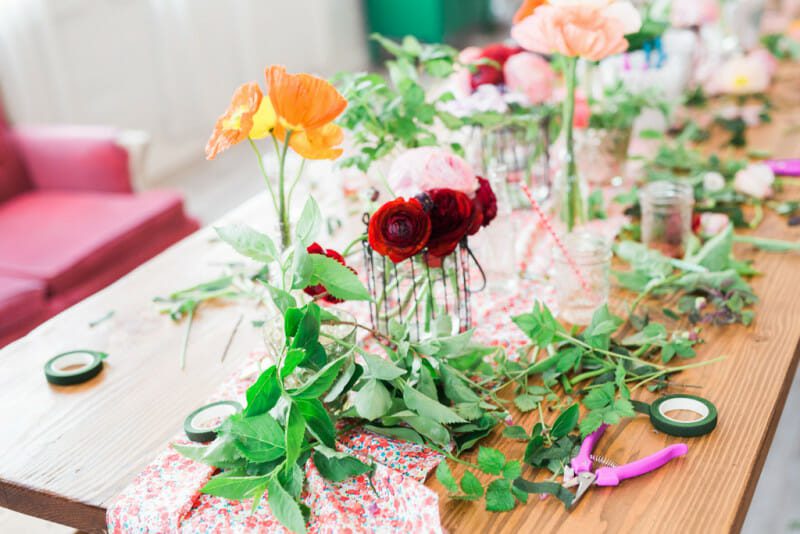
We had the most beautiful combination of poppies, ranunculus, anemone, and an assortment of greens.
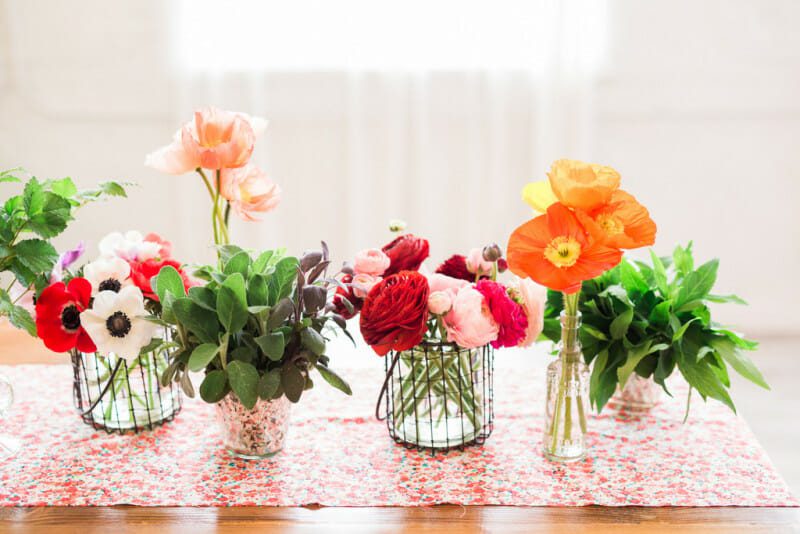
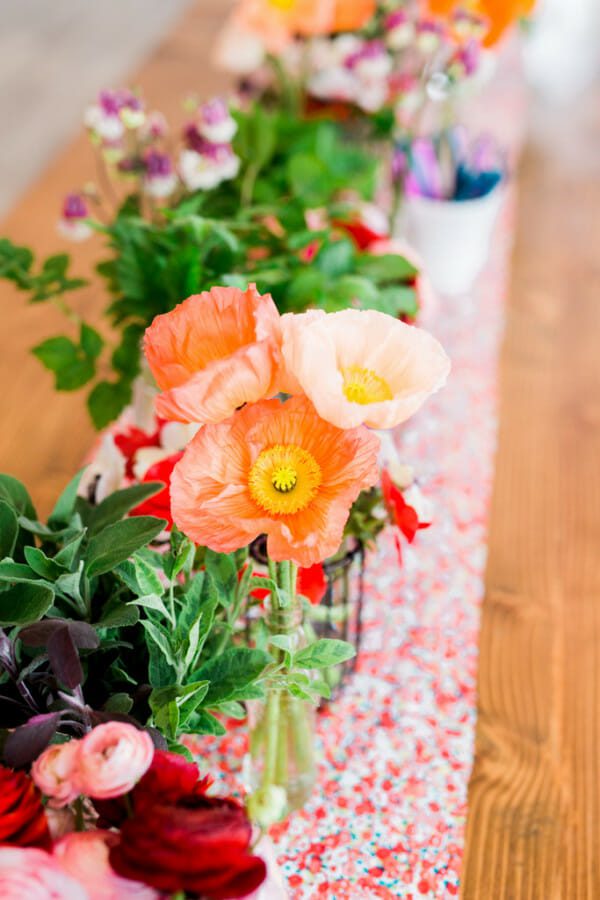
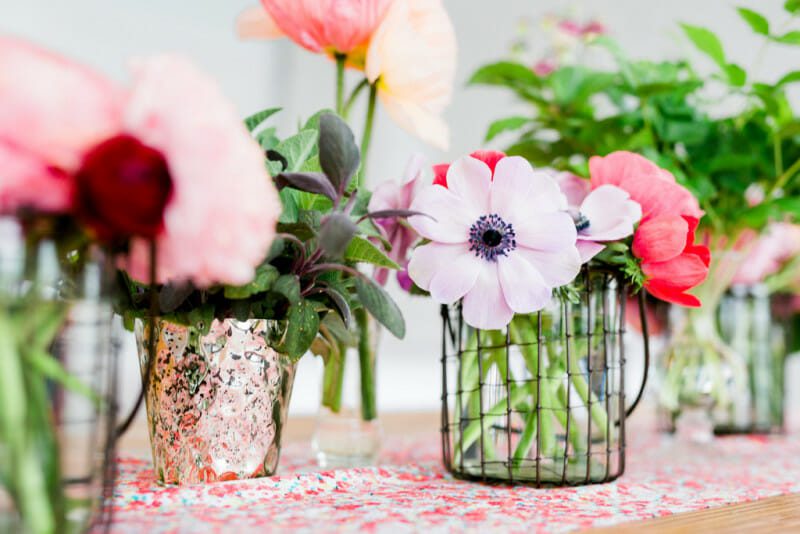
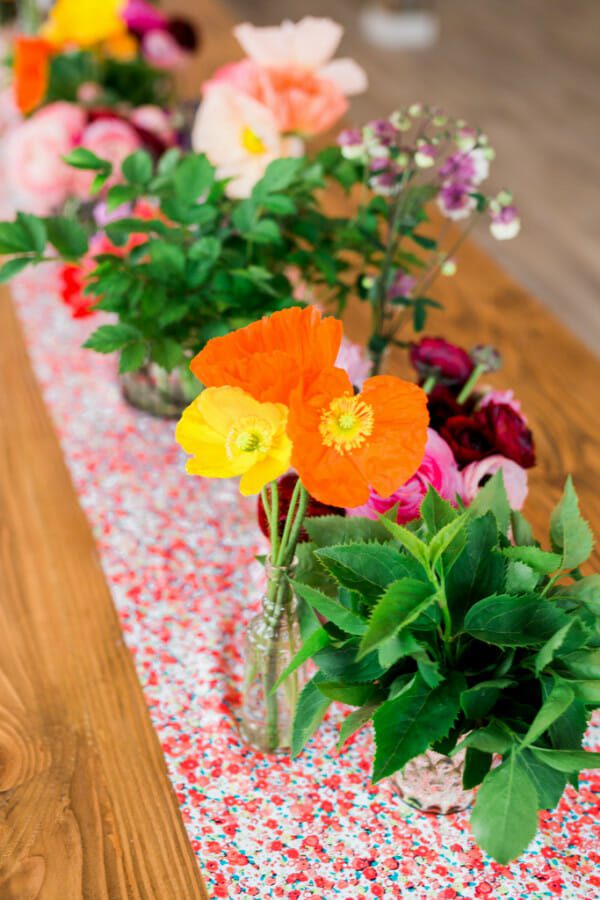
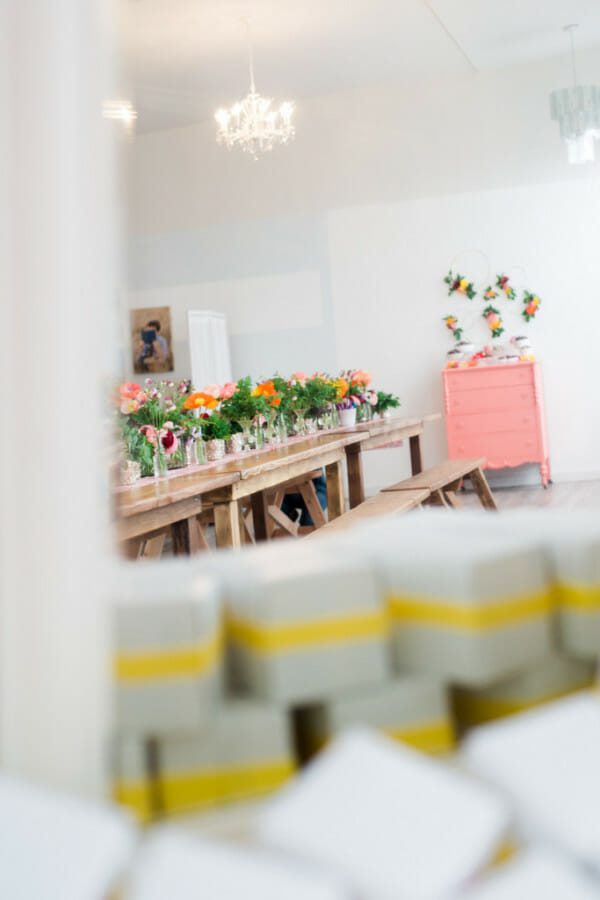
When I host parties with activities, I always use the crafting materials as table centerpieces. For a flower crown lunch, use the flowers you’ll use for your crowns as a beautiful table centerpiece. Pop into your local fabric store for coordinating fabric and cut it to create a makeshift table runner. Mine wasn’t perfect but with all the flowers and texture, no one was staring closely at it!
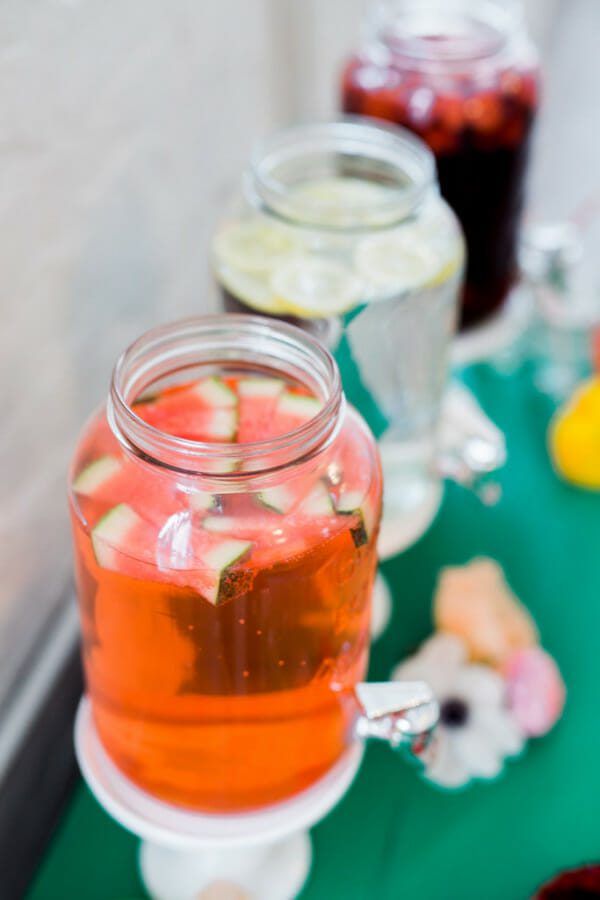
Keep food and drinks and food to a minimum if you’re planning to have a dessert spread. For our flower crown lunch, I offered a beverage bar with two different sparkling fruit drinks and a fruit infused water.
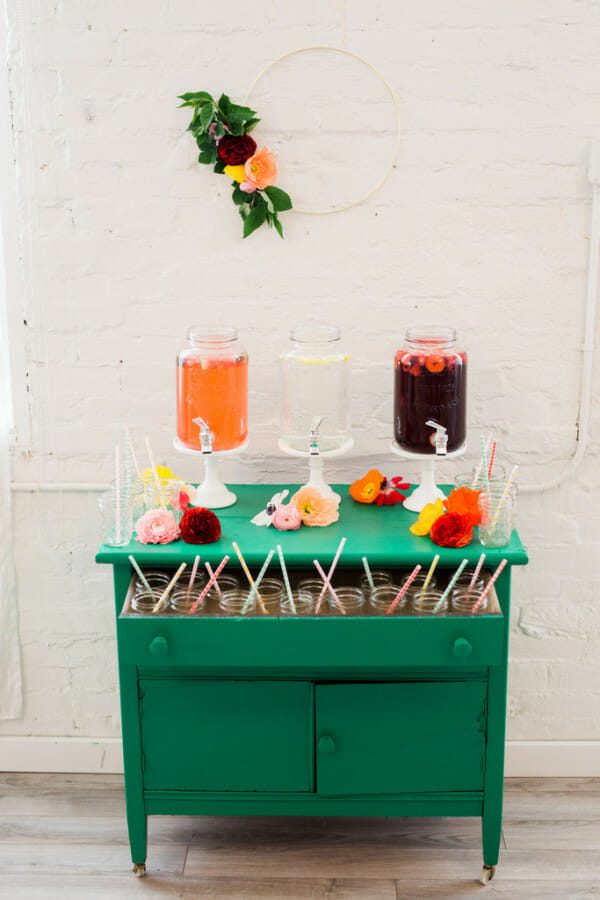
Adding fresh fruit to your drink dispensers provides a little extra detail and looks so pretty! I added fresh sliced watermelon, lemons and berries.
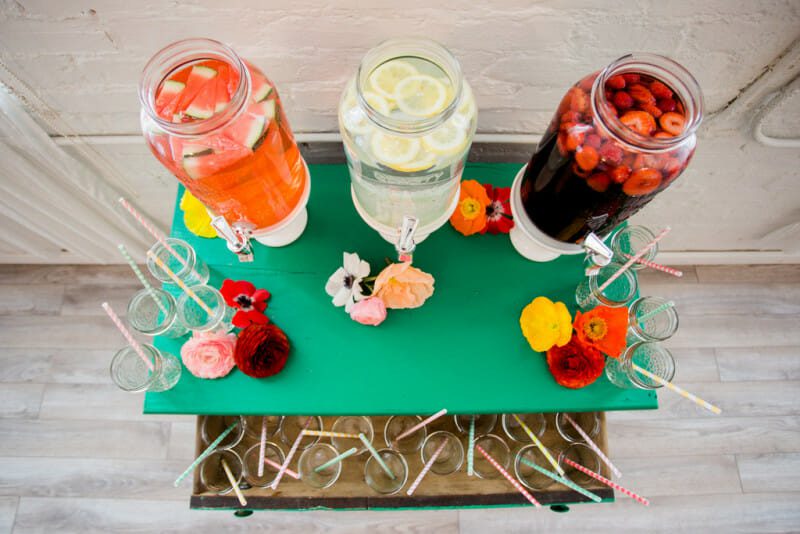
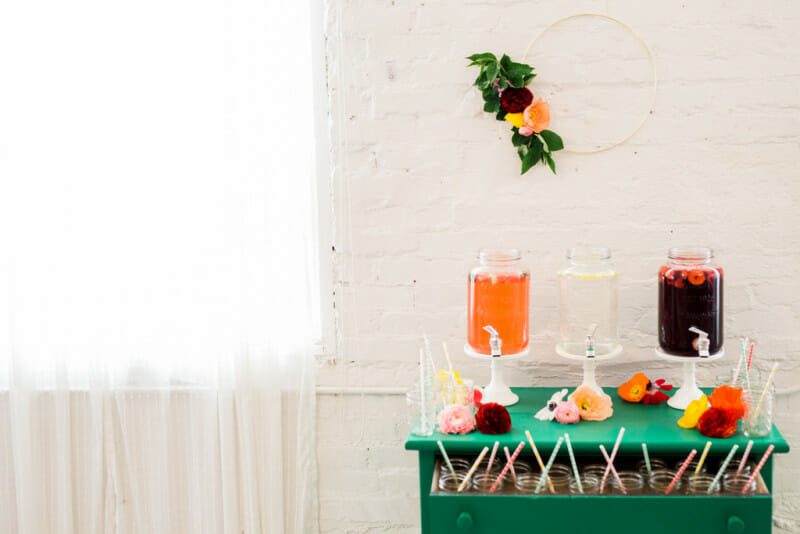
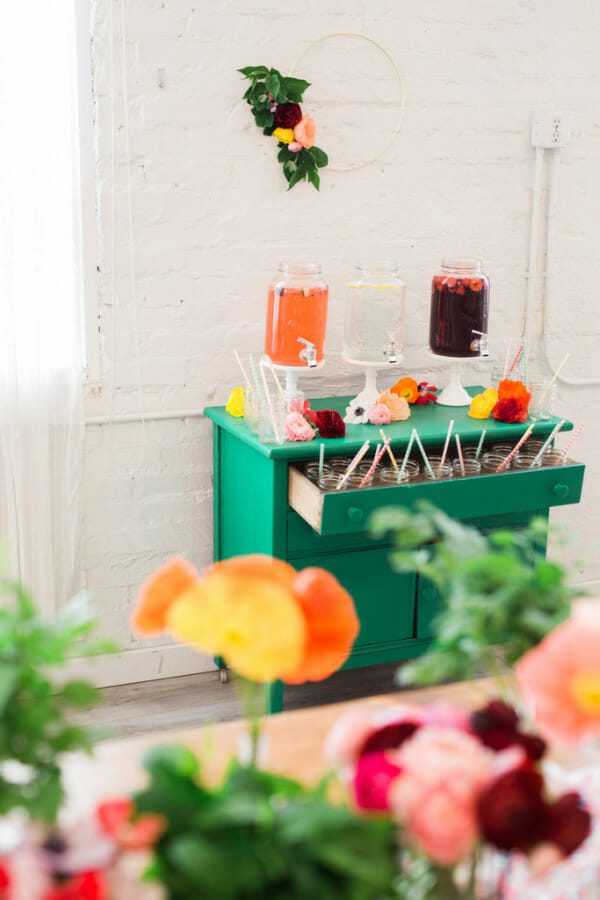
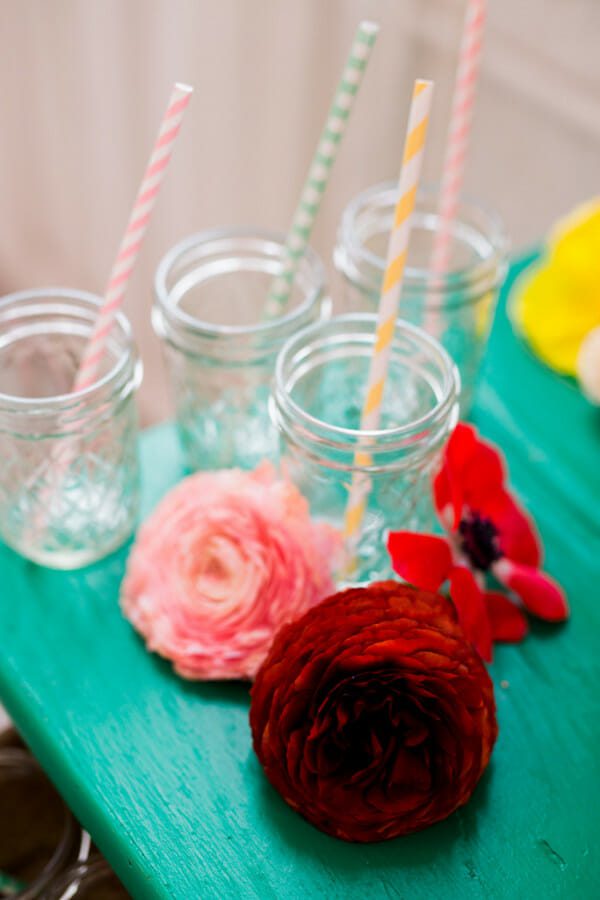
Colored paper straws and simple mason jars are a quick and easy way to serve drinks.
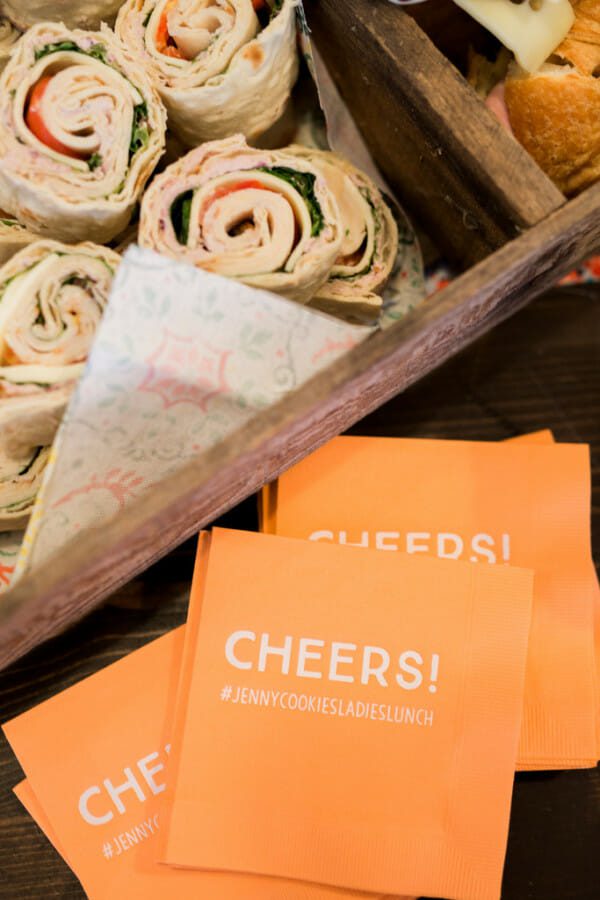
Try to keep food light with simple sandwiches and tortilla wraps. You can get creative with the types of meat, cheeses and other add ins. Remember that women don’t typically eat large quantities so it’s better to offer less than be left with a bunch of uneaten food!
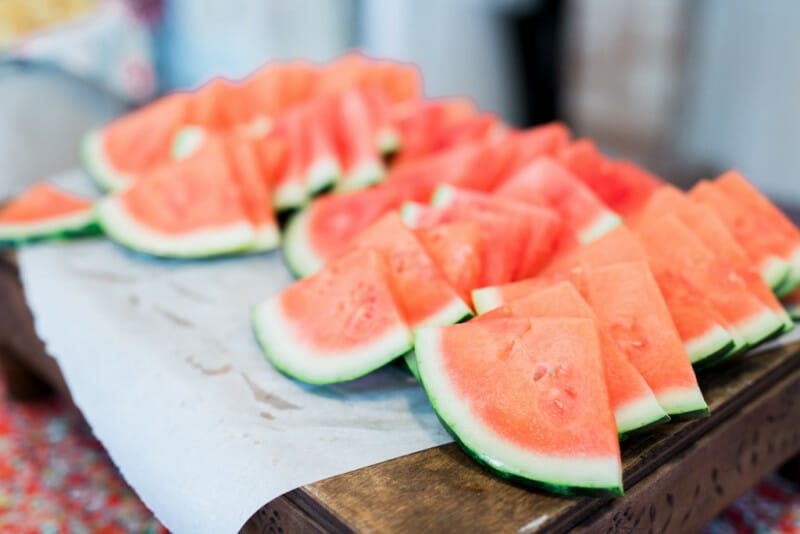
Fruit is always a good idea! We’re finally getting in to watermelon season here in Seattle. I love a juicy watermelon, it adds so much color and texture to your food spread!
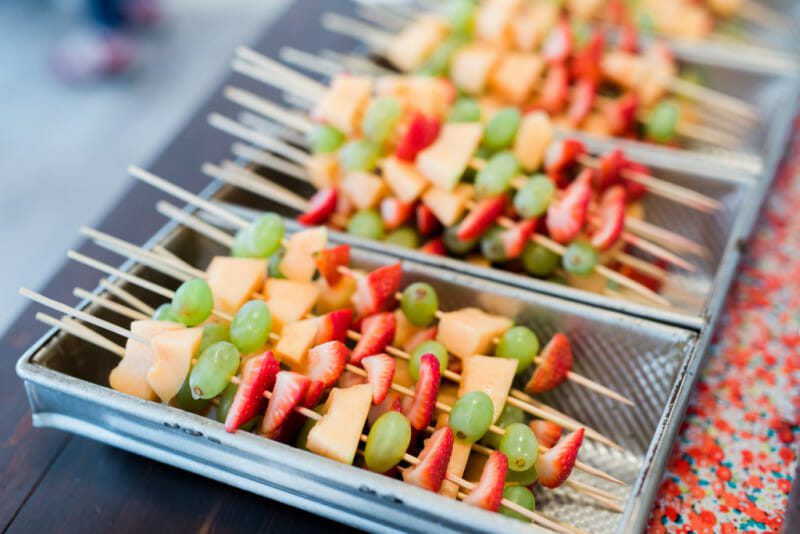
Fruit Kabobs are great since they can be made ahead of time and are easy for guests to grab. I used a vintage bread pan to display the fruit kabobs. It was the perfect size!
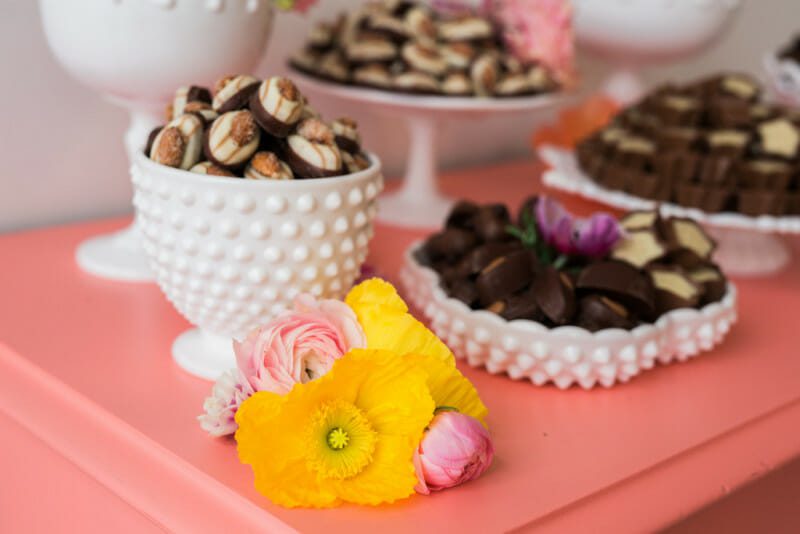
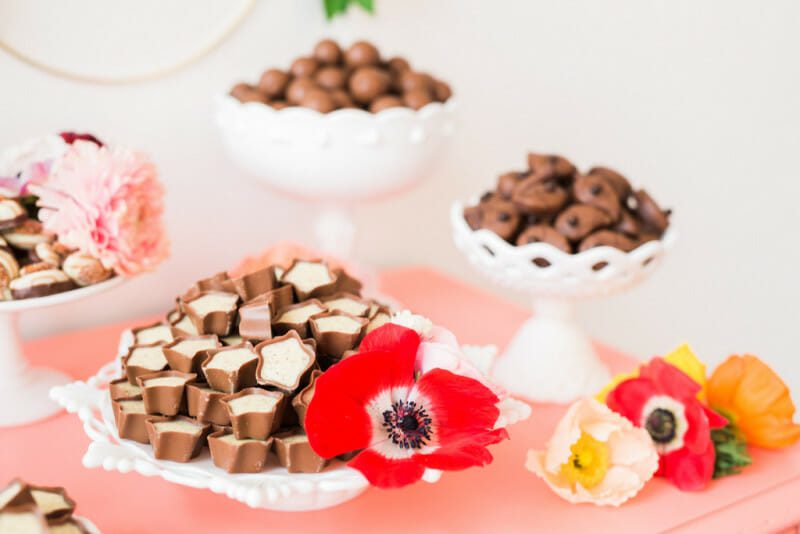
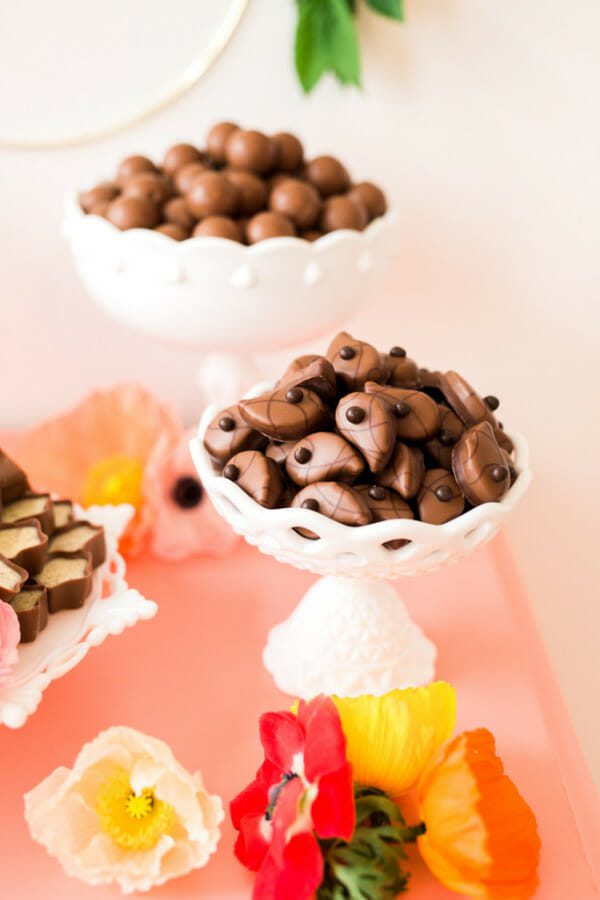
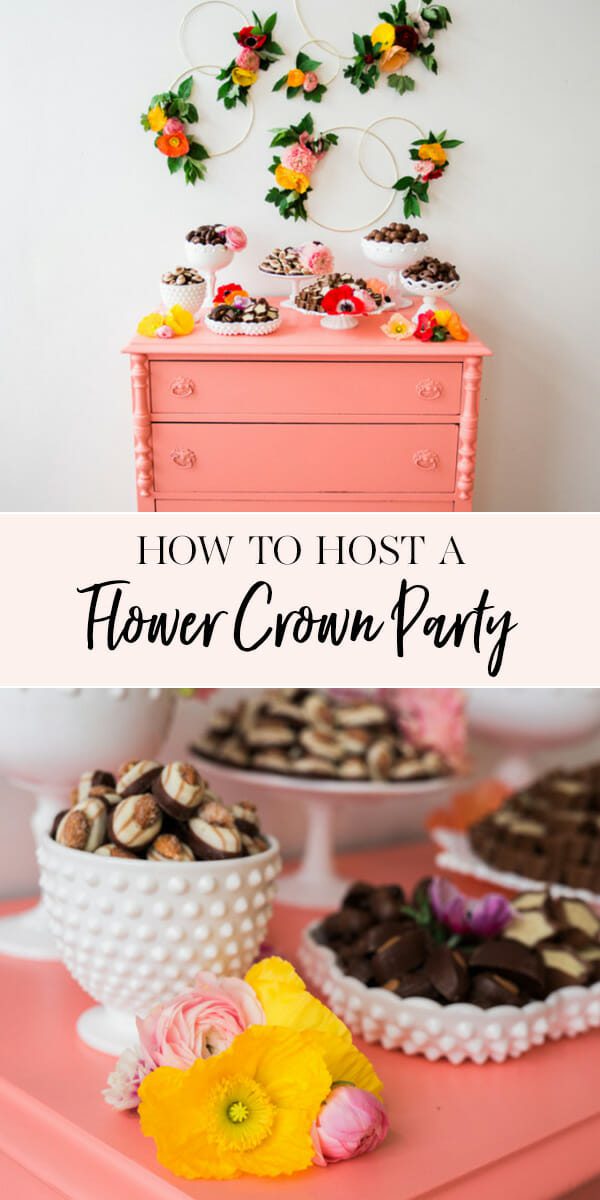
Desserts are by far my favorite party of any party. Since we were hosting moms and daughters, I wanted the desserts to be luxurious and indulgent. I decided on a full chocolate dessert table, overflowing with LINDOR truffles and other decadent chocolates from Lindt.
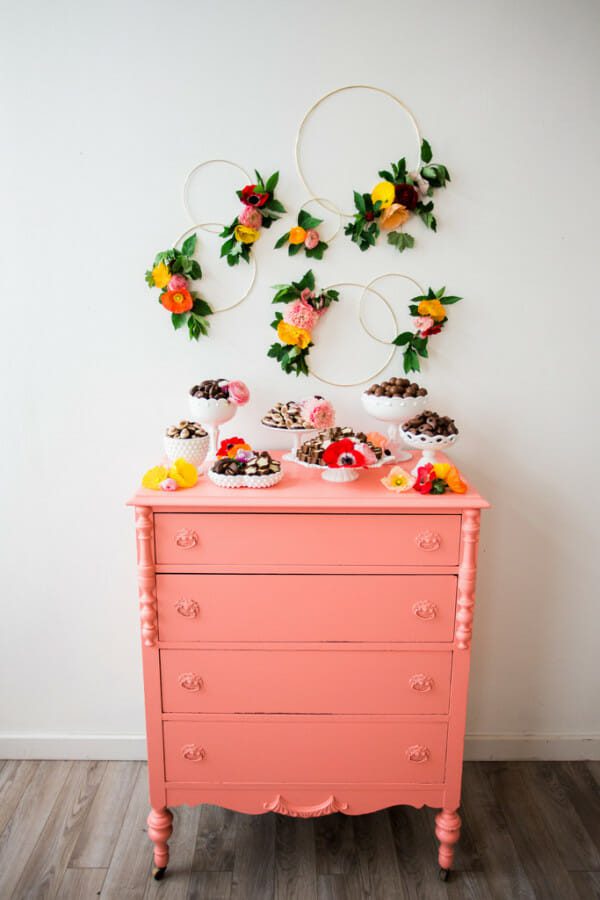
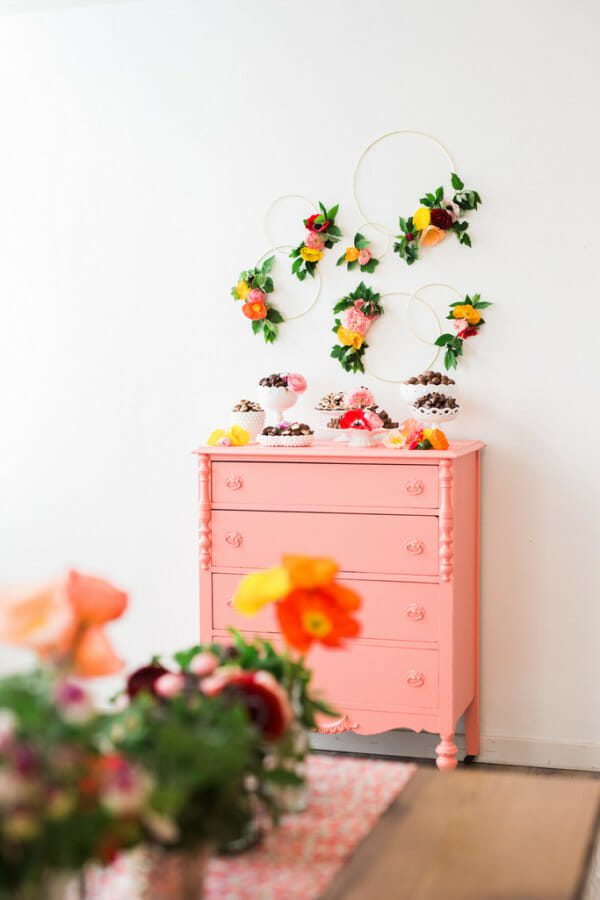
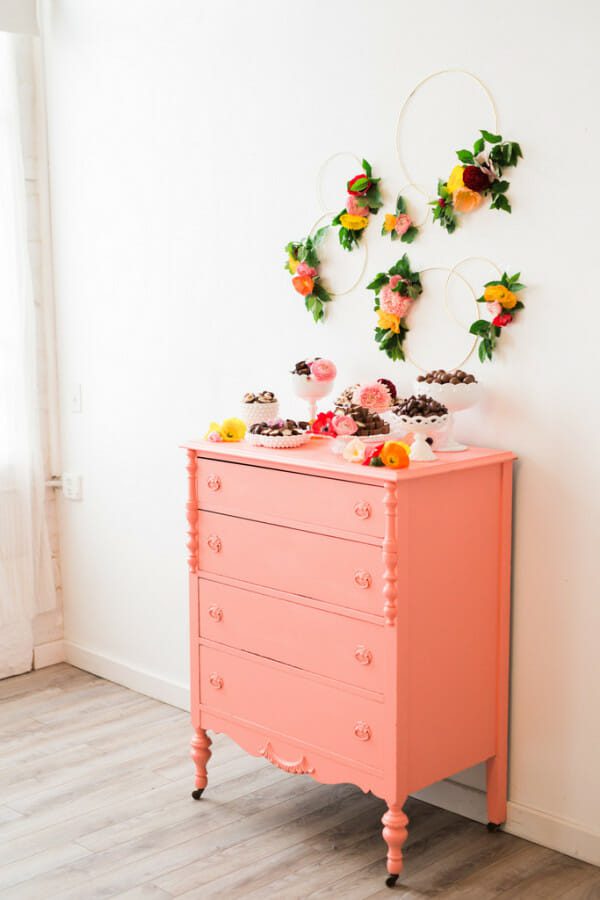
The desserts were set in milk glass serving pieces, displayed on a vintage dresser found at a garage sale for $20. I gave it a few coats of coral pink paint and it turned out adorable! Never underestimate the power of paint!
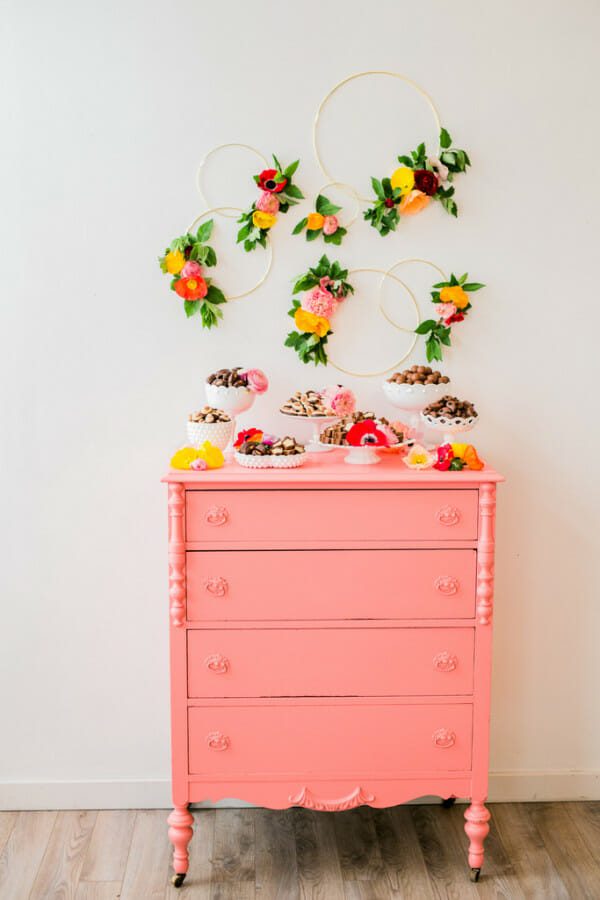
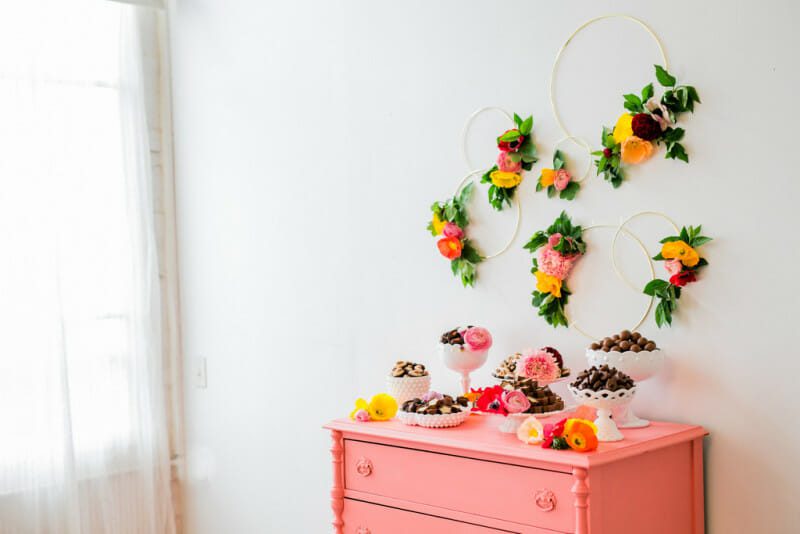
For my dessert backdrop, I found gold embroidery hoops and asked Kelli (Country Bouquets Floral) if she could help me make them look like flower crowns. She whipped them up and they turned out exactly how I imagined! We hung them from the wall with 4m clips and sticky wall tack.
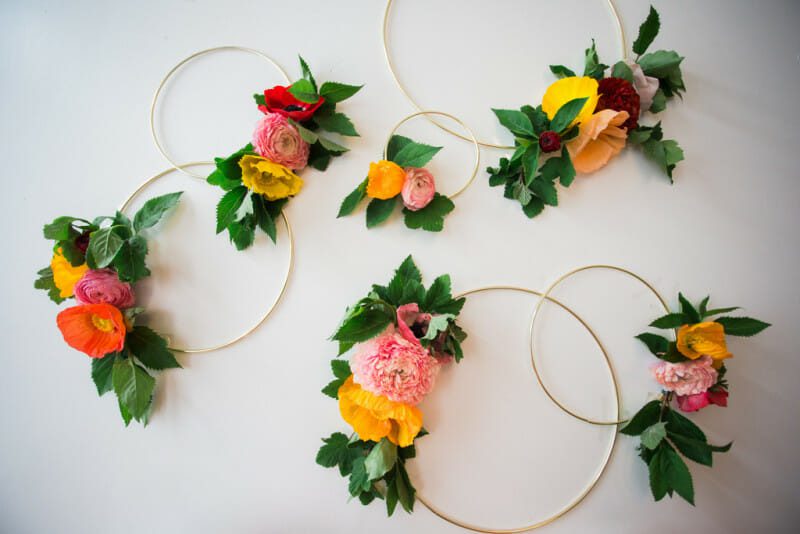
I suppose it’s a good thing flowers wilt out of water because it made it easier to take these down after the lunch. It’s always hard for me to break parties down. I think I say the same thing at every party, I just want this up on a wall in my house!
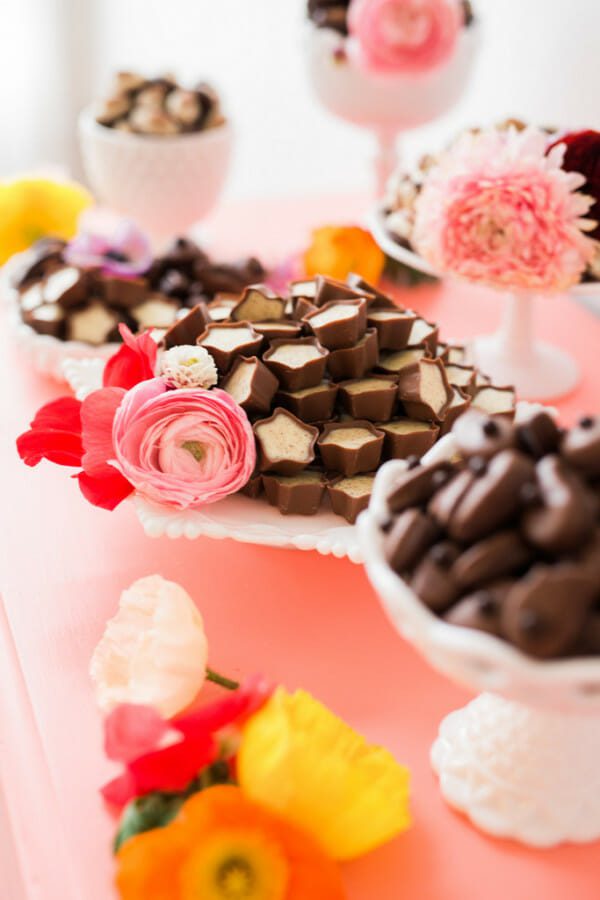
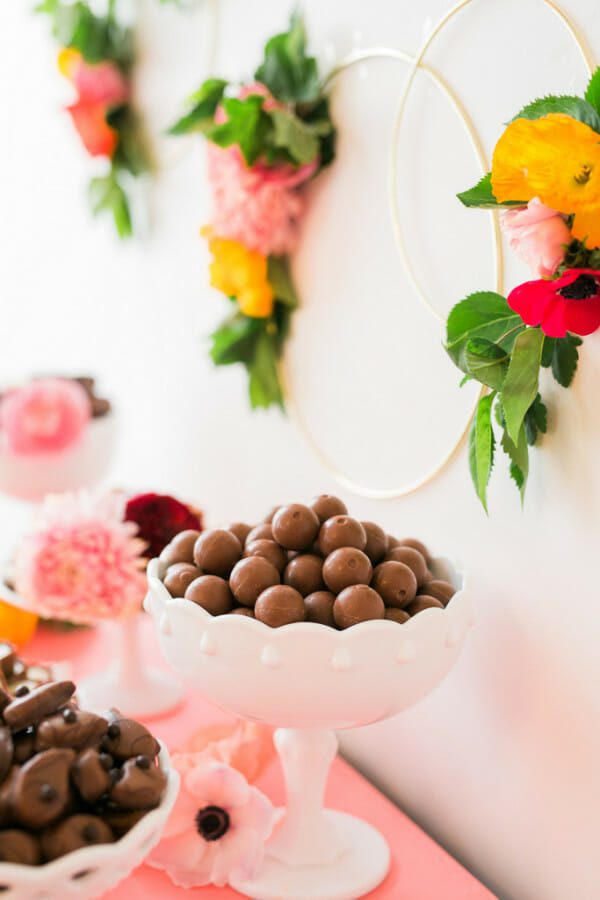
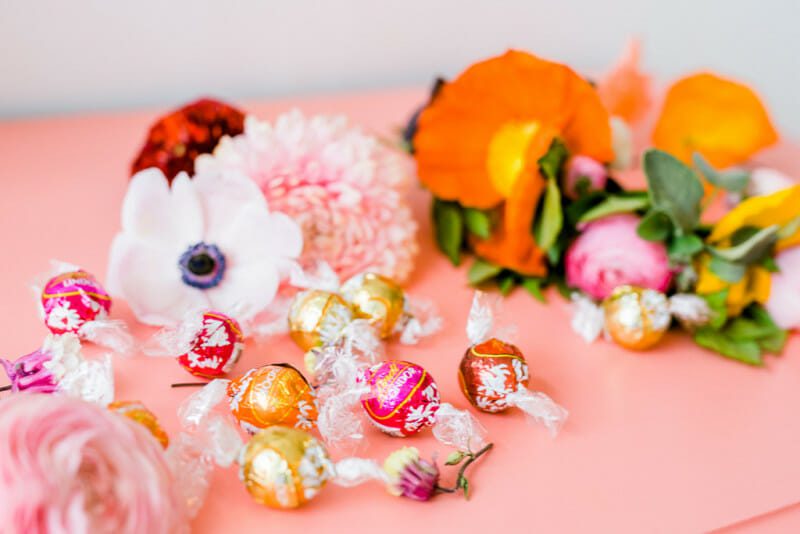
One of my favorite indulgent treats are LINDOR truffle balls. They literally melt in your mouth. As busy moms, something as small as a little piece of chocolate can feel like a well-deserved break throughout the day. You can’t help but feel like everything is better after you experience this delicious treat! To keep the table looking uniform, I unwrapped the truffles for a more iconic look.
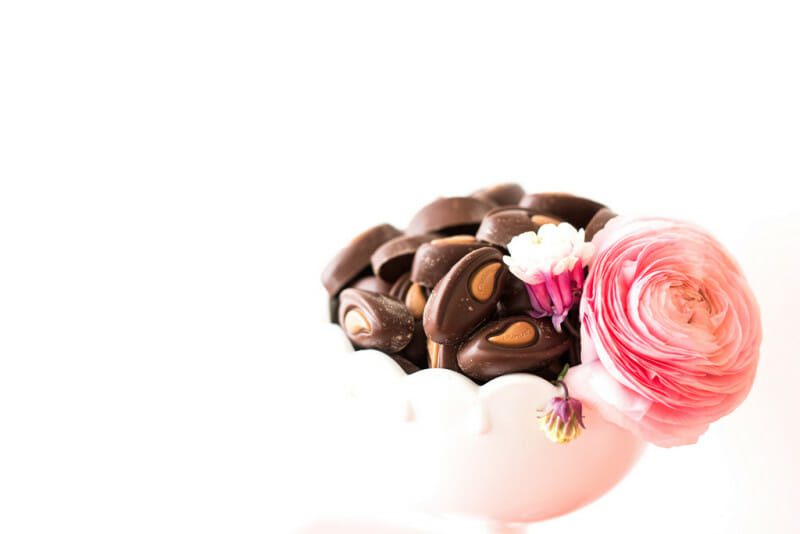
Add loose petals to chocolates to provide a pop of color and a little life. I absolutely loved how this table turned out!
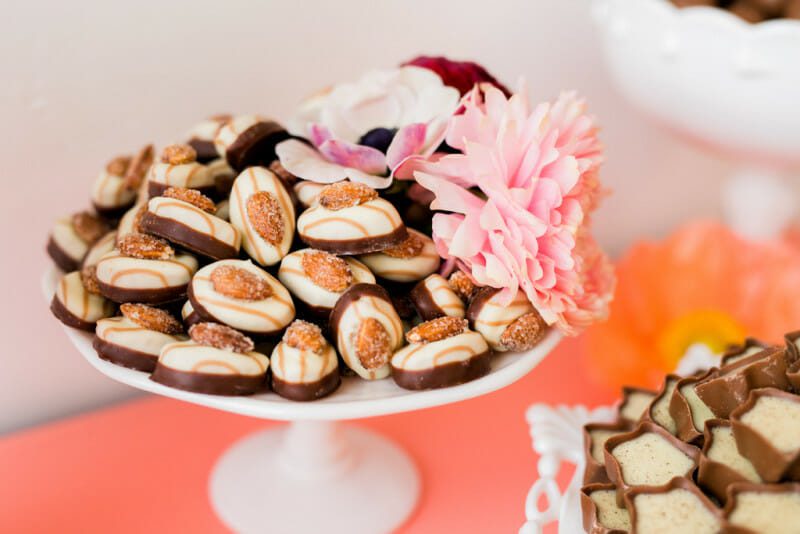
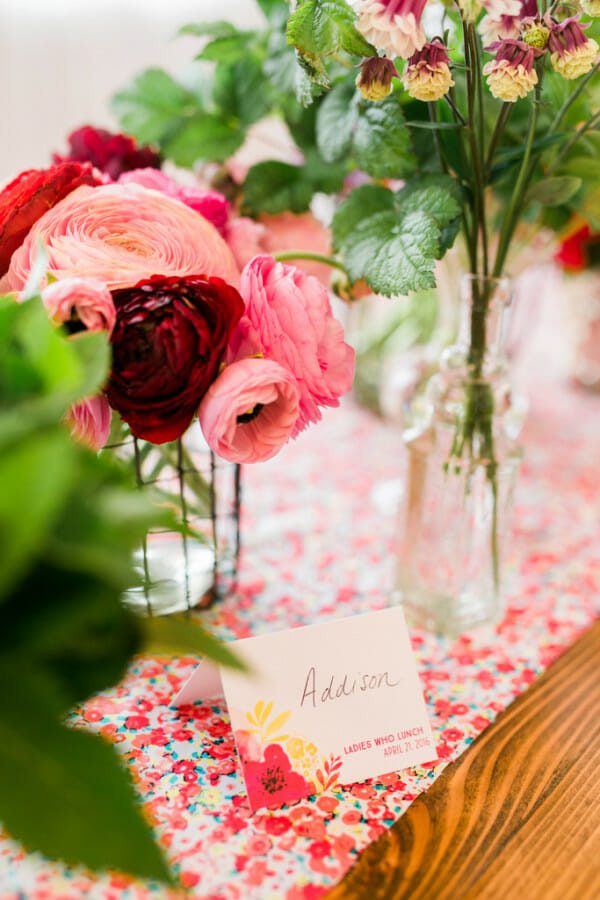
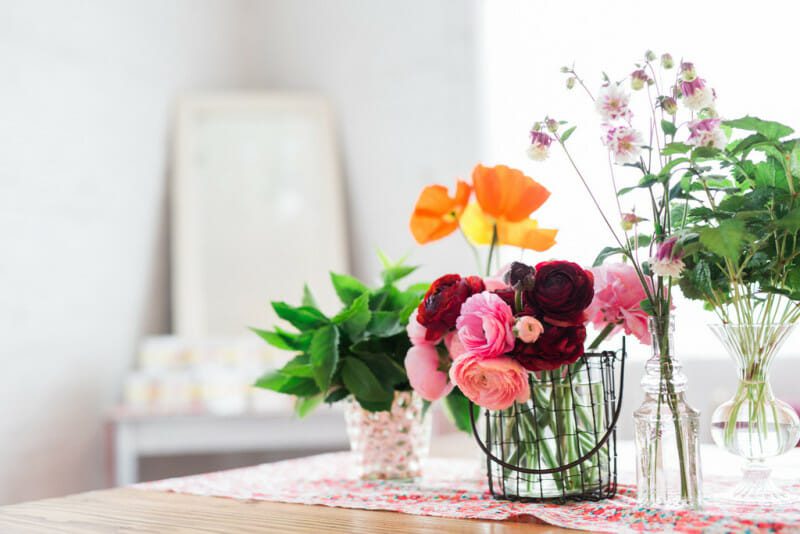
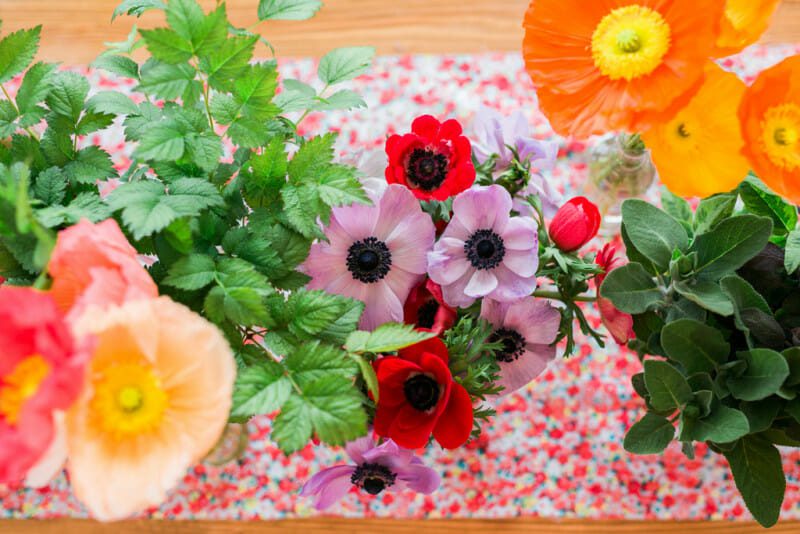
After our guests arrived and had something to eat, we got to work making our flower crowns!
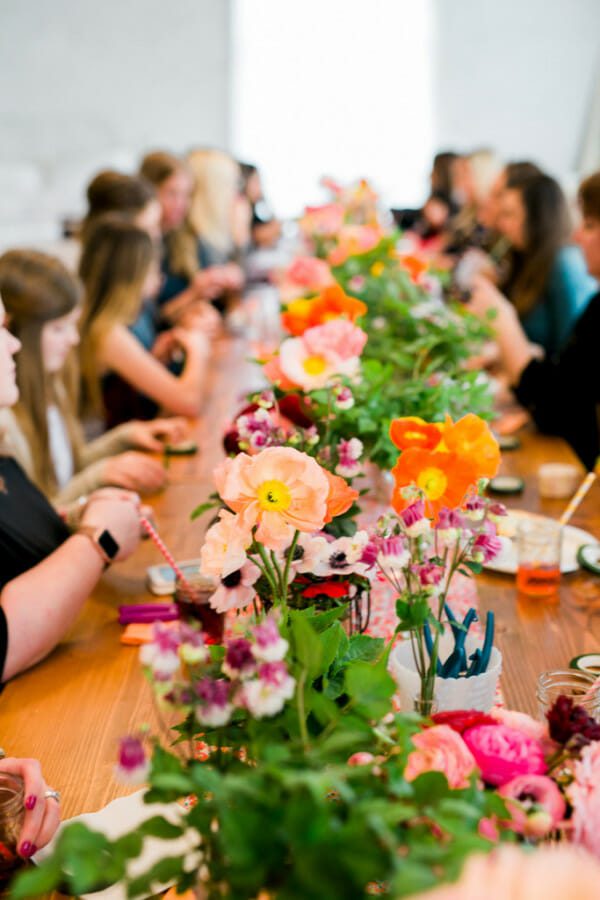
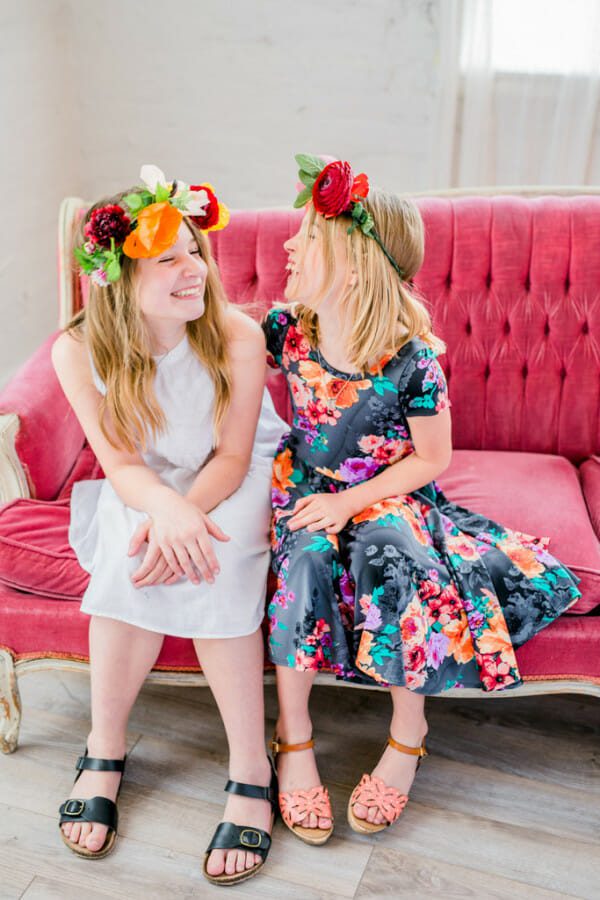
The little ladies were very excited about their crown building. I was super impressed with how well each of them did!
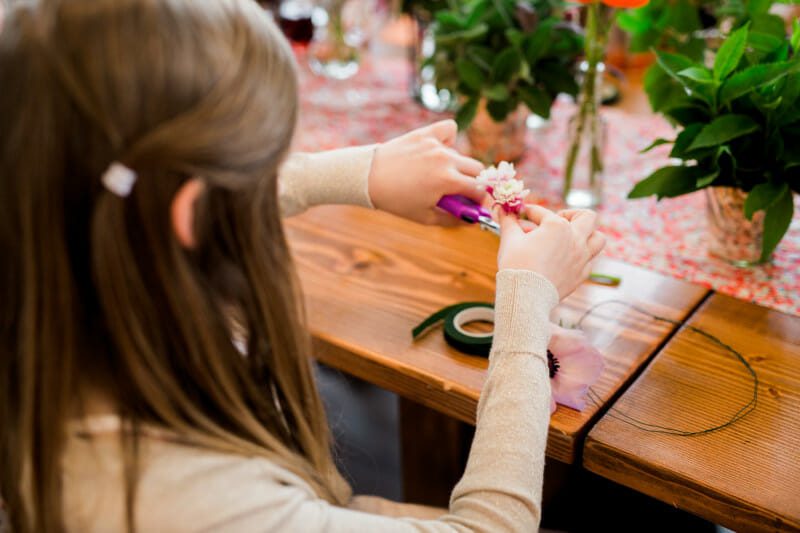
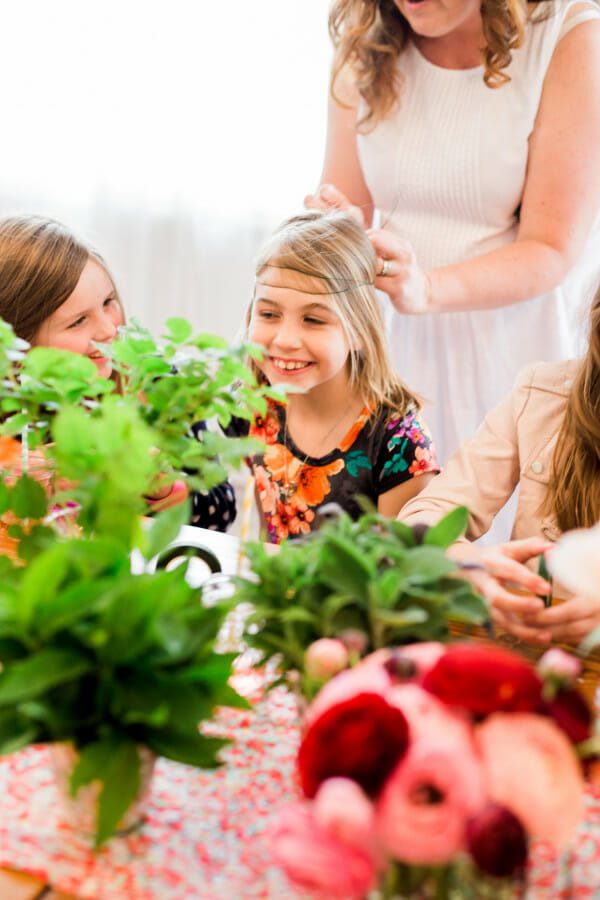
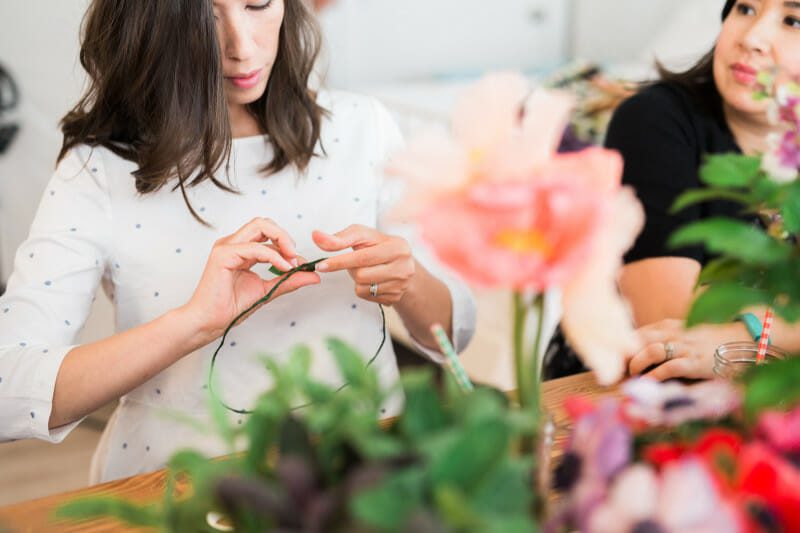
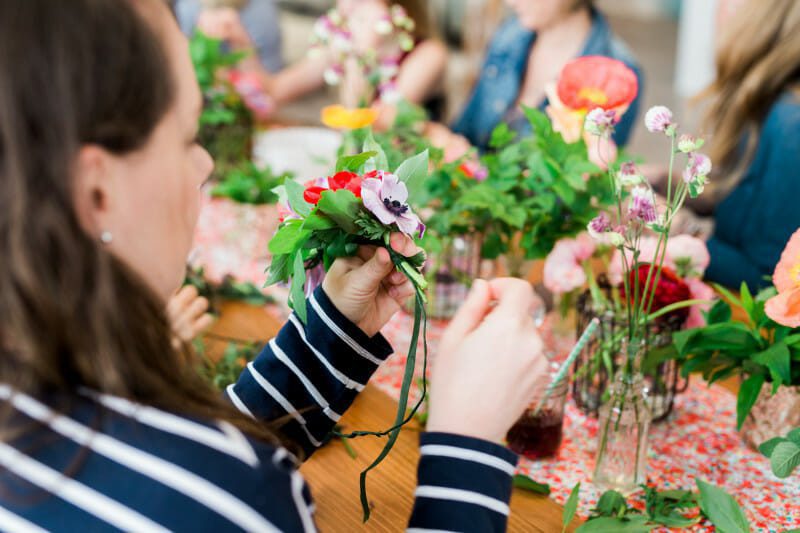
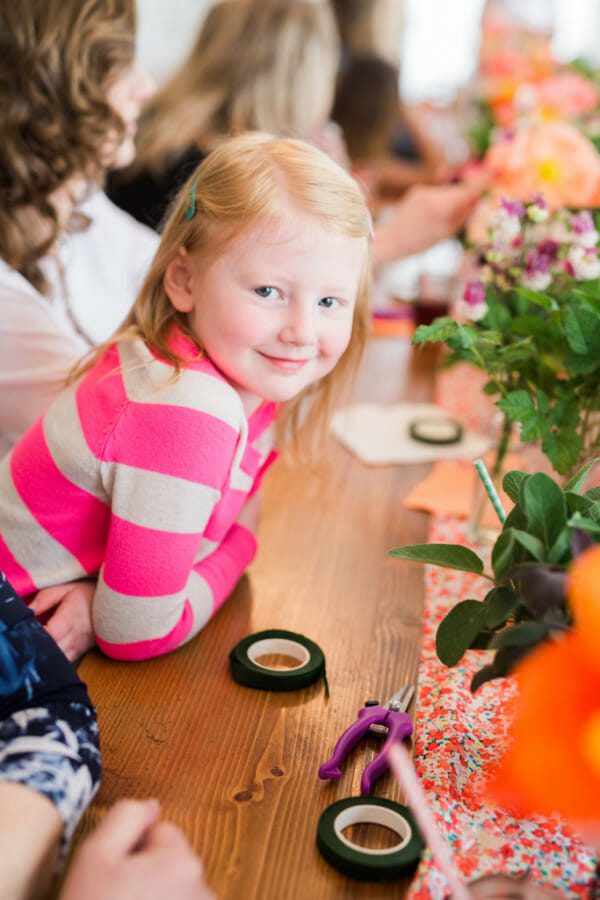
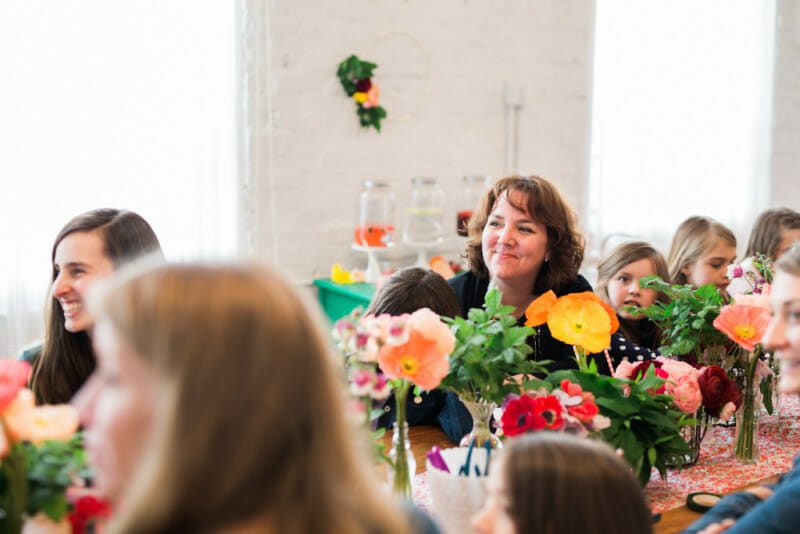
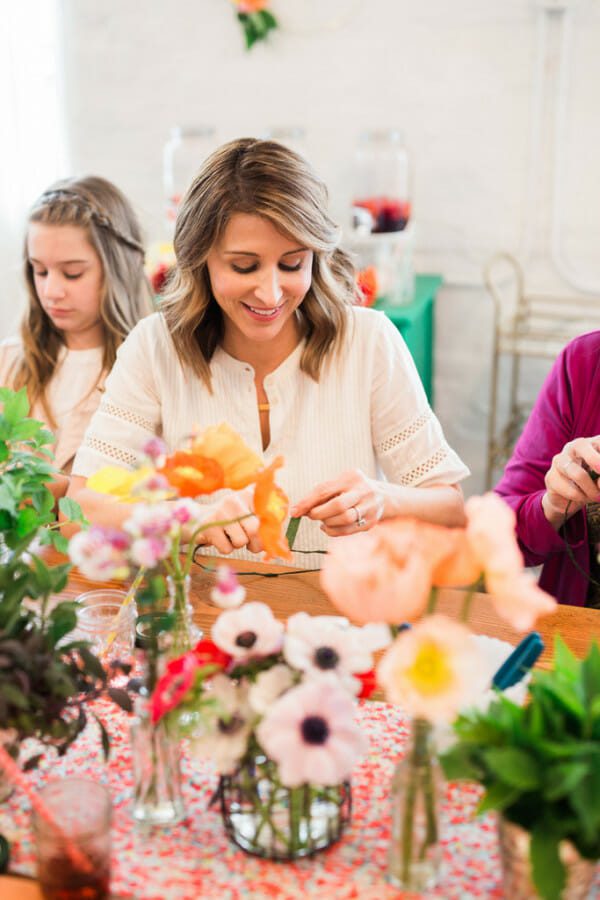
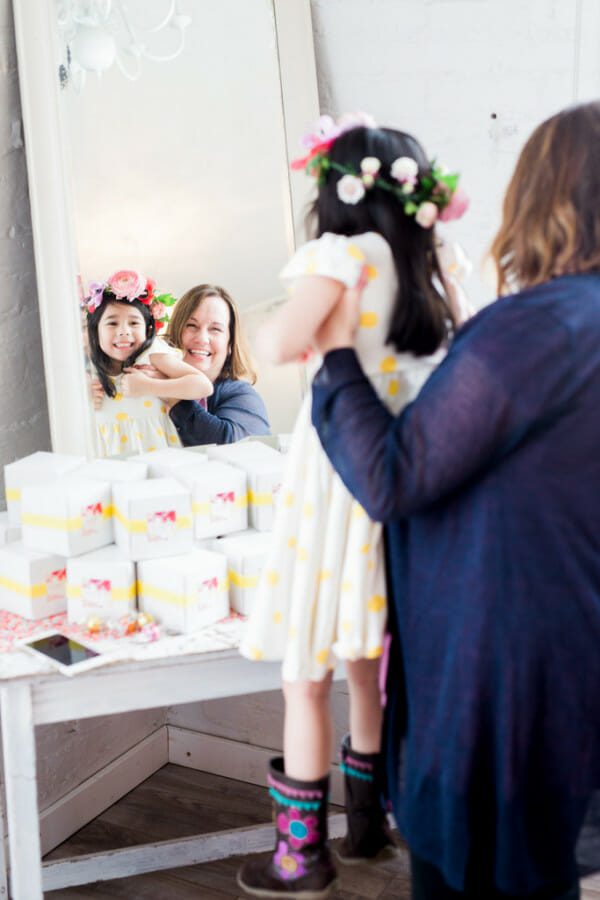
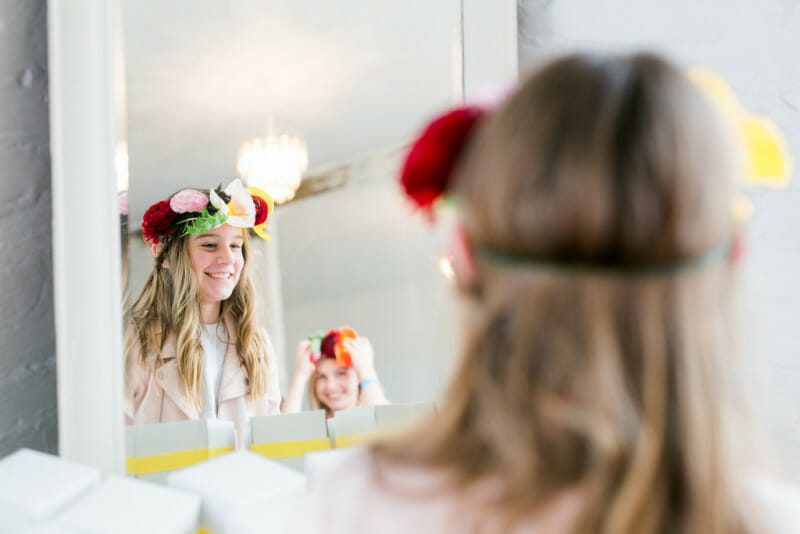
Keeping your activity flexible is helpful. It’s nice when guests can get up and move around if they finish before others. Little people tend to lose interest quicker than adults. My daughter finished her crown before I had three flowers on mine. I could have sat at the table crafting all afternoon!
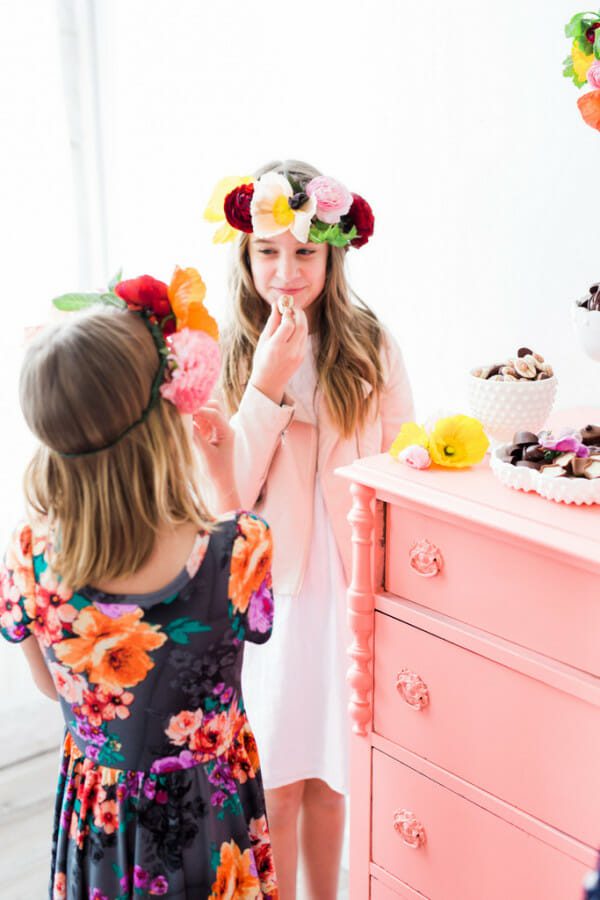
The girls spent their time at the dessert table sampling the chocolates.
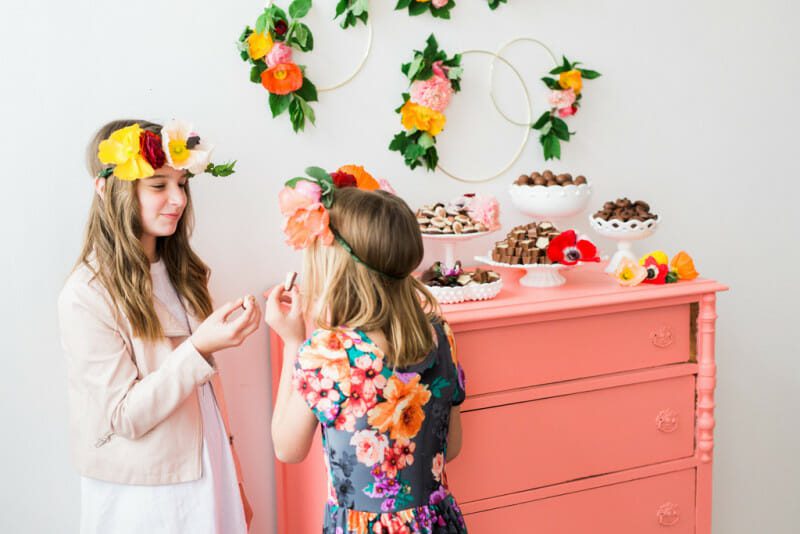
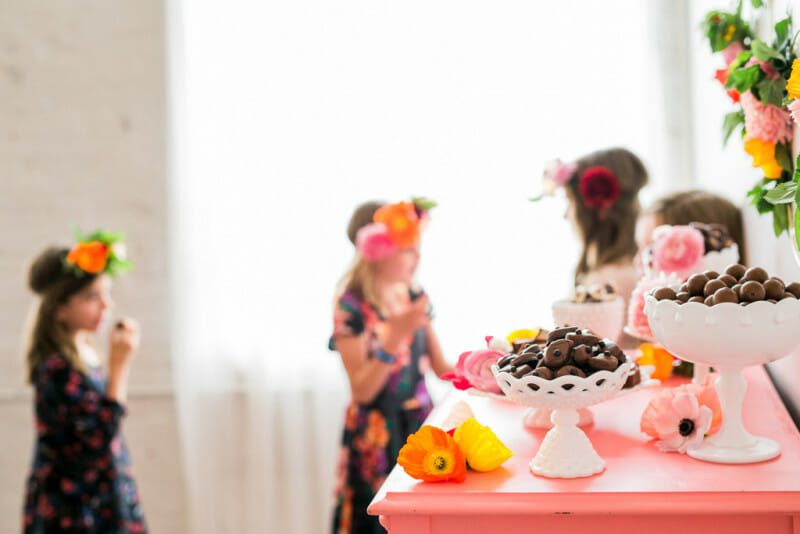
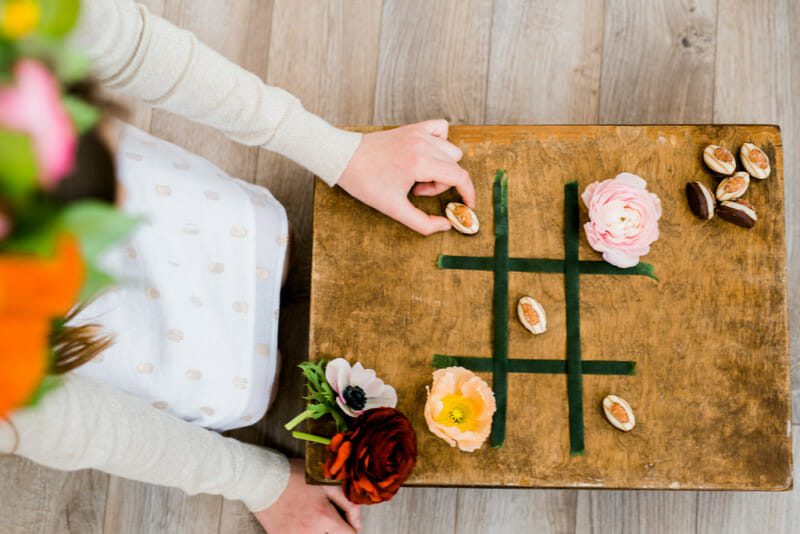
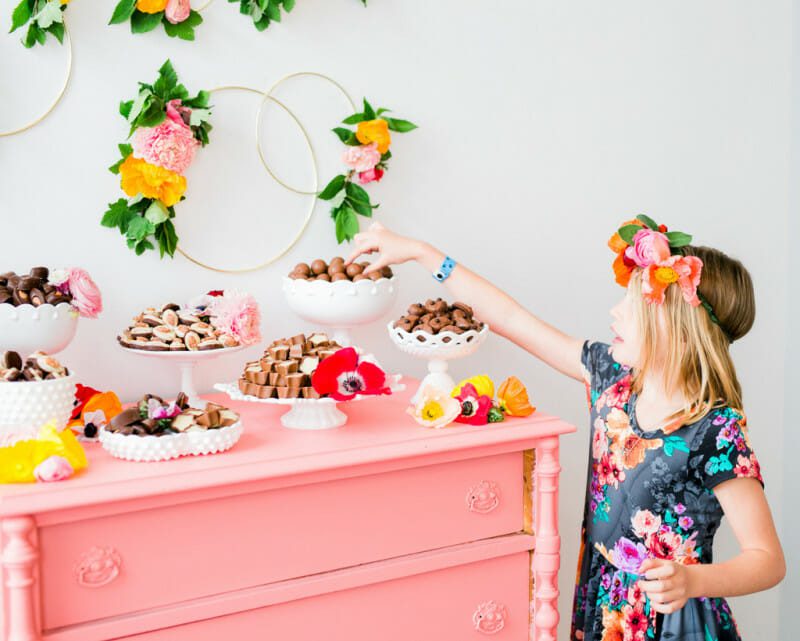
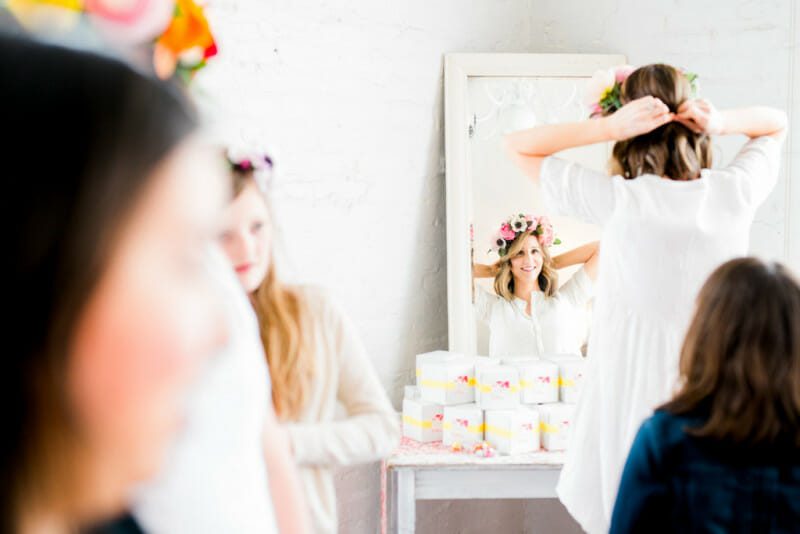
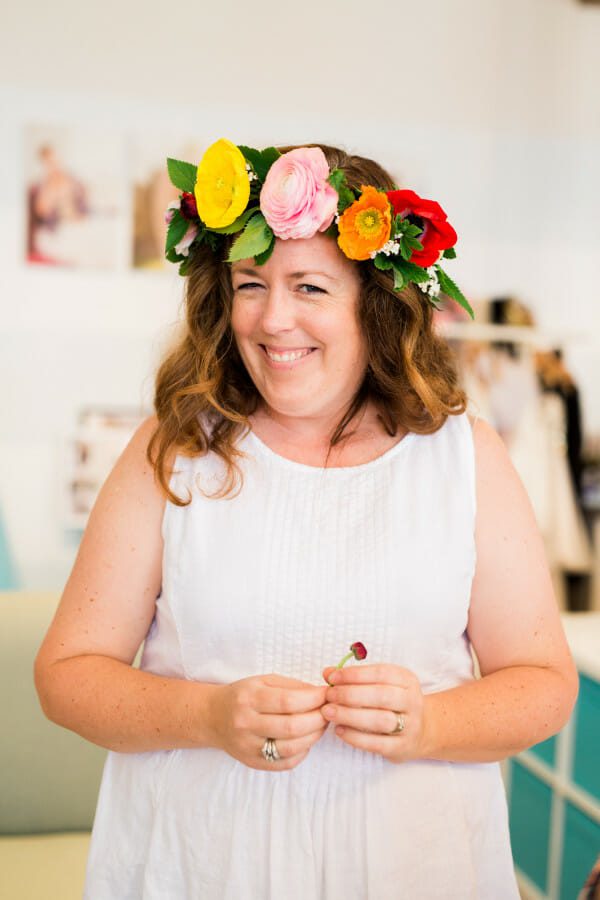
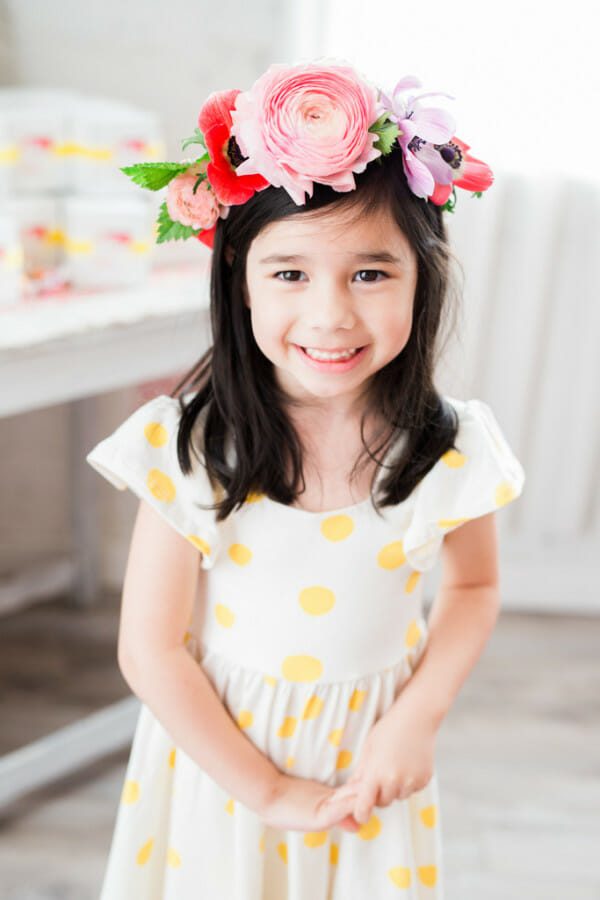
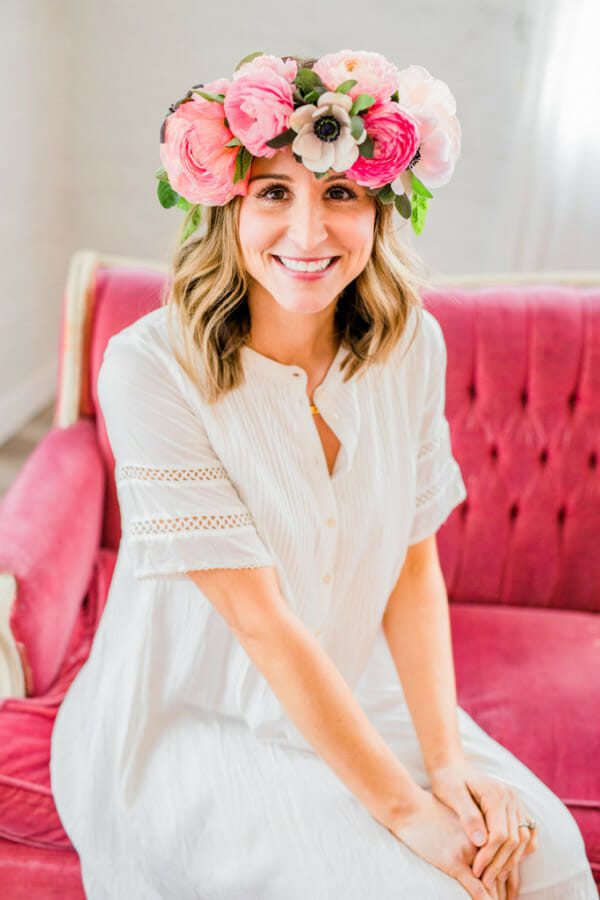
As each lady finished their crown, my talented friend and photographer Kelly (Kelly Clare Photography) captured each guest in their creation.
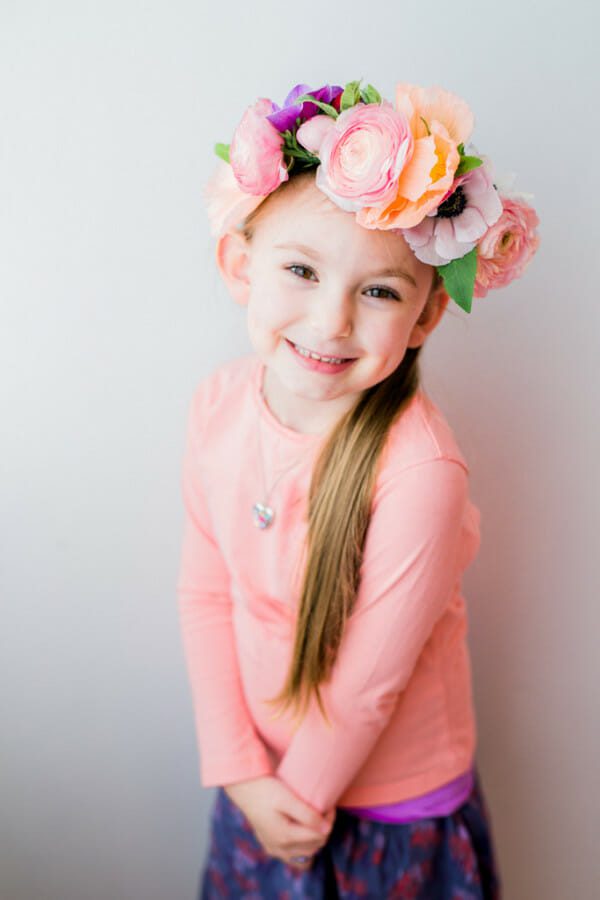
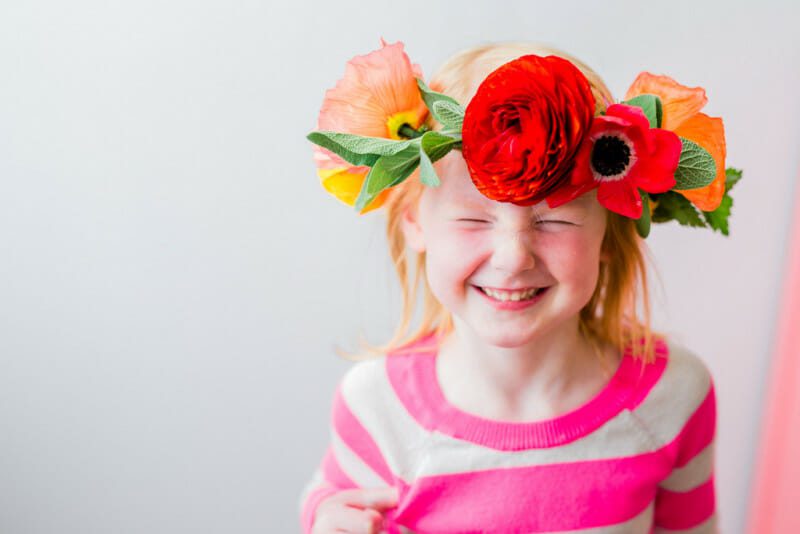
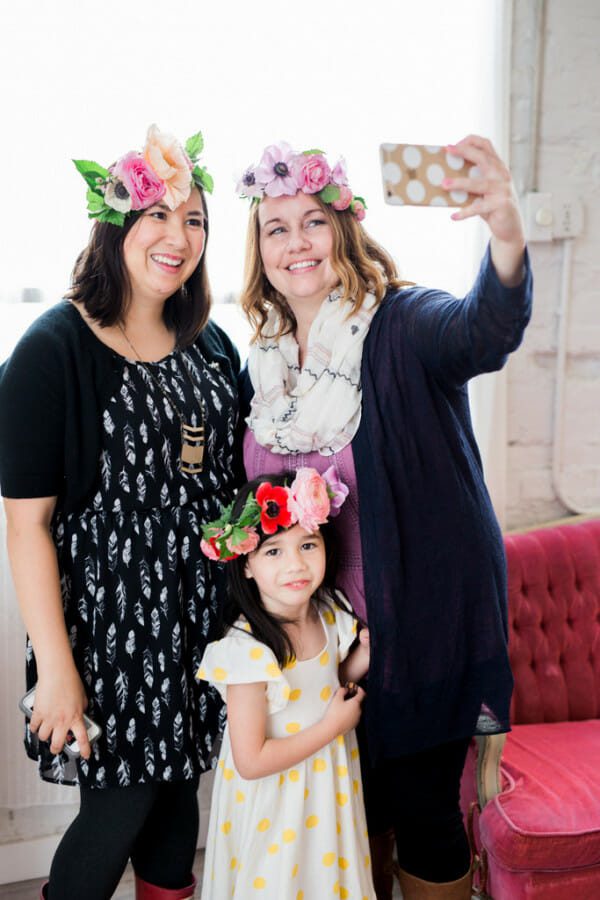
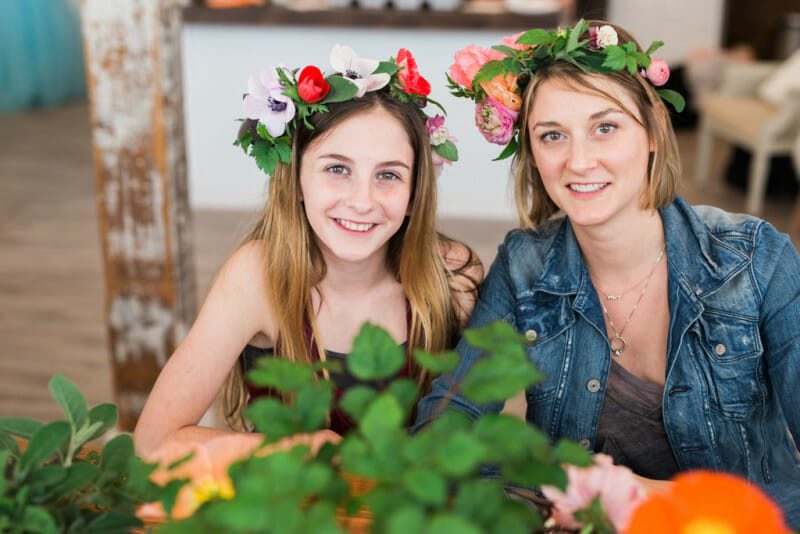
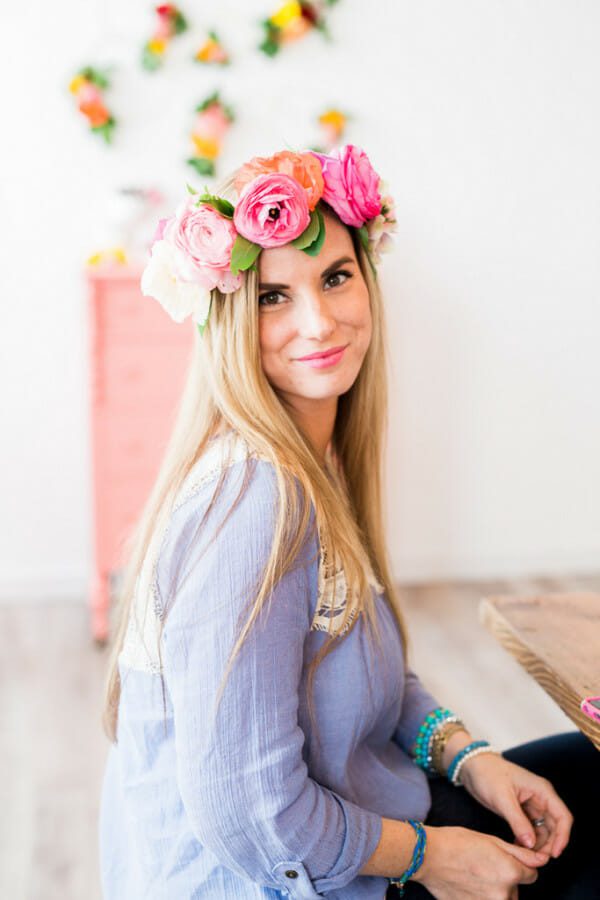
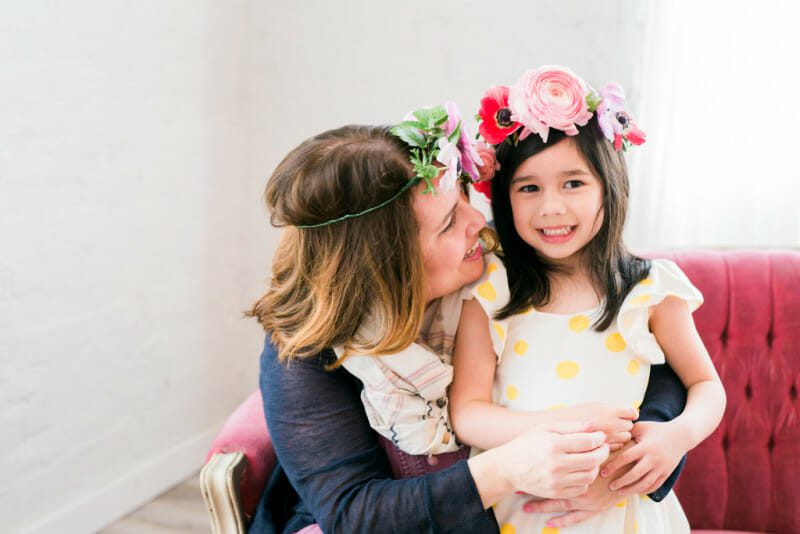
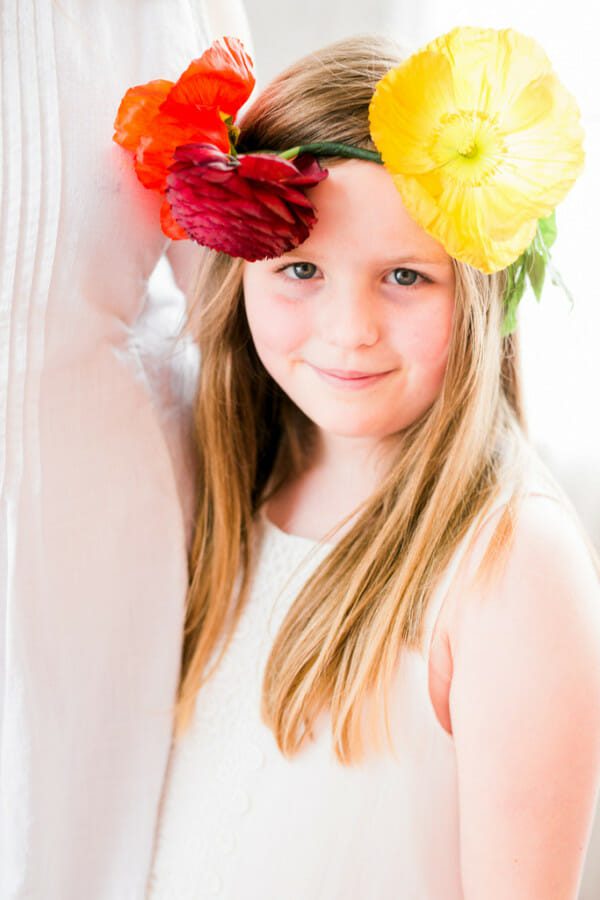
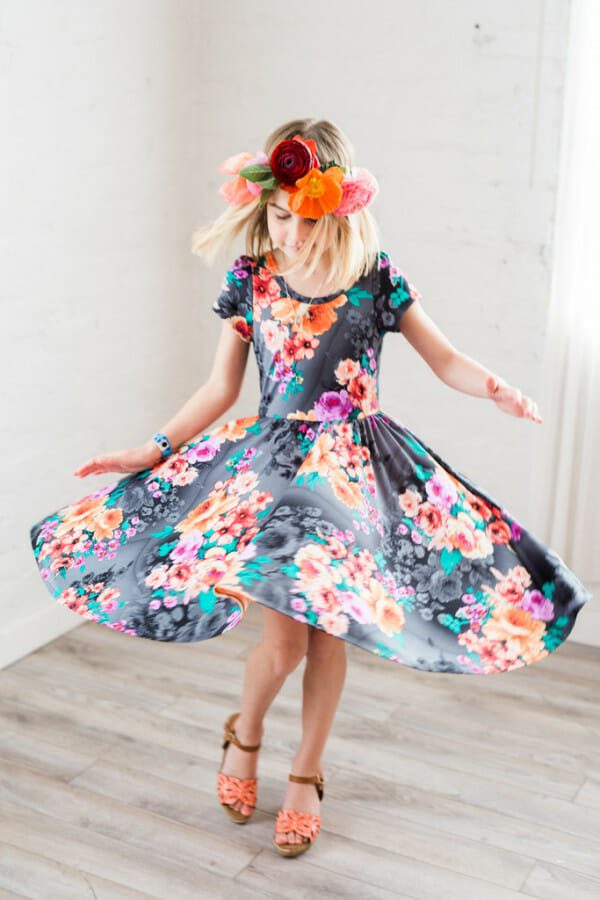
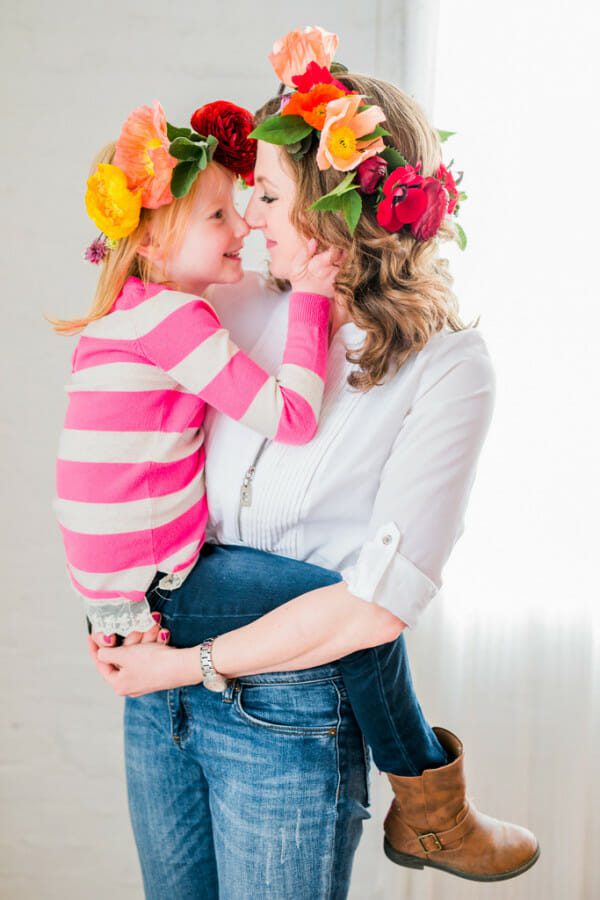
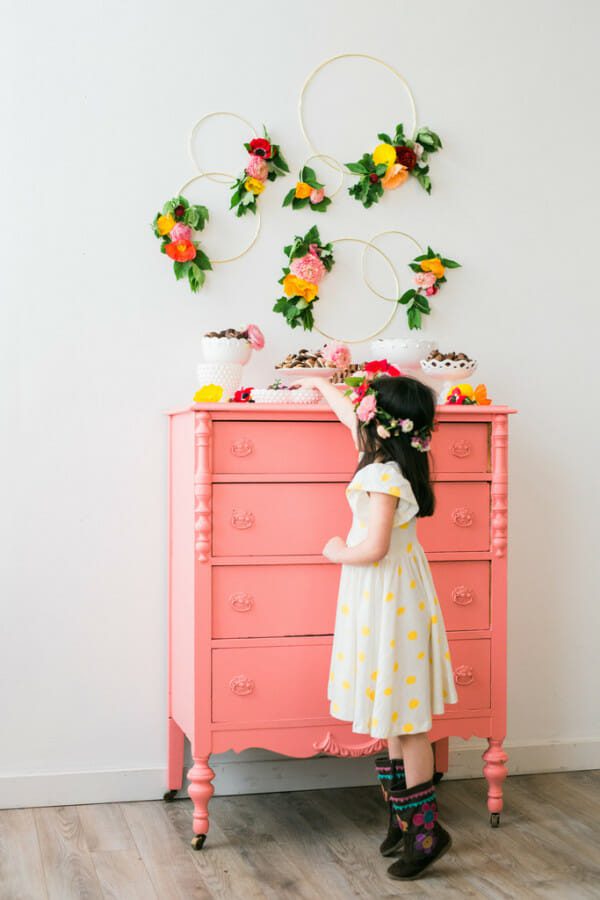
Such sweet memories were captured and will be treasured for years to come.
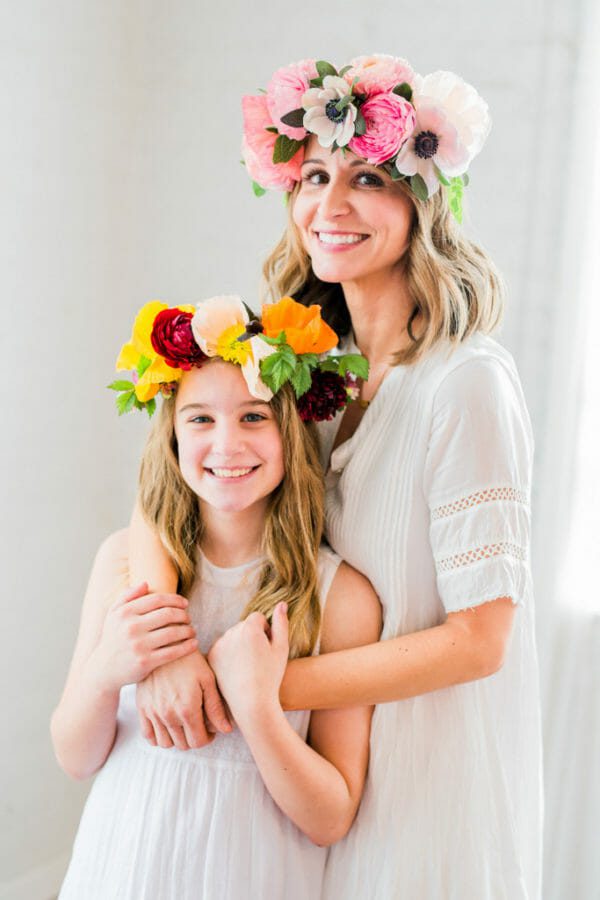
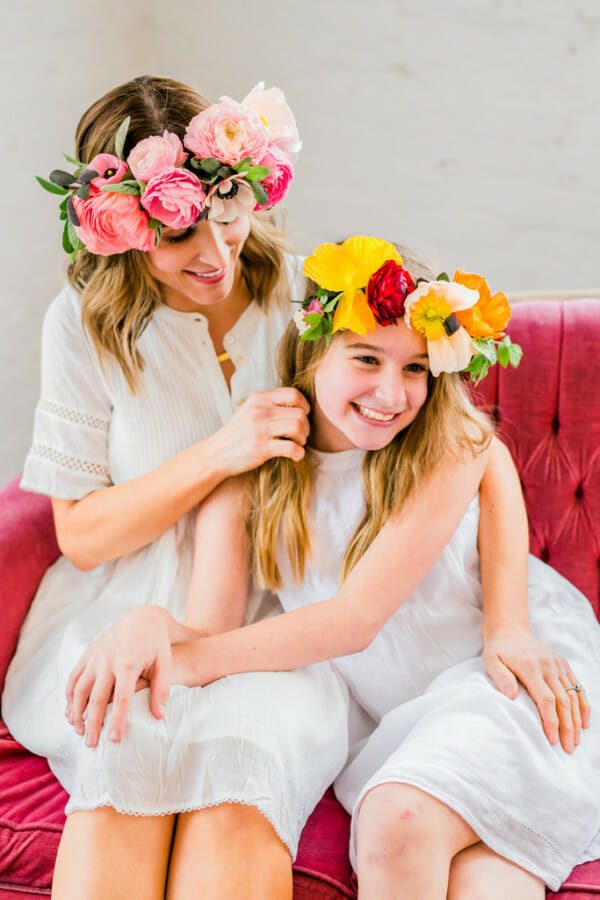
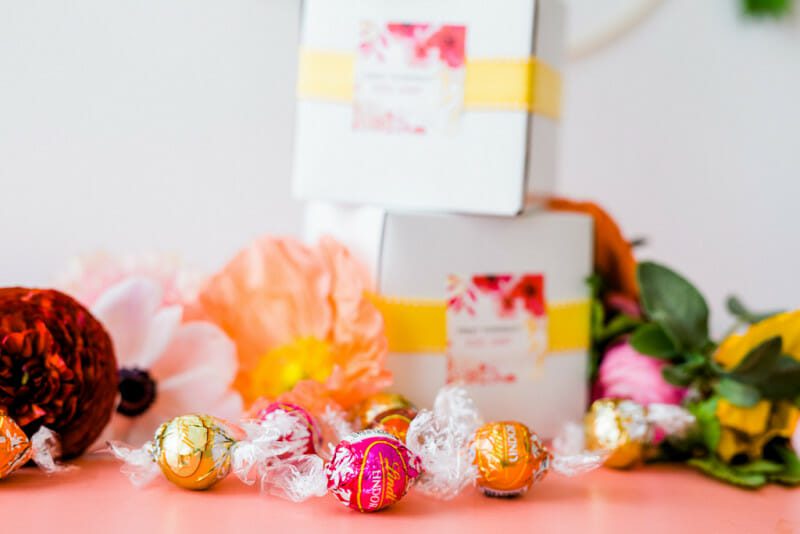
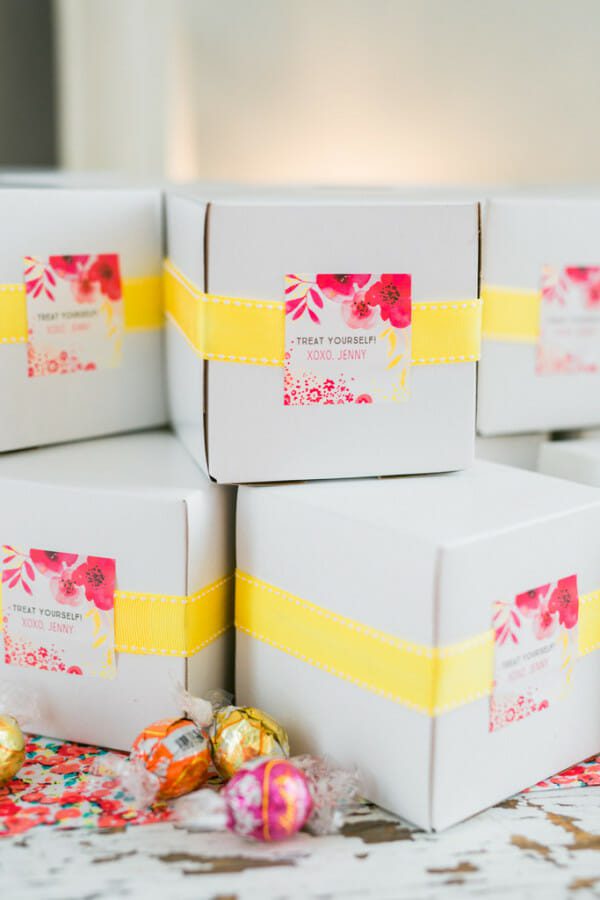
I love to send guests with a take home favor. To keep with the chocolate theme, I sent each guest with a box of LINDOR truffles, wrapped in the colors of our party palette. LINDOR truffles come in just about every color and flavor so it’s easy to coordinate with almost any party theme and palette!
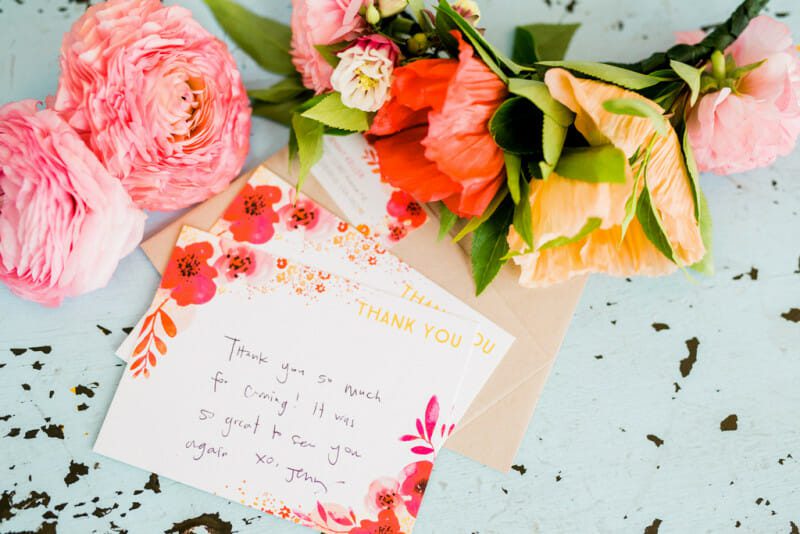
Long after the guests leave and the party is over, it’s nice to send a follow up card thanking guests for coming and include copies of photos taken at the event. I found matching thank you cards at Tiny Prints. Who doesn’t love getting a hand written card?
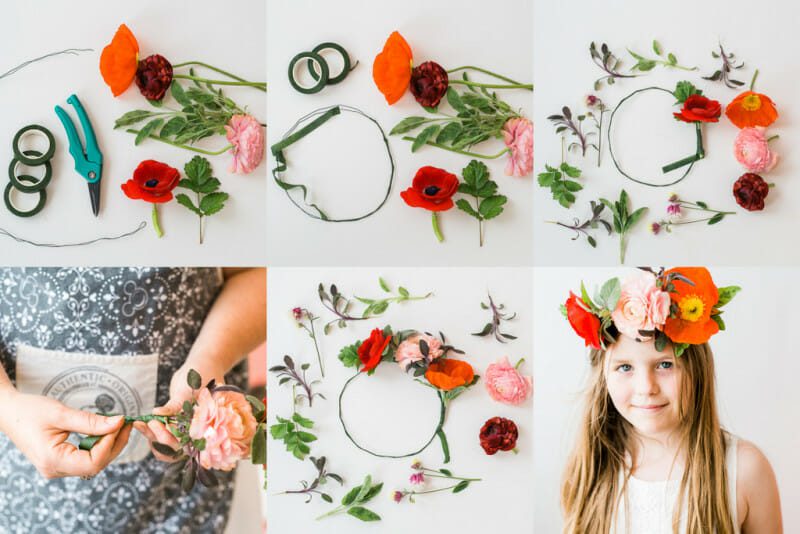
Hope you found these tips helpful for hosting your own Flower Crown Ladies Lunch or other party with a flower crown activity. To make your own flower crown, here is a quick set of instructions:
You will need:
floral wire
floral tape
fresh or wired flowers
greenery
clippers
Directions:
- Bend wire around crown of your head. Remove and cut using wire clippers. Bend pieces together to form one “crown” or circular shape.
- Using floral tape, wrap tape around wire crown several times until it’s covered completely.
- Select your greens and flowers. Tape stems to the wire crown using floral tape. Wrap the tape around the stem a few times to secure the flower.
- Continue to build your crown using greenery, flowers and tape until you are happy with your creation. Try your crown on several times to ensure you like the flower placement as you create.
- Have fun!
Photography by Kelly Clare Photography

Absolutely beautiful. I love the pictures of the girls – looks like they loved it. 🙂
What a great post! The pictures are stunning!?
Wish I could have been there, looks amazing as always! 🙂
Jenny you put together the most beautiful gatherings, can’t wait to come again ?
Love this idea. So So pretty!!! I was wondering where you found all of the gorgeous flowers! 😀