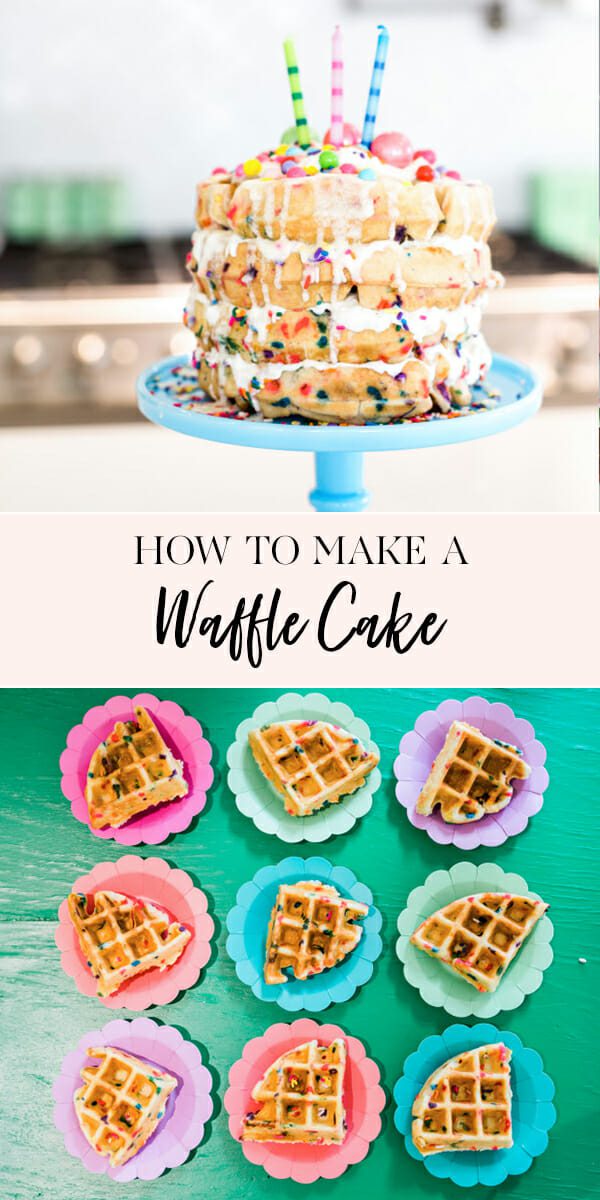
How to Make a Waffle CAKE
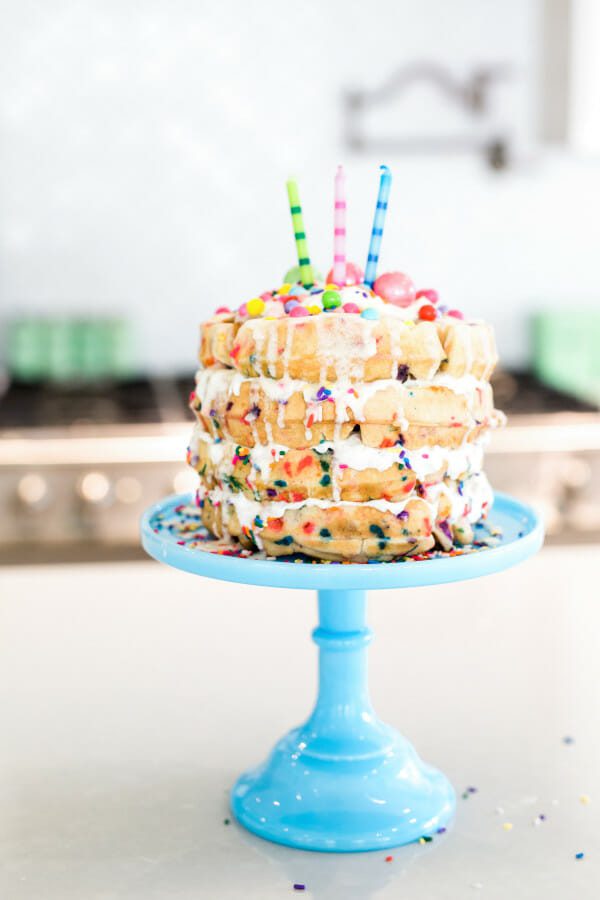
Homemade waffles are a breakfast favorite in our house. We invested in a waffle iron quite a few years ago and it never ceases to excite my kids when they smell fresh waffles cooking on a Saturday morning!
One of my favorite waffle recipes is a simple combination of Bisquick baking mix, egg, oil and club soda. Recently, to give it a little more pizazz, I substituted the club soda for Black Cherry Zevia and added some rainbow sprinkles. Zevia is a naturally sweetened, zero calorie, non GMO, sugar free soda. The hint of black cherry flavor in the waffles was delicious!
They were so fluffy and charming, my mind was spinning with other recipes and creations I could make with these delightful little treats.
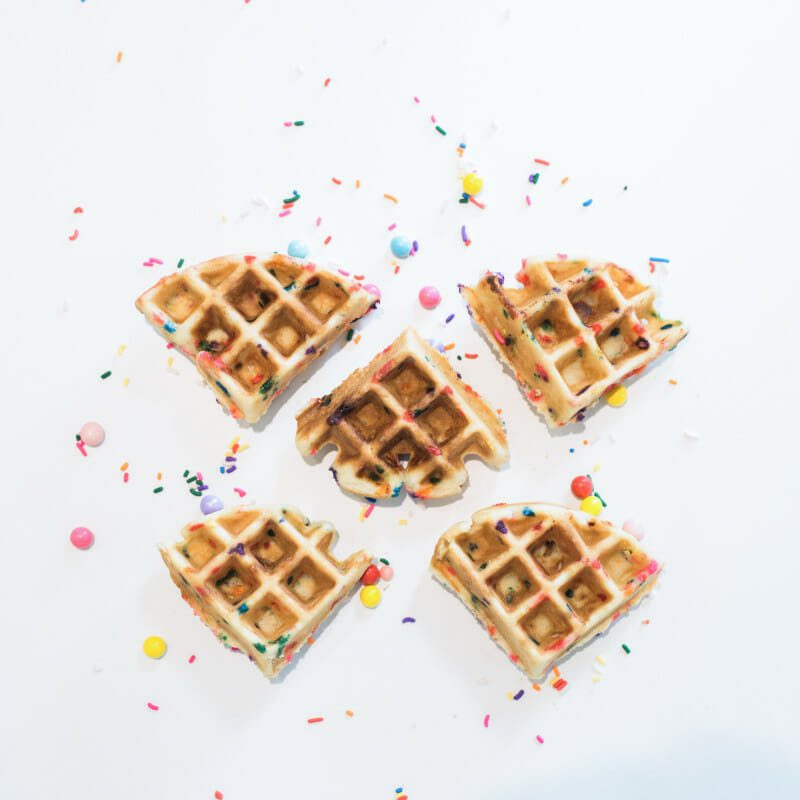
Our waffle iron makes fairly thick waffles so a divided piece of the waffle is perfect size for a little snack throughout the day. My kids love when I pull up to carpool pick up with a waffle treat. They’re so good, you can eat them alone!
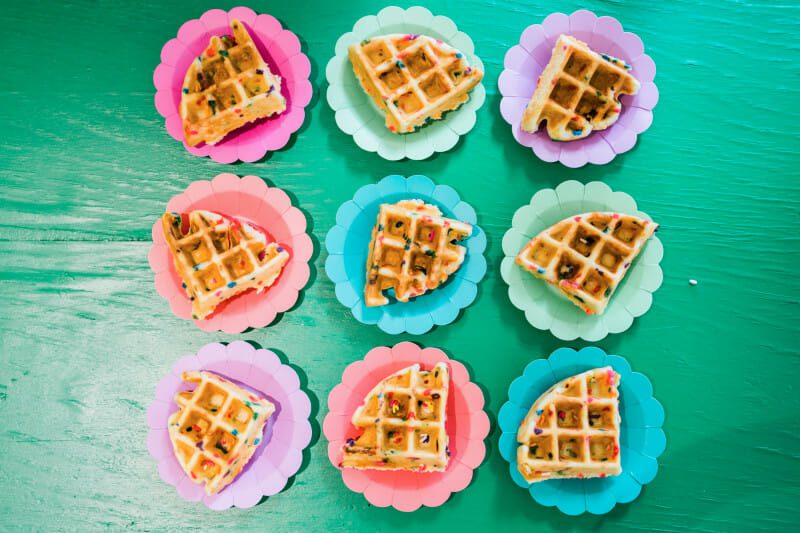
After a few batches of the black cherry waffles, all I could think about was a celebration with all the colorful sprinkles mixed in. In my opinion, celebration means party and a party means CAKE! I decided to try something really different…a waffle cake!
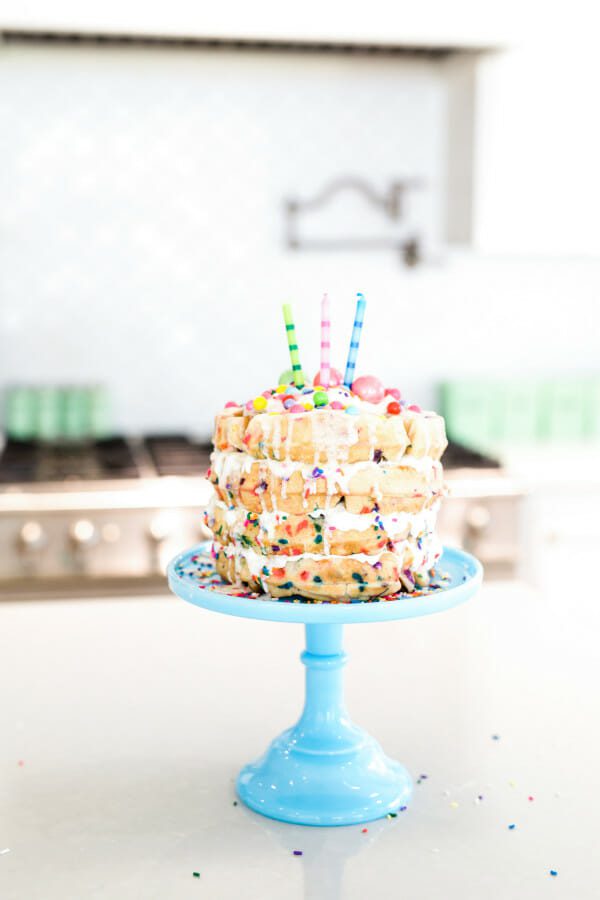
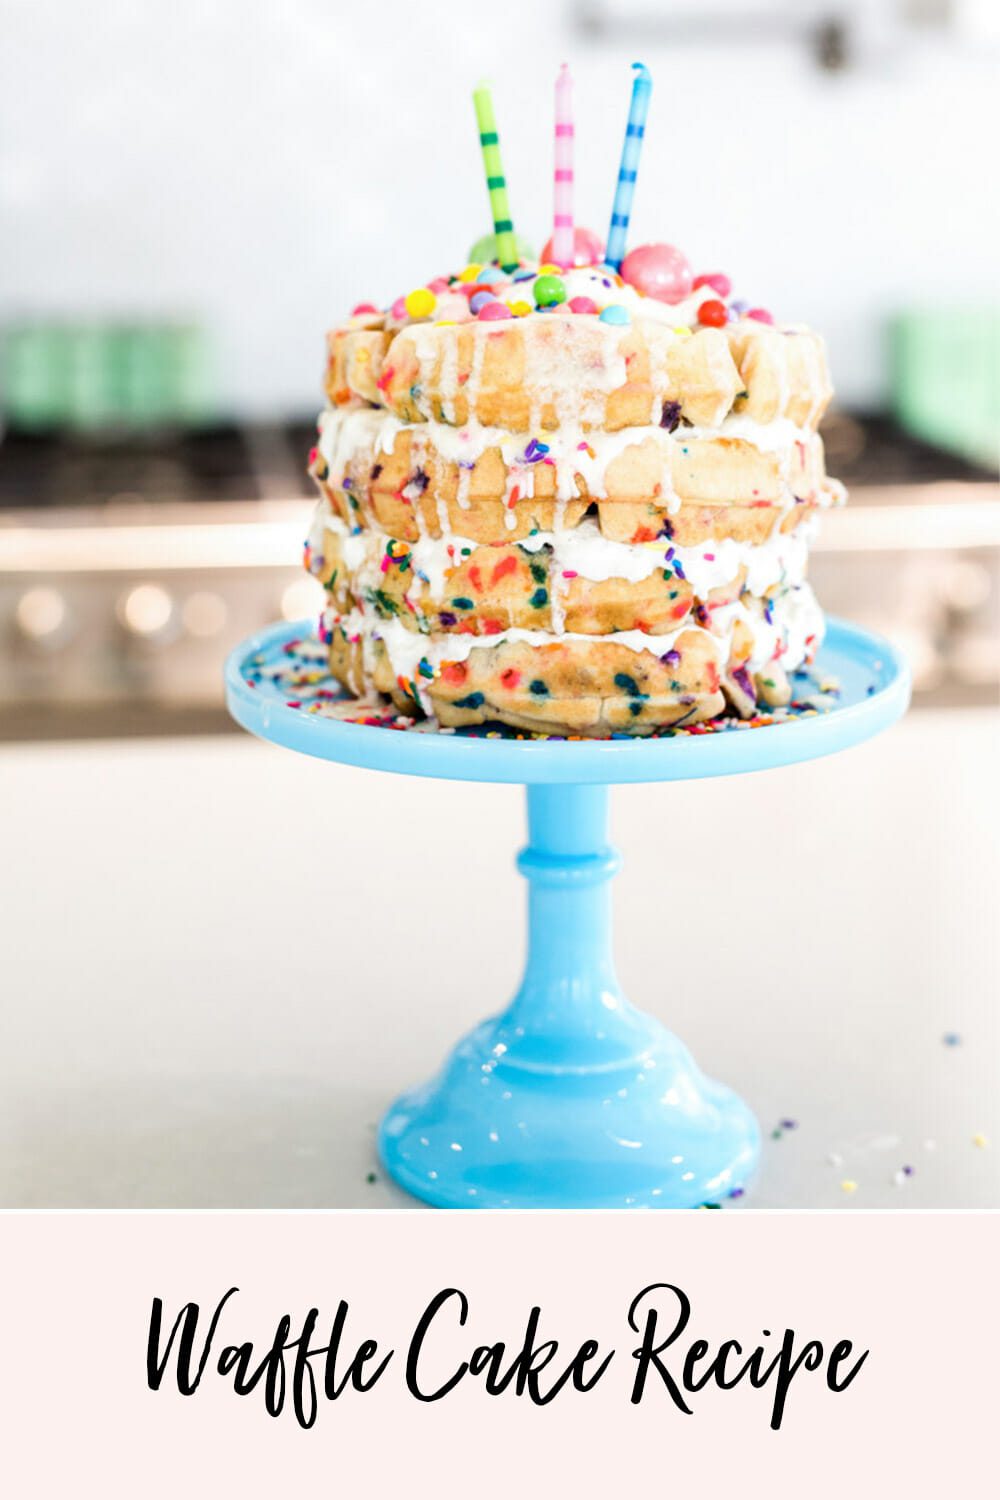
I am completely and utterly obsessed with this cake. It just screams happy!
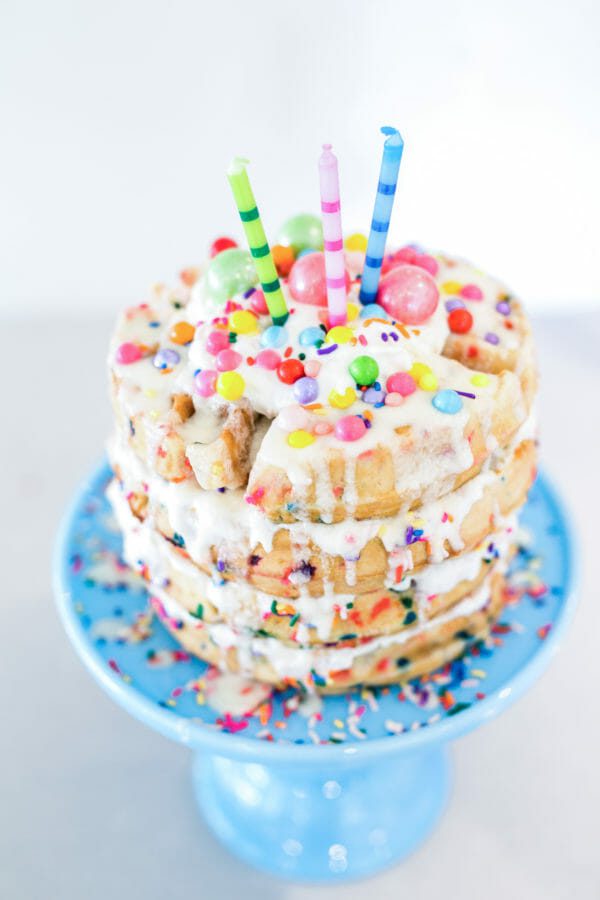
Waffle Cake
You will need:
waffle iron
rainbow jimmies
colorful candies and gumballs
non-stick baking spray
disposable decorating bag
Ingredients:
1 can Zevia Black Cherry soda (or soda of choice)
4 cups bisquick
1 cup oil
2 egg
2 cans whip cream
1 cup buttercream icing
Directions:
1. Preheat waffle iron to medium heat.
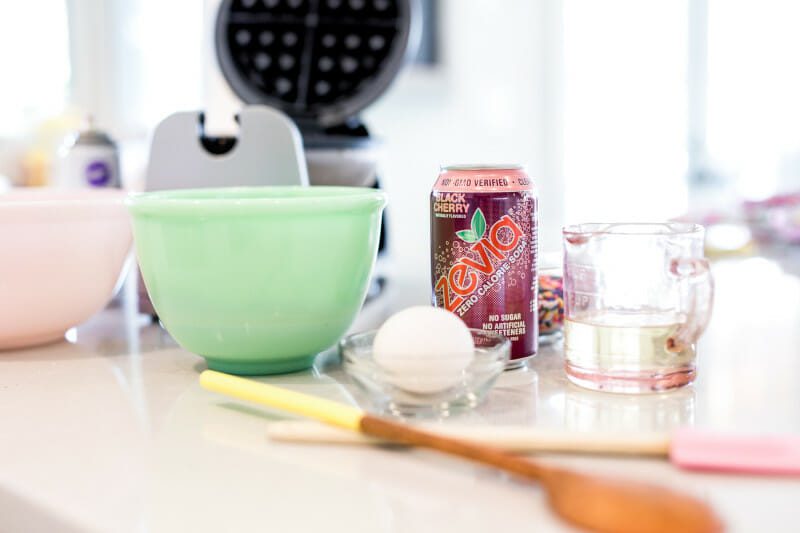
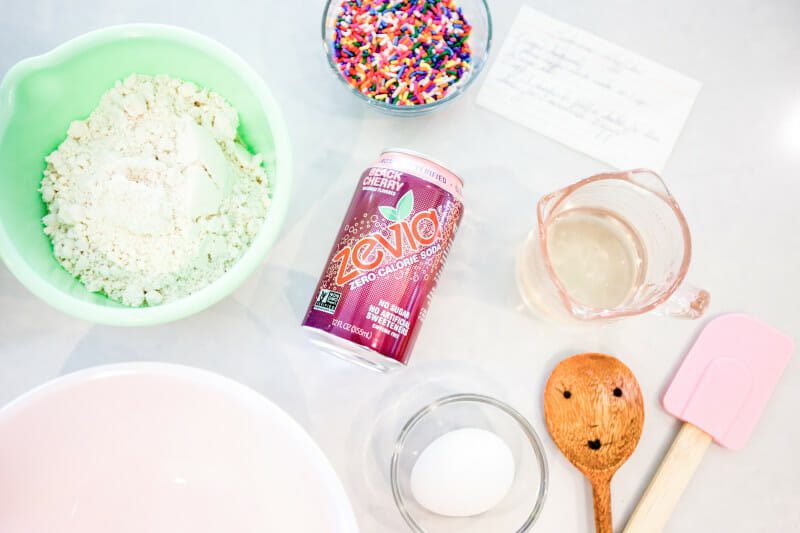
2. In a large mixing bowl combine Bisquick, oil, eggs and Zevia soda until combined. The carbonation in the soda may fizz a bit but it will calm down!
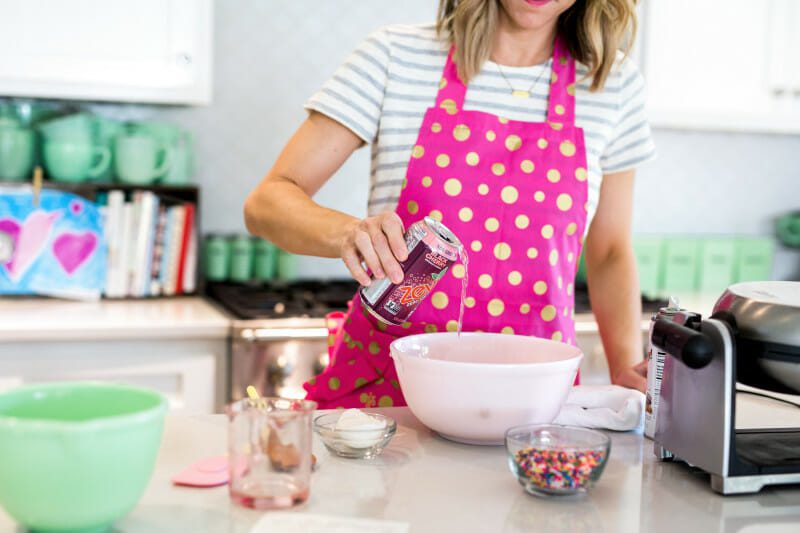
3. Fold in rainbow sprinkles.
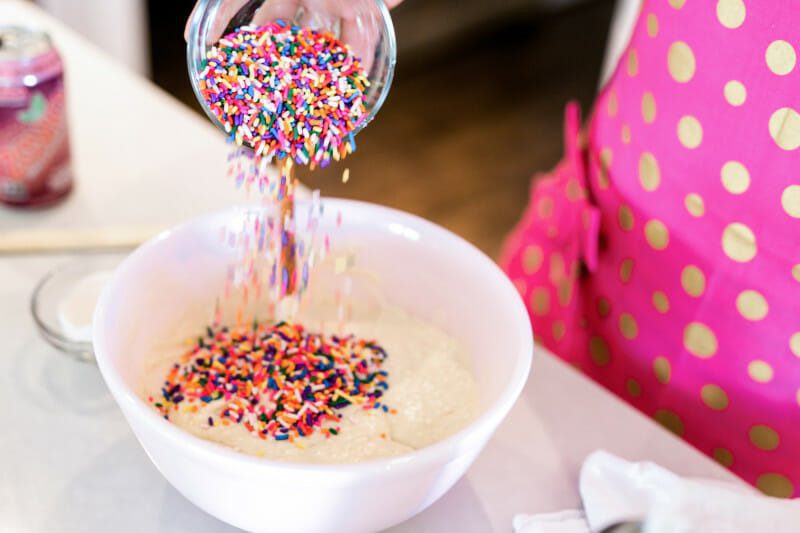
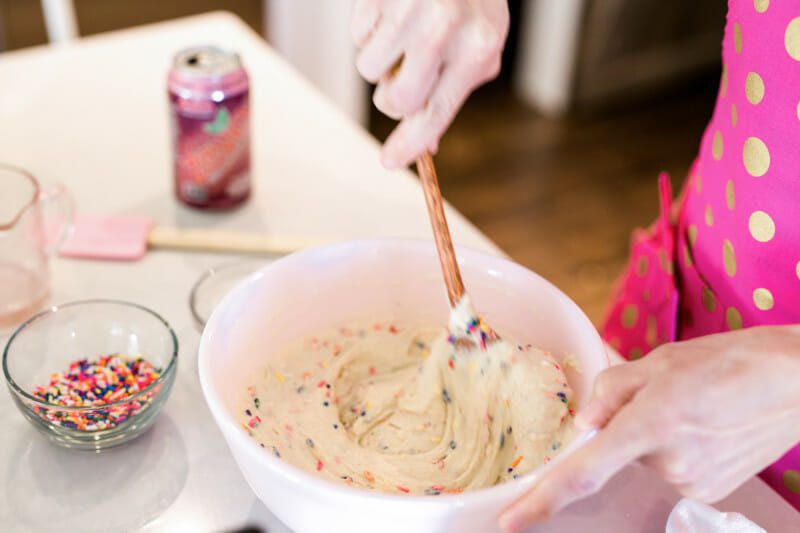
4. Using a 1 c measuring cup, scoop about 2 cups batter onto hot waffle iron. Cook about 3 minutes. (Each waffle iron is a little different so amount of batter used and cook times may vary)

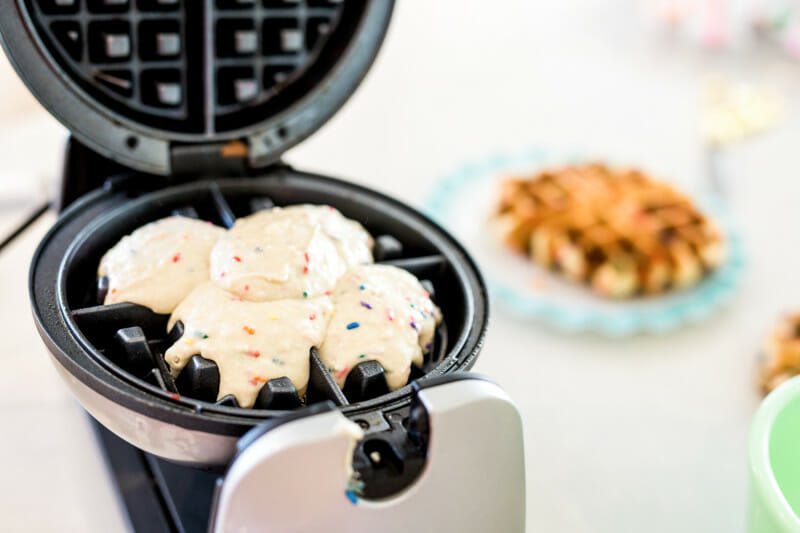

5. Remove waffle from iron and place on cooling rack for about 10 minutes. Repeat with remaining batter.
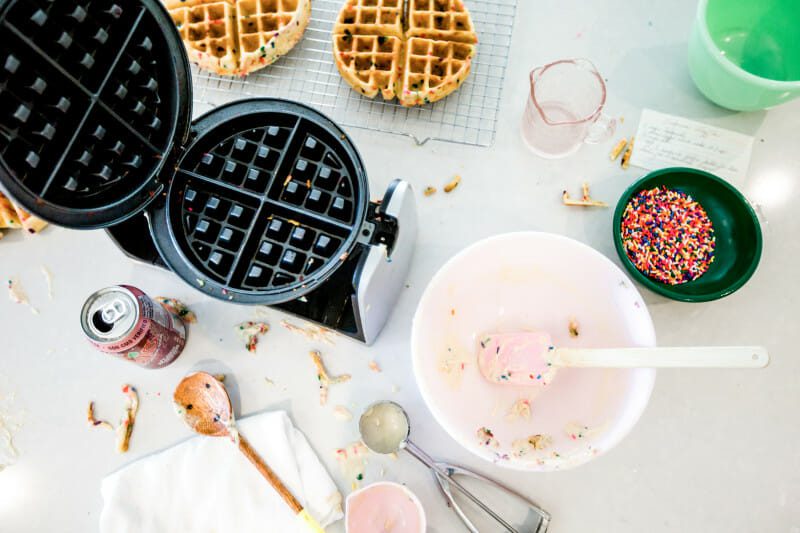
6. Make 1/2 batch buttercream icing following recipe card below.
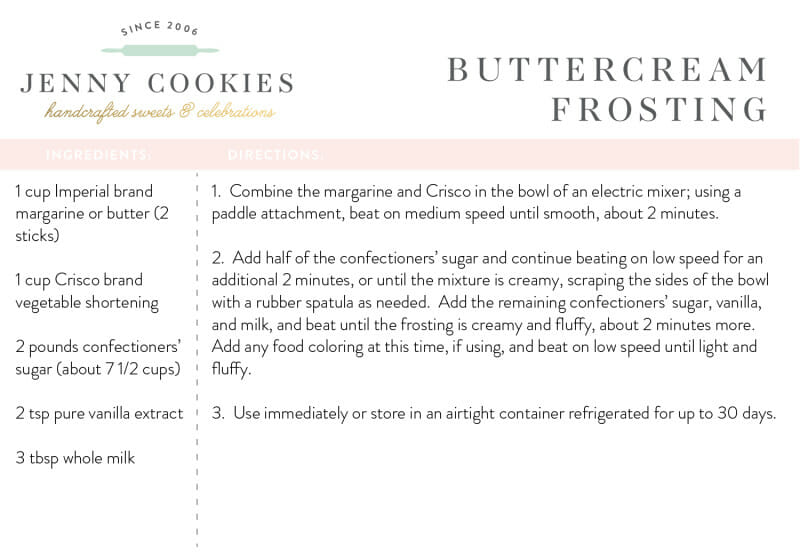
Assembling the cake:
1. Place waffle on cake stand or desired serving piece. Cover top with whip cream.
2. Place 2nd waffle on top. Cover top with whip cream.
3. Repeat with 3rd and 4th waffles.
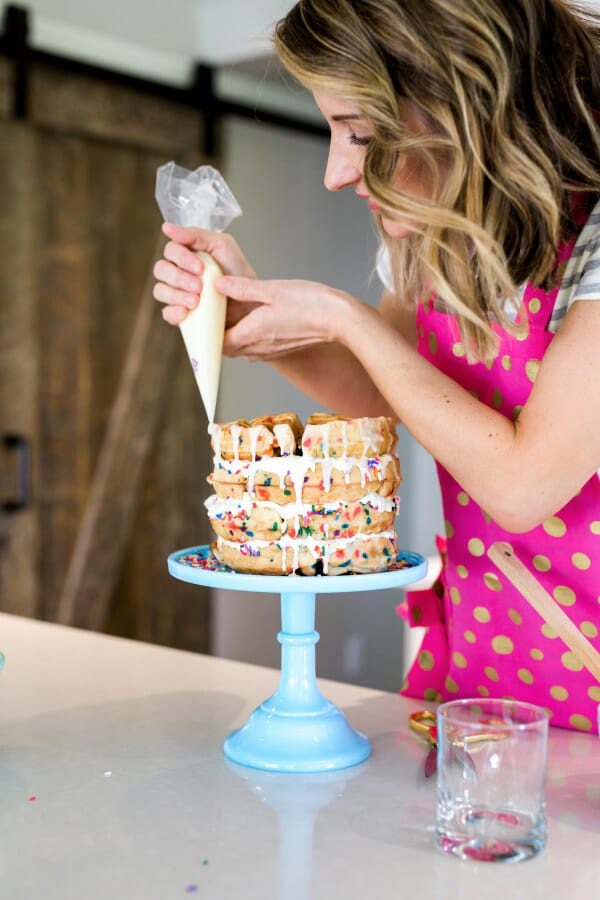
4. Melt 1 cup buttercream icing in microwave on low power for 25 seconds. Stir well. Add 2 tbls milk and stir until well blended. The milk will want to separate but keep stirring!!
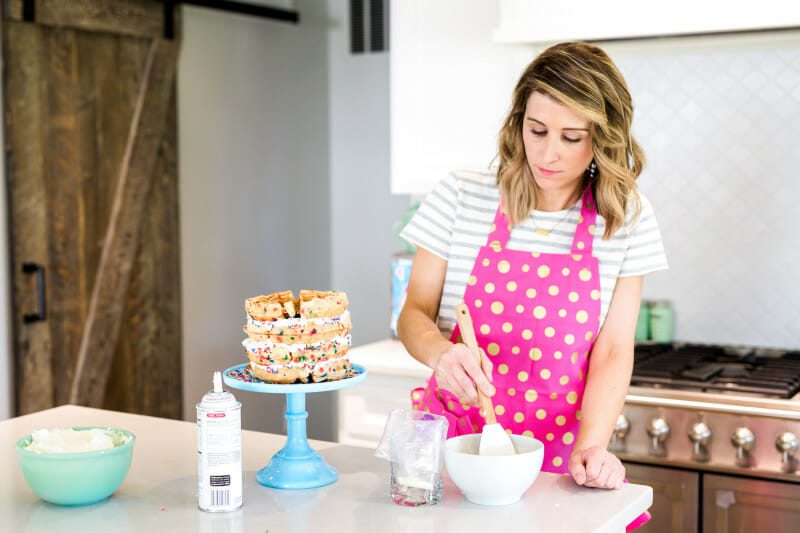
5. Using a disposable pastry bag, fill bag with melted icing. Trim tip of icing bag about 1 cm from end.
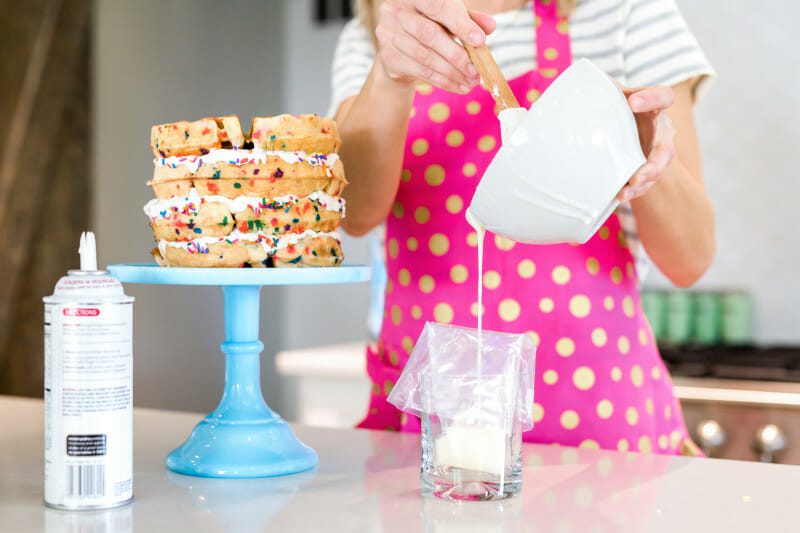
6. Working from the outer edges of the top of the waffle cake, begin drizzling icing down sides. After all sides have been drizzled, fill top with remaining icing.
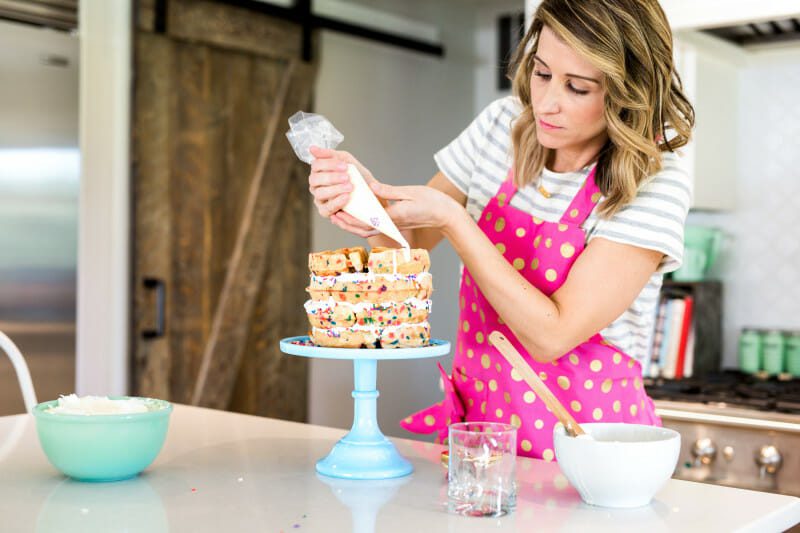

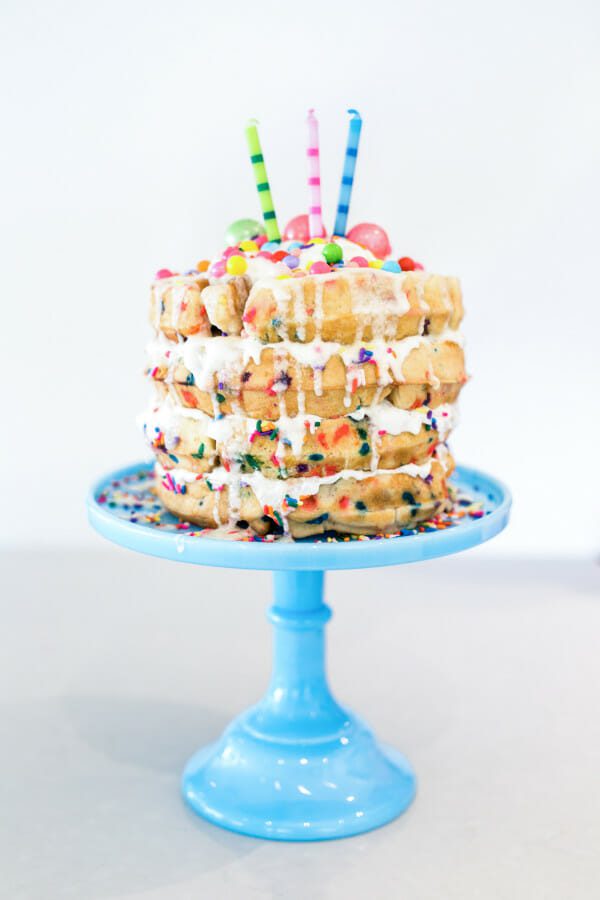
7. Top cake with either a scoop of buttercream icing or a large clump of whip cream.
8. Decorate with sprinkles, candles, gumballs and colorful chocolates.
Waffle Cake
Equipment
- waffle iron
- rainbow jimmies
- colorful candies and gumballs
- non-stick baking spray
- Disposable Decorating Bag
Ingredients
- 1 can Zevia Black Cherry soda or soda of choice
- 4 cups bisquick
- 1 cup oil
- 2 egg
- 2 cans whip cream
- 1 cup buttercream icing
Instructions
- Preheat waffle iron to medium heat.
- In a large mixing bowl combine Bisquick, oil, eggs and Zevia soda until combined. The carbonation in the soda may fizz a bit but it will calm down!

- Fold in rainbow sprinkles.

- Using a 1 c measuring cup, scoop about 2 cups batter onto hot waffle iron. Cook about 3 minutes. (Each waffle iron is a little different so amount of batter used and cook times may vary)

- Remove waffle from iron and place on cooling rack for about 10 minutes. Repeat with remaining batter.
- Make 1/2 batch buttercream icing following recipe card below.
- Assembling the cake:
- Place waffle on cake stand or desired serving piece. Cover top with whip cream.
- Place 2nd waffle on top. Cover top with whip cream.
- Repeat with 3rd and 4th waffles.
- Melt 1 cup buttercream icing in microwave on low power for 25 seconds. Stir well. Add 2 tbls milk and stir until well blended. The milk will want to separate but keep stirring!!
- Using a disposable pastry bag, fill bag with melted icing. Trim tip of icing bag about 1 cm from end.

- Working from the outer edges of the top of the waffle cake, begin drizzling icing down sides. After all sides have been drizzled, fill top with remaining icing.
- Top cake with either a scoop of buttercream icing or a large clump of whip cream.
- Decorate with sprinkles, candles, gumballs and colorful chocolates.
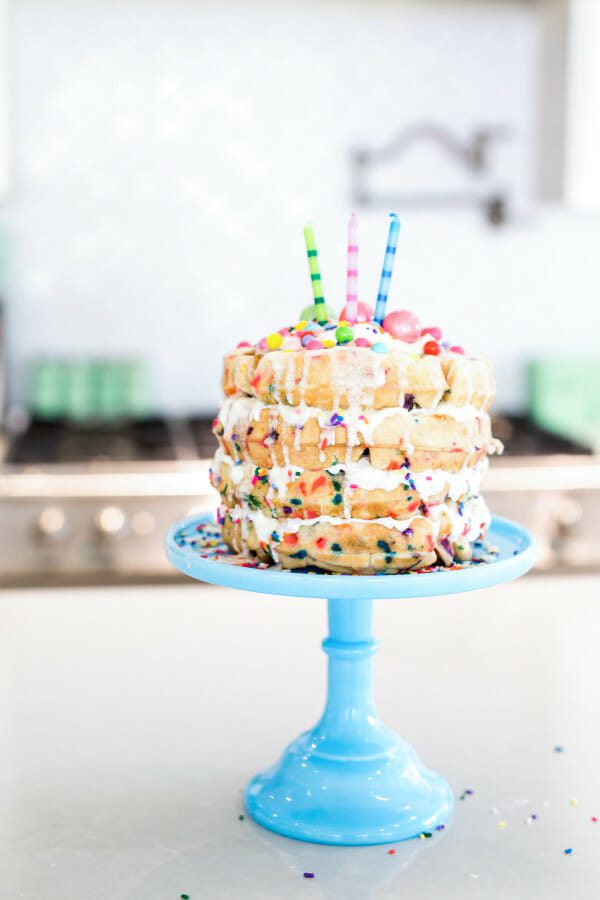

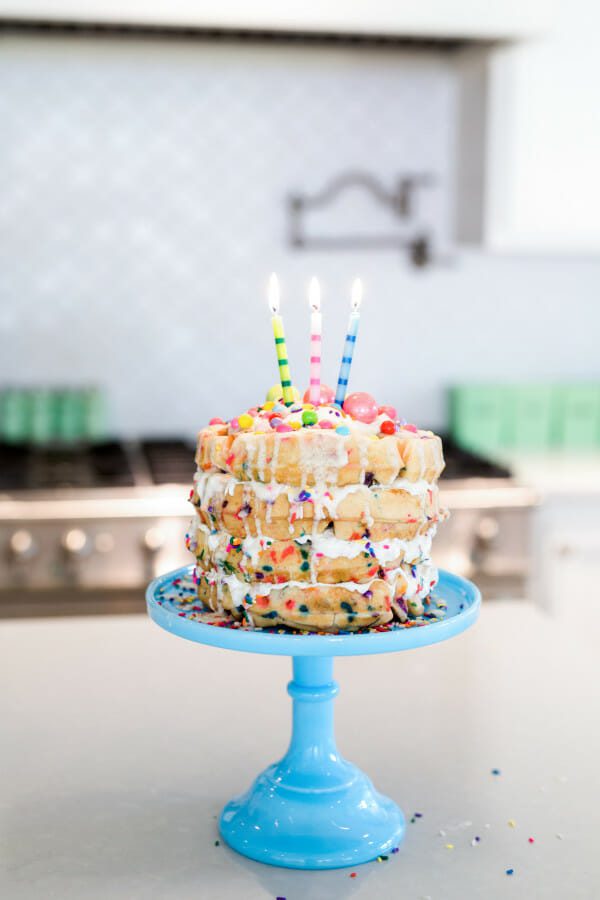

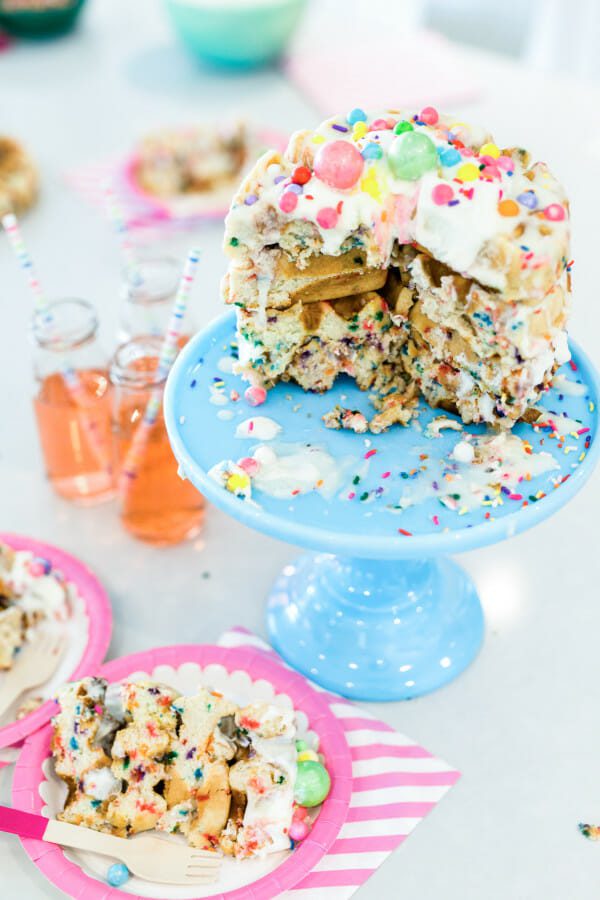
I want to see your waffle cakes! If you post a photo to Instagram or Facebook, use #jennycookies!
Photos by Kelly Clare Photography
Pin this idea for later!
THIS IS A SPONSORED POST. JENNY COOKIES HAS RECEIVED PAYMENT, TRADE AND/OR PRODUCTS FROM ZEVIA IN EXCHANGE FOR PROMOTING, HOWEVER ALL OPINIONS STATED ARE MY OWN AND I ONLY PROMOTE PRODUCTS/COMPANIES I LOVE.

Thank you for sharing! I am going to make this for my son’s birthday coming up. I’ll post pictures of it when I’m done. Can’t wait to make it or should I say eat it!
I love this so much. Can’t wait to make it