Ice Cream Cone Cake Pops
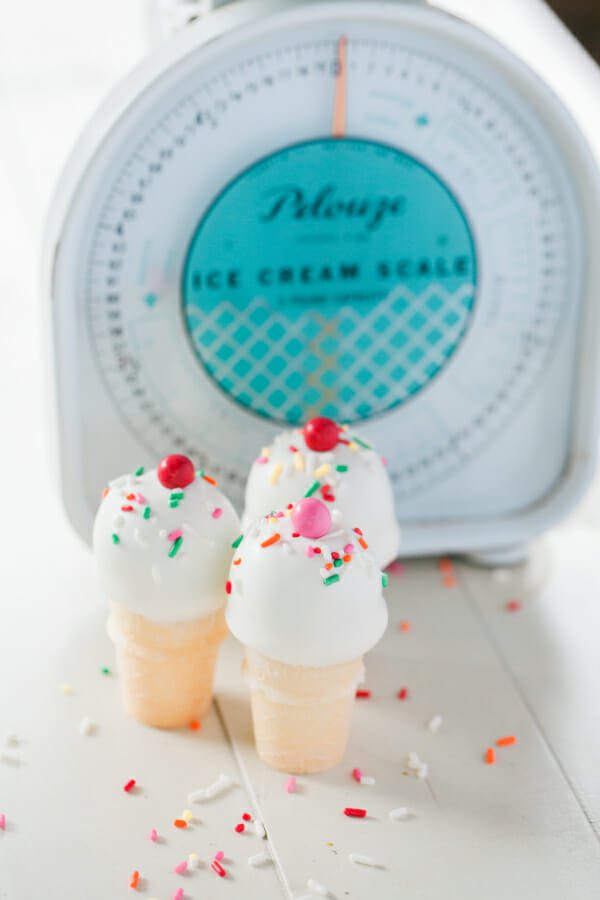
One of my favorite ways to make cake pops are to turn them into mini ice cream cones. There really aren’t many things cuter than these tiny cake filled cones. They’re the perfect treat for birthday parties, playdate snacks or just because!
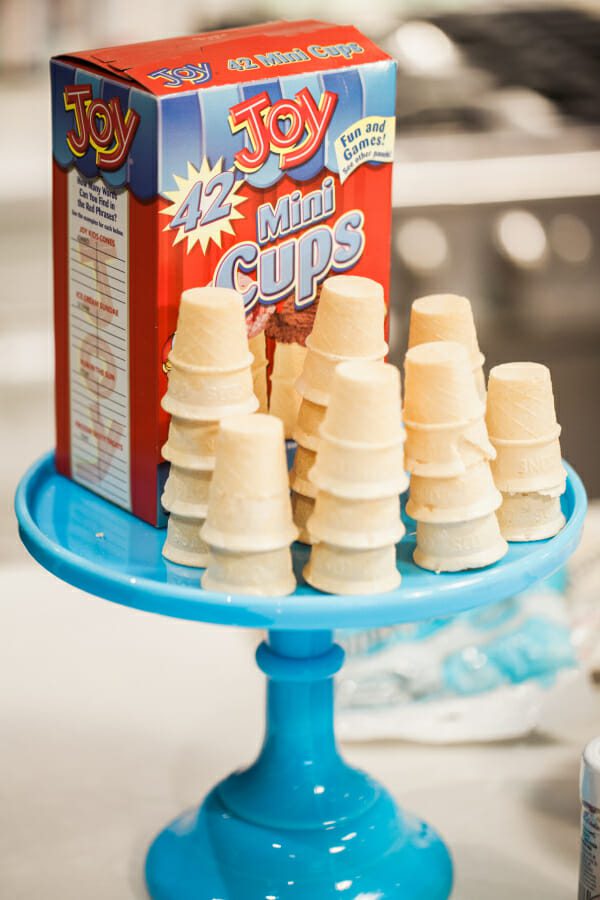
You’ll need these mini Joy cones for your base (or you can cut down a regular sized waffle cone). I buy mine at Walmart but you can also find them HERE .
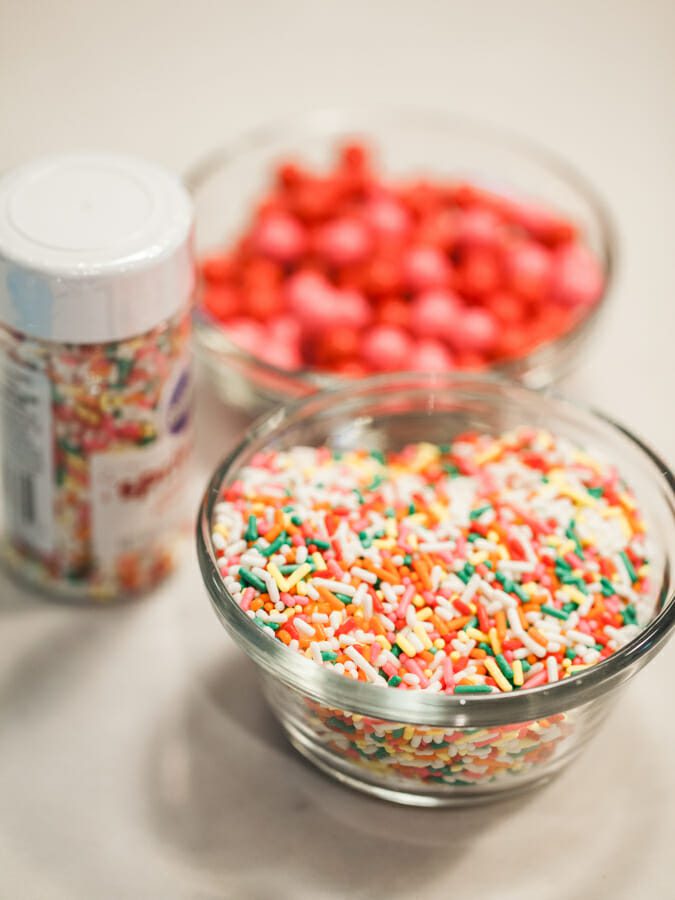
You’ll also need sprinkles. I like using Wilton’s Rainbow Jimmies and Sixlets
to top my cones.
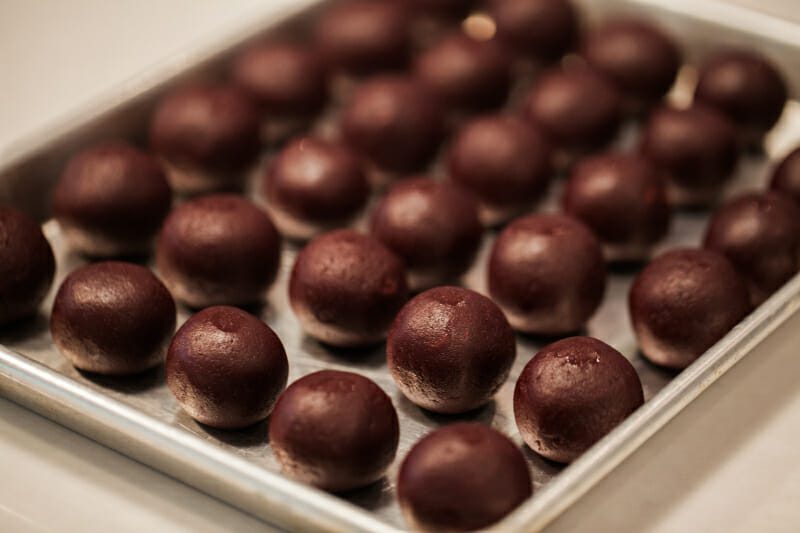
I baked a red velvet cake (you can find my red velvet recipe below) or bake any cake flavor you wish. Once your cake has baked and cooled, you’ll want to crumble it up into a bowl or stand mixer and mix with a couple tablespoons of icing. I typically add about a tablespoon amount at a time, but since each cake bakes a little differently, it’s hard to give an exact amount. You’ll want to continue adding icing until your cake mixture is sticky and can be rolled into balls.
Using a tablespoon to form evenly sized balls, scoop out cake mixture and roll into balls. Refrigerate for 30 minutes.
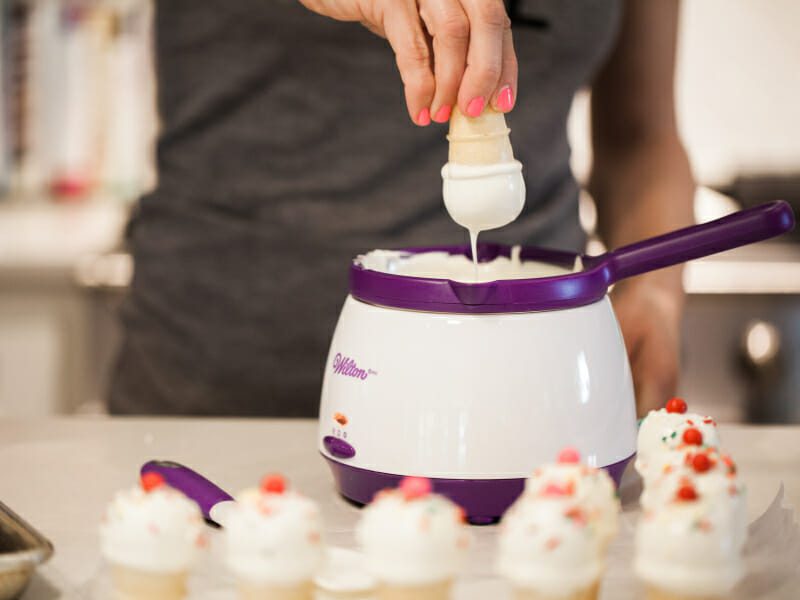
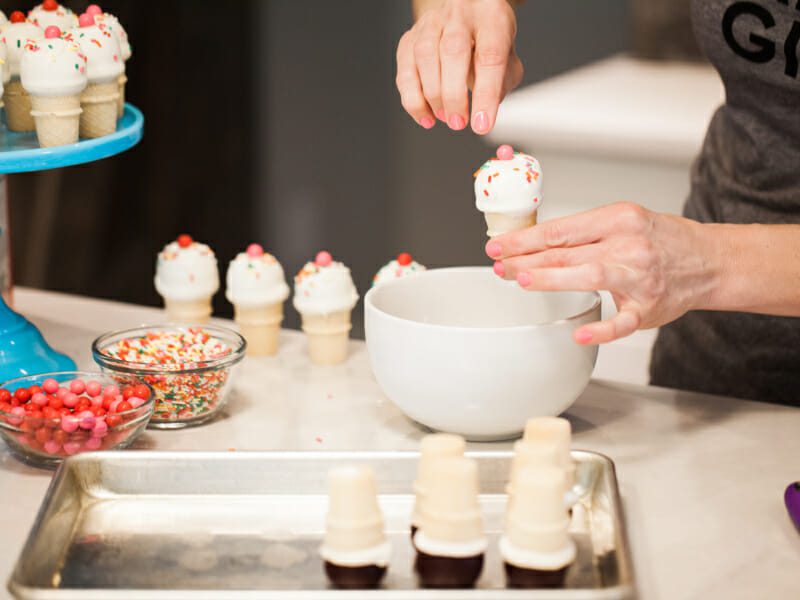
I dip just the outer rim of the ice cream cones down into melting candy and then place them onto the refrigerated cake balls. Once it hardens, dip cake ball (with cone attached) down into the melted candy, let excess drip off and then sprinkle with jimmies and place a sixlet or M&M on top. Stand to dry.
*I used my Wilton Candy Melting Pot to melt and dip my candy melts. It work brilliantly by keeping the candy constantly melted on it’s warming setting.
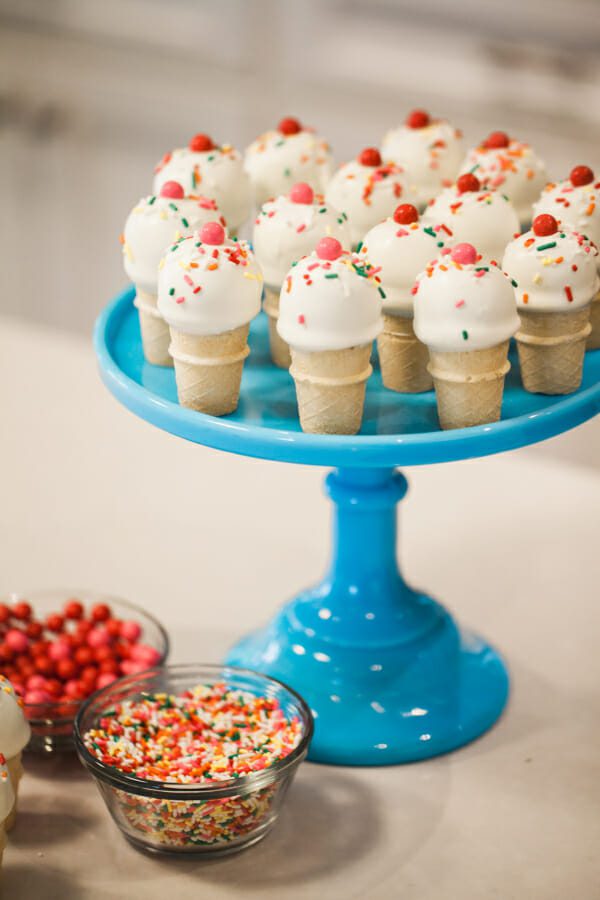
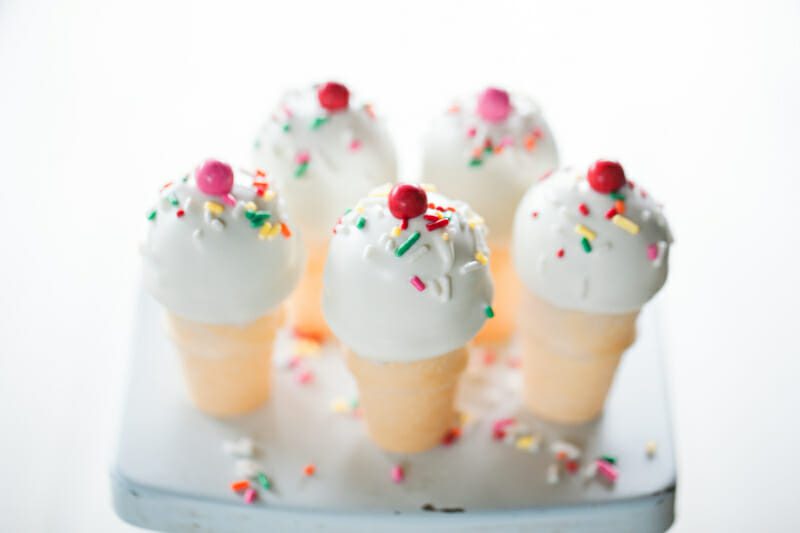
To see step-by-step instructions on my Ice Cream Cone Cake Pops watch the video below:
I share a similar recipe in my book Eat More Dessert.
Red Velvet Ice Cream Cone Cake Pops
makes 40 cake pops
Ingredients:
1 box Duncan Hines Red Velvet Cake Mix
1 (3.4 oz) box Jell-O chocolate instant pudding
1 cup water
1/3 cup oil
4 large eggs
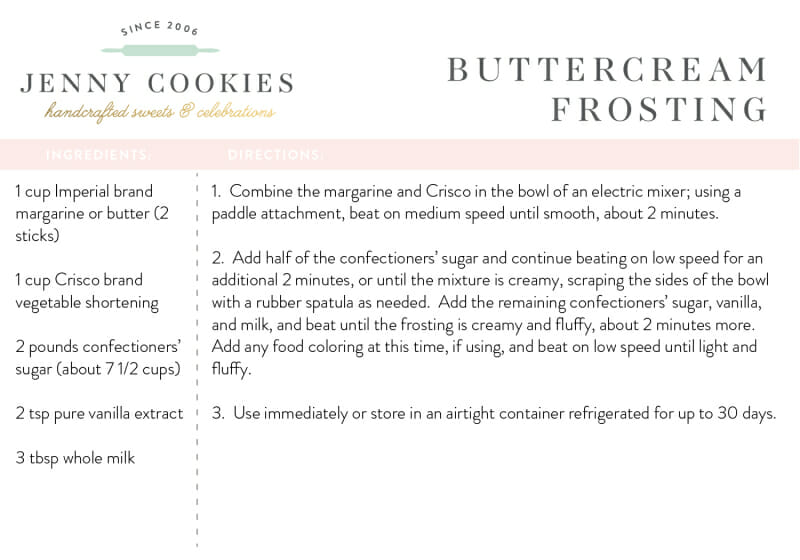
1/2 to 3/4 cup Buttercream Frosting (see recipe below)
1 box Joy Brand Mini Sugar Cones
3 (12 oz) packages white candy melts
40 pink & red sixlets
rainbow jimmies
You will need:
9″ x 13″ baking pan or casserole dish
Directions:
1. Preheat the oven to 350 degrees. Coat the 9×13 baking pan with cooking spray, or grease and flour the pan, tapping out the excess flour. Set aside.
2. In a large bowl, and using an electric mixer fitted with a paddle attachment, beat the cake mix, pudding mix, water, oil and eggs on medium speed for 2-3 minutes or until well blended. Scrape the sides of the bowl and mix again until all the ingredients are incorporated.
3. Pour the batter into prepared cake pan. Place the pan in the preheated oven and bake for 35-40 minutes or until toothpick inserted into the center comes out clean.
4. Remove the pan from the oven and place on wire cooling rack for 25-30 minutes. Let cool completely before making the cake pops.
5. Mash up the cake and place in a large bowl. Using an electri stand mixer fitted with a paddle attachment, mix the cake and 1/2 to 3/4 cup buttercream frosting on medium speed until well blended and the mixture can be molded into a ball. Measure and roll the mixture into tablespoon size balls. Refrigerate 30 minutes to one hour, or until firm.
6. Melt the candy melts in a microwave safe bowl in 30 second increments for about 2 1/2 minutes, stirring as needed until smooth.
7. Barely dip the top of the mini cup cone into the melted candy, just enough to put a ring at the top of the cone. Place the cone upside down on top of the refrigerated cake balls. This helps the candy adhere to the cake balls. Continue until all are finished.
8. Dip the cake balls (with the cone attached) into the melted candy, completely coating it to the edge of the cone. Sprinkle with rainbow jimmies and top each with a pink sixlet candy while the melted candy is still wet.
Red Velvet Ice Cream Cone Cake Pops
Equipment
- 9" x 13" baking pan or casserole dish
Ingredients
- 1 box Duncan Hines Red Velvet Cake Mix
- 1 3.4 oz box Jell-O chocolate instant pudding
- 1 cup water
- 1/3 cup oil
- 4 large eggs
- 1/2 to 3/4 cup Buttercream Frosting see recipe below
- 1 box Joy Brand Mini Sugar Cones
- 3 12 oz packages white candy melts
- 40 pink & red sixlets
- rainbow jimmies
Instructions
- Preheat the oven to 350 degrees. Coat the 9x13 baking pan with cooking spray, or grease and flour the pan, tapping out the excess flour. Set aside.
- In a large bowl, and using an electric mixer fitted with a paddle attachment, beat the cake mix, pudding mix, water, oil and eggs on medium speed for 2-3 minutes or until well blended. Scrape the sides of the bowl and mix again until all the ingredients are incorporated.
- Pour the batter into prepared cake pan. Place the pan in the preheated oven and bake for 35-40 minutes or until toothpick inserted into the center comes out clean.
- Remove the pan from the oven and place on wire cooling rack for 25-30 minutes. Let cool completely before making the cake pops.
- Mash up the cake and place in a large bowl. Using an electri stand mixer fitted with a paddle attachment, mix the cake and 1/2 to 3/4 cup buttercream frosting on medium speed until well blended and the mixture can be molded into a ball. Measure and roll the mixture into tablespoon size balls. Refrigerate 30 minutes to one hour, or until firm.
- Melt the candy melts in a microwave safe bowl in 30 second increments for about 2 1/2 minutes, stirring as needed until smooth.
- Barely dip the top of the mini cup cone into the melted candy, just enough to put a ring at the top of the cone. Place the cone upside down on top of the refrigerated cake balls. This helps the candy adhere to the cake balls. Continue until all are finished.
- Dip the cake balls (with the cone attached) into the melted candy, completely coating it to the edge of the cone. Sprinkle with rainbow jimmies and top each with a pink sixlet candy while the melted candy is still wet.
Notes
Enjoy!
Pin this idea for later!

One of my favorite ways to make cake pops are to turn them into mini ice cream cones. There really aren’t many things cuter than these tiny cake filled cones. They’re the perfect treat for birthday parties, playdate snacks or just because! || JennyCookies.com
Video and photos by KCB Photography

These look so much easier to make than the “old school” way of baking the cupcake in the ice cream cone! Plus how cute are they using the mini ice cream cones?! I will be making these this summer! Thanks for the recipe:)
Jenny–these are BEYOND adorable and your easy step by step method is fab! I have to get one of those Wilton Melting Pots……looks like it would be SO much easier to do it this way!!!! Thanks for the great idea as my kiddos love cake pops 🙂
Is it me or are your hands aging? They are starting to look like old lady hands/ Maybe it’s from all the crappy cakes you’ve been making that makes you age.
Rude
You are so rude! I’ve seen several of your comments and have come to the conclusion that you either: personally know Jenny and are outrageously jealous of her success OR you’re just a naturally mean – spirited person. Either are atrocious. I’ll pray for you. You obviously need it if you have nothing better to do but follow Jenny’s Blog and make rude, uncalled for comments. Please find something constructive to do with your time.
How do you get your candy coating to look so smooth? Which brand of candy melts do you use? Do you add shortening to it? I made these today and the candy melt was so thick it left a clumpy finish.
Hi Chanel! I use Wilton candy melts and occasionally Guittard brand. I do add a bit of vegetable oil to my melts to smooth them out. Are you melting yours low and slow (30% power in 30 second increments?) It makes all the difference!
Can you use a different cake mix besides red velvet and if so do you use the same recipie
Why do we have to make such a huge batch of buttercream when recipe only calls for such a small amount?
My little one has bakerman every Friday where every mommy gets a chance to bring something to school for the kiddies in her class. I have been looking for something cute and fun,as they are toddlers, and this will be soooo perfect!! Thank you so much for sharing this idea!! Will be trying this for her bakerman.
Hi, do you put anything like cake in the bottom of the cone to keep it from ripping over?