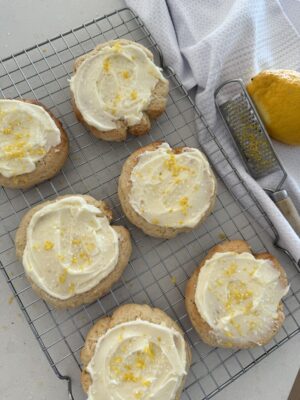
St. Patrick’s Day Sugar Cookies
There’s something about holiday sugar cookies that just feels fun. Not polished. Not perfect. Just fun.
These St. Patrick’s Day sugar cookies are exactly that. A mix of Lucky Charms marshmallow shapes, simple clovers, and soft little rainbows. Some came out cute. Some came out a little lopsided. All of them disappeared quickly.
If you already have a go-to sugar cookie recipe (like I do), this is really just about what you do with it after baking. The decorating is the whole point. And honestly, it doesn’t need to be precise to look good.
Why I Love Making St. Patrick’s Day Sugar Cookies
I think this is one of those holidays that’s easy to skip decorating for. It’s not Christmas. It’s not Halloween. But once you start pulling out green icing and rainbow sprinkles, it becomes way more fun than expected.
These cookies are:
And they don’t need to look bakery-perfect to feel special.
Start With a Sugar Cookie Recipe
For these cookies, I used my usual soft sugar cookie recipe.
What matters most is:
Best Sugar Cookies Ever – Jenny Cookies Sugar Cookie Recipe
Equipment
Ingredients
- 3 CUPS ALL-PURPOSE FLOUR PLUS MORE FOR ROLLING
- 2 TSP ALUMINUM-FREE BAKING POWDER
- 1 CUP 2 STICKS SALTED BUTTER, AT ROOM TEMPERATURE
- 1 CUP SUGAR
- 1 LARGE EGG
- 2 TSP PURE VANILLA EXTRACT
Instructions
- Into a medium bowl, whisk together flour and baking powder. Set aside.
- In a large bowl, using an electric mixer fitted with the paddle attachment on medium speed, beat butter and sugar for about 1½ minutes, or until smooth. Beat in the egg and vanilla until well combined. Scrape the sides of the bowl with a rubber spatula.
- Turn the mixer speed to low and carefully add the flour mixture a little at a time, occasionally stopping to scrape the sides of the bowl. Once all the flour has been incorporated, the dough should form a ball around the mixing attachment and feel soft but not sticky.
- Wrap the dough ball in a piece of plastic wrap and press down to form a 1-inch-thick disk. Refrigerate for at least 10 minutes before rolling or store for up to 7 days tightly wrapped.
- Preheat the oven to 375°F.
- Roll out the dough on a lightly floured flat work surface to about ¼-inch thickness, using additional flour as necessary to prevent sticking. Use cookie cutters to create desired shapes, and carefully transfer with a cookie spatula to a nonstick baking sheet, placing the cookies about ¾ inch apart.
- Bake one sheet at a time in the middle of the oven until puffy, about 7-8 minutes. Allow the cookies to rest for 2 minutes on the baking sheet before transferring to a wire rack to cool completely.
- Repeat with the gathered scraps and remaining disk until all the dough has been used.
Buttercream Frosting
Pin Recipe Print RecipeIngredients
- 1 cup Imperial Margerine or butter 2 sticks
- 1 cup crisco vegetable shortening
- 2 lbs powdered sugar about 7 1/2 cups
- 2 teaspoons pure vanilla extract
- 3 tablespoons whole milk
Instructions
- Combine the margerine and Crisco in the bowl of an electric mixer; using a paddle attachment, beat on medium speed until smooth, about 2 minutes.
- Add half of the powdered sugar and continue beating on low speed for an additional two minutes, or until the mixture is creamy, scraping the sides of the bowl with a rubber spatula as needed. Add the remaining powdered sugar, vanilla and milk, and beat until the frosting is creamy and fluffy, about two minutes more.
- Use immediately or store in an airtight container refrigerated for up to 30 days.
Notes
The Shapes I Used
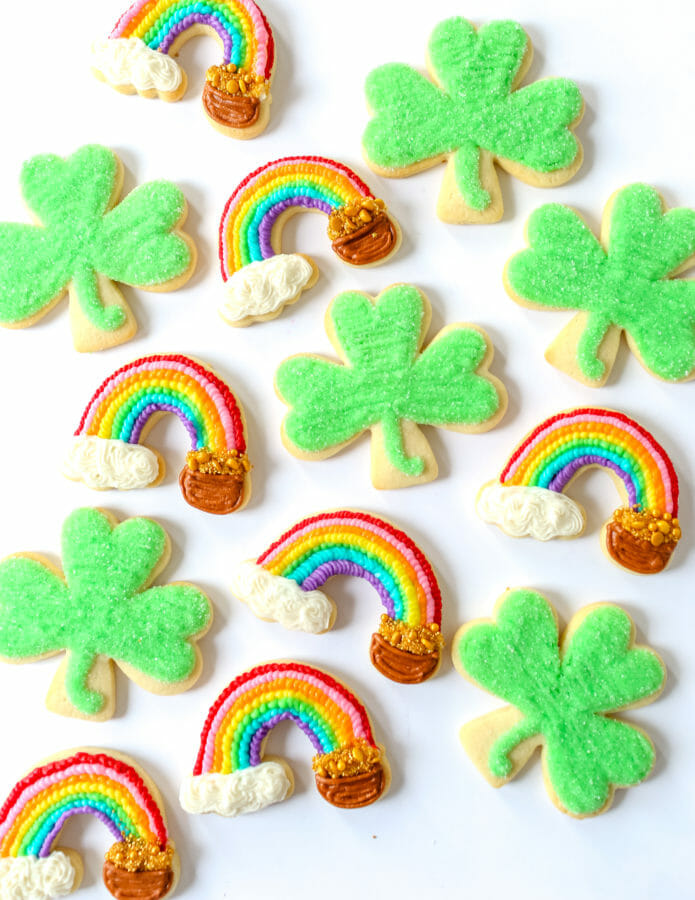
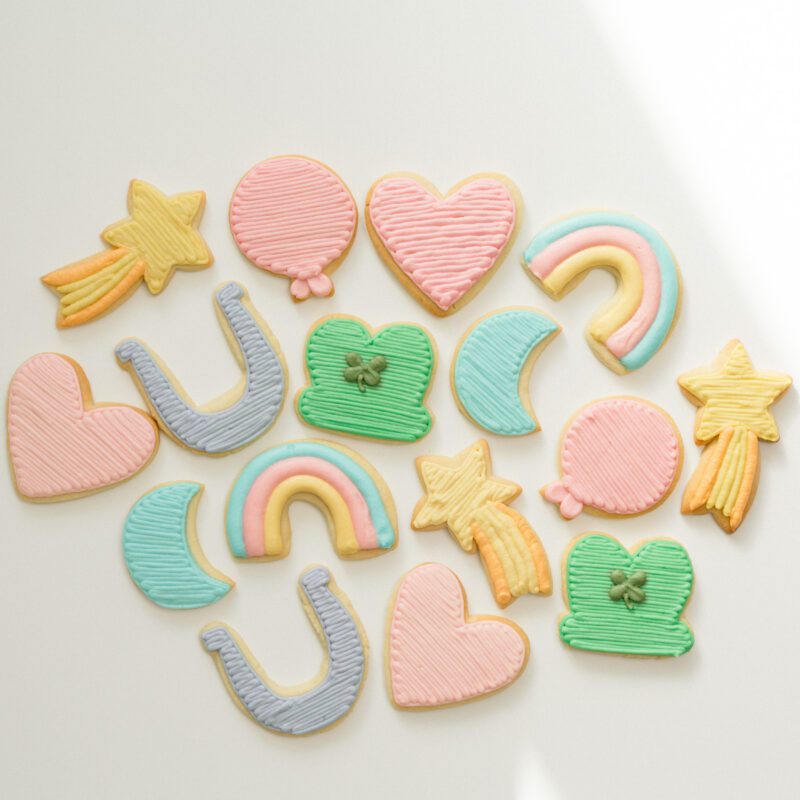
Lucky Charms Marshmallow Cookies
These were the most fun to make.
Instead of cutting perfect marshmallow shapes, I kept them loose and slightly imperfect. Little blobs, soft hearts, rounded stars. Once decorated, they actually looked more realistic that way.
For decorating, I used:
I kept the icing simple and true to the cereal marshmallows. It feels softer and more nostalgic that way.
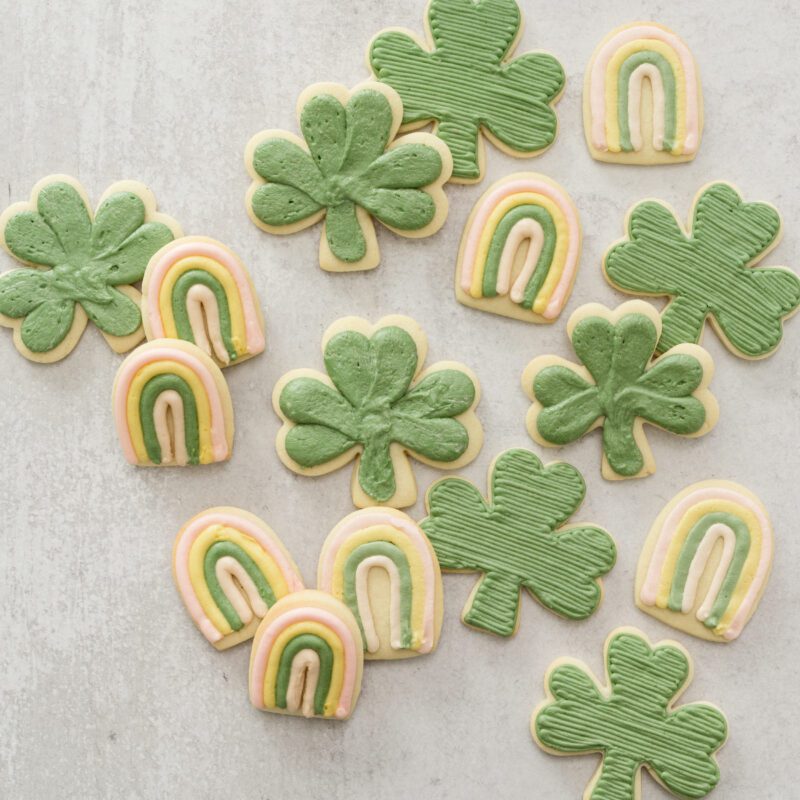
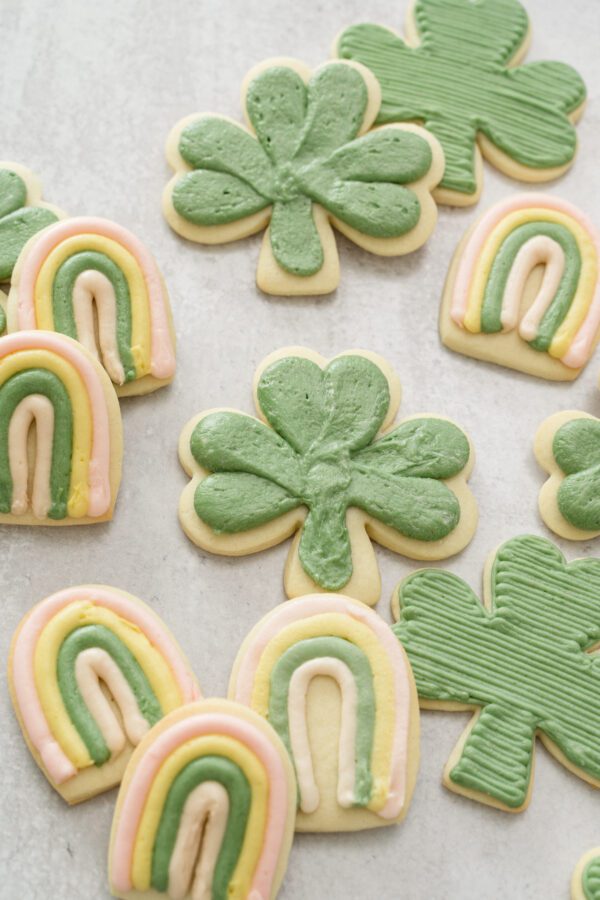
Clover Sugar Cookies
Clovers sound complicated, but they’re actually one of the easiest shapes to decorate.
Most of mine were just:
Sometimes simple looks better anyway.
Rainbow Sugar Cookies
The rainbows were the most relaxed of all.
No rulers. No measuring. Just curved lines piped across the cookie in:
my sugar cookie decorating supplies:
Decorating Tips (That Actually Help)
Don’t rush the icing
If it’s too messy, it’s easy to touch up or scrape and start over.
Let cookies dry crust
I usually leave them on the counter for a few hours uncovered to let the buttercream crust over which makes them easier to handle or package.
Keep colors soft
Muted shades look better together than bright neon ones.
Do a few at a time
It’s less overwhelming.
If You’re Decorating With Kids
This is one of those projects that works well if you just let go a little.
Give them:
That’s it.
The mess stays manageable. And their cookies will be the ones everyone grabs first anyway.
How to Store St. Patrick’s Day Sugar Cookies
Store decorated cookies in an airtight container:
Room temperature: up to 5 days
Freezer: up to 2 months
If stacking decorated cookies, layer with parchment paper after already frozen to avoid crushing the buttercream.
popular posts
recipes

Not every cookie turned out how I pictured it.
One whole tray leaned very “whimsical.”
But once they were all on the plate together, none of that mattered. They still felt festive. Still homemade. Still fun.
If you’re thinking about making St. Patrick’s Day sugar cookies this year, just start. Pick a few colors. Cut a few shapes. Don’t overthink it.
They always turn out better than you expect.
I’d love to see your St. Patricks Day sugar cookies! If you make some, tag me!

This post contains affiliate links. I only recommend products I actually use and love!

Are we friends Yet?!
Sign up to receive my favorite recipes, party ideas and latest finds.