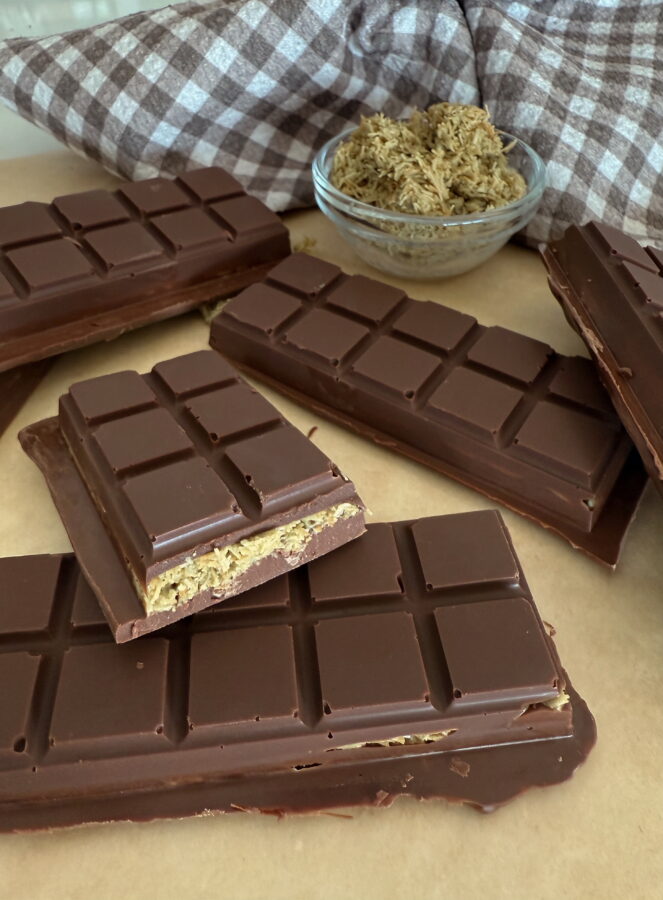
Homemade Dubai Chocolate Bars with Pistachio Filling (Easy + No-Bake!)
Ally and I first tried a Dubai chocolate bar at a Rocky Mountain Chocolate Factory in Utah. It was just okay, but it got me curious enough to try making our own at home. These ended up being so fun to make, especially if you’ve got teens or tweens who like to get in the kitchen.
I used silicone chocolate bar molds, but you could use any silicone pan you have. They weren’t the fanciest-looking, but everyone wanted to try one since you really can’t find them around here. We even had some filling left over and thought it’d be fun to stuff it into cupcakes using a cupcake corer.
I’m also adding an Amazon list to the post, since a few of the ingredients aren’t easy to find in stores nearby.
Homemade Dubai Chocolate Bars with Pistachio Filling (Easy + No-Bake!)
Ingredients
- 1 (7oz) jar pistachio cream
- 2 Tbsp tahini
- 2 1/2 cups kataifi (shredded phyllo dough)
- 1/2 cup unsalted butter, melted
- 1/8 tsp salt
- 3 bags Hershey’s milk chocolate chips, divided
Instructions
Melt the chocolate & prep the molds
- Start by melting about half of the chocolate chips. Spoon or brush the melted chocolate into your silicone molds, making sure to coat the bottom and sides well. Pop them in the freezer for about 10 minutes to set.
- Toast the kataifi: While the chocolate sets, melt the butter in a skillet over medium heat. Add the kataifi and cook, stirring often, until it’s golden and crisp. This takes about 5–7 minutes.
- Make the filling/: Remove the skillet from heat and stir in the pistachio cream, tahini, and salt until everything is well combined.
- Take your molds out of the freezer and spoon the filling into each one, leaving a little space at the top to seal with more chocolate.
- Seal with chocolate: Melt the rest of the chocolate chips and pour or spoon it over the filling. Smooth out the tops and return the molds to the freezer until fully set.
- Once the bars are firm, carefully pop them out of the molds. Store in the fridge until ready to serve.
Notes
I’d love to know if you try out this recipe! Tag me and tell me what you think.

**disclaimer** this post contains affiliate links. This means that if you click on a link and make a purchase I may earn a commission at no extra cost to you. But trust me, I only recommend products I truly love and think you will too. I’d never suggest something I wouldn’t use myself!

Are we friends Yet?!
Sign up to receive my favorite recipes, party ideas and latest finds.