Easy Hot Cocoa Bombs
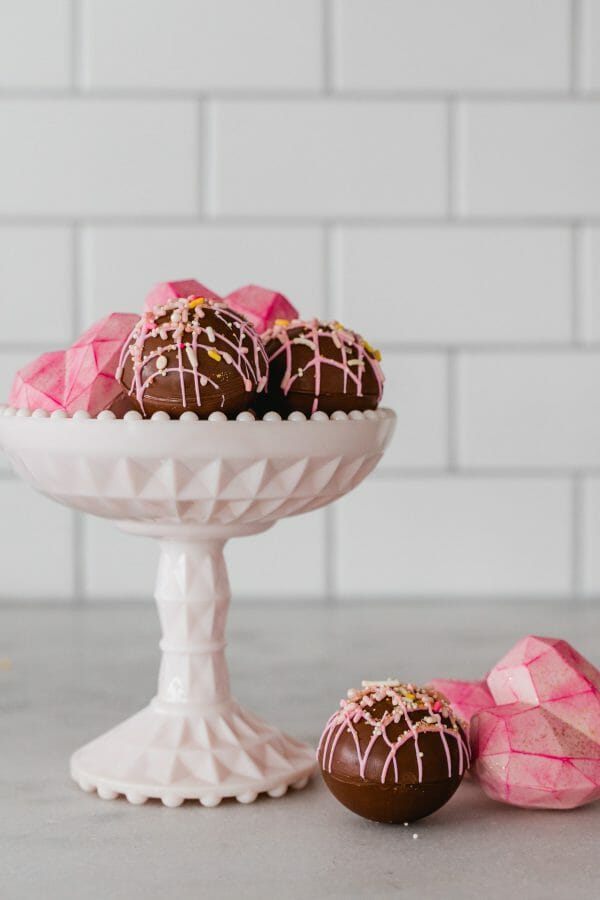
Hot Cocoa Bombs are all the rage! I bought silicone molds last fall and got so busy I never had time to try them out. I finally got around to trying them and they are super fun to make! They are completely customizable and as simple or complex as you’d like.
Easy Hot Cocoa Bombs
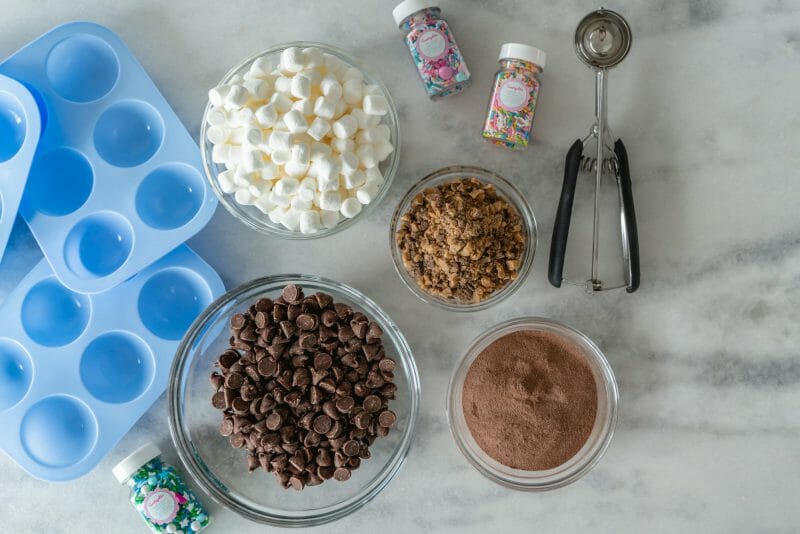
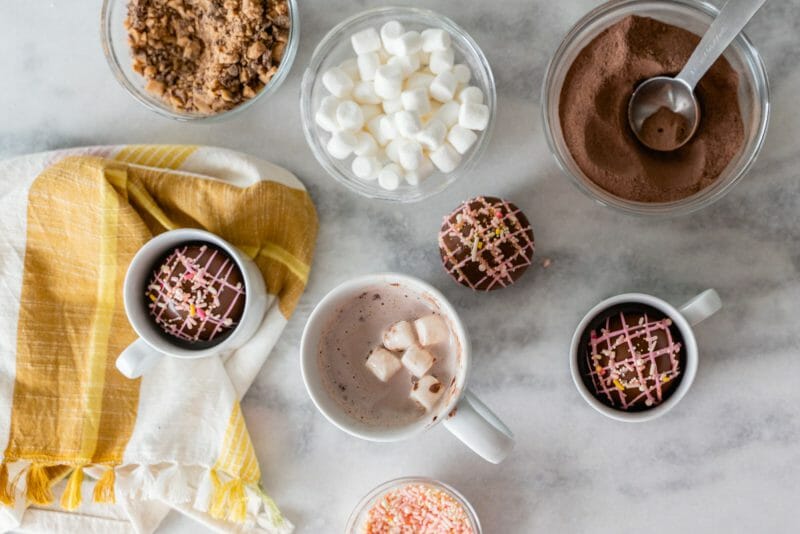
You will need:
Chocolate Chips or Candy Melts
Hot Cocoa Mix
Mini Marshmallows
Optional add ins:
Sprinkles
English Toffee bits
Mini M&Ms
Supplies:
Silicone Mold
Cookie Scoop
Angled Spatula or knife
Parchment Paper
Frying Pan
Microwave safe bowl
Spoon
1. To start, you’ll need to melt your chocolate chips or candy melts in a microwave safe bowl in 30 second increments. If your chocolate is too thick, I always recommend Wilton’s EZ Thin chips to thin out the chocolate. You can also use a little Crisco or vegetable oil in small increments.
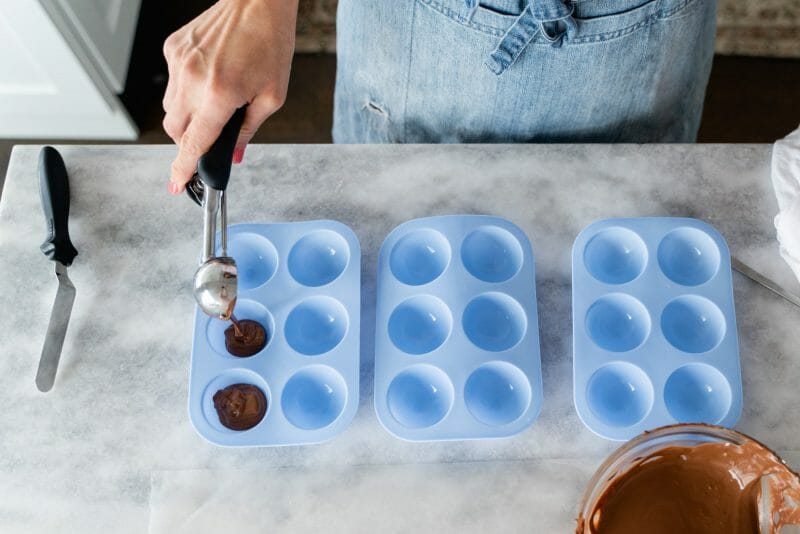
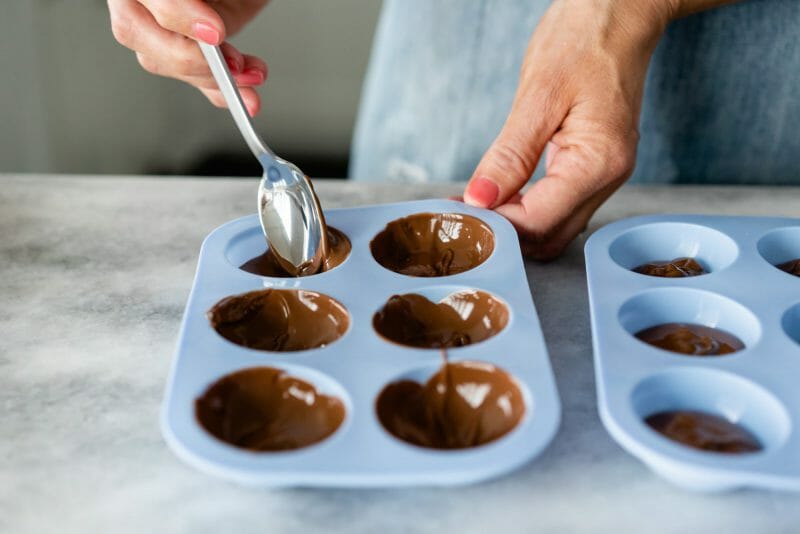
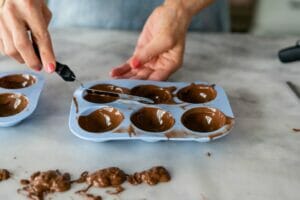
2. When chocolate is completely melted, use a small cookie scoop to add chocolate to the silicone mold. Use a spoon to spread chocolate around each cavity, making sure to pull chocolate up to the tops of each.
3. Line counter with a piece of parchment or wax paper. Gently flip mold upside down to let excess chocolate drip out. You can add the loose chocolate on the parchment back into the bowl of melted chocolate, or wait for it to dry and store it in a zip-lock container for future chocolate making!
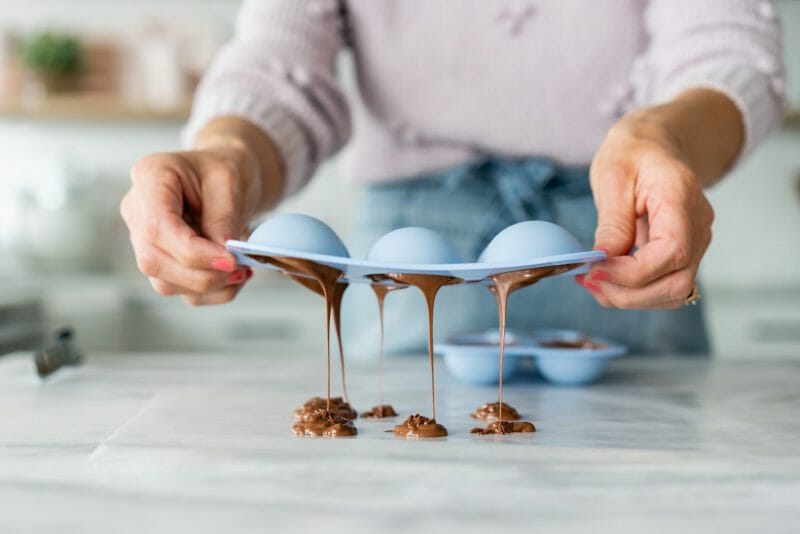
4. Flip mold back over and with an angled spatula, scrape excess chocolate off. Place silicone molds into the refrigerator for 20-25 minutes.
5. After chocolate has firmed up, repeat steps 2-4 to create a thicker shell.
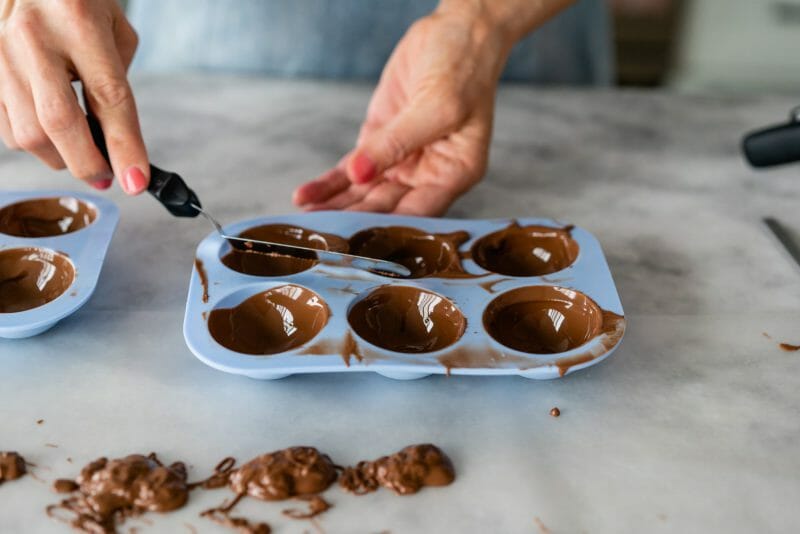
6. When 2nd round of melted chocolate has completely dried in refrigerator, carefully pop spheres out of the silicone molds.
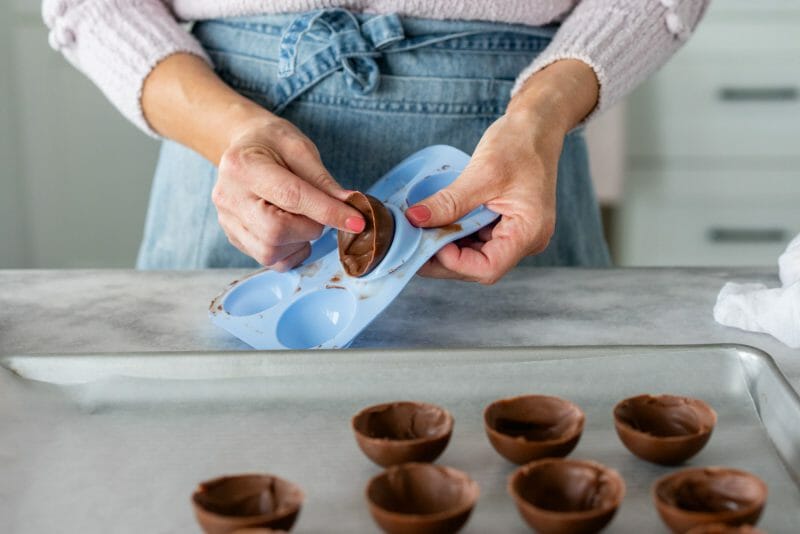
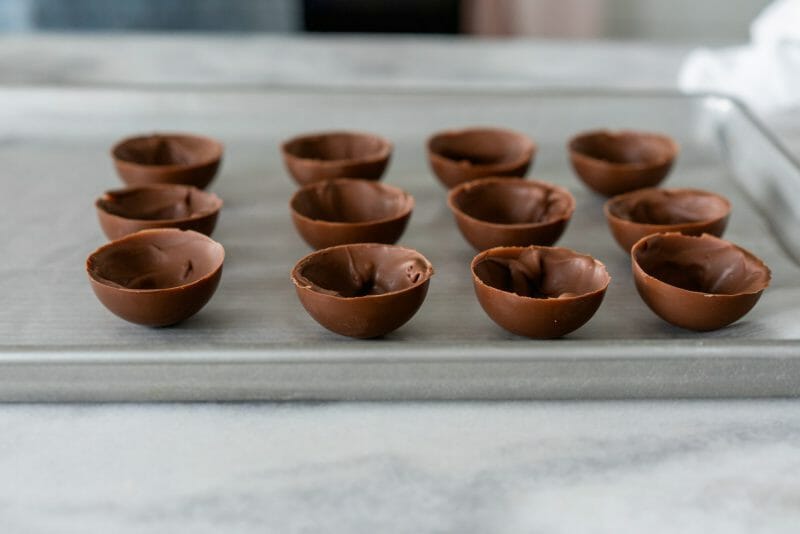
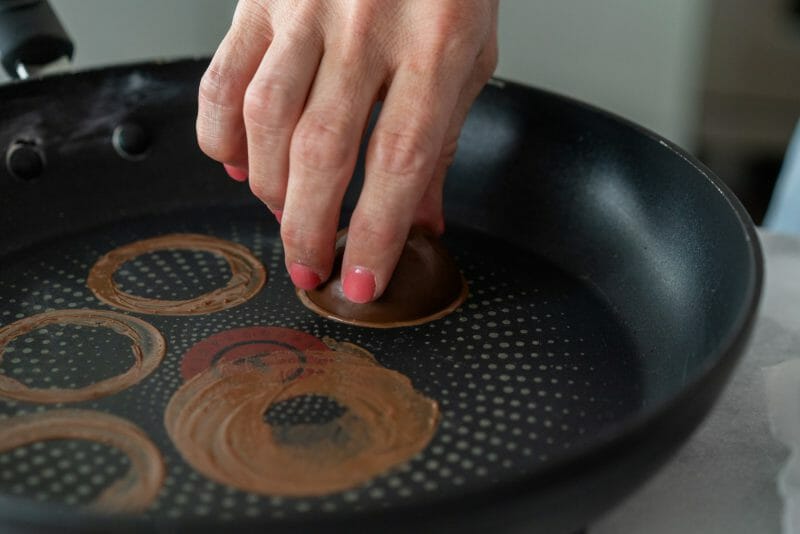
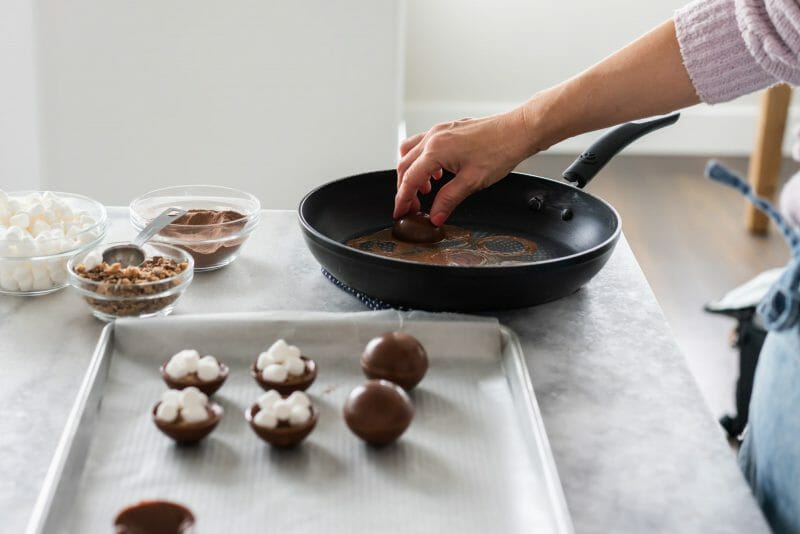
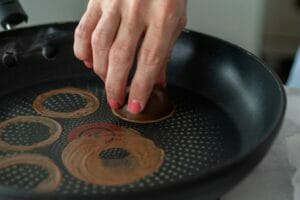
7. Warm a frying pan on your stove. Remove from heat and place near your work area. Using half of the total chocolate spheres, gently place chocolate onto the frying pan to carefully melt any rough edges or uneven areas. (Reserve second half for the tops of the bombs). Just a couple of seconds is all it takes! Return to parchment, with open cavity facing up (I like to lay parchment in a sheet pan so I can move it easily).
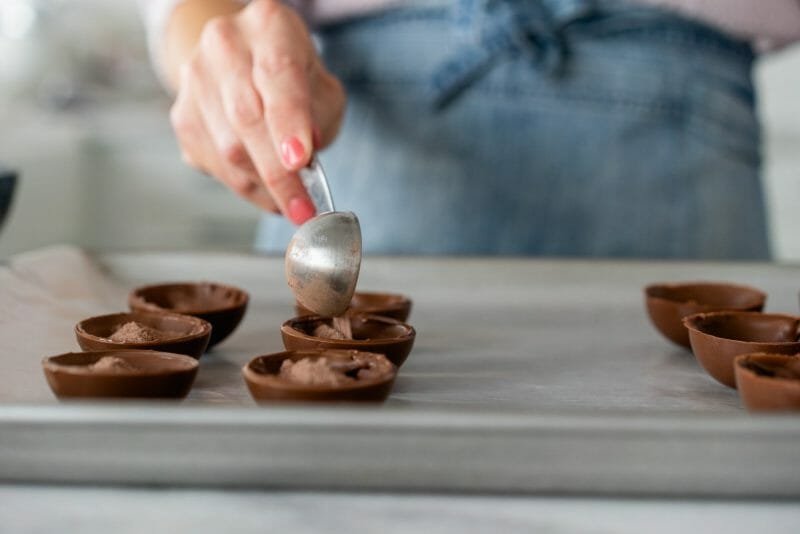
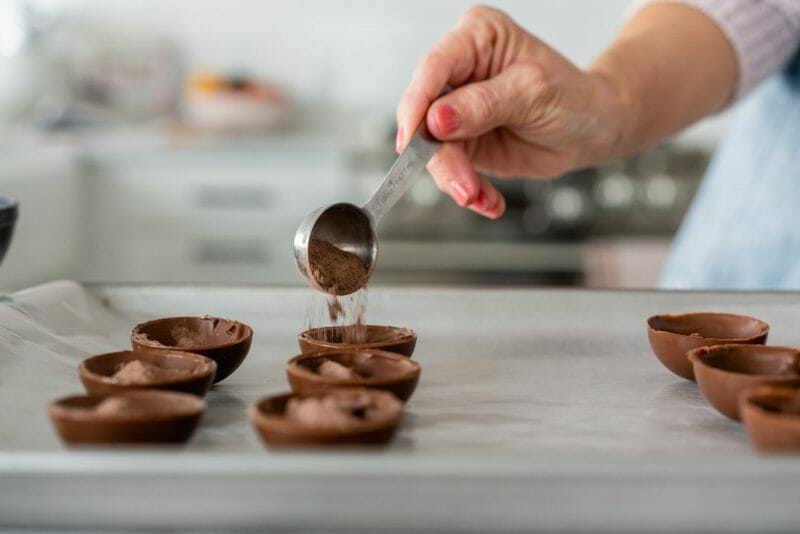
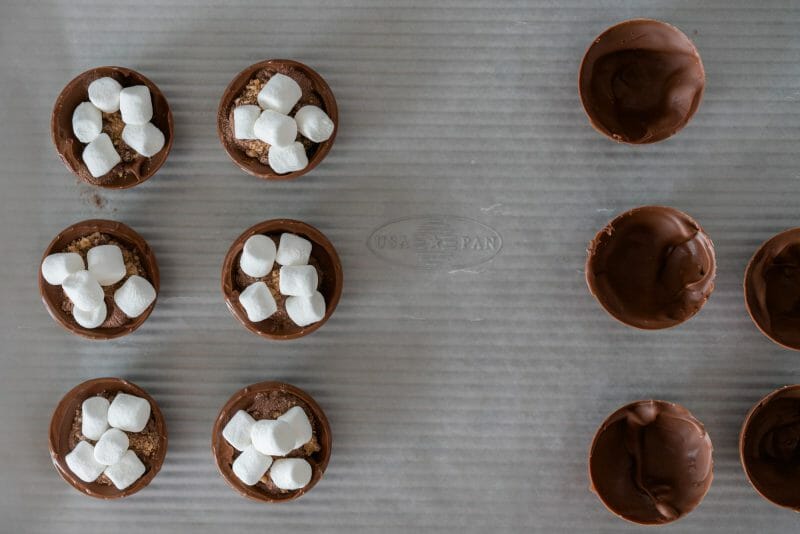
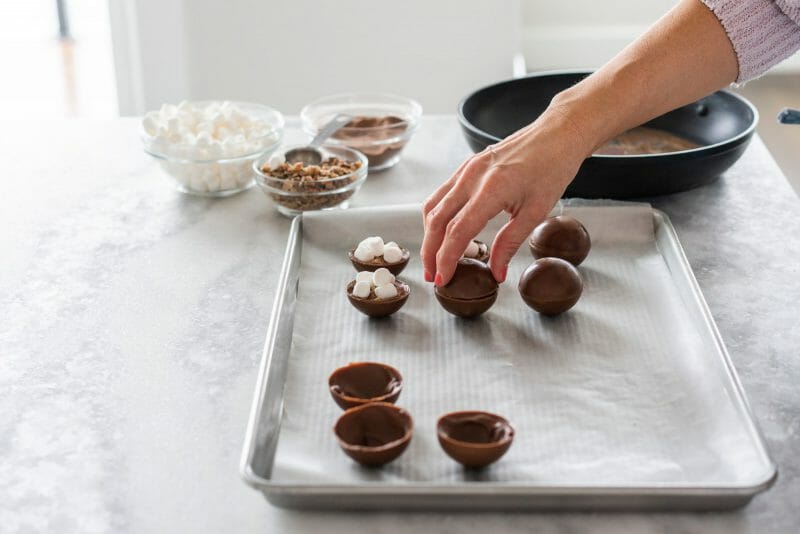
8. Fill each cavity with hot cocoa mix and top with mini marshmallows.
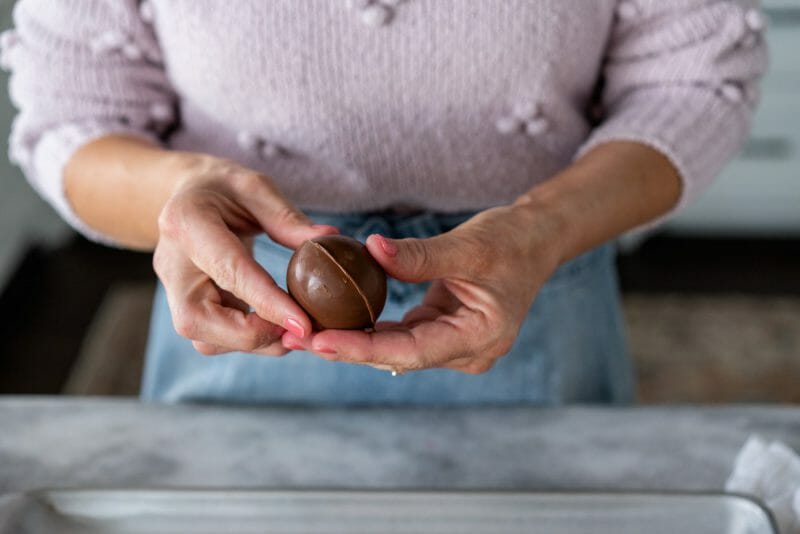
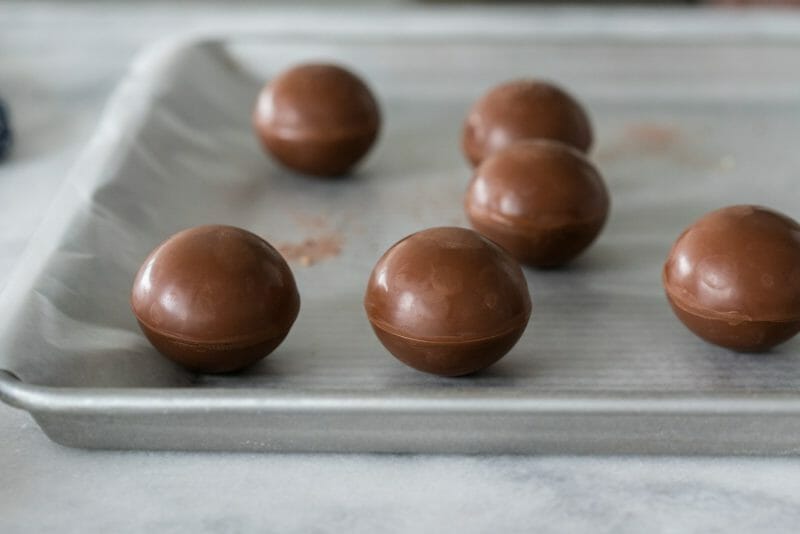
9. Repeat step 7, gently melting the tops of the chocolate spheres. While still tacky, top each cocoa filled sphere with a chocolate top. Use towel or clean hand to clean up any edges.
10. If you’d like, melt colored candy melts in a microwave safe bowl in 30 second increments until completely melted. Transfer to a disposable decorating bag. Snip tip of bag and drizzle melted candy over the tops of the cocoa bombs. While candy melts are still tacky, top with sprinkles.
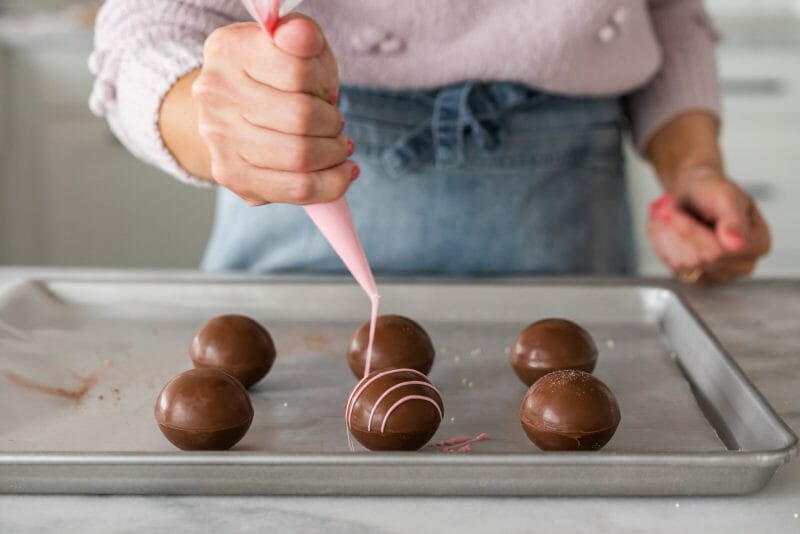
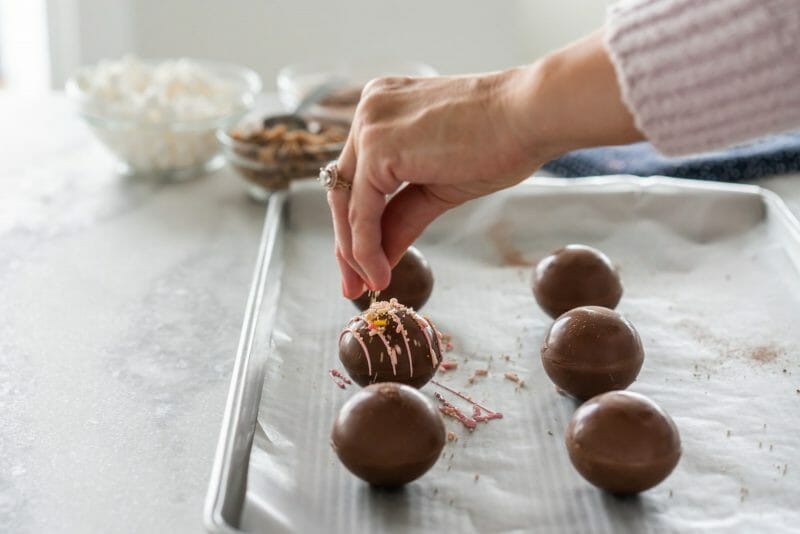
Allow toppings to dry and then it’s time to taste test your creations! Warm a mug of milk and place bomb into the mug, or do it opposite and place bomb into the mug and pour hot milk over the top! Either way, you’ll be filled with anticipation of the bomb opening and the marshmallows popping out!
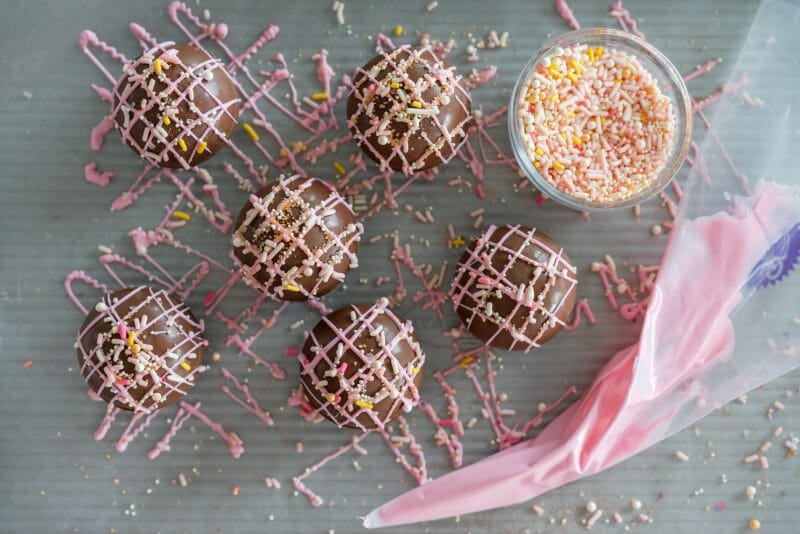
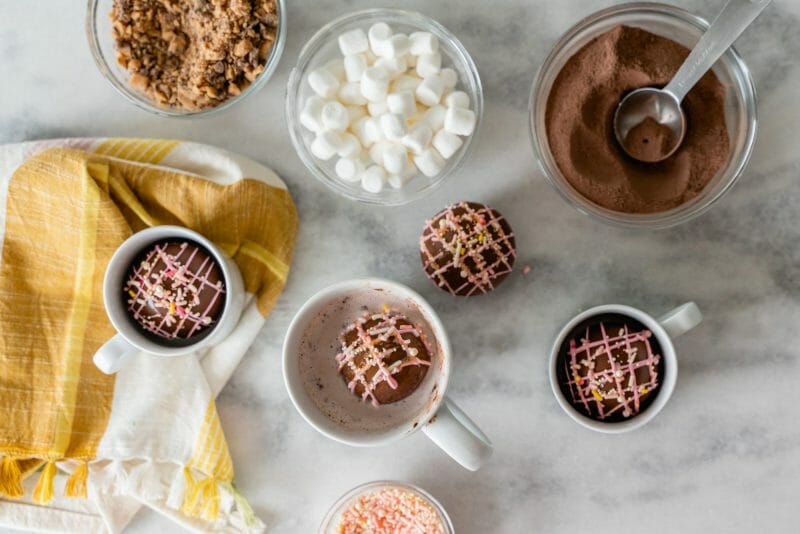
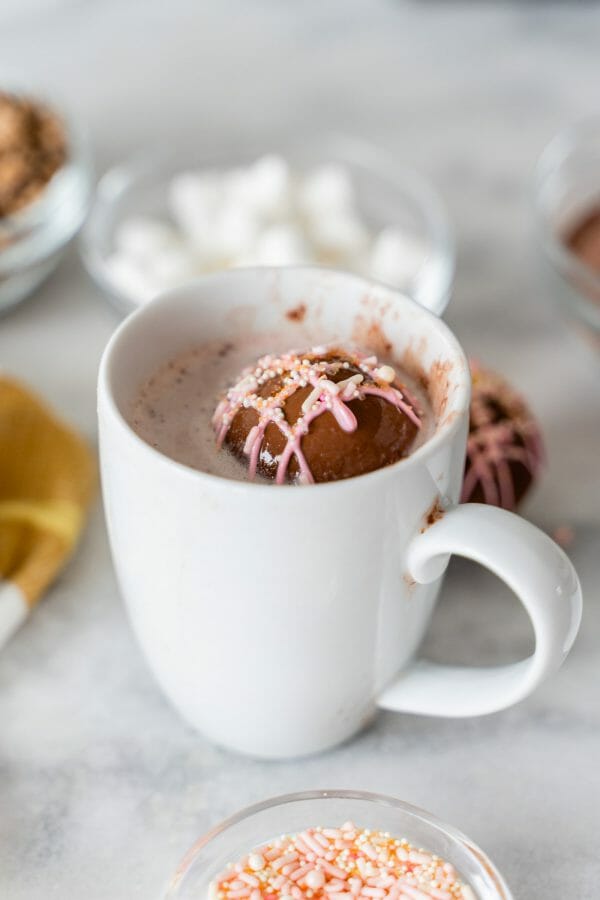
The best part of this recipe is how easy it is to make it your own! Get creative by experimenting with different mix-ins, flavors and decorations. Try mixing instant coffee into the chocolates or making an “adult” bomb by adding baileys. Pour coffee over the top instead of hot milk for more of a “mocha” taste. So many combinations! Can’t wait to hear what you try.
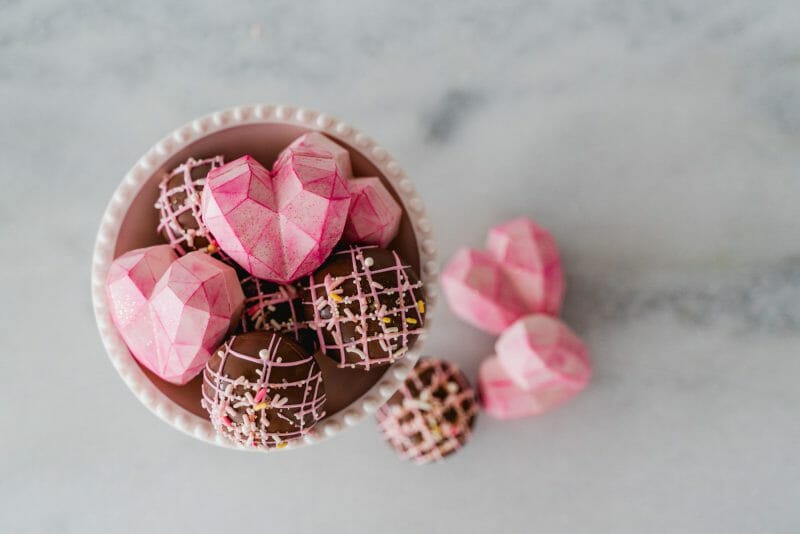
For gifting, please use these FREE gift tags to attach to your bombs. These are simple to package up and hand out to friends, neighbors and teachers! Get the download here: YoureTheBomb
Easy Hot Cocoa Bombs
Equipment
- Silicone Mold
- Cookie Scoop
- Angled Spatula or knife
- Parchment paper
- Frying Pan
- Microwave safe bowl
- Spoon
Ingredients
- Chocolate Chips or Candy Melts
- Hot Cocoa Mix
- Mini Marshmallows
- Optional add ins:
- Sprinkles
- English Toffee bits
- Mini M&Ms
Instructions
- To start, you’ll need to melt your chocolate chips or candy melts in a microwave safe bowl in 30 second increments. If your chocolate is too thick, I always recommend Wilton’s EZ Thin chips to thin out the chocolate. You can also use a little Crisco or vegetable oil in small increments.
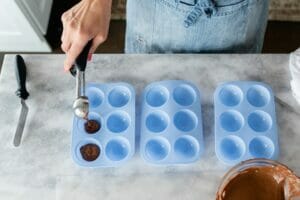
- When chocolate is completely melted, use a small cookie scoop to add chocolate to the silicone mold. Use a spoon to spread chocolate around each cavity, making sure to pull chocolate up to the tops of each.

- Line counter with a piece of parchment or wax paper. Gently flip mold upside down to let excess chocolate drip out. You can add the loose chocolate on the parchment back into the bowl of melted chocolate, or wait for it to dry and store it in a zip-lock container for future chocolate making!

- Flip mold back over and with an angled spatula, scrape excess chocolate off. Place silicone molds into the refrigerator for 20-25 minutes.
- After chocolate has firmed up, repeat steps 2-4 to create a thicker shell.
- When 2nd round of melted chocolate has completely dried in refrigerator, carefully pop spheres out of the silicone molds.

- Warm a frying pan on your stove. Remove from heat and place near your work area. Using half of the total chocolate spheres, gently place chocolate onto the frying pan to carefully melt any rough edges or uneven areas. (Reserve second half for the tops of the bombs). Just a couple of seconds is all it takes! Return to parchment, with open cavity facing up (I like to lay parchment in a sheet pan so I can move it easily).
- Fill each cavity with hot cocoa mix and top with mini marshmallows.

- Repeat step 7, gently melting the tops of the chocolate spheres. While still tacky, top each cocoa filled sphere with a chocolate top. Use towel or clean hand to clean up any edges.

- If you’d like, melt colored candy melts in a microwave safe bowl in 30 second increments until completely melted. Transfer to a disposable decorating bag. Snip tip of bag and drizzle melted candy over the tops of the cocoa bombs. While candy melts are still tacky, top with sprinkles.

Find the Geometric Heart Hot Cocoa Bomb Tutorial HERE!
Watch our Facebook Live video as we make them in my kitchen HERE!
Pin this idea for later!

