Easy Marbled Sugar Cookies
This post is in partnership with McCormick.
It’s no surprise Sugar Cookies are my signature, so this Valentine’s Day I’m sharing some of my favorite ways to dress up my no-fail sugar cookie recipe for the special valentine in your life!

This marbling technique is simple using McCormick red food color. Simply make my basic cookie dough, but before rolling it out, add a few drops of food color to give your cookies a marbled design! I LOVE how these turned out and they are so easy!
Important Tip:
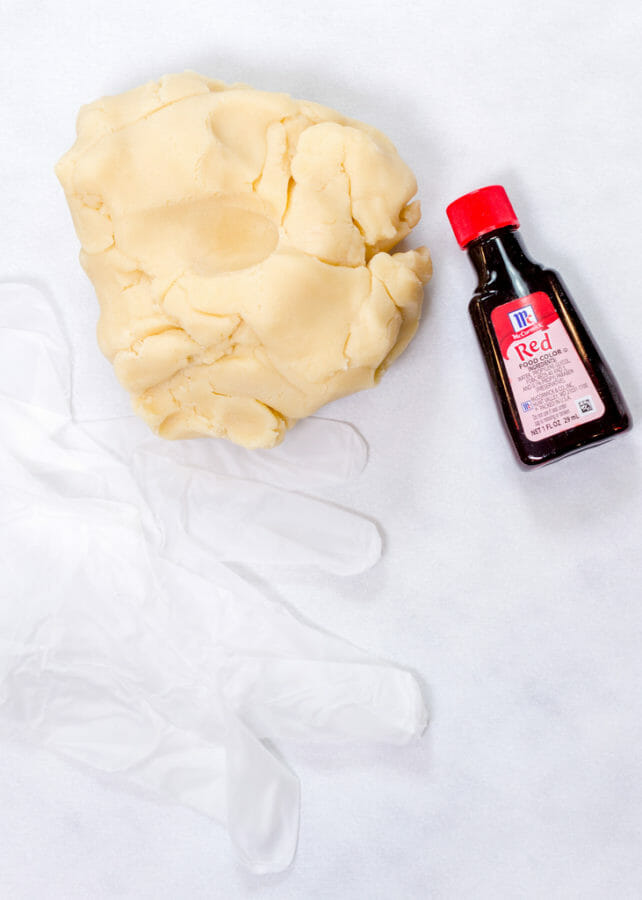
Before you add the food color, it’s wise to wear disposable gloves and an easily washable surface. If you have marble or porous countertops, lay a sheet of parchment down or roll onto a cutting board to alleviate any spills or stains!
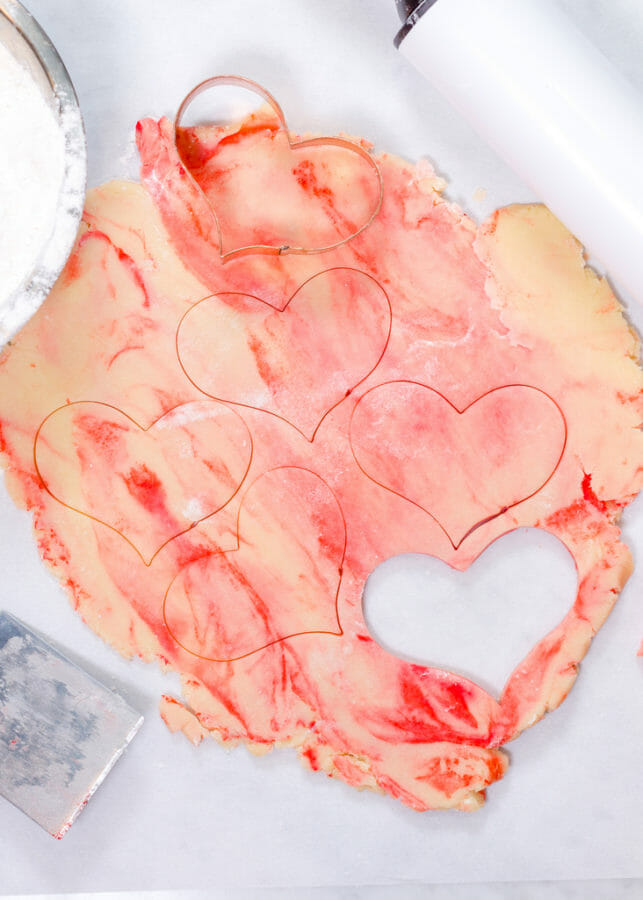
Use your favorite cookie cutters to achieve your desired shapes. Bake for 7 minutes at 375 degrees!
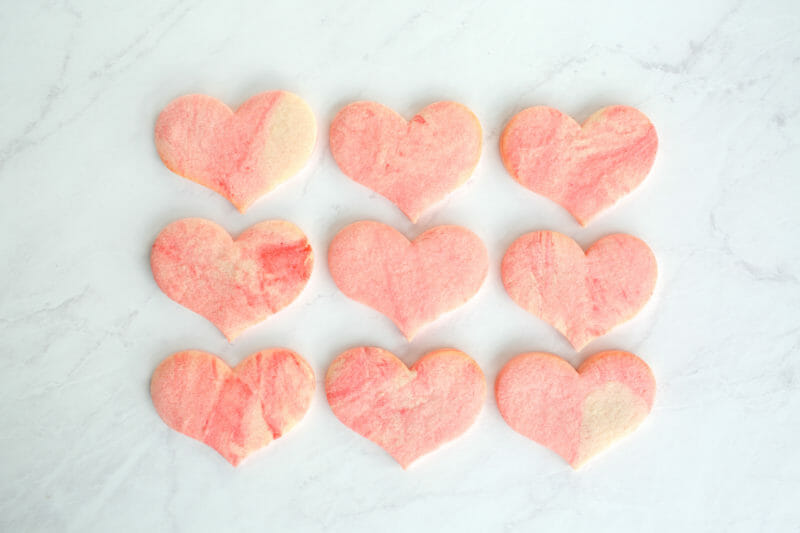
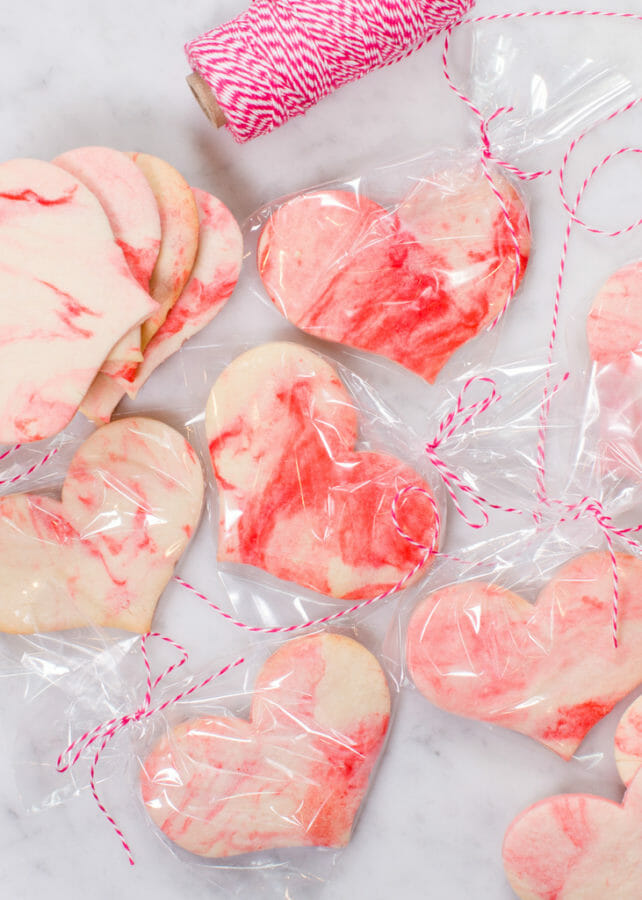
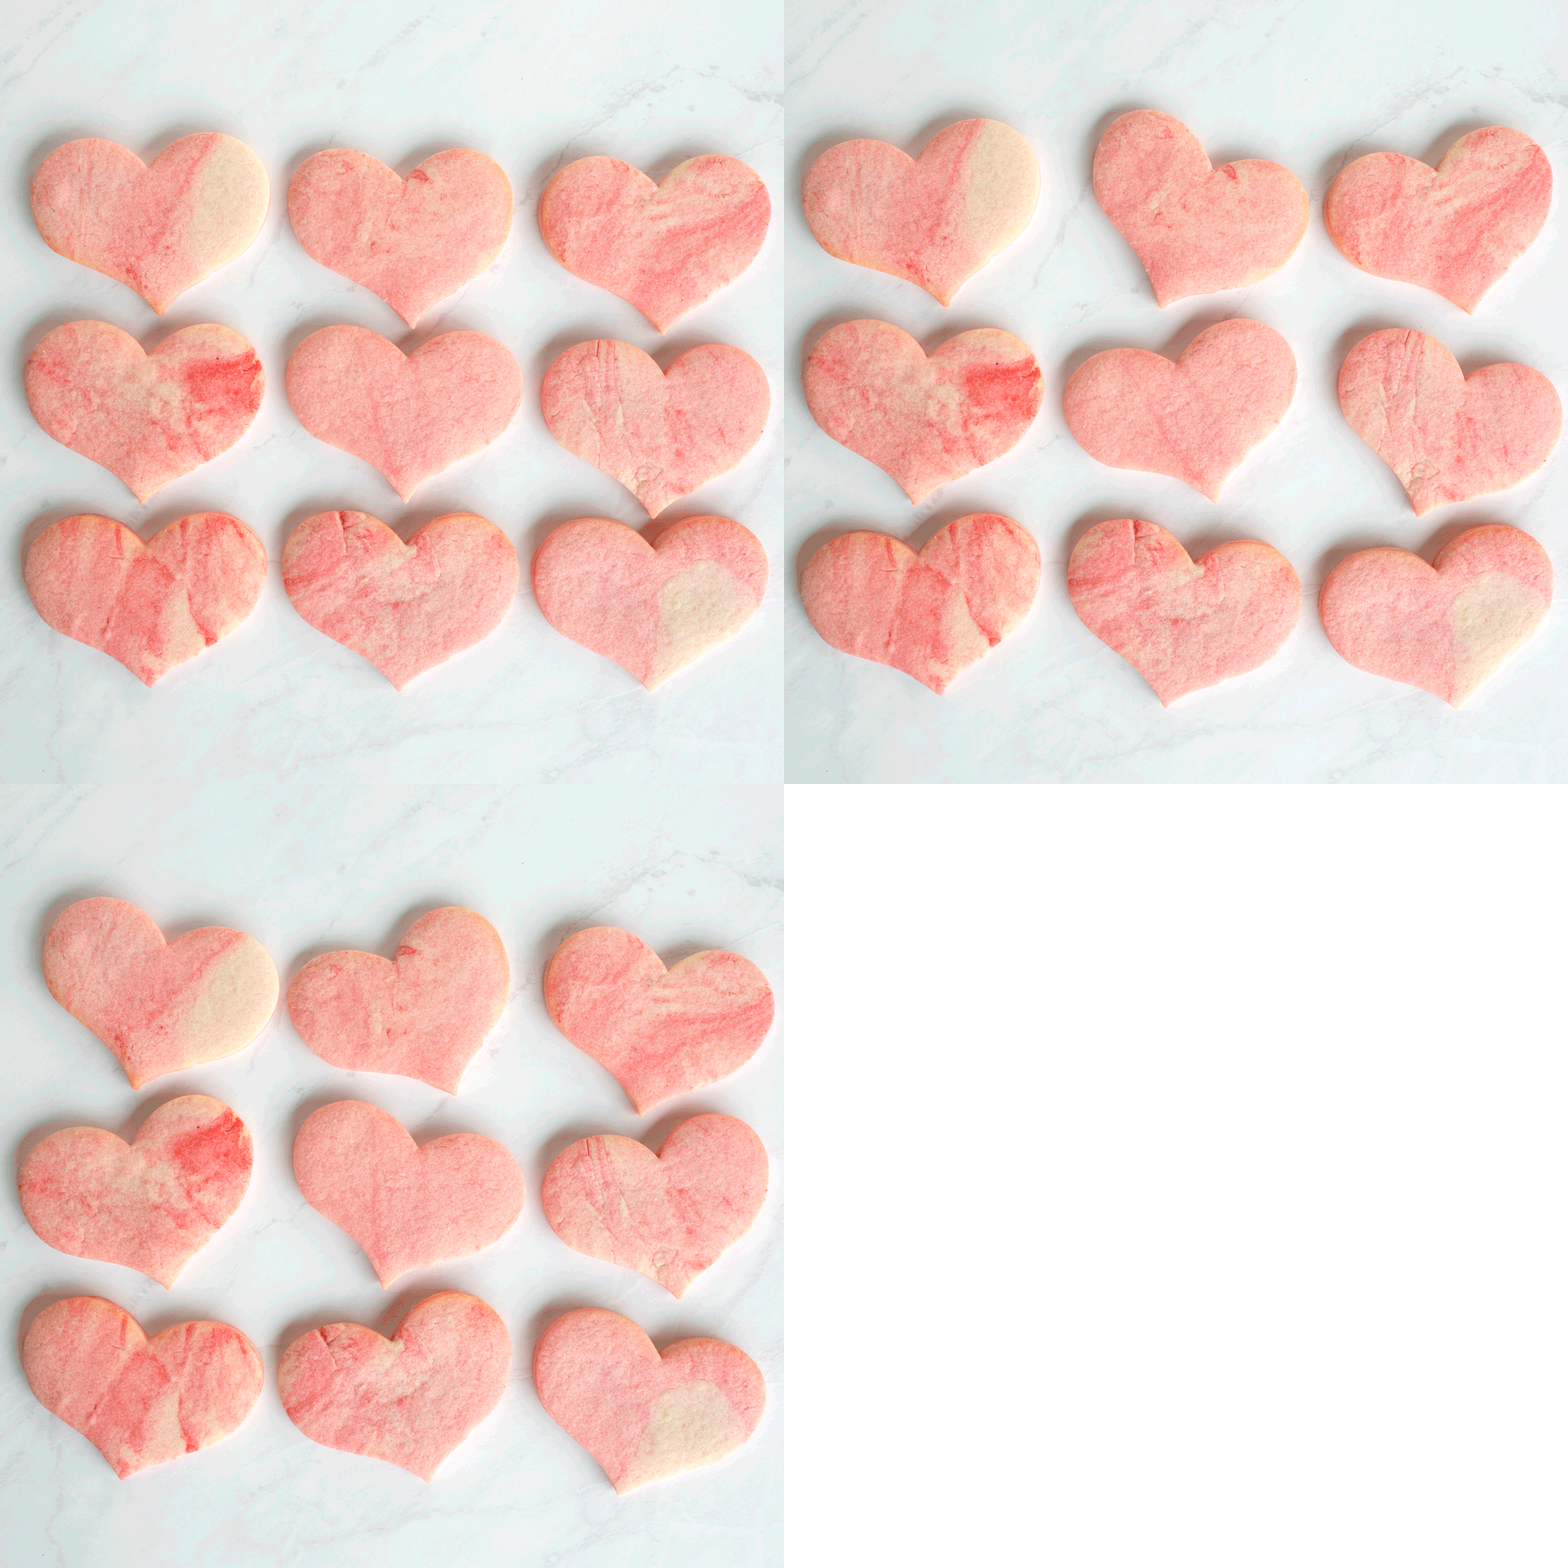
Let cookies cool completely. I love using McCormick’s red food color in this recipe. It bakes the perfect pink-ish red cookies! The combination of the red food color with the color of the dough creates the most beautiful marble design with no two cookies alike!
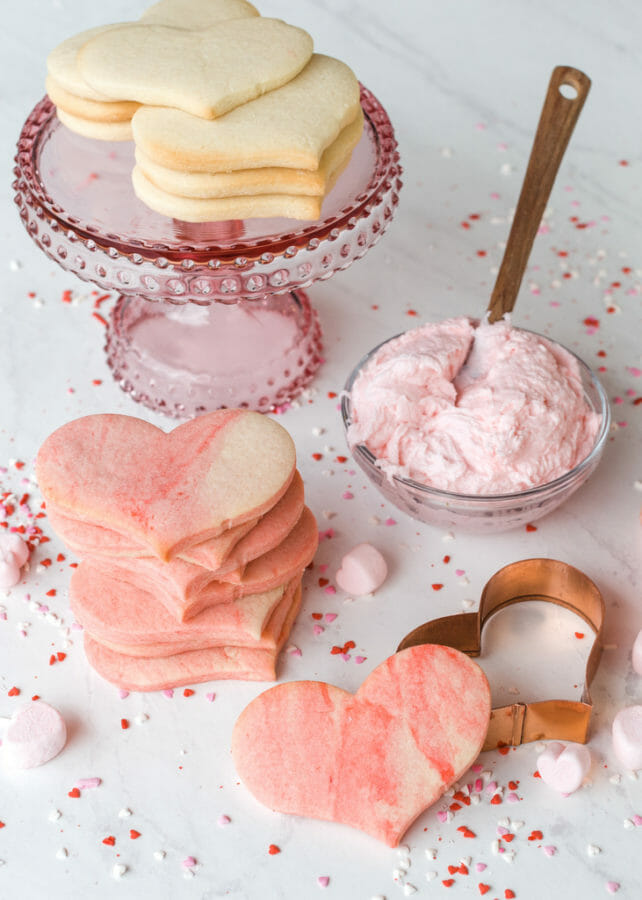
Package the cookies in clear cello bags with coordinating bakers twine for a simple Valentine gift. Great for classroom valentines, neighbors, co-workers or even the mail man!
Get other Valentine cookie ideas here: Painted Sugar Cookies, Buttercream Sugar Cookie Hearts
Print the recipe:
Marbled Sugar Cookies
Ingredients
- 3 CUPS ALL-PURPOSE FLOUR PLUS MORE FOR ROLLING
- 2 TSP. ALUMINUM-FREE BAKING POWDER
- 1 CUP 2 STICKS SALTED BUTTER, AT ROOM TEMPERATURE
- 1 CUP SUGAR
- 1 LARGE EGG
- 2 TSP. MCCORMICK PURE VANILLA EXTRACT
- 2 TSP. MCCORMICK RED FOOD COLOR
Instructions
- Into a medium bowl, whisk together flour and baking powder. Set aside.
- In a large bowl, using an electric mixer fitted with the paddle attachment on medium speed, beat butter and sugar for about 1½ minutes, or until smooth. Beat in the egg and vanilla until well combined. Scrape the sides of the bowl with a rubber spatula.
- Turn the mixer speed to low and carefully add the flour mixture a little at a time, occasionally stopping to scrape the sides of the bowl. Once all the flour has been incorporated, the dough should form a ball around the mixing attachment and feel soft but not sticky.
- Wrap the dough ball in a piece of plastic wrap and refrigerate for at least 10 minutes before rolling.
- Preheat the oven to 375°F.
- Remove dough from refrigerator and gently make a dam in the center of the dough ball. Wearing disposable gloves, carefully pour 2 tsp McCormick Red Food Color into dam. Carefully knead dough together to disperse food color throughout dough.
- Roll out the dough on a lightly floured flat work surface to about ¼-inch thickness, using additional flour as necessary to prevent sticking. Use cookie cutters to create desired shapes, and carefully transfer with a cookie spatula to a nonstick baking sheet, placing the cookies about ¾ inch apart.
- Bake one sheet at a time in the middle of the oven until puffy, about 7-8 minutes. Allow the cookies to rest for 2 minutes on the baking sheet before transferring to a wire rack to cool completely.
- Repeat with the gathered scraps and remaining disk until all the dough has been used.
Notes
Photos by Kelly Clare Photography
Pin this idea for later!

THIS IS A SPONSORED POST. JENNY COOKIES HAS RECEIVED PAYMENT, TRADE AND/OR PRODUCTS IN EXCHANGE FOR PROMOTING, HOWEVER ALL OPINIONS STATED ARE MY OWN AND I ONLY PROMOTE PRODUCTS/COMPANIES I LOVE.

These are perfect for Valentines Day. My granddaughter & I enjoy making them every year!
Very pretty & tasty, too!??