How to Host a Wreath Making Ladies Lunch | Holiday Wreath DIY
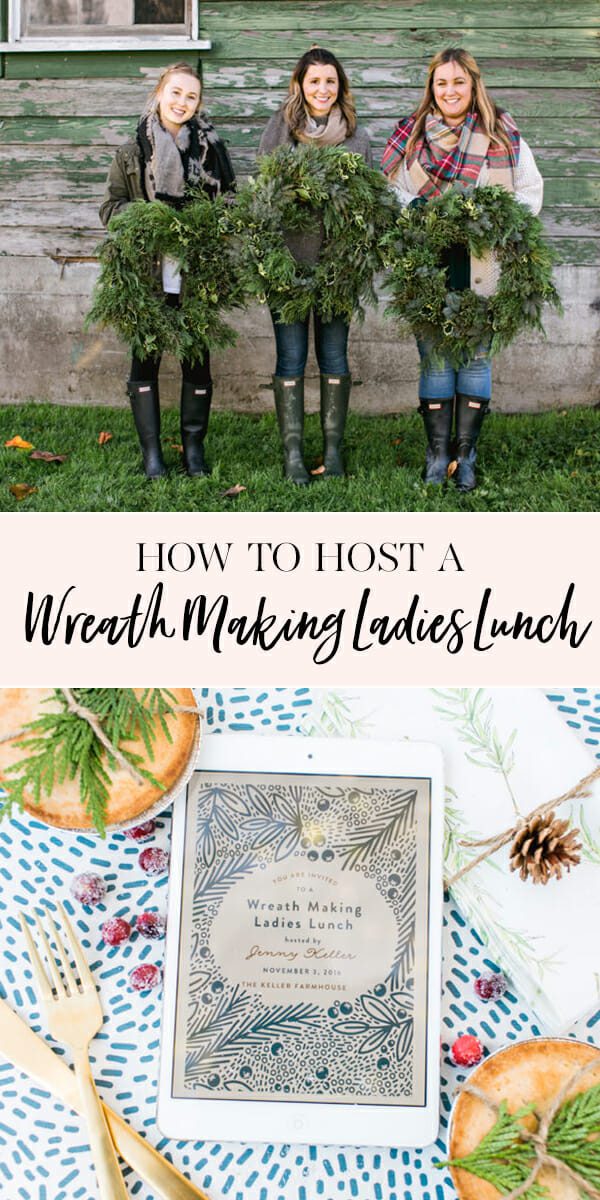
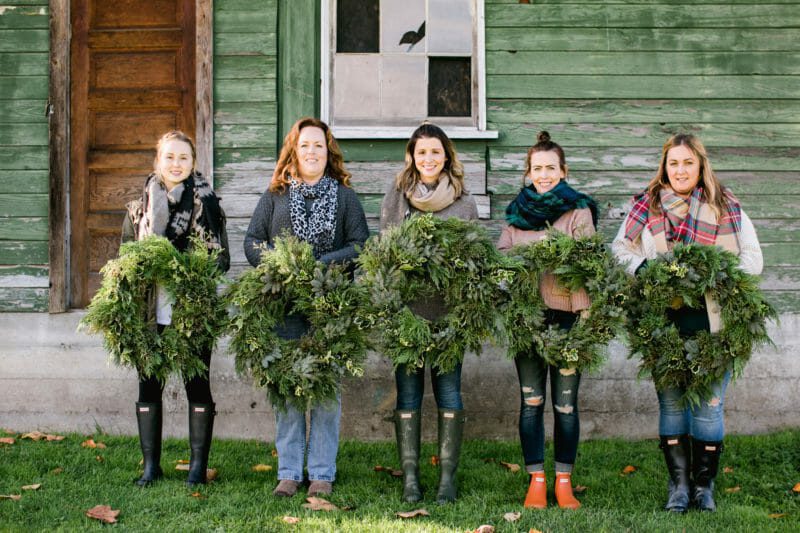
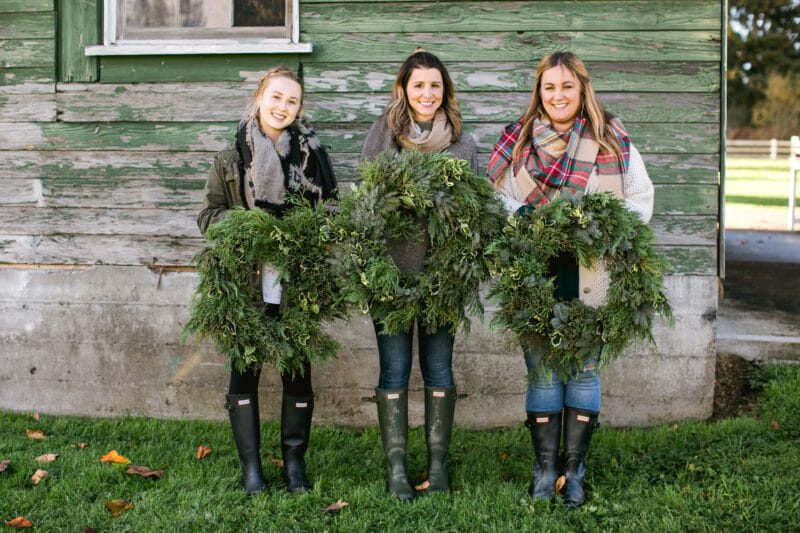
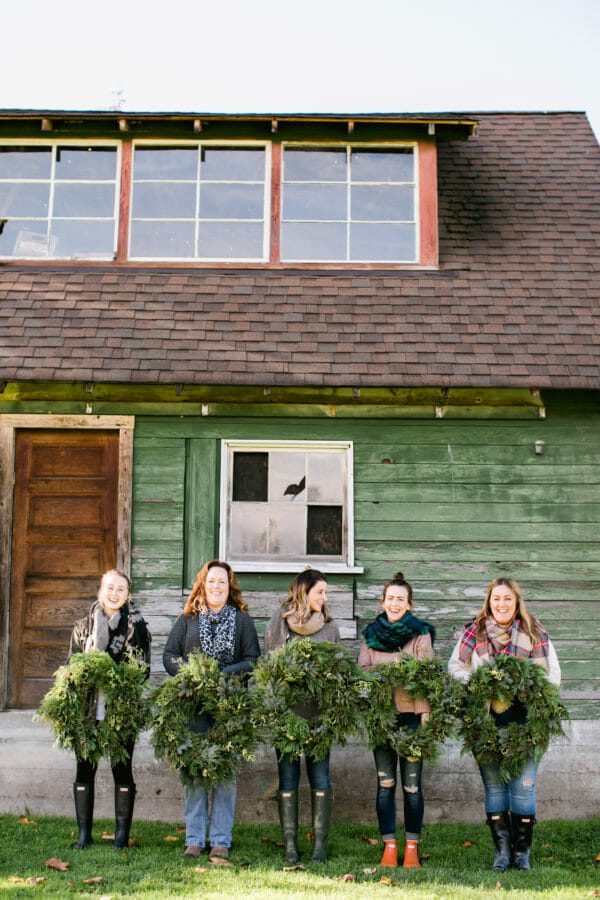
There’s nothing better than the smell of fresh greens this time of year! One of my must-have holiday decorations is a fresh wreath. I normally pick them up from Costco or Trader Joe’s but this year I opted to make my own. To make the DIY project even more fun, I turned it into a ladies lunch and invited some of my friends over to join in the creating.
If you’ve been wanting to make your own wreaths, grab your girlfriends and get to work! It’s a fun way to kick off the holiday season and make something to decorate your home with. It could easily blossom into a yearly tradition with your friends!
No need for paper invites but fun to send something special out via email to ask guests over. I personalized one of Minted‘s digital invites (which are free now until December 31st)!
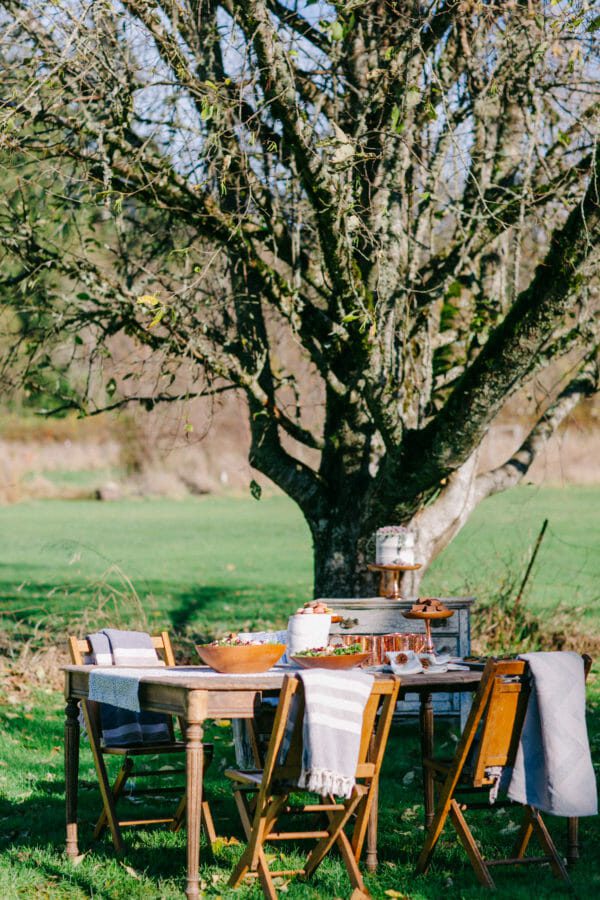
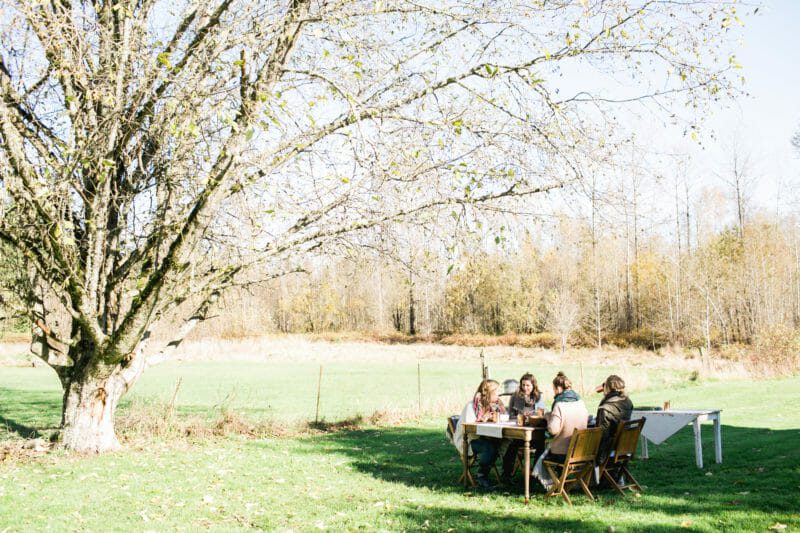
To soak up the last bit of sunshine here in Seattle, I set a table outside under one of our beautiful trees. In case it got chilly, I added a blanket to the back of each chair. If you live somewhere warm, you could leave the blankets out of the equation!
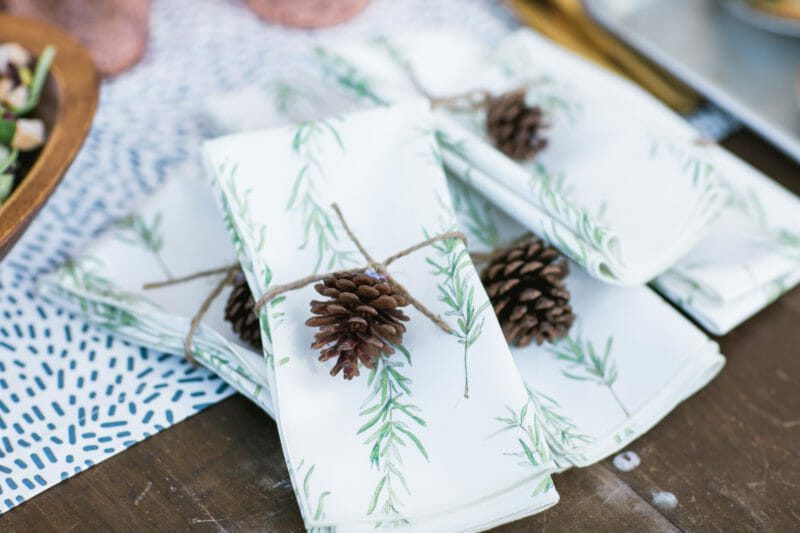
Don’t go overboard on decor, the outdoor setting is plenty of pretty. I used a vintage table and ordered a pretty runner and napkins from Minted. To dress my napkins up a bit, I added a little pinecone tied in jute.
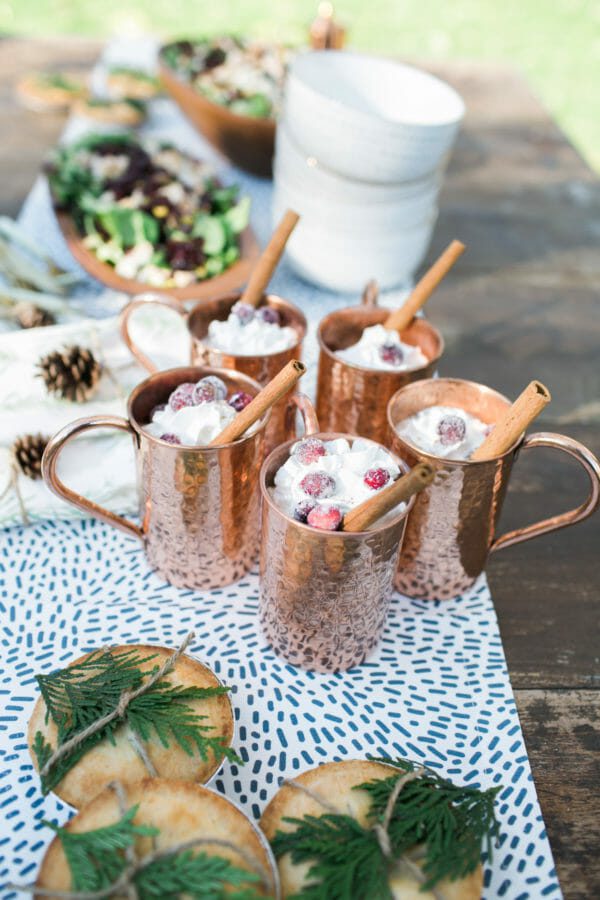
We indulged in cranberry mimosa salads and whip cream topped hot coffee (some spiked with salted caramel Baileys…).
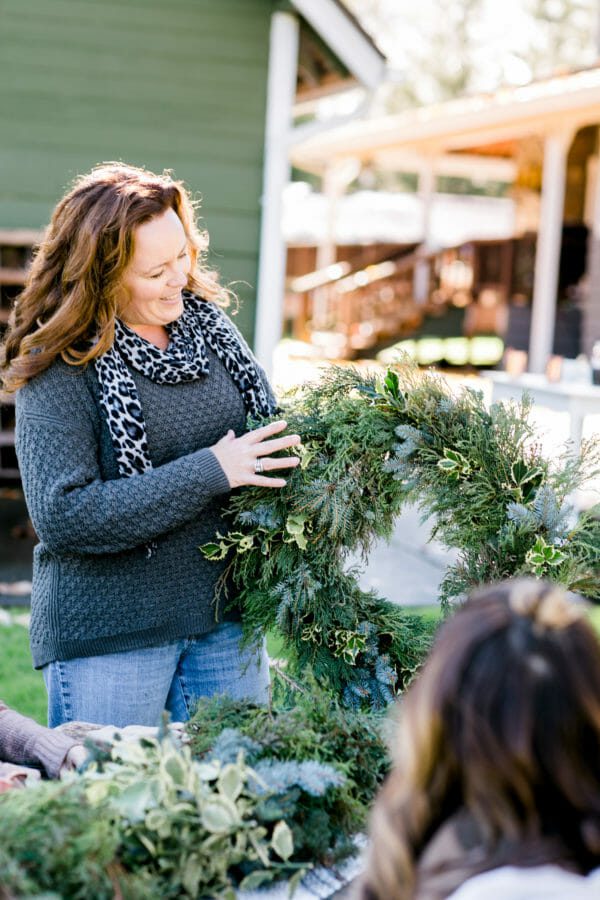
After lunch, my friend Kelli of Country Bouquets Floral led us in a quick wreath making demo. Kelli is the sweetest and most humble floral designer you’ll ever find. If you are local and in need of flowers or want to host a flower arranging party, she’s your girl! I absolutely love her style and vast knowledge of flowers and greens.
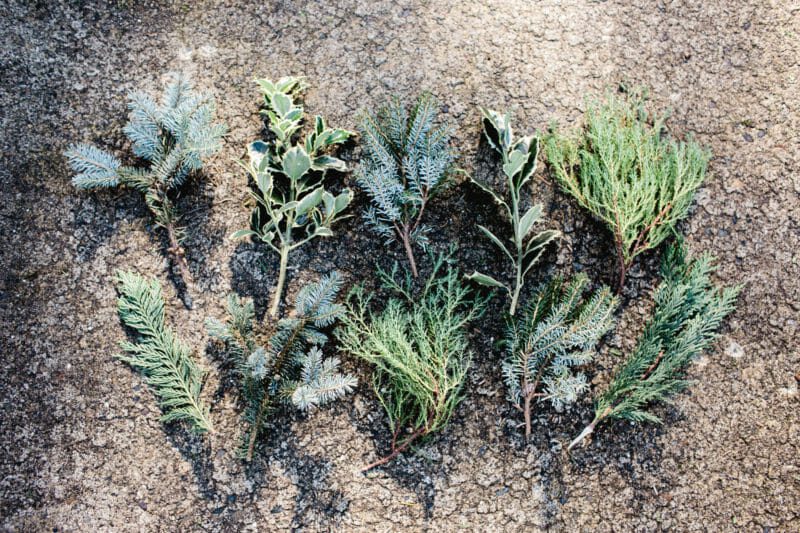
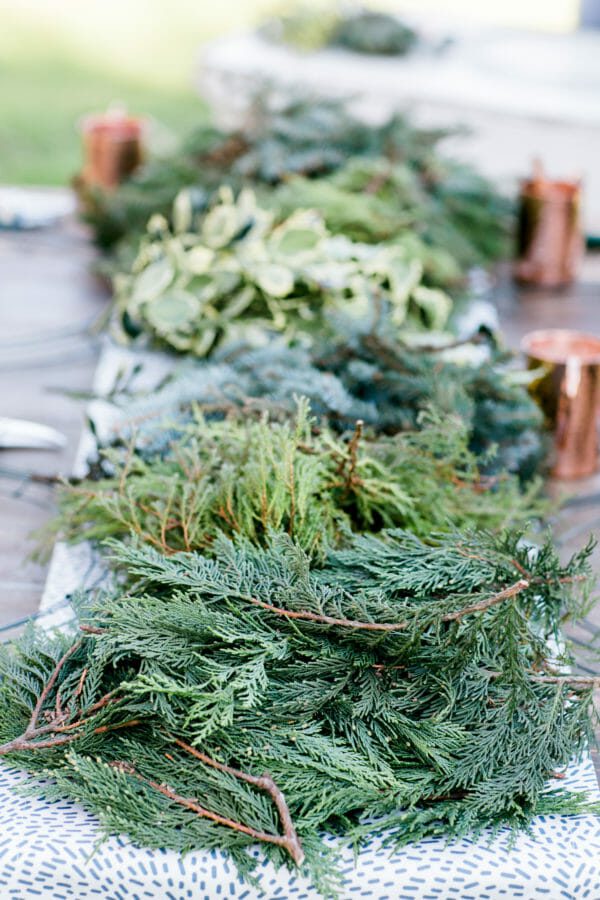
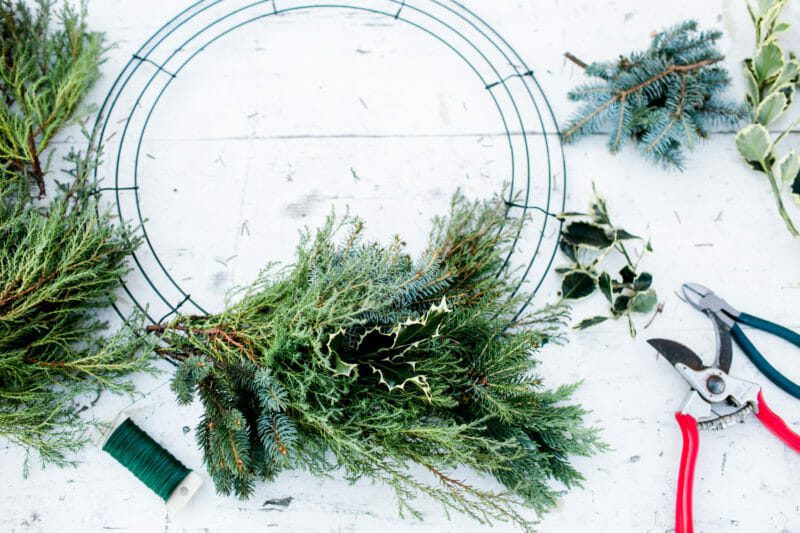
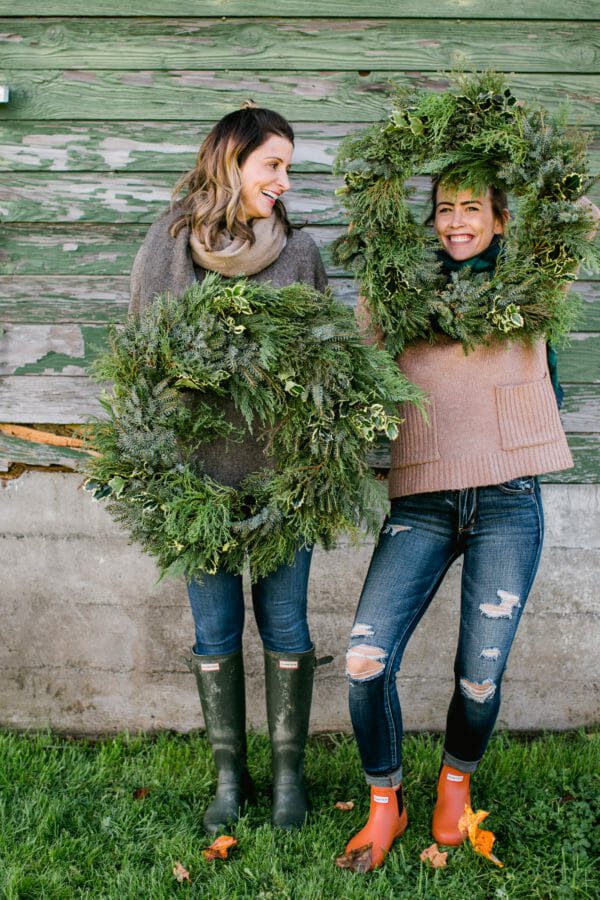
Kelli brought an assortment of fresh greens for us to create with from holly, juniper, cedar, pine and spruce. You can find many of these greens in your own backyard (or maybe even your neighbors yard…). You really can’t go wrong, they are all so beautiful!
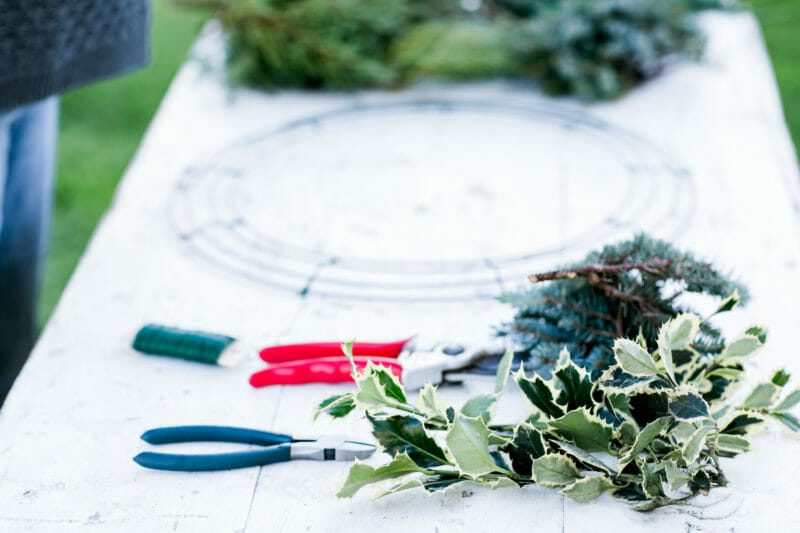
To make your own wreath, you’ll want to grab the following supplies:
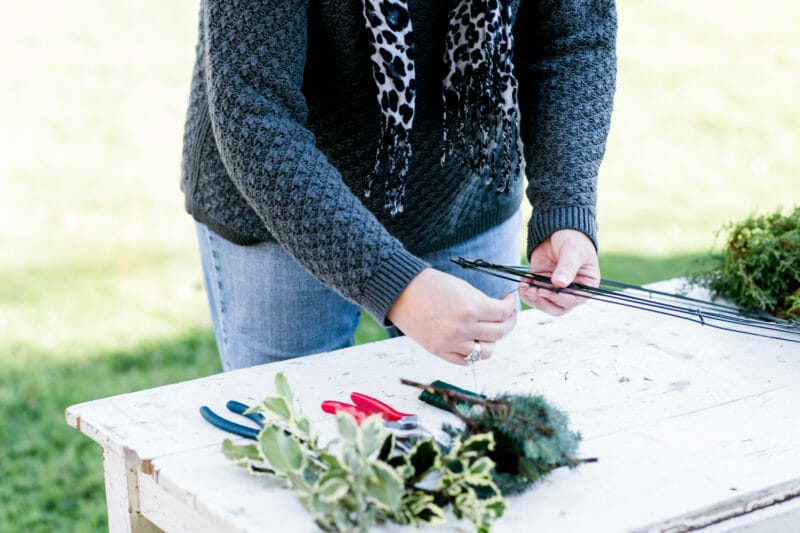
Step 1: Tie wire around your wreath form. Give it a good twist (like those old school garbage ties) to really secure it. Do not cut wire, leave it hanging from your wreath form.
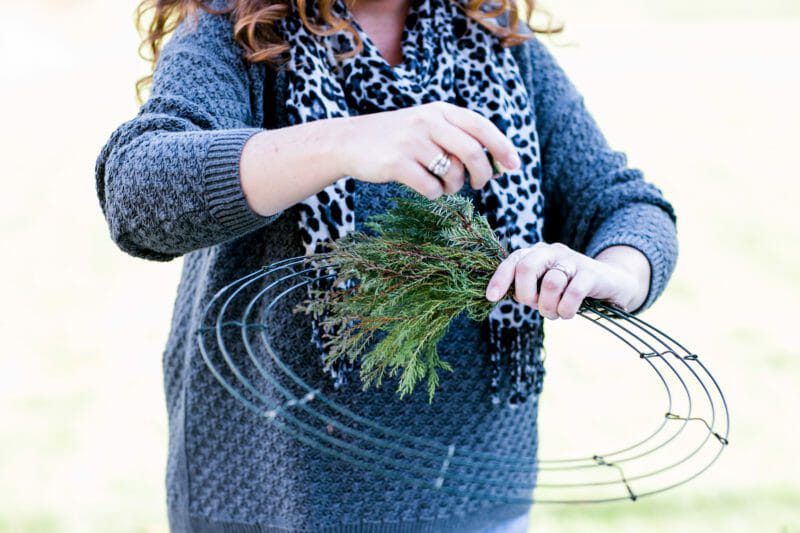
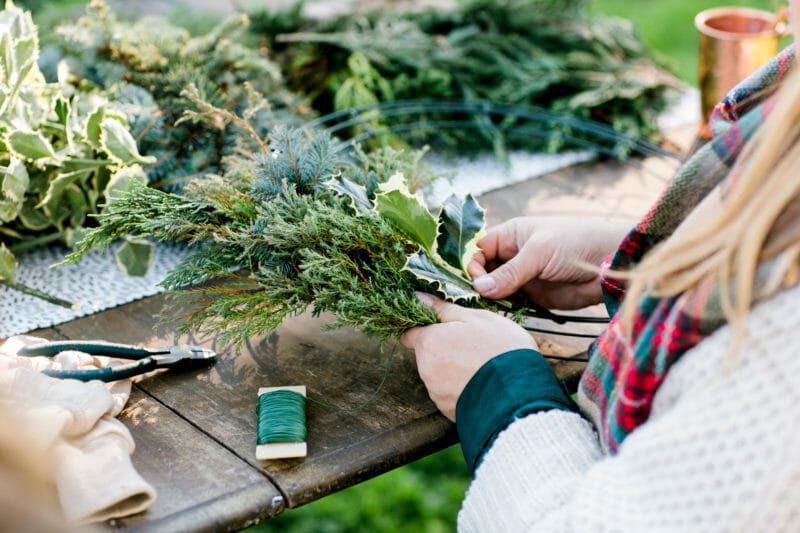
Step 2. Grab three greens and place them across your wreath form. Wrap wire around the greens 5-6 times until it feels secure.
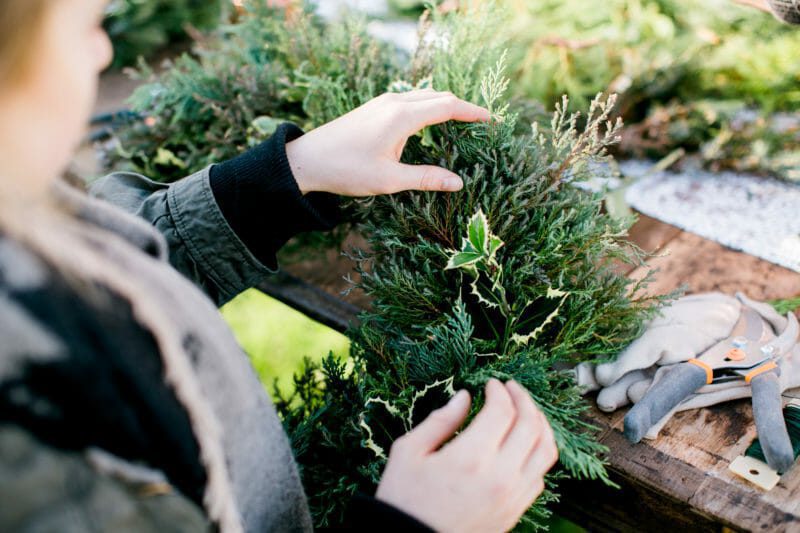
Step 3: Continue adding greens and wrapping with wire (covering previously wrapped wire with each set of new greens).
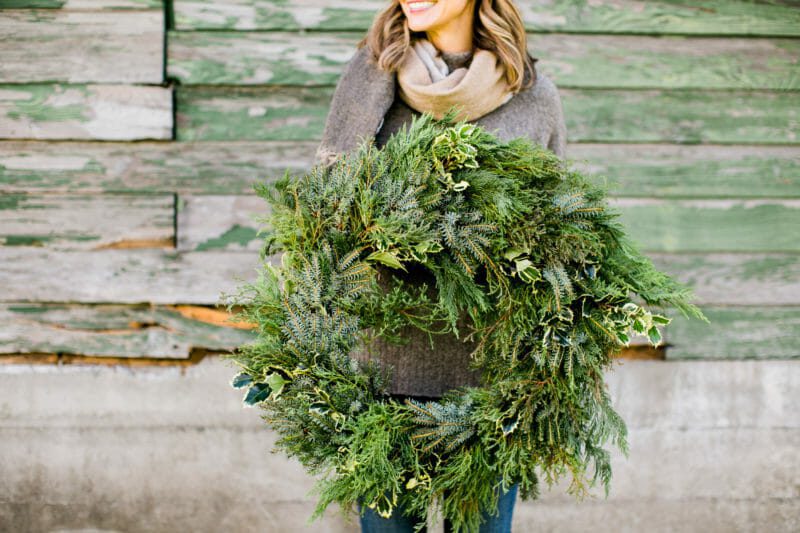
Step 4: When you’ve covered your wreath in greens, wrap wire around your last grouping of greens, cut wire and wrap ends around wreath form as you did when you started. Make sure it’s nice and secure!
Step 5: Examine wreath for full/sparse areas and make adjustments as needed. My wreath was a bit lopsided, so I fixed it a little before hanging it.
Hang wreath in clear view so you can enjoy it all season long! It will survive all the way through the holidays outdoors. It may dry out inside, but it will still look pretty!
We had such a nice afternoon crafting together. Sometimes you just need some fresh air, sunshine and laughs with girlfriends.
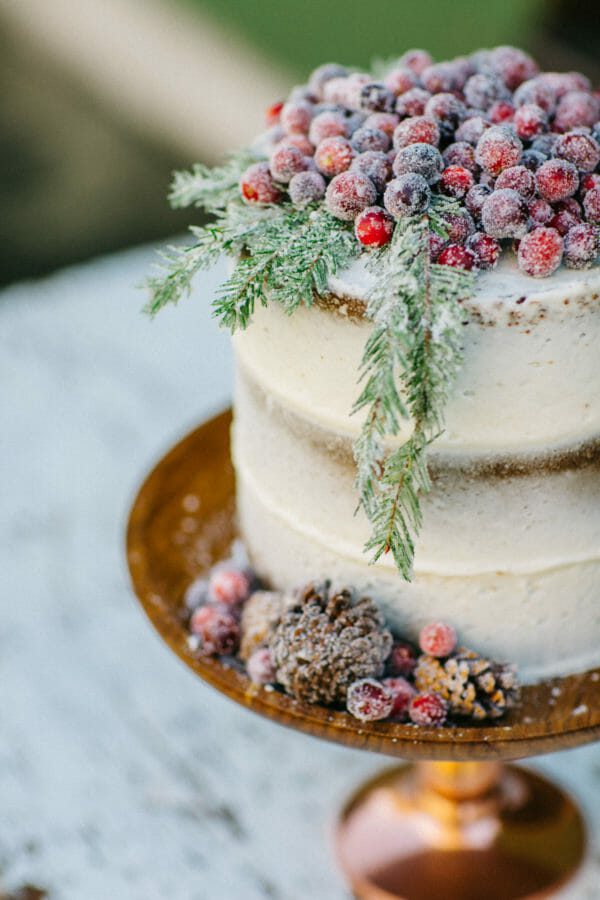
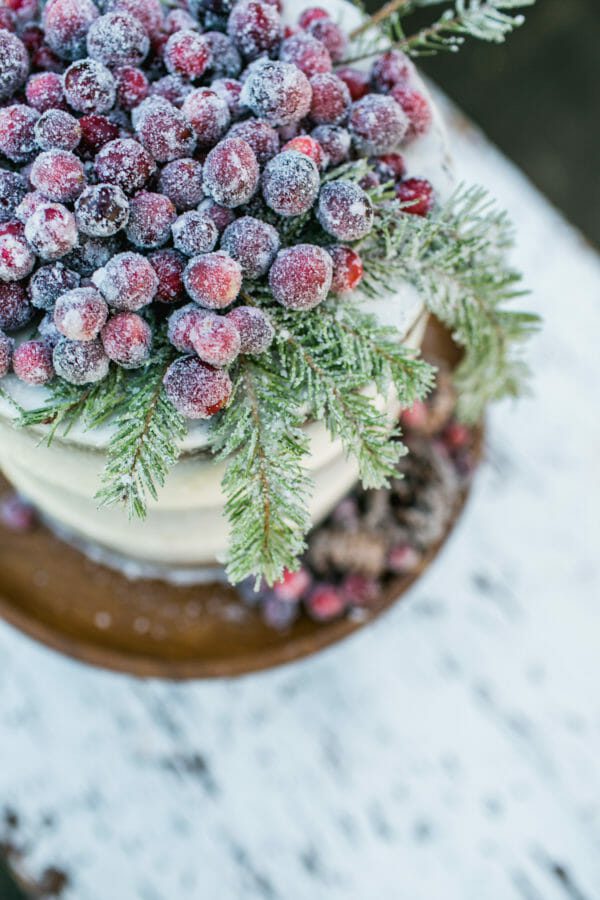
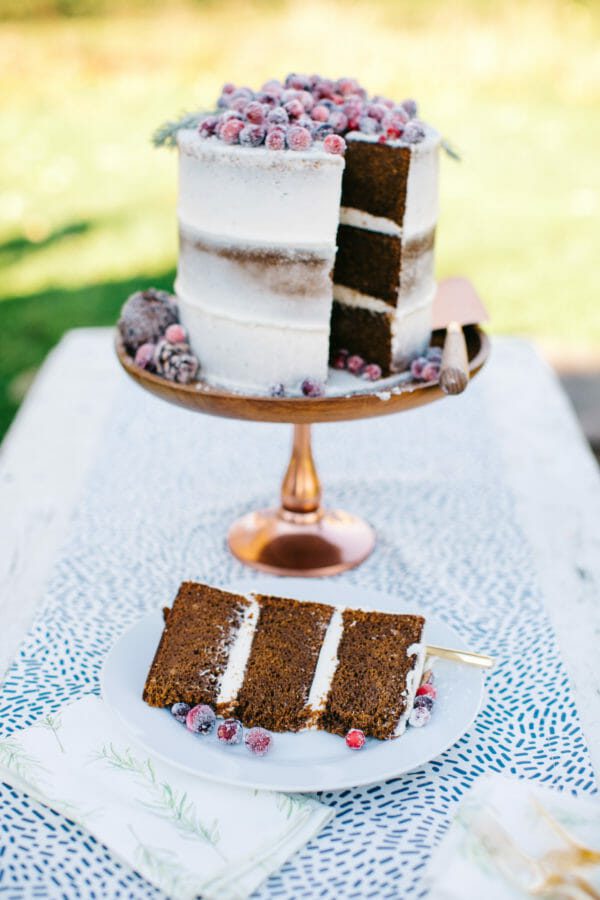
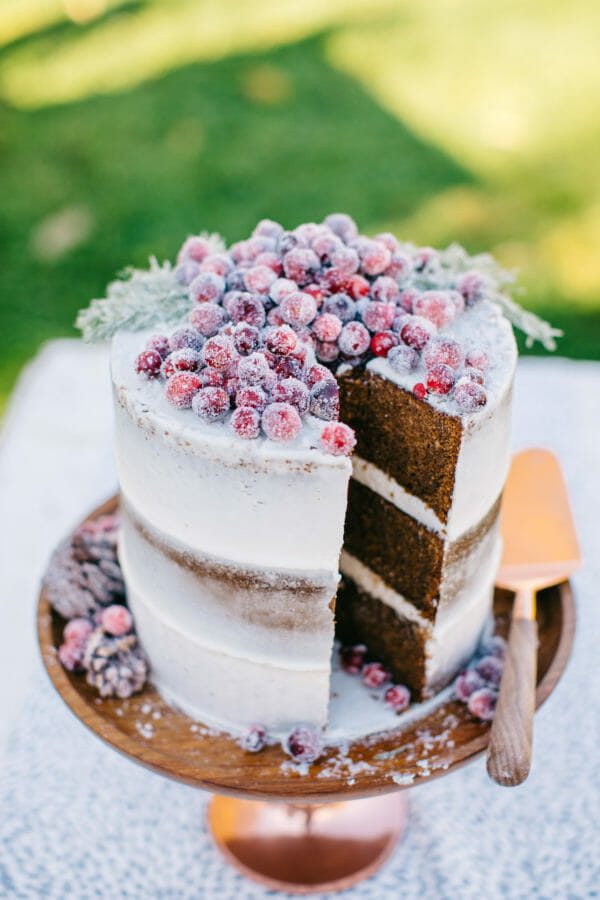
After we completed our wreaths, I prepared a spiced gingerbread cake filled with cream cheese icing and topped with sugared cranberries for dessert. (Recipe coming soon..)
It was absolutely delicious!
Let me know if you have any questions regarding making your own wreath in the comments below. You’ll be amazed at how easy and fast they are to make!
Pin this idea for later!
Photos by Kelly Clare Photography





What a fun lunch! The hot cocoa sounded super yummy and the cake ….. divine!!?
This looks so fun!! And that cake ? Now I need to go get a wire form and make a wreath.. Thanks Jenny
OMG!!! I am dying over that cake…looks so pretty and sounds delicious. Great job lady, as alwasy!
Looks so fun and beautiful! Yummy cake too!
Can you post the recipe for the salad and hot cocoa? Looks so good!
Great ideas!
Simply amazing and gorgeous!!! I love all the details to such a fun event with friends!! 🙂 Happy Thanksgiving!